Last week I received some gorgeous stamps from Viva las VegaStamps! and among them was this gorgeous whimsical leaf lady from the new releases and I just had to use her in one of my projects right away! I invite you to hop on over to my blogpost over at VLVS! to see the postcard in full and which other stamps and materials I used.
Thanks so much for stopping by and have a wonderful weekend!
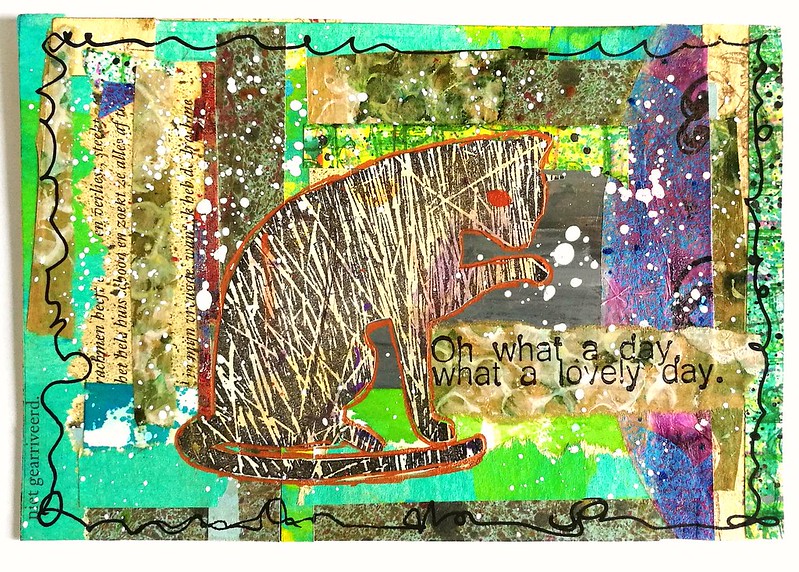
It's a kitty cat special today on my blog and I wanted to share these pieces I made recently with this great cat stamp from Lost Coast Designs (at least I think it was, but I can't seem to find it on the site anymore....) The background is made with various paper scraps and I used a white, black and a copper paint marker to create some interest and outlines. The sentiment "oh what a day, what a lovely day" is from VLVS! and it's a lovely day indeed!
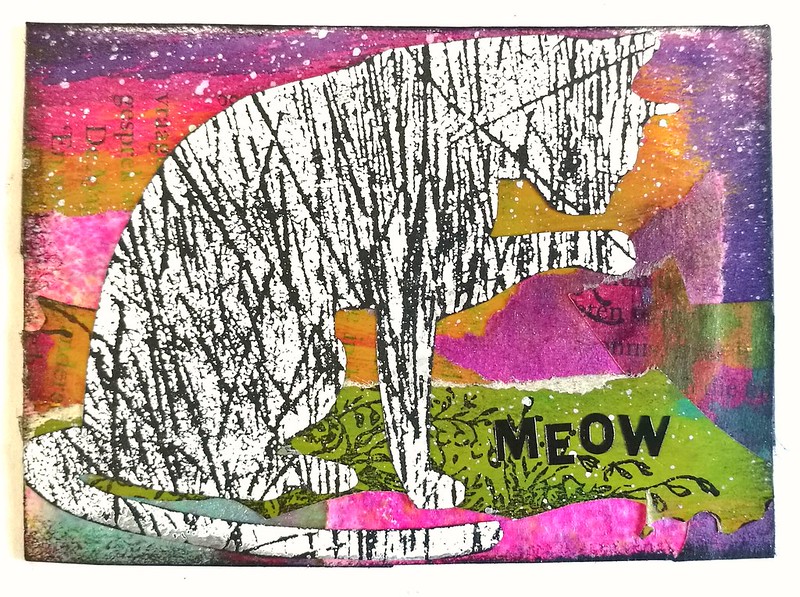
The ATC is made with similar technique as the postcard, but placed the scraps horizontally instead of vertically. The cat is stamped on black paper and then embossed with white. I could not resist adding "meow" with letter stickers on it :)
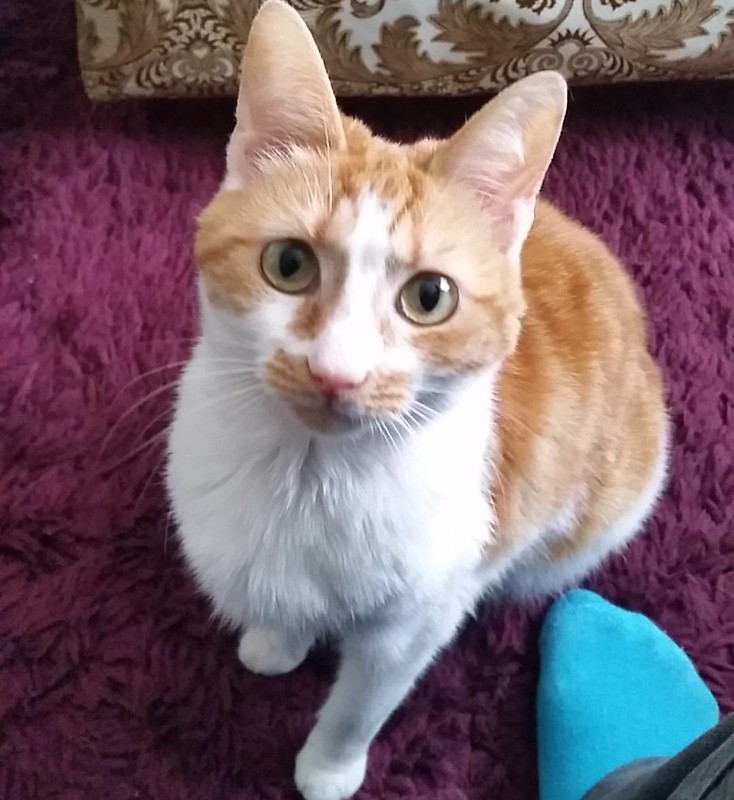
So today is a special day indeed, my little fur baby Meesha has turned 3 today! She is still ever so cute and I am so happy the little critter is on our lives. She shares her birthday with the King (it's king's day today in NL!) and she definitely behaves like the queen of the house :) Here are some pictures of her for you to enjoy!
Throwback thrusday- this was taken the first few days she was with us. A very curious and open hearted kitty we instantly fell in love with
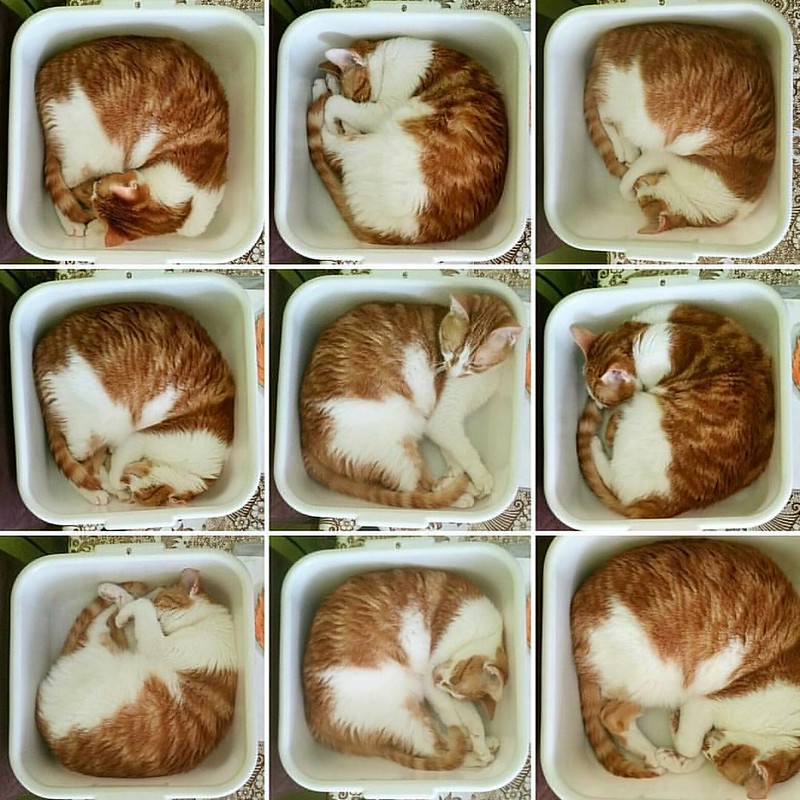
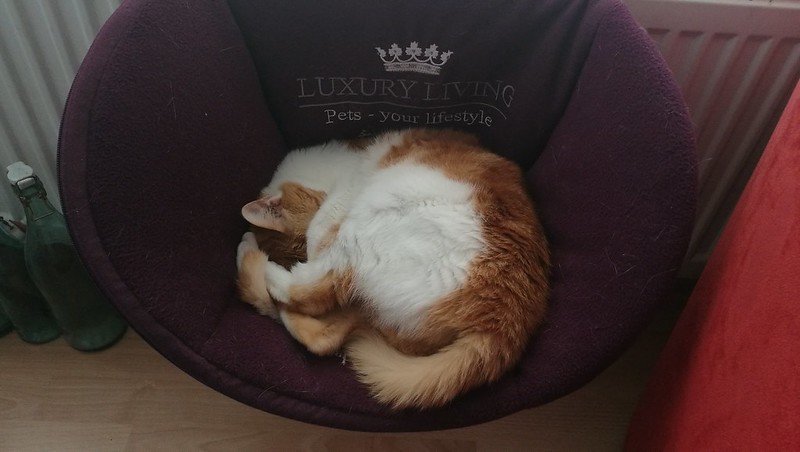
Likes to try out all sorts of different sleeping positions in super small arias :)
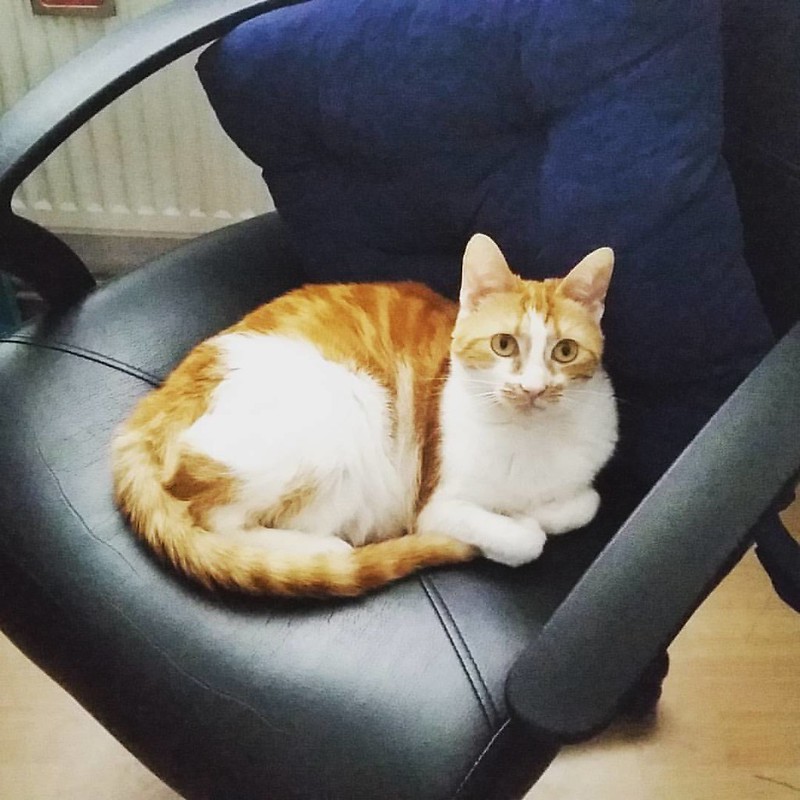
She definitely likes to sit on my chair in my art room while I am working.... so difficult to move her off my chair when she is looking like that!
Little purrfull snuggles on the couch in the evening are the best!
And she is definitely the queen of the house... luxuriously living!
Now I'm off to give some well deserved treats to this little birthday girl!
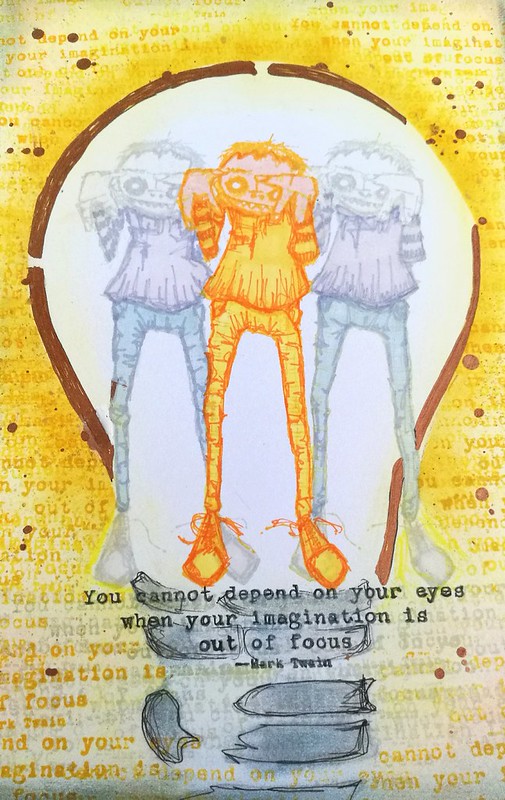
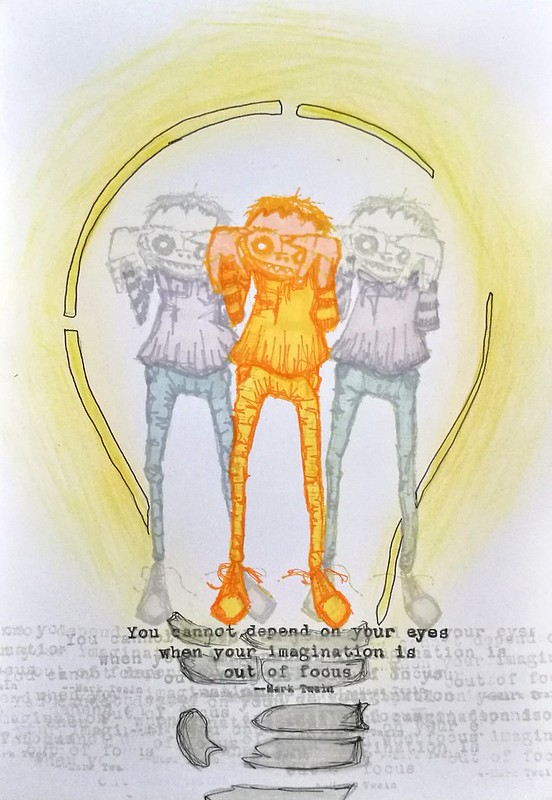
It's my last week over at Stampotique Designer's Challenge blog as guest designer and wow this month just flew by! Today I am sharing the project I made for this fortnight's challenge; One Layer. One of the most common techniques to achieve a one layer image is to use masks. I've done that with this journal page and only used 2 stamps, Topher and You cannot depend quote stamps and the Enlighten Stencil from Donna Downey.
First off I have stamped Topher in the middle, then masked and stamped on either side. I used Staz On mustard yellow and dove grey to stamp because I wanted to do a no line coloring in them (a coloring technique where you won't see the stamped lines). I used my stamping ruler to get the placement right. I measured the quote so that it would fall on that line width and not beyond. When I had my Tophers set, I stamped the quote in memento black and a few times with dove grey. I colored the guys in with Letraset Promarkers. Now the advantage of stamping with a lighter ink pad is that you do not have to follow the lines of the stamp! I gave them different lines in the pants section as i wanted similar lines as the shirt. And the middle one is yellow/orange because he's the bright light of the bunch, ha! I do LOVE how topher and the quote really match!
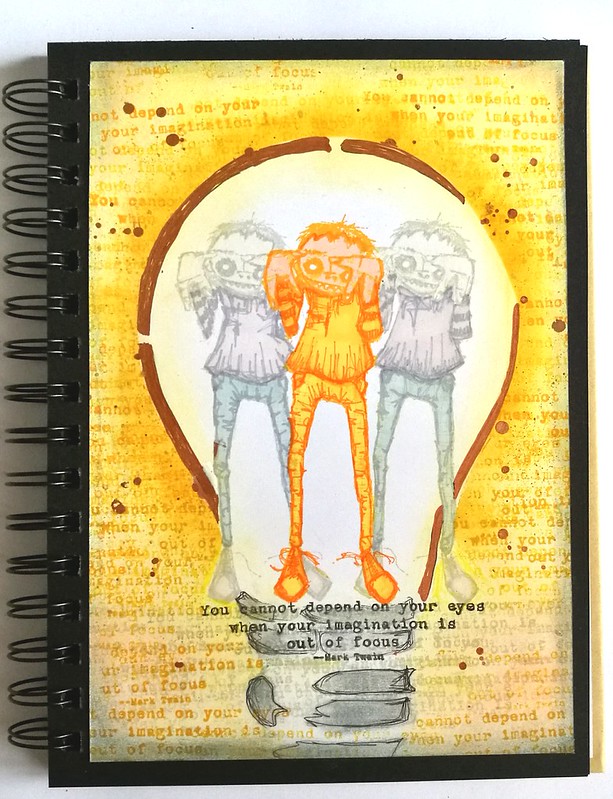
Next up I placed the light bulb stencil over the image and traced with a faber castel pitt pen. I then colored it in with chalks and colored pencil, but thought it was too light. So I made a mask for the lightbulb and used my distress ink in yellow with a blending tool to get a bright yellow beam of light around the bulb.
I stamped the quote several times on the outside of the bulb and used a copper paint pen for accents and spatters. Made some shadows and accents with chalks and called it done.
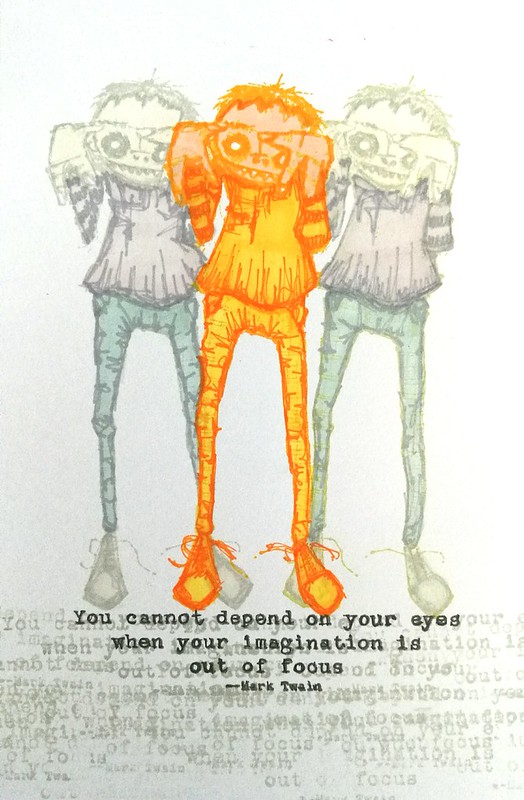
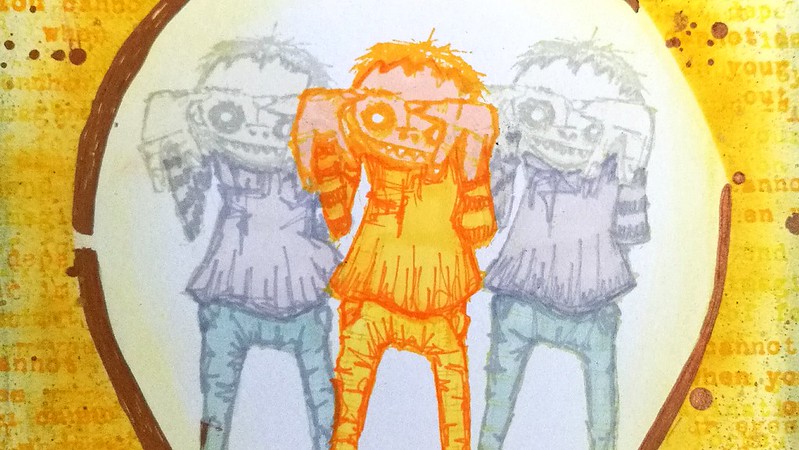
A close up of the page where you can see the chalky accents in the bulb.
As Topher is trying to do, I'm getting my imagination into focus and I hope this inspired you to play along with this fortnights theme over at Stampotque Challenge blog!
I wanted to thank Stampotique team again for having me over for a visit this month, I really had fun! And I hope you have enjoyed the projects I made their stamps this month as well :)
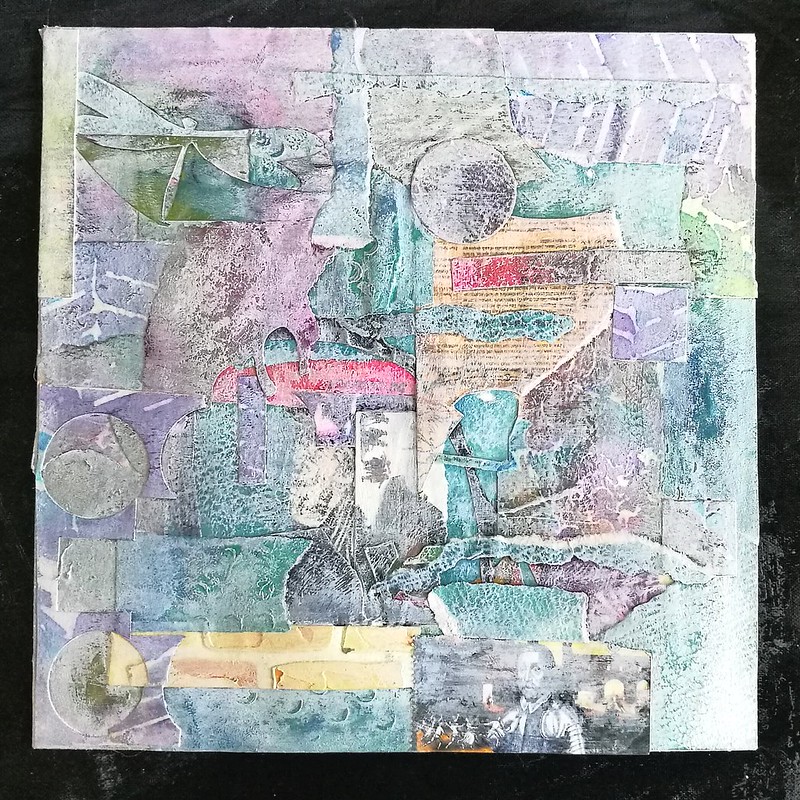
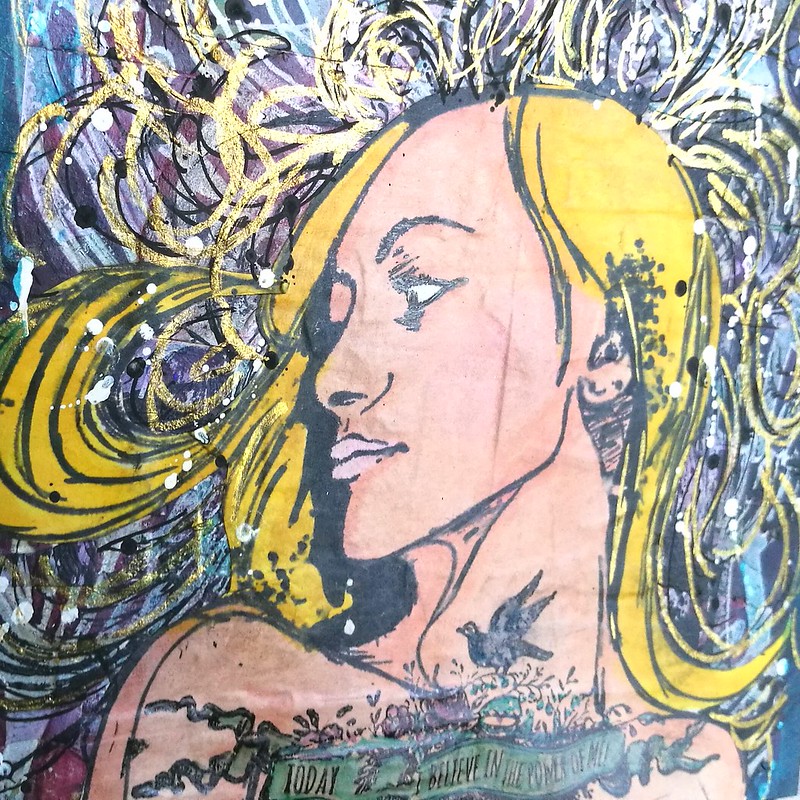
Over at Mixed Media Monthly Challenge this month we have been challenged to discover our super power or convey a super power you wish you would have. I have thought about it and while I am a fan of all the super heroes comics and movies (my faves being X-men and fave character would be Phoenix), I decided not to portrait a Sci-Fi wish like telekinesis or being able to fly with my own wings (of which either would be cool!) but rather something very human and real but sometimes quite a challenge to obtain, so much so that when you have it, it's a super power on its own. I am talking about confidence which leads to having the power of believing in yourself. And I made a 7x7 cotton art panel to help me remind myself of this fact.
I started off my gluing down left over pieces I have on my desk and in junk boxes (or as Lynn aptly calls then 'TOVERS - which in Dutch actually means 'to make something appear out of nothing- magic' so I really love the words she uses for her super power ability and will borrow her word for this post :) And when the 'tovers are all glued down, I put in a light wash of gesso over it to prime it for the next stage and dull out the back ground tones.
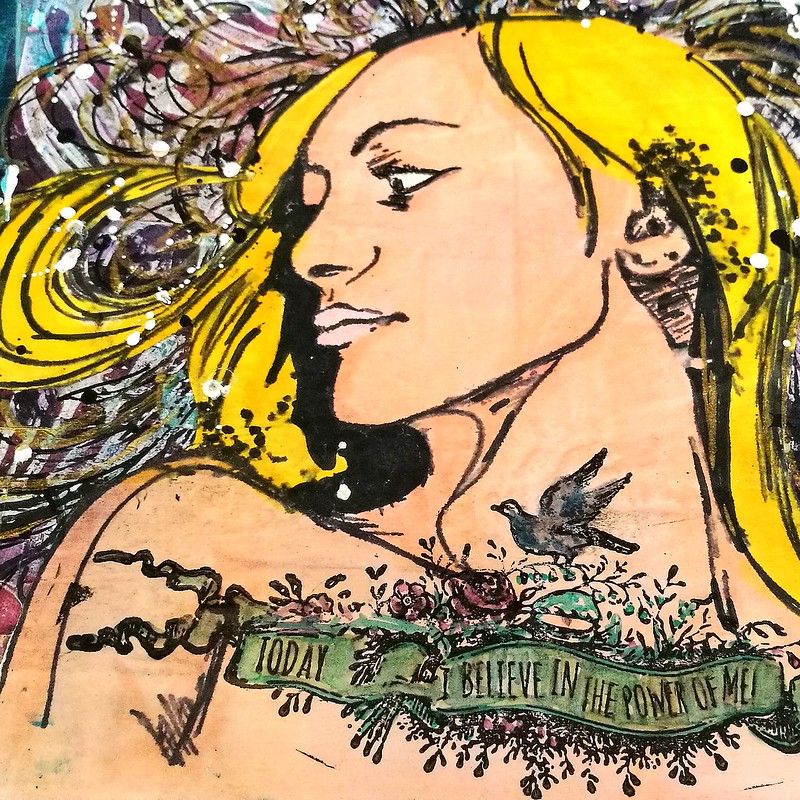
I then placed the stencil from Clarity over it, seedling pods, got some Liquitex muted acrylics in violet and turquoise and dabbed that through it with a make up sponge. When I took the stencil off I traced the lines with a white posca marker to get sharper edges and stamped Hera from Carabelle studio on it for placement.
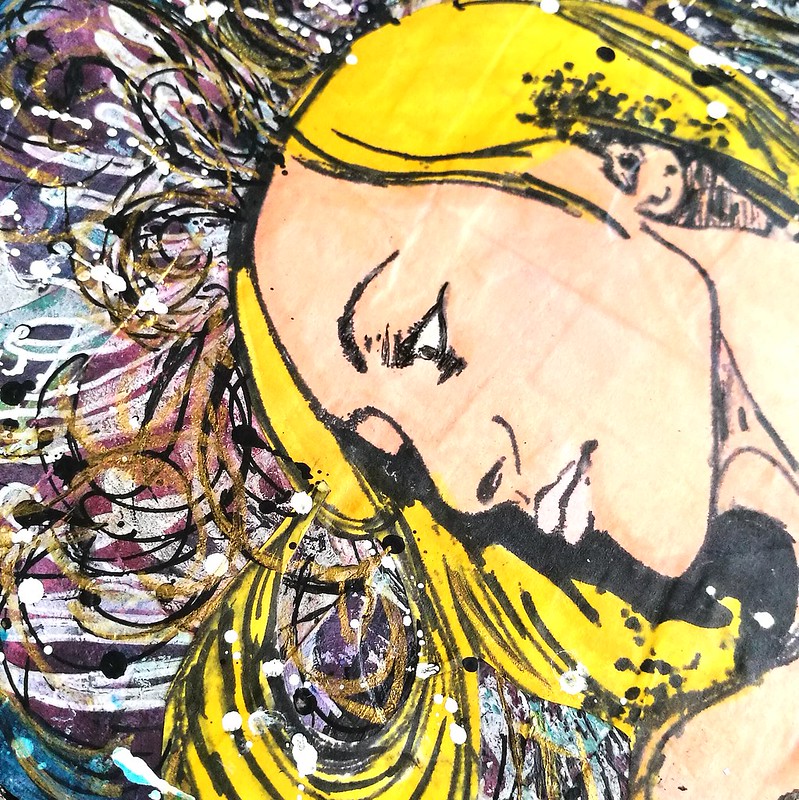
I had stamped Hera on marker paper and colored her in with Letraset Promarkers, cut her out and adhered her to the piece with soft matte gel medium. Hera was chosen because of the style she is made, a comic book line drawing, also to give an hommage to the comic book artists out there, like Brett Weldele :)
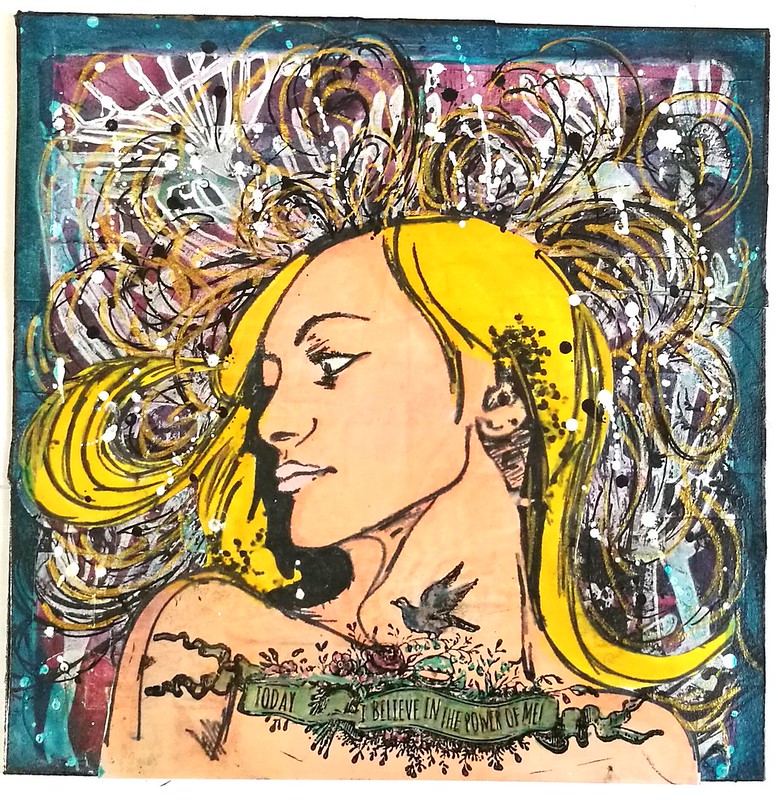
The process after that was fairly organic, I drew in more hair lines with posca black marker and a home made liquitex gold marker (I used a Dahler and Rowney empty mixed media pen and filled it with liquitex gold ink) and black and white splatter with post posca pens.
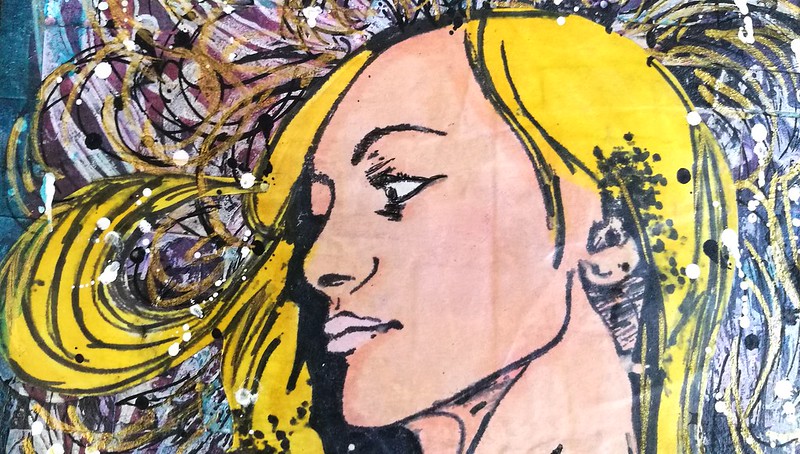
You can see how the gold strands of hair a lot better here. Now the whole piece comes together with the following stamp from Vivs las VegaStamps! and is the title of this post.
Today I believe in the power of me stamp is designed by cat Kerr. Such a beautiful and inspiring sentiment that is! I did something bold and directly stamped this sentiment on the neck/shoulder of Hera (instead of using other papers and placing over what I usually do) and it succeeded in looking like a tattoo! I colored it in with some alcohol markers and left it like that.
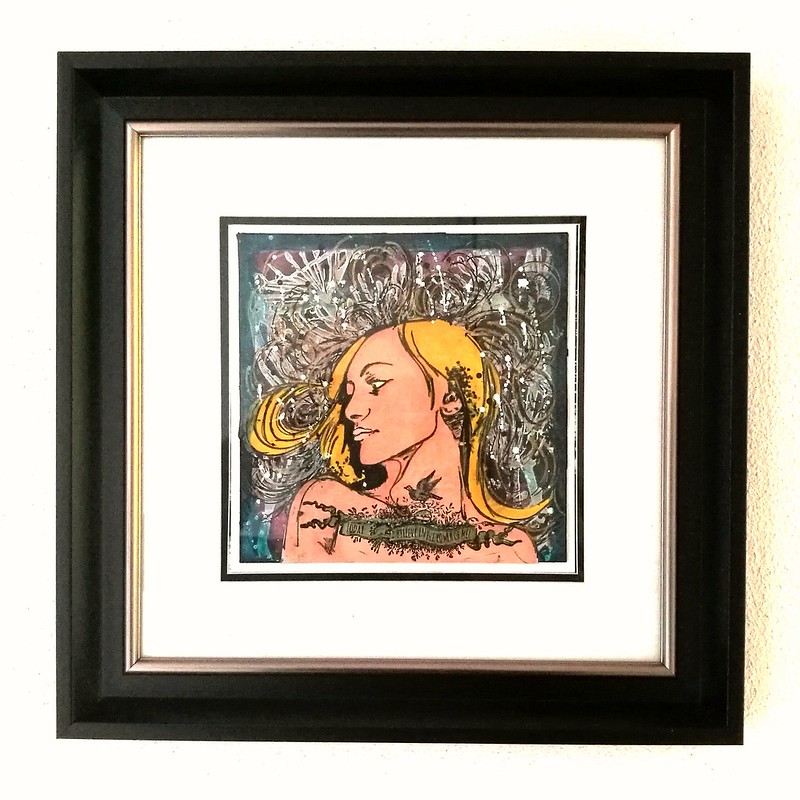
This is how the final piece looks after I edged it with a black marker.
And now it hangs in our hallway where I can look upon this reminder every time I walk past it.
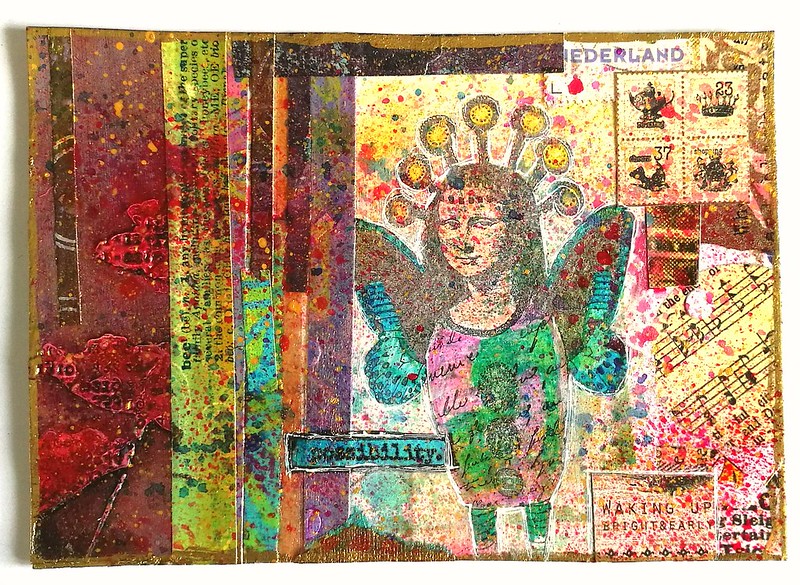
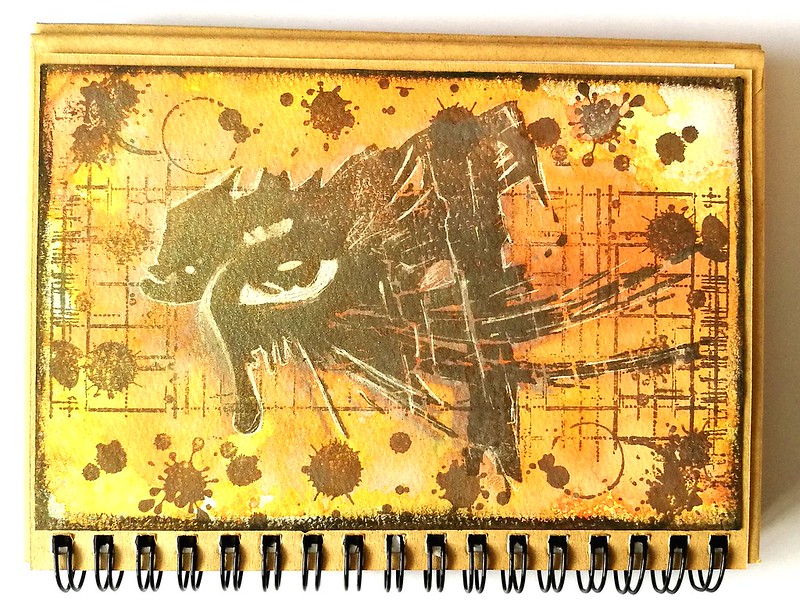
This week I have another postcard to share from my masterboard cut out series. It's number 3 of the series. This one has a lot of trims from my other projects. The most notable ones would be from Processing Poppies and Bee happy. Possibility is a leftover from this journal lay out and the stamp "Flying Mona"is from Lost Coast Designs. Out of my DT time at LCD this was one of my faves from the new releases :) Super fun and quirky! The only thing I added extra was color to the image, lots of ink splatters in magenta and gold and marked the edges with a gold pen. This one is on it's way to my partner for a Springtime swap over at Swap-Bot.
I would like to enter this piece in the following challenges:
The gorgeous blue green colors of the mood board inspired me! We'd also like to inspire you with words like SPRING! flowers, doodles, buds, whimsical, patterns, checkerboard, stars, wings, Mary Vogel Lozinak, banners, green, teal, white, black... and whatever else you may be inspired from by seeing the mood board.
I've used a fun and easy resist technique for the background with heavy matte medium and ecoline. I find that the bold complimentary colors make the image on the foreground pop. If you have a look at my blog post over at VLVS! you can see more pictures and info on how I made this piece. Hopefully this will inspire you to play along with this month's challenge as well.
Thanks for stopping by and have a wonderful weekend!
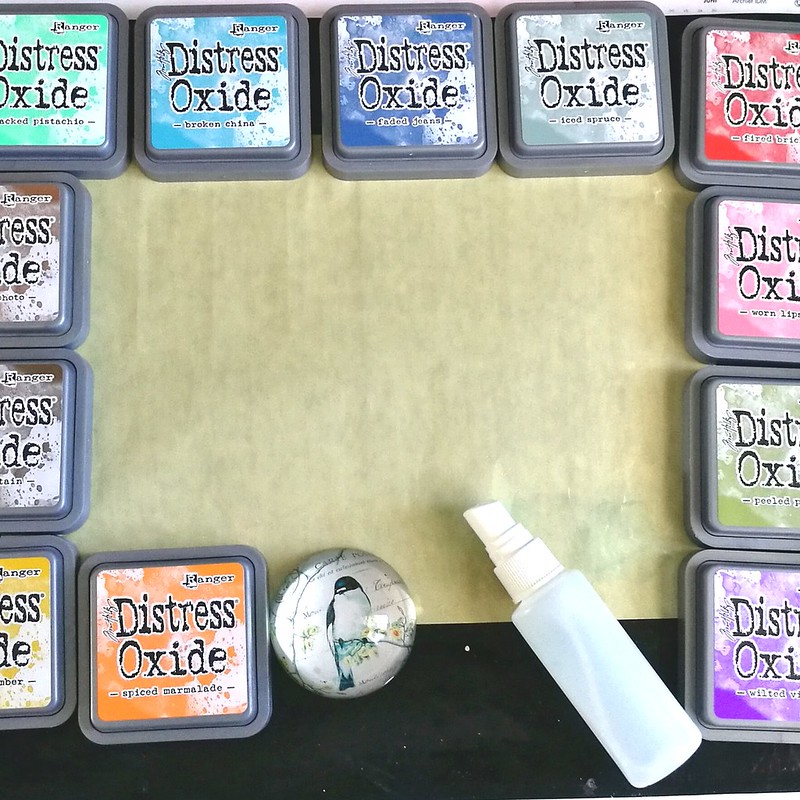
A couple of weeks ago I finally had some time to play with my Oxides inks which I got at Hobby Compleet de Duif at Art Specially earlier this month. I may be late to the party and I'm sure you by now have heard all about these products so no in depth review from me, just a few things I have noticed while playing about with them. So I got my craft sheet, oxides, water spritzer and heat tool ready to play!
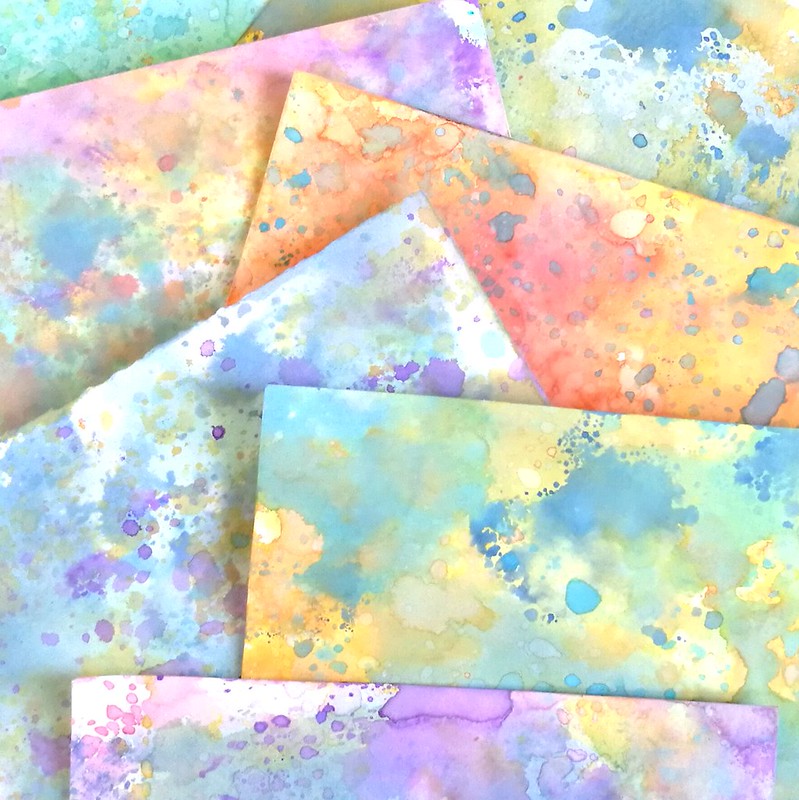
These are the background I have made after just one play session and I can say that I am absolutely in love with these. You can make amazingly colorful back grounds with wonderful layered colors. The inks do not get muddy as they would with regular distress inks when you're layering. The colors stay crisp and have an interesting effect. Some papers work better than others and I found using water color paper you'll get a crisper look than if you would on regular card stock, but both have a fun effect. The effect changes with the amount of water you use but they all finish with a soft suede like feel to it. For more info on the inks and on how to layer them, see this great video on how Tim Holtz does it at CHA. It's super fun just to lay on color and De-stress and play!
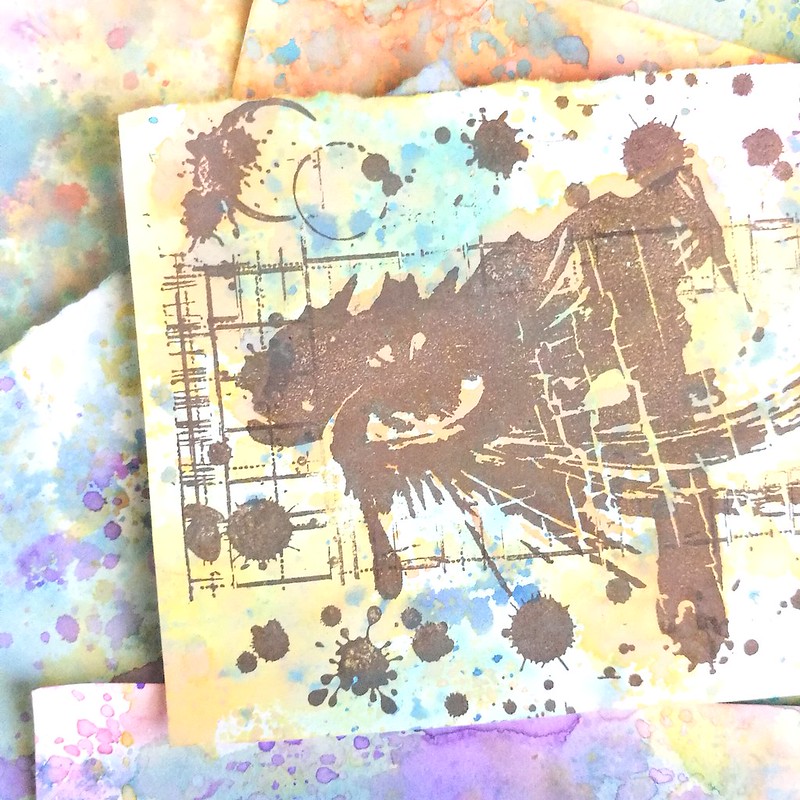
I took a few backgrounds and stamped these indigo blu stamps on them, with ranger dye ink java brown and it already has a stunning effect like this.
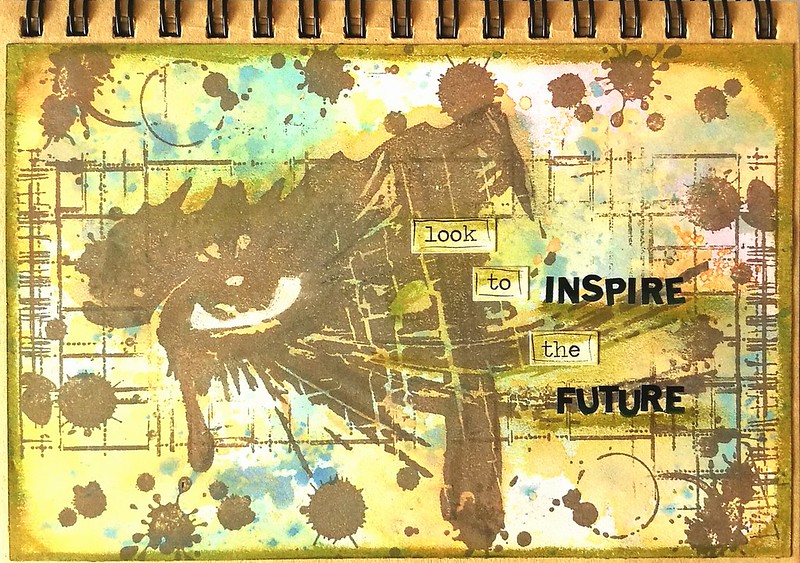
I finished a couple of pages for my journal with these tests and the above page I only added white gel pen and accents with peeled paint distress crayon. Some chit chat stickers and letter stickers to form "look to inspire the future" .
The second experiment was stamping the eye stamp with Walnut Stain oxide directly onto water color paper and spritz water all over it. That sort of dissolved the image into a blurry mess BUT the spiced marmelade orange background, remained bright and orange. I dried the page and stamped the image again with the ranger Java dye ink and accentuated with walnut stain distress crayon and a white gel pen.
Definitely loving these effects and there are so many more ways to use them too. Jennifer McGuire has a very useful blogpost and video about it here. I loved seeing how she creates some stunning cards with these inks! Looking forward to use these inks in my upcoming projects!
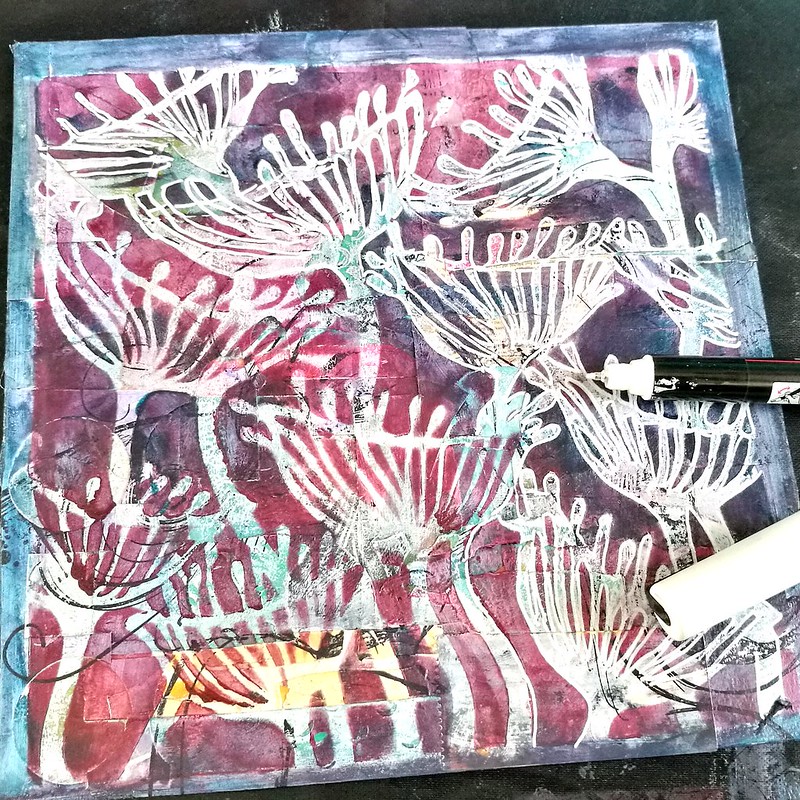
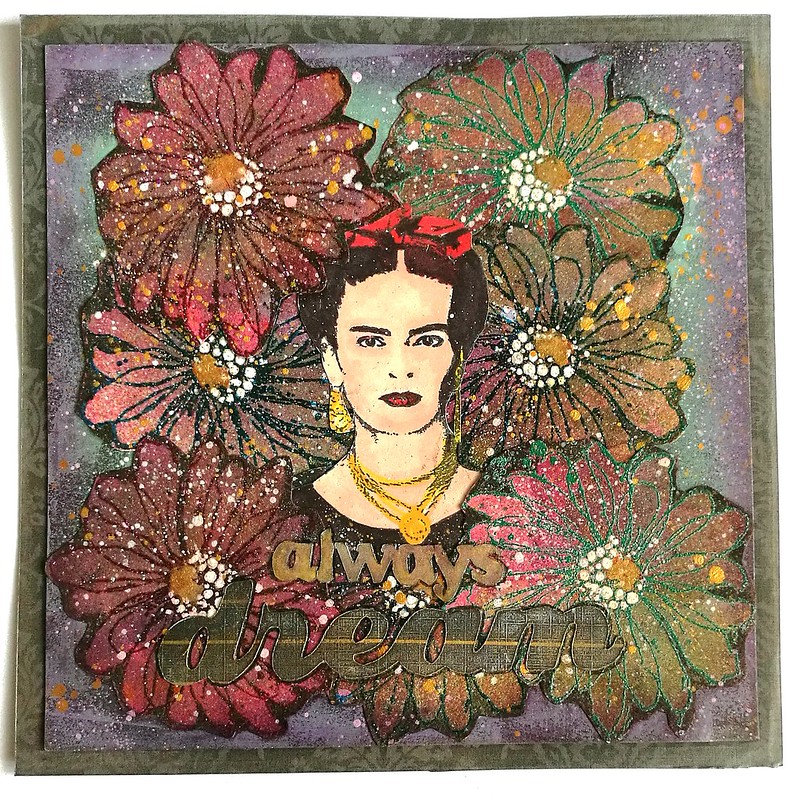
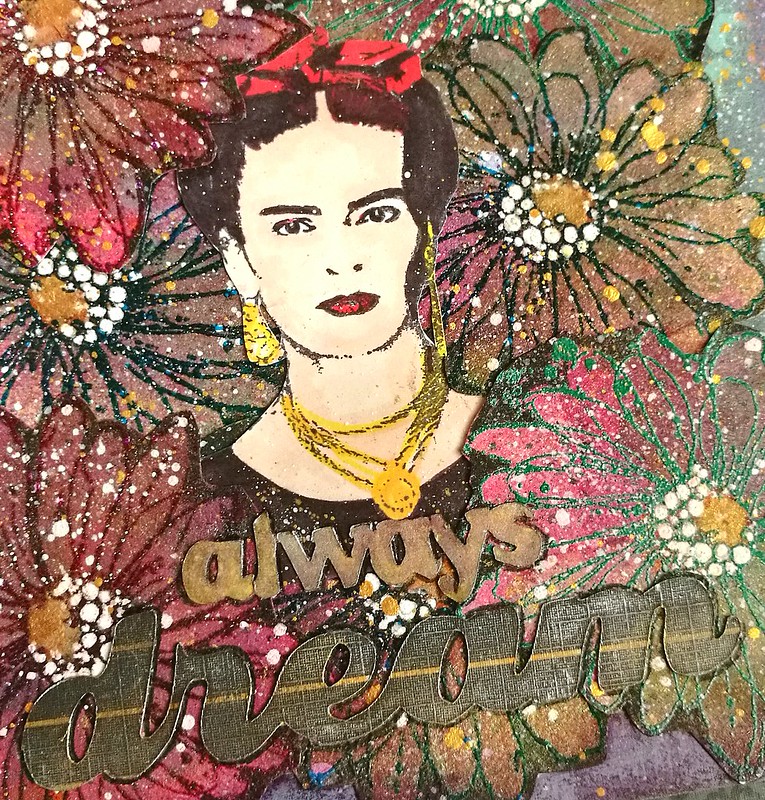
It's my third week as guest designer for Stampotique Originals and the 2nd week for their "bling it on" challenge. This time I chose to do a inspirational layout with Frida as focal point combined with these whimsical elements of Kassa's Bloom. This is done on a 6x6 inch piece of scrap book paper which was gelli printed and matted onto a 6,5 x 6,5 piece of scrapbook paper with a "Fleur de lis" Romantic Paris themed paper.
I stamped the flowers on my spray box excess paper's which had a ton of glitter on it through spraying glimmer mist over it. The flowers were embossed and then I colored the flowers with ecoline and ZIG wink of stella for more color and shimmer. The edges were colored with a black marker to give it some dimension. The white accents were done with a white gel marker. I spattered a lot of liquitex inks in gold over it (that is how I usually get my "bling"). The sentiment "always dream" was cut out with my Making Memories slice. Frida was stamped in sticker paper and colored with Letraset promarkers.
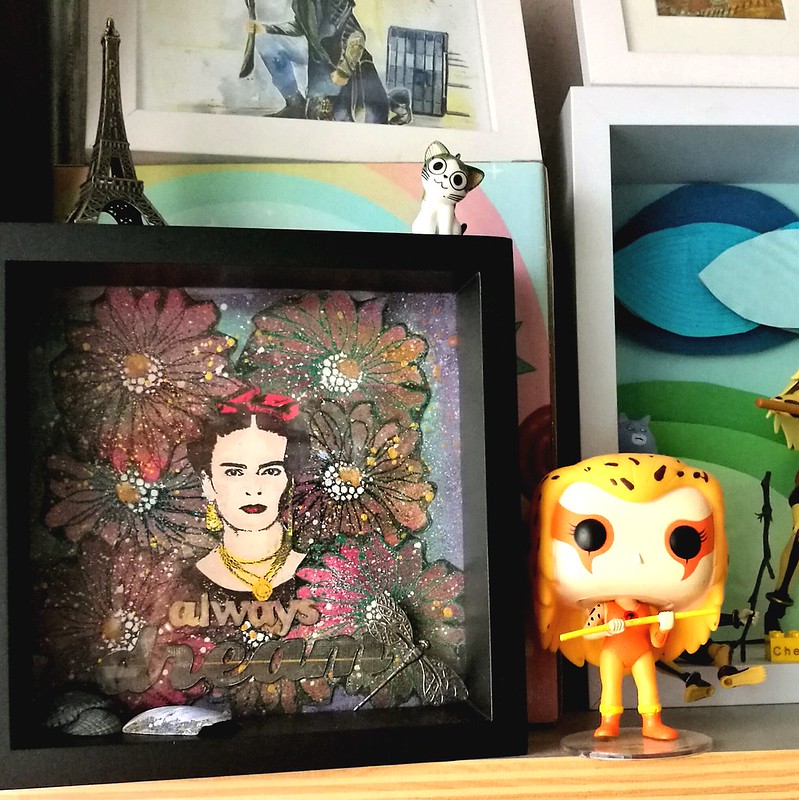
I have the piece framed and put up on my inspiration shelf next to my other inspiration pieces and Cheetara toy collection :) I added some seashells which we got at different beaches and that dragonfly pin I got as a gift from my husband. Really love how it looks on my self here :)
It's been on my mind for a while, recording process video's and sharing them with you. Well this past weekend I have decided, I would do a trail run, see how it would go with filming and how I would get on with editing etc. It was a steep learning curve, I need to adjust my zoom and placing better for one. But Windows Movie Maker definitely makes editing a lot workable. I recorded the process of these ATC's with Stampotique Originals Stamps which I made for the April swap "use your words" over at their facebook groups page.
So here it is, my first process video! I hope you liked it! It's my first video EVER so be gentle, LOL!
I have been inspired by so many talented people sharing there work on youtube! I'm ever so grateful for their inspirational posts, tips, tricks and techniques. I decided to join in the fun and jump in the deep ;) Please give a thumbs up if you like it and subscribe to my channel if you want to updated on more videos I post:) I'm ever grateful for your support!