Showing posts with label hera studies. Show all posts

2018/04/20

Art Journal: Summer Night Sky

summer night sky

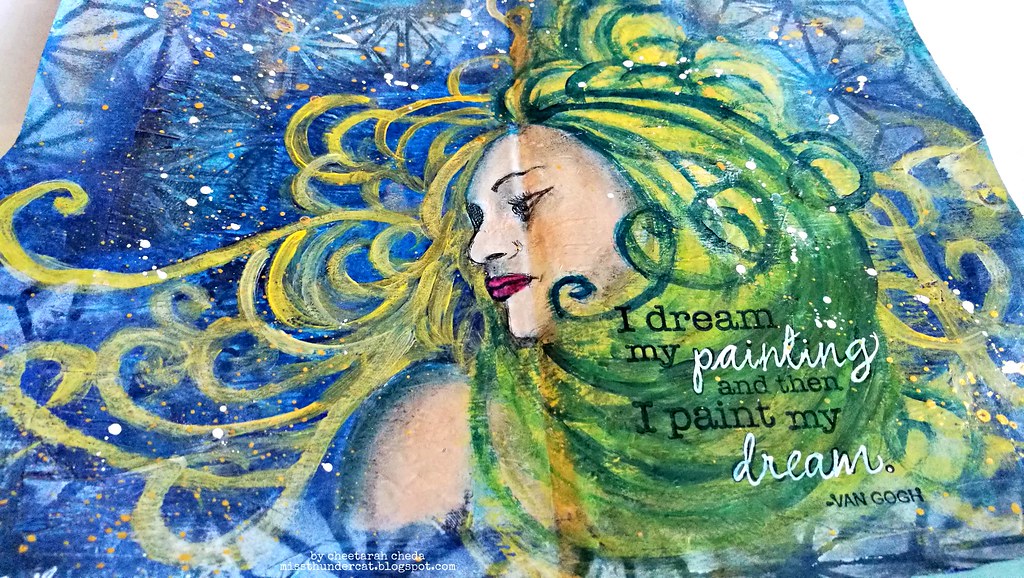
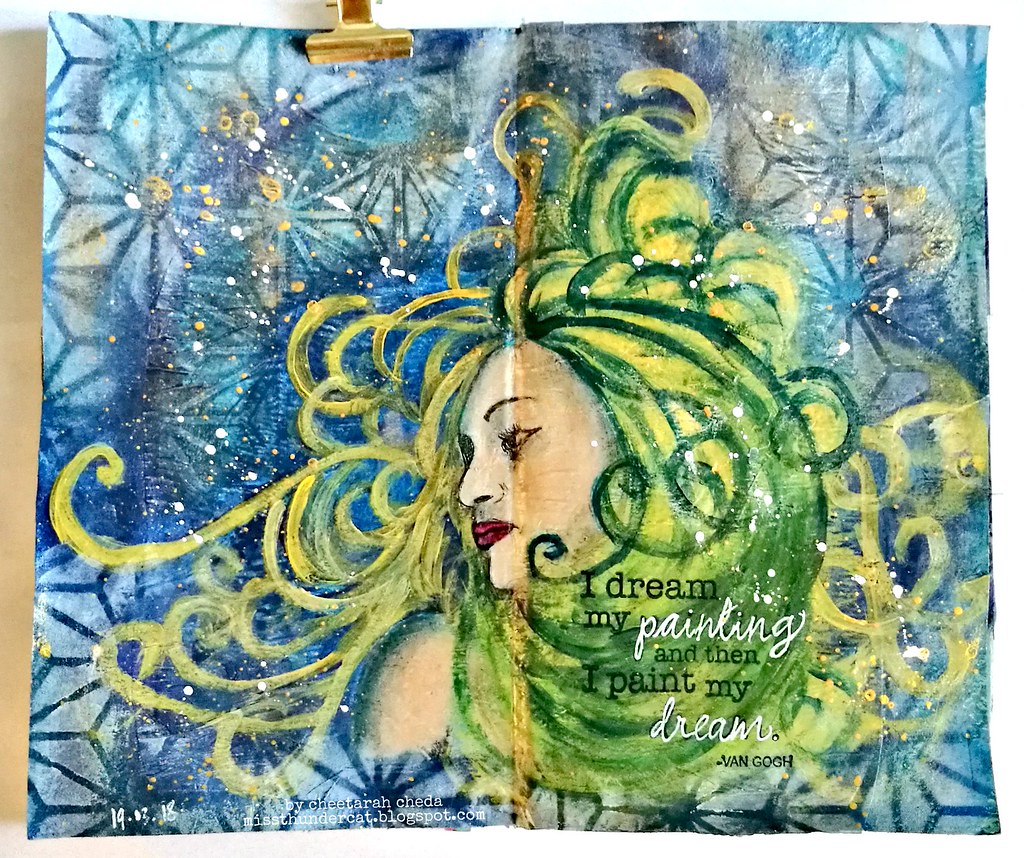
In between everything that was happening last month, I made sure I spent some time in my art studio to help me lift the heavy stuff I was going through. This is an art journal page I created during that time and it definitely was a breath of fresh air and let me release some tension I was carrying.

summer night sky
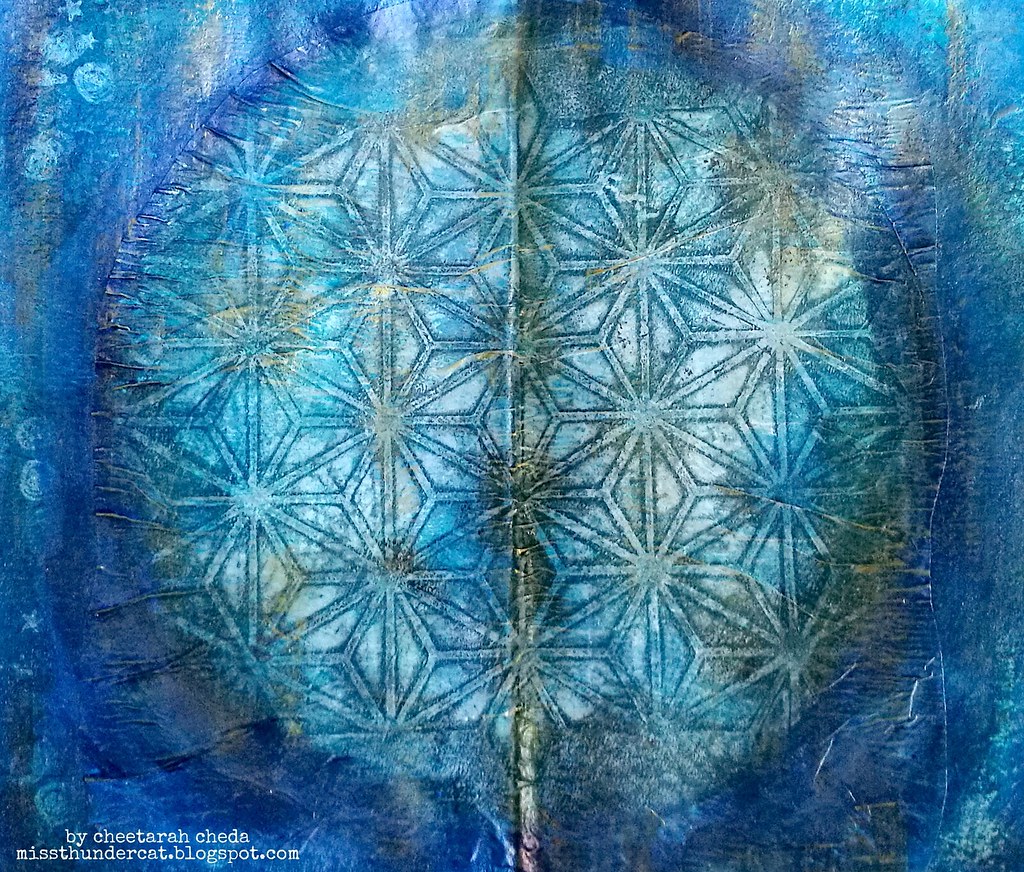
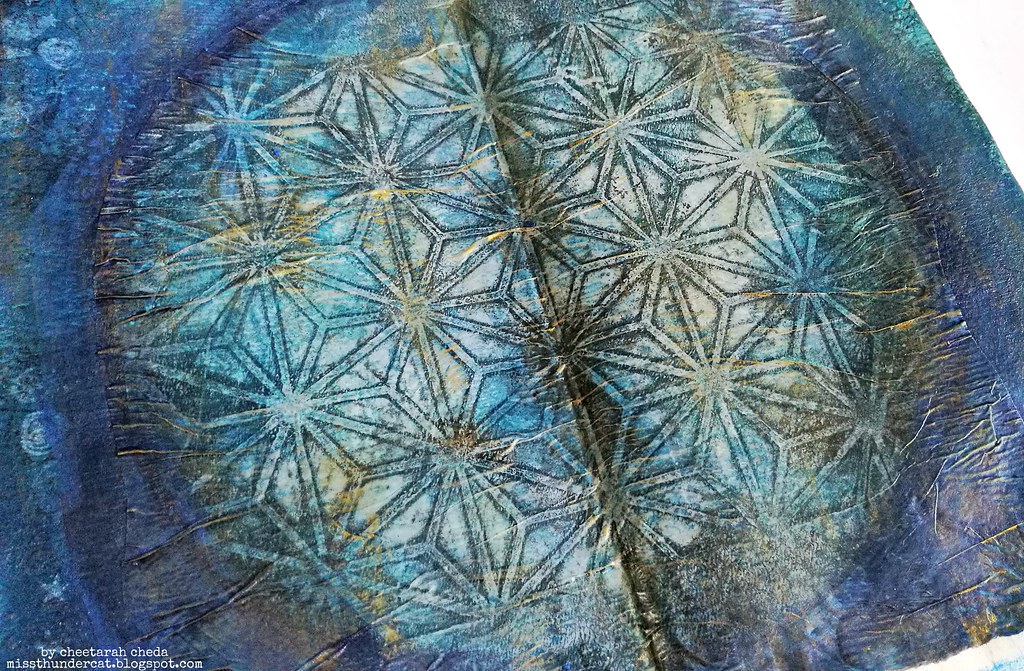
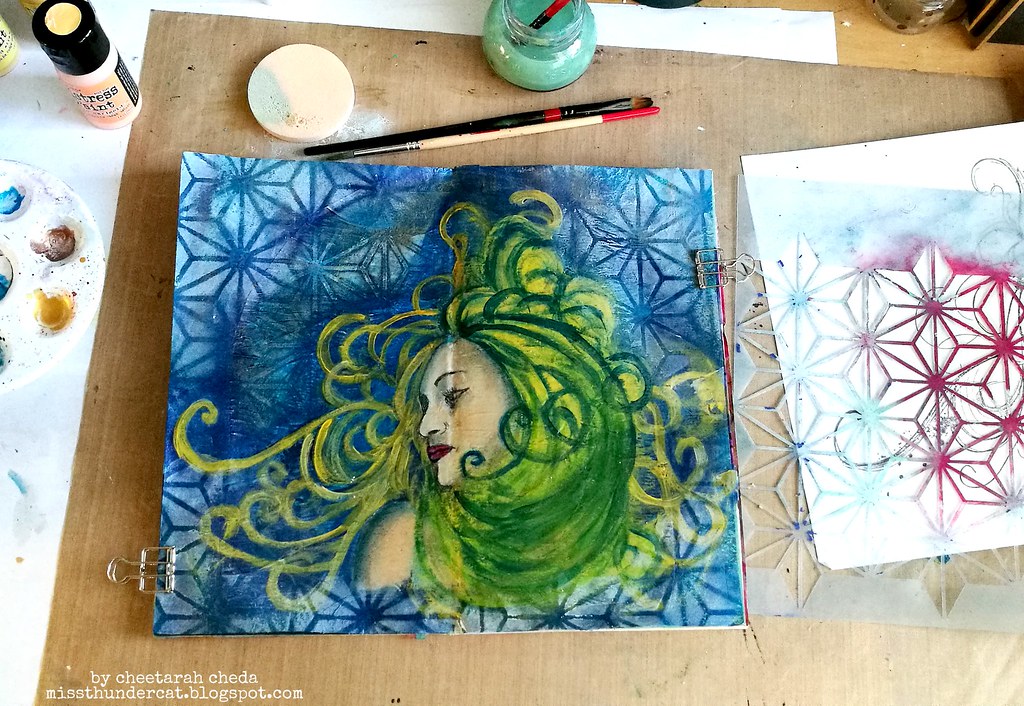
I started off on a double spread in my art journal which already had some paint on and I glued on (with deco arts decoupage glue) a gelli print made on deli paper. It is made with a gorgeous star stencil from 101 stencils. After it was glued down I blended the edges in with finnabair blue metallic and highlighted it with spark paints.

summer night sky
Close up shot of the highlights.

summer night sky
Then I went to work on the main image, which is Hera from Carabelle Studio. I stamped her on tissue paper and adhered with Decoart Decoupage napkin glue. The glue also works as a sealant so I could work over the image with my paints. It was a labor of love using acrylics (I used distress paints) but with some help of technique tricks and tutorials on You Tube By Karen Cambell, I managed to get the color and sharing in the face and hair done. The bright yellow swirls in the hair is inspired by Van Gogh's Starry night. And I added more stars on the pages with the same stencil and a pale light blue paint for more contrast.

summer night sky
To finish off the page I added some white and gold paint splatters and the quote of Van Gogh :
"I dream my painting and then I paint my dream"

I absolutely loved making this page and was very cathartic to do.  And these past few days we have been having gorgeous summer like nights... may the be plentiful and hope you will enjoy them as well.

I would like to enter this art journal page in the following challenges: 

Had fun doodling the swirly hair!

Image may contain: text

I absolutely love the sky, day or night, it is one of nature's exquisite beauty


Thanks so much for stopping by and have a wonderful day.

2017/05/17

Mixed Media Mermaid (+ process video)

Mermaid

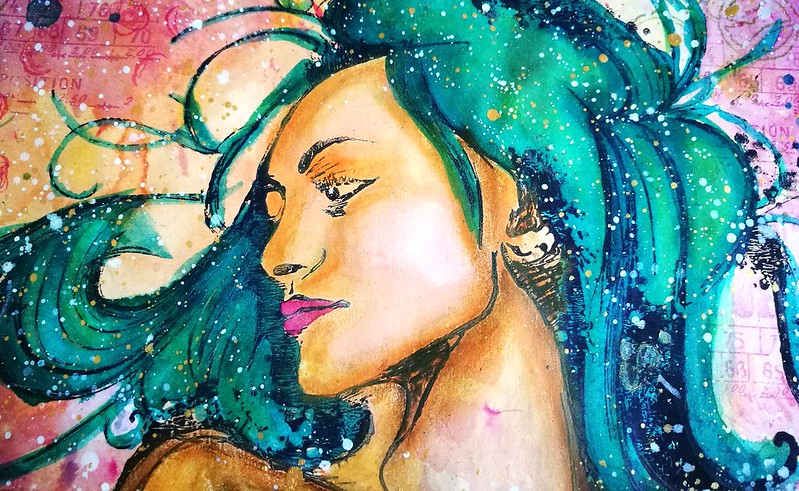
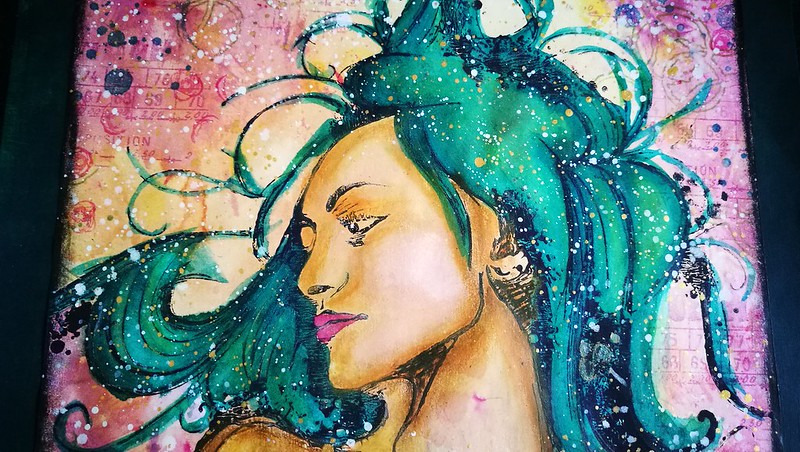
This piece I am sharing with you today, is a special one to me. And for some reason, it happens to be again with the Héra XXL stamp from Carabelle Studio. She helped me to release my inner mermaid while working on this piece. I've got a few more pics to share and the process video is below as well as a list of supplies and stamps I used.

Mermaid
She was made on an A5 piece of vintage paper which had saved from work. I have used many different materials to get her to GLOW the way she does.


Mermaid
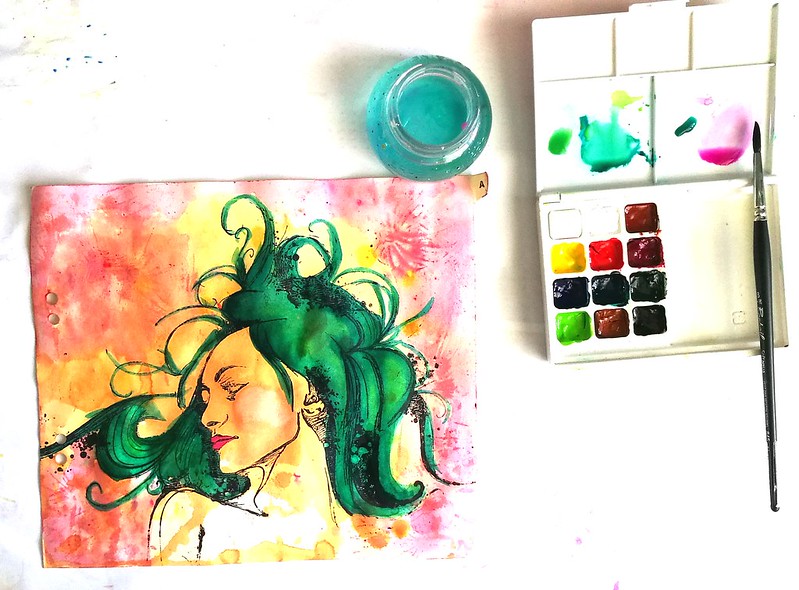
So before I direct you to the process video, I did not record the beginning and the end fell off due to battery outage... I am still very new to making video's (this is only my 3rd) so I am learning new things, all the time, like make sure you actually press record and not pause, LOL! And keep your camera charger nearby! Well, I was doubting to actually show you the process video because it's incomplete but I can tell you what I didn't record is how I got the background color and her hair color. All is done with the Sennelier Aquarell pallet you see in the above picture. I just played around with the water colors until I was satisfied with how she looks. 

The video starts from this point on, I hope you will enjoy watching this :) 


Mermaid
In the end I wasn't totally satisfied with how the skin looked and wanted a more realistic look and skin tone. I used a mixture of distress crayons to give her that creamy soft look. Gave her left shoulder also more definition and over all more contour in the body. The crayons are really soft and easy to smooth out over different media and they worked like a charm over Sennelier watercolors. 

It's now framed and hung in the hallway next to this piece. They make quite the pair.

List of supplies:
Carabelle Studio; 
Héra XXL   

Others:
Sennelier watercolors
Memento ink pads 
Liquitex Inks
DecoART Traditions paint
Distress Crayons 
Washitape

I would like to enter this piece in the following challenges:


Mixed Media monthly #36 - put a stamp on it

Creative Artiste Mixed Media Challenge #26 - Anything Goes 

Grab our Badge


Thanks so much for stopping by and have an awesome day!

2017/04/25

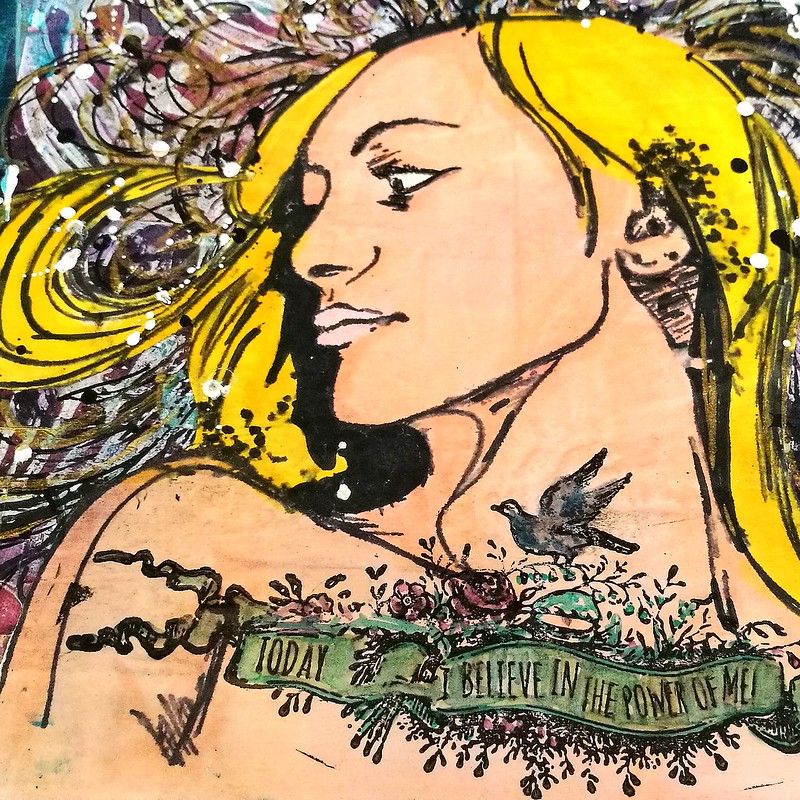
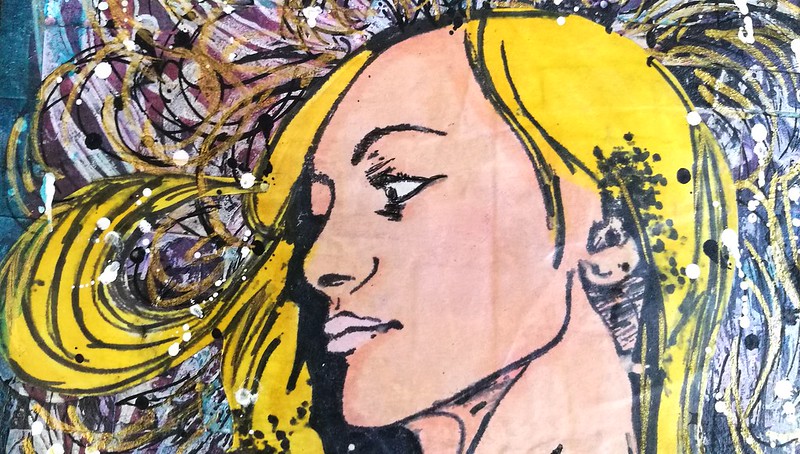
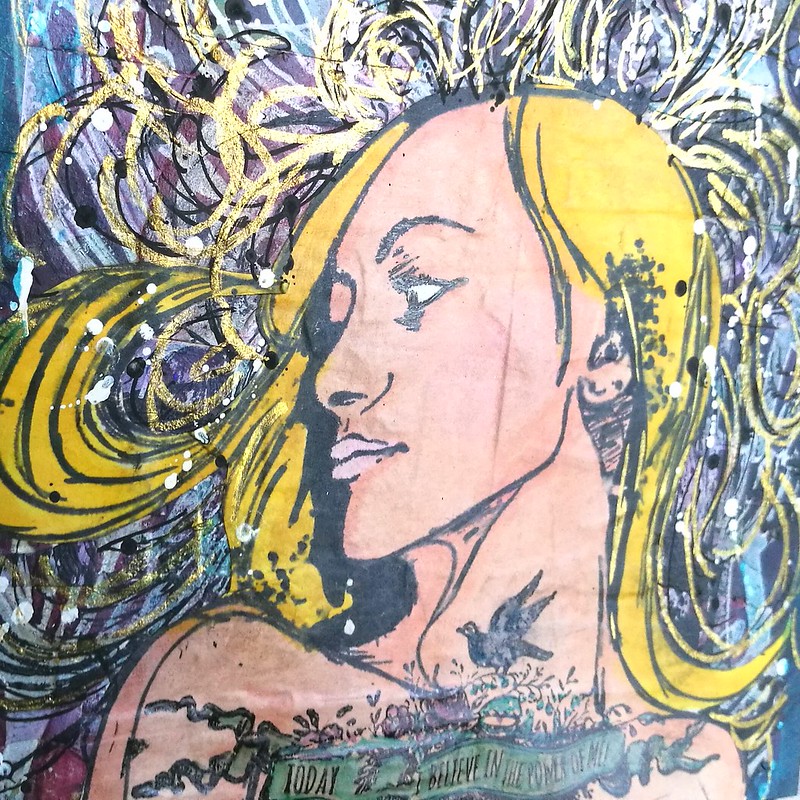
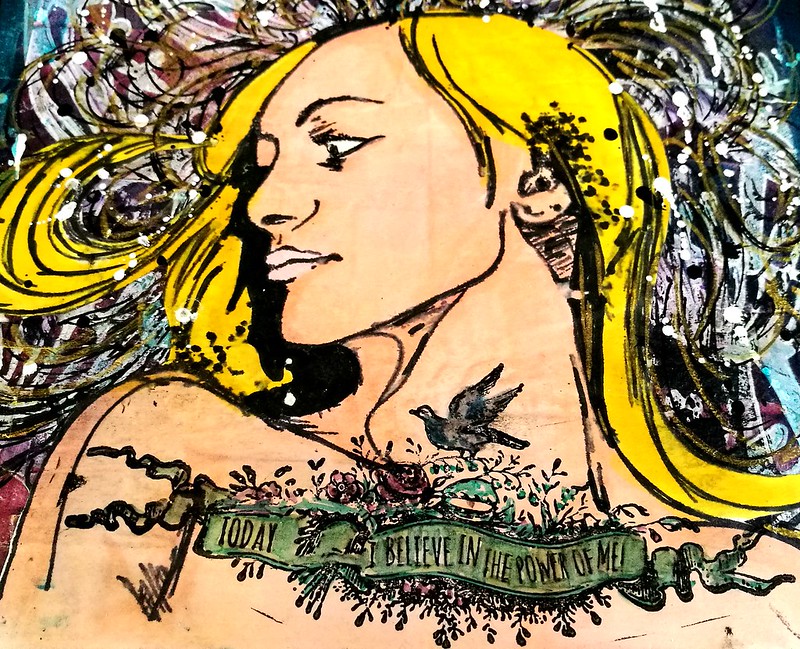
Today, I believe in the power of me

Today I believe in the power of me  
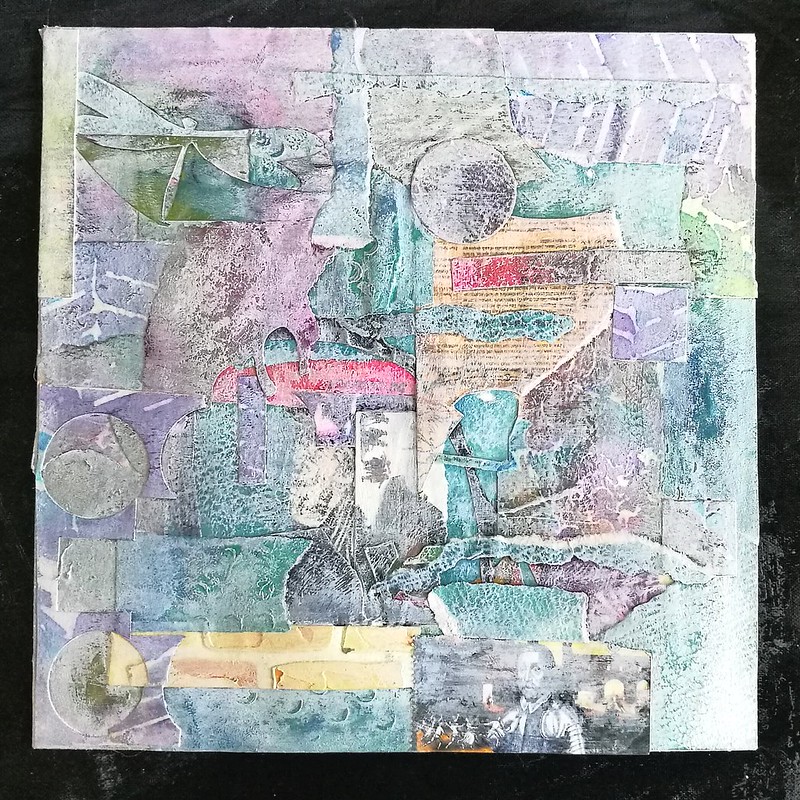
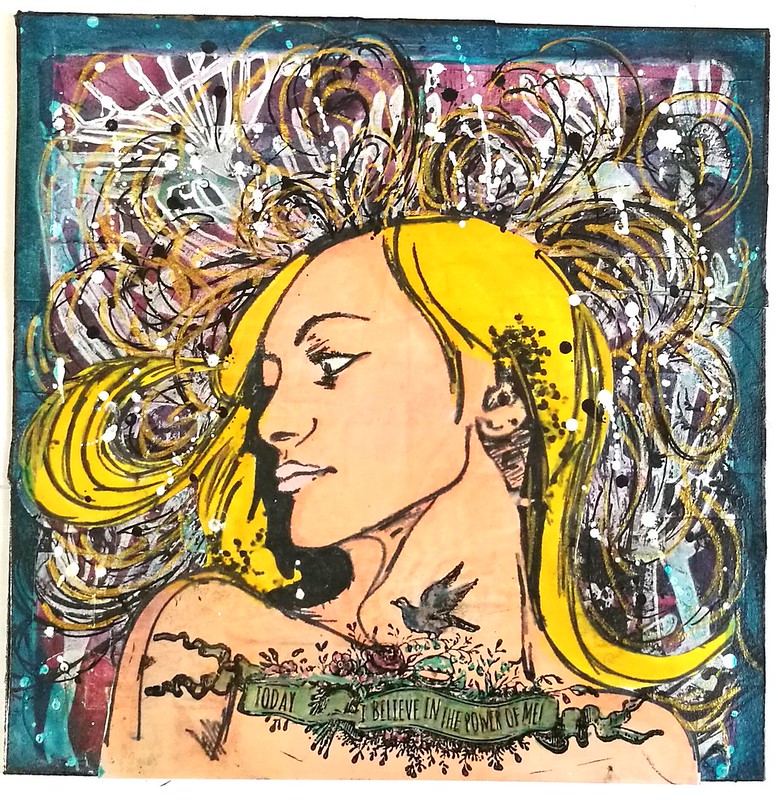
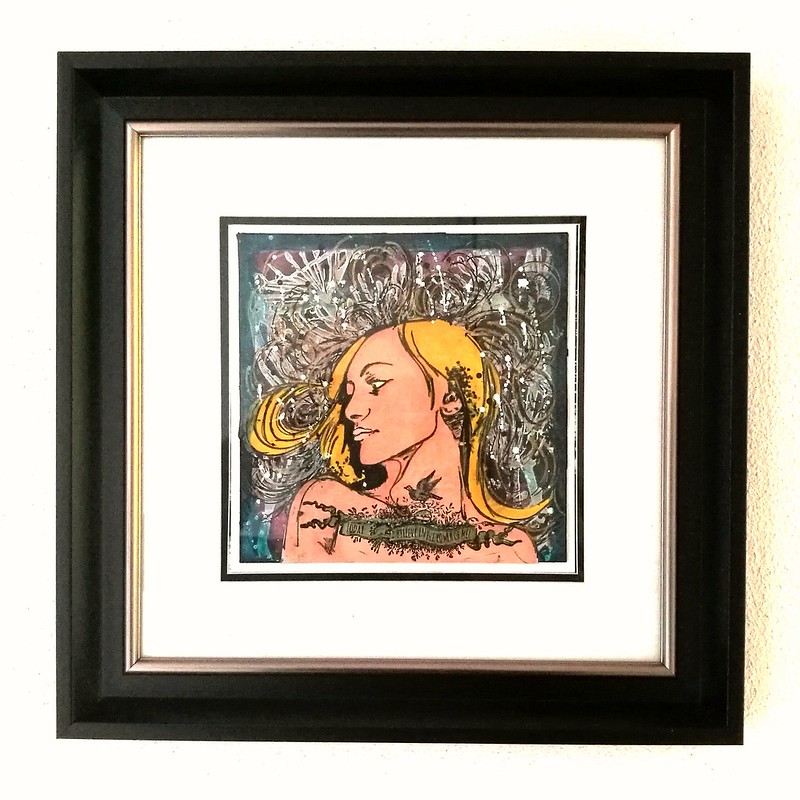
Over at Mixed Media Monthly Challenge this month we have been challenged to discover our super power or convey a super power you wish you would have. I have thought about it and while I am a fan of all the super heroes comics and movies (my faves being X-men and fave character would be Phoenix), I decided not to portrait a Sci-Fi wish like telekinesis or being able to fly with my own wings (of which either would be cool!) but rather something very human and real but sometimes quite a challenge to obtain, so much so that when you have it, it's a super power on its own. I am talking about confidence which leads to having the power of believing in yourself. And I made a 7x7 cotton art panel to help me remind myself of this fact.

  Today I believe in the power of me
I started off my gluing down left over pieces I have on my desk and in junk boxes (or as Lynn aptly calls then 'TOVERS - which in Dutch actually means 'to make something appear out of nothing- magic' so I really love the words she uses for her super power ability and will borrow her word for this post :) And when the 'tovers are all glued down, I put in a light wash of gesso over it to prime it for the next stage and dull out the back ground tones.

Today I believe in the power of me
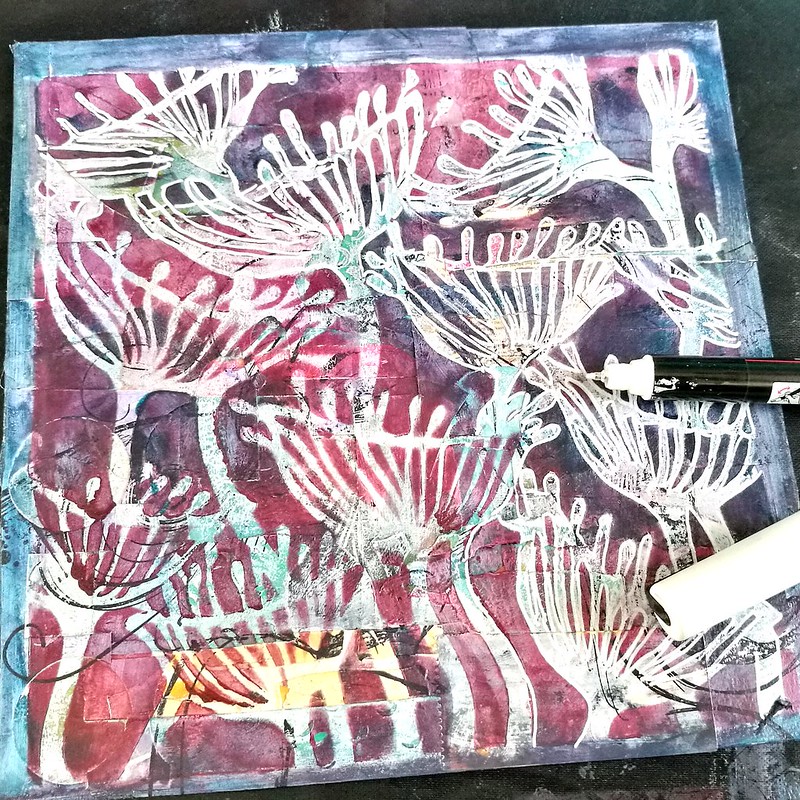
I then placed the stencil from Clarity over it, seedling pods, got some Liquitex muted acrylics in violet and turquoise and dabbed that through it with a make up sponge. When I took the stencil off I traced the lines with a white posca marker to get sharper edges and stamped Hera from Carabelle studio on it for placement.

Today I believe in the power of me
I had stamped Hera on marker paper and colored her in with Letraset Promarkers, cut her out and adhered her to the piece with soft matte gel medium. Hera was chosen because of the style she is made, a comic book line drawing, also to give an hommage to the comic book artists out there, like Brett Weldele :)

Today I believe in the power of me
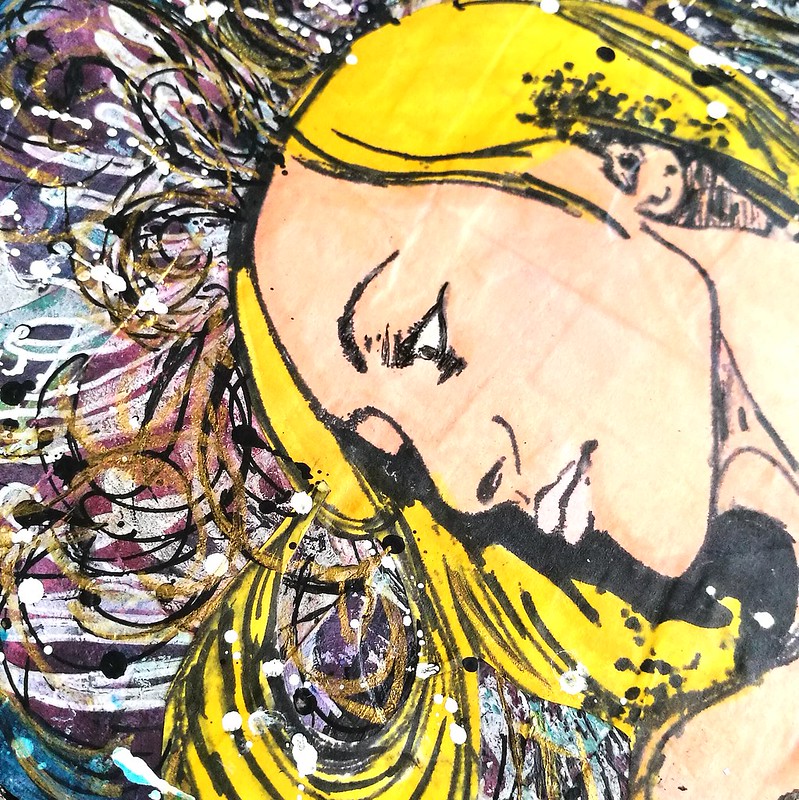
The process after that was fairly organic, I drew in more hair lines with posca black marker and a home made liquitex gold marker (I used a Dahler and Rowney empty mixed media pen and filled it with liquitex gold ink) and black and white splatter with post posca pens.

Today I believe in the power of me
You can see how the gold strands of hair a lot better here. Now the whole piece comes together with the following stamp from Vivs las VegaStamps! and is the title of this post.

  Today I believe in the power of me
Today I believe in the power of me stamp is designed by cat Kerr. Such a beautiful and inspiring sentiment that is! I did something bold and directly stamped this sentiment on the neck/shoulder of Hera (instead of using other papers and placing over what I usually do) and it succeeded in looking like a tattoo! I colored it in with some alcohol markers and left it like that.

Today I believe in the power of me

This is how the final piece looks after I edged it with a black marker. 
Framed and on my wall

And now it hangs in our hallway where I can look upon this reminder every time I walk past it. 

Thanks for the inspiration MMMC!

I would also like to enter this in the following challenges:

STAMPlorations April Mixed Media Challenge

Thank you for stopping by and have a wonderful day!


2016/12/29

Art Journal: Journey in 2016

In terms of growth, it's always good to have moments to reflect upon things you have done in the past. Not only to see if they will help you move forward but also to appreciate the fact you have actually DONE these things. And in these quiet days in between the rush of Christmas and New Year's EVE creeping around, it's a good time to look back on the year I leave behind. In this post I look back on my art journaling journey the past year. 

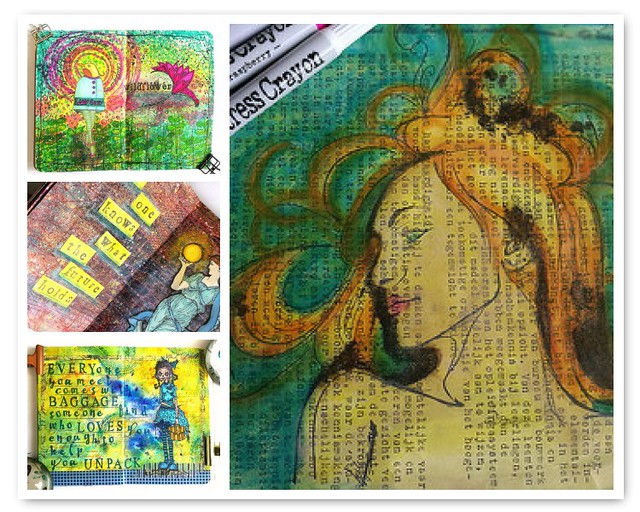
A collage of a few of my favorites pages.

In the beginning of the year I started a B5 sized journal in a book kind friends gave me. I started with zeal but halfway through the year I found out I liked a pocket size journal a lot better so I continued to work in that. I used a Hahnemühle 1584 pocket book for my art journaling in this size. 
Art journal favorites part 2
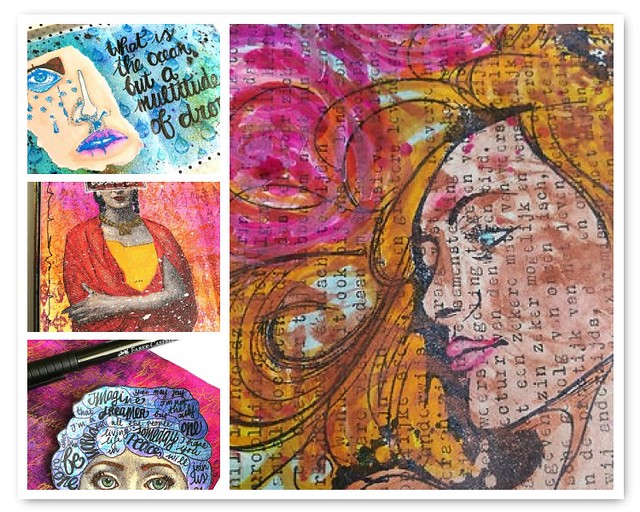
Another collage of pages in both journals. I also loved incorporating my studies of Hera in my journal.

A flip through video of both journals below:

journal journey 2016

A flip through my B5 size journal. 

pocket journal journey 2016
A flip through my pocket size art journal. 

See the process of pages in both my pocket art journal as the B5 size pages HERE and a few in my Hera Studies.

Both books still have room for lots more creativity and I am definitely going to continue in both next year.

Thank you all for your support of me and my creative journey this year, it means a lot! Hope you'll continue to do so in the year to come :)

Have a great day and thanks for stopping by!

namasté

2016/11/20

Creative sessions: Cyanotypes

Cyanotype class
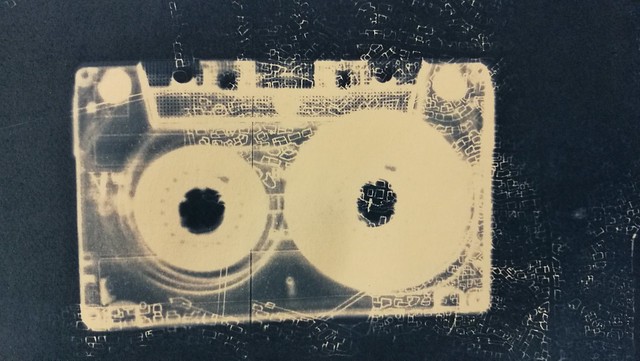
(Cyanotype with cassette tape and technical drawing)

When I was browsing through my local university's creative workshop course (LAK) for the fall, I had noticed something they had not offered before a "cyanotype" workshop. Below a blurb from the course website:

"Cyanotype (making blue prints) is one of the first photographic techniques and was discovered in 1842. By the use of two photographic chemicals you'll learn to make watercolor paper photo sensitive. In fact, we transform watercolor paper into old-fashioned paper, which results in beautiful Prussian blue prints. (EDIT: to know more about the cyanotype history and technique see here)
During the course you will learn about the chemical background of the process and you get started with all its features. It's surprisingly approachable; blueprints can be made of objects, pictures, drawings and photo's.

After you've tried all options during the course and have learned all the tips and tricks, you can continue at home, because you don't need darkroom!"

Well, I was very intrigued by it and signed up for the 6 week course and it was so incredibly fun! There was a group of 10 people and the course was given by Janet Keukelaar, owner of PAR, who was very encouraging and had a fun way in teaching us the technique. All whom attended were very prolific in what they made and I've got some super fun prints out of it.

A visual impression:
cyanotype process
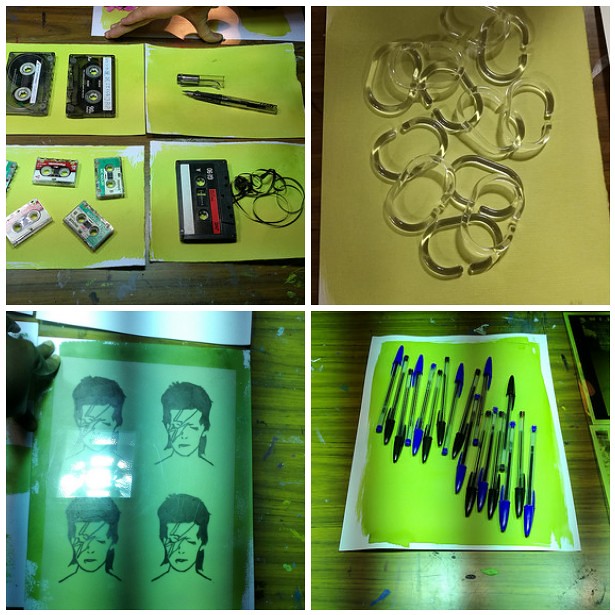
First off you coat your watercolor paper (any kind of paper could work but watercolor paper is proven to be best for this technique) with the chemical solution and let it dry well. We used different kinds of foam rollers and brushes for the application and blow-dryers to speed up the drying process.
As you can see, the chemical coating is a bright yellow one. None of that lush blue in this part of the process! Then we placed the coated paper with the object/drawing/photo negative we wanted to have a cyanotype of under a sunbed (UV light exposure) for 7 minutes (give or take). During the exposure your print will turn into a darker brownish color. As you can see you can experiment with a lot of fun 3D objects as well! And don't worry, my beloved Lamy Vista fountain pen is totally ok after the UV-light exposure.

cyanotype process 2
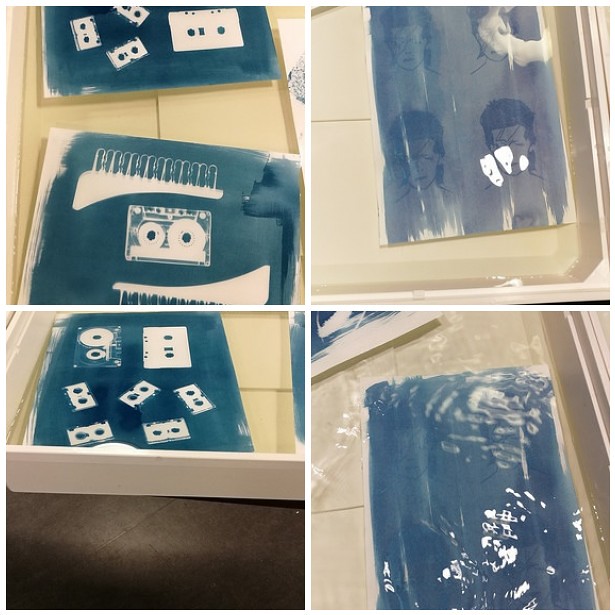
After the exposure you let your print soak in a tub of cold water for 15 minutes. Here is where the magic happens, the brown washes away, the unexposed parts turn white while the exposed parts turn blue! The longer you soak, the more detail will appear. Like true analogue photography! Also the water turned into a pee yellow color as the evening went on... a fun fact I wanted to share ;) Now comes the drying time...

cyanotype process 3
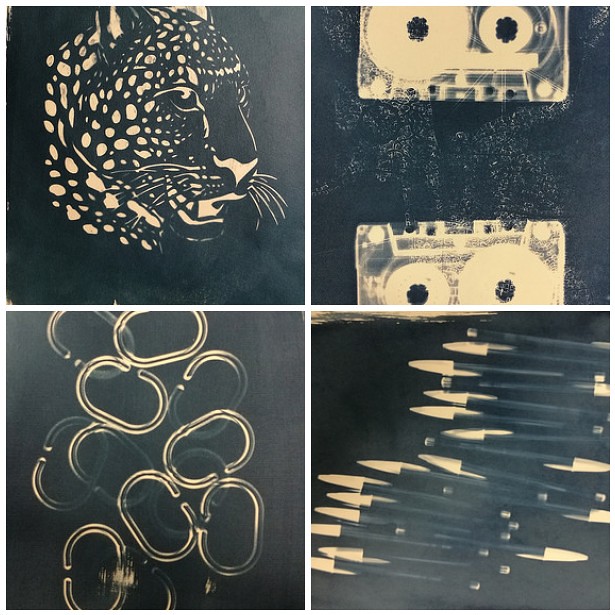
The longer you let your print dry, the darker the blue gets. It's good to experiment with the amount of coating, because the more of the solution you let soak in, the darker it gets. If you want a lighter print, experiment with using less solution and/or a longer soaking time. I love the deep dark blue these prints have. Also it takes a bit of trial and error to get the prints crisp but that is all part of the experimentation.

Cyanotype class
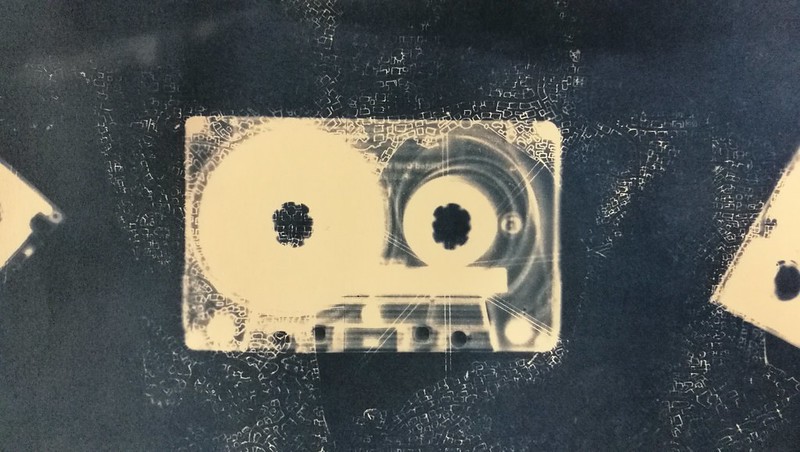
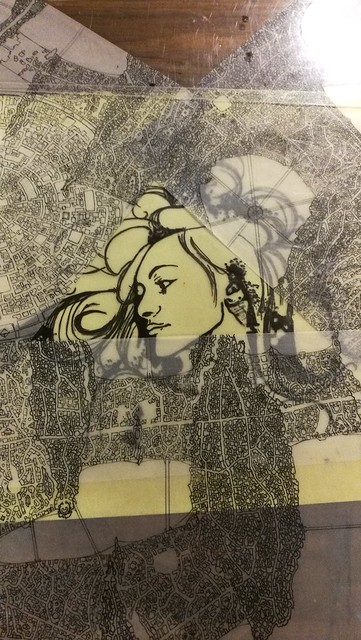
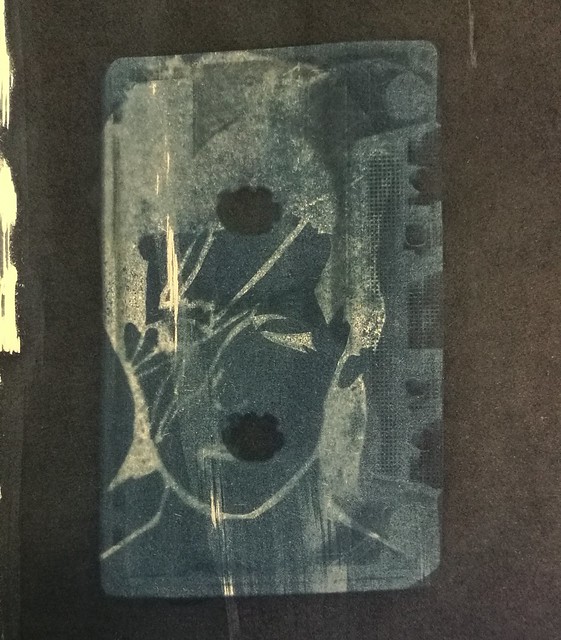
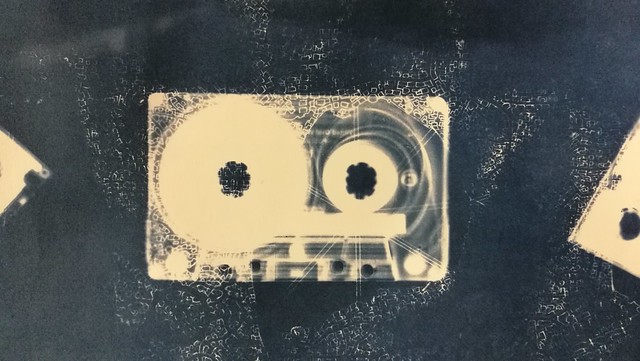
You can also experiment with layering images and objects on top of each other during the exposure process, like I did with the Hera print above and cassette tape below with the addition of technical drawings my husband made.

Cyanotype class
I just completely LOVE how these cassette tape prints turned out! Look at the fine detail of the drawing that came through!

And also a fun thing to experiment with is double exposure:
Cyanotype class
I coated my Bowie print again and placed a cassette tape on it. In the 1980-1990s this would have been a fun mixed tape cover, don't you think?

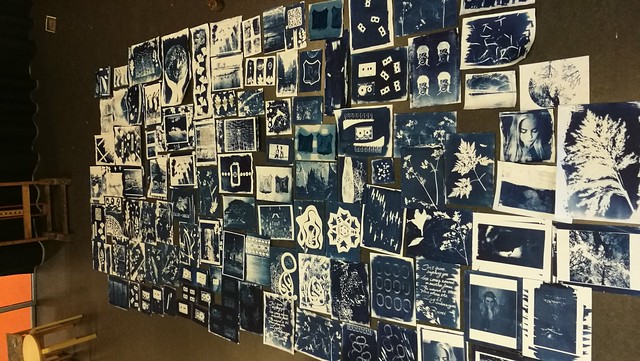
We all made such cool prints! On the last day we spread them on the floor to make an overview picture
Cyanotype class
And this is like only 1/2 of the whole production the class made!

If you get the chance to try a cyanotype workshop I would highly recommend it!  For people in the Leiden aria, Janet does offer these workshop at her gallery/studio PAR and also offer the sepia variant called Van Dyke. I definitely am going to try that next year! And you can also experiment at home by buying one of these DIY kits she has curated. Oh and look at how awesome that kaleidoscope kit is?!

If you're interested in seeing more of the prints I made, it's in my flickr album below:

Cyanotype class

And I am looking forward to work more with these prints, either in mail art or in my art journal. So to be continued...

Thanks for stopping by and have a great day!

namasté

2016/08/01

Mailart Monday: summer time mail

It's the heart of summer and things are slowing down everywhere. So will my mail output and updates on the blog. Usually we're in Sweden at this point, but this year we're actually staying in the country. We're going to spend more day trips to the beach and just enjoy some time off locally. Recommendation for art makers out there: if you haven't listened to these podcasts from the Art Supply Posse team, you really should subscribe! It's hosted by Ana from Wellappointeddesk and Heather Rivard. It's fun chatter about art supplies in general, how to use your own stash more and creating space for daily art making. Also be warned as they will enable you to try some more/other art supplies ;) As I have fallen for the latest episode Color me Pencil and got a bunch of Faber Castell Polychromos to play with. I'm looking forward to try these and some other new art supplies in my time off and tell you about them soon. But since it's mailart monday, let me show you what I recently sent out into the world via outbox shots.

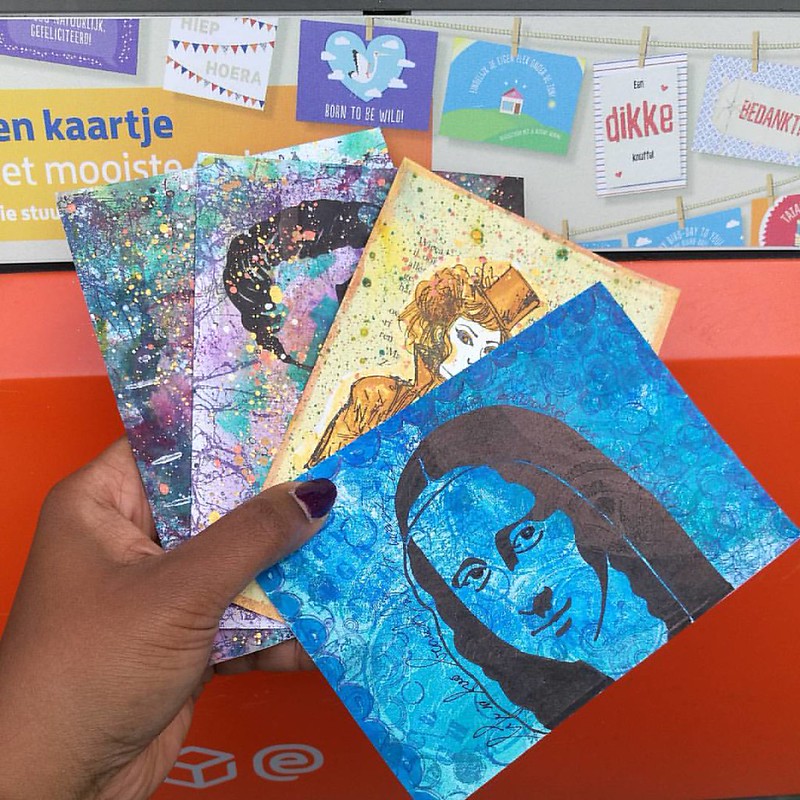
Mail out from last week. #mailartmonday #mailart #mailartist #snailmaillove #snailmailrevolution #swap #swapbot #swapbotambassador #outbox #postbus #echtepost #echtepostiszoveelleuker #brievenbus #mixmediaart #mixedmedia #mixedmediaartist #artistsofinstag
A shot of some hand made postcards I made for swap bot swaps: create a masterboard, put a foreign text on it and TPS mail art July. The latter I used some left over prints from my first gelli print session, stamped various circles rubber stamps in blue toned ink pads and the Mona Lisa Stamp is from Carmen's Veranda. I sent this piece for the foreign text swap and next time I'll show you how I made those masterboard cards.

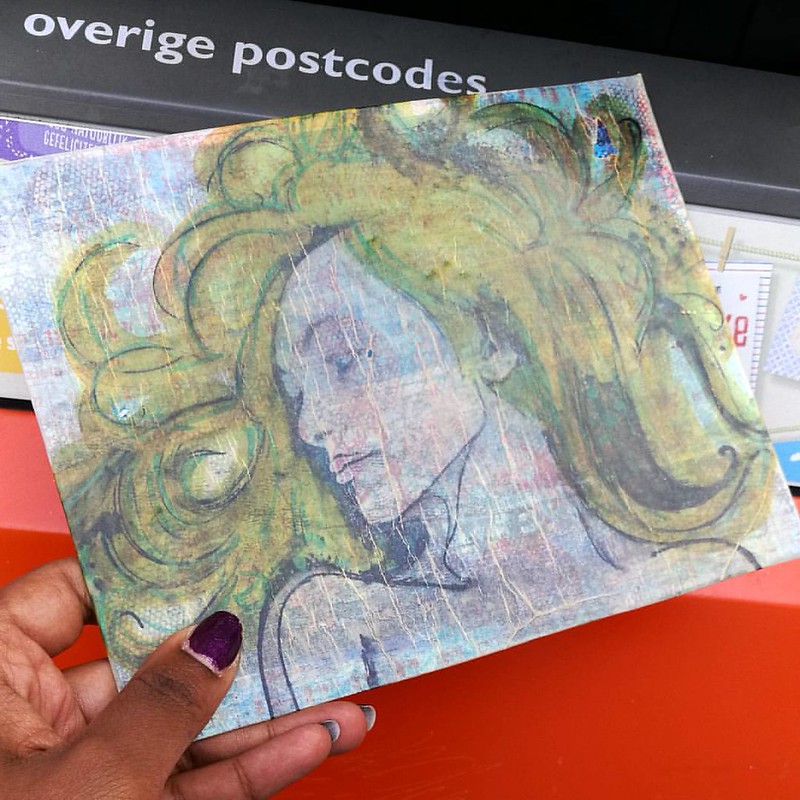
Another transformation of Hera sent out for a @swapbotnews swap. #swaps #mailout #outbox #sent #mail #mailart #mailartist #snailmaillove #snailmailrevolution #echtepost #echtepostiszoveelleuker #rubberstampart #collage #transparencylayers #carabellestudio
I'm still doing my hera studies and this piece was sent for the CC sender's choice july swap. The background was pieced together with left over papers and then I stamped some fun stamps over them. It was a base piece to layer hera whom was stamped on Canson tracing paper. She was then colored in with letraset promarkers. I wanted to try my new liquitex gloss varnish to adhere and seal the piece. It gave a crackle effect as you can see, but I quite like the result. So another transparency layer effect on my mail art :) I like doing these!

So as I said in the beginning, my updates will be less frequent in the month of august. 
Thanks for stopping by and hope you're all enjoying the summer as well :)

namasté
2016/06/27

Mailart Monday: Hera's Texture

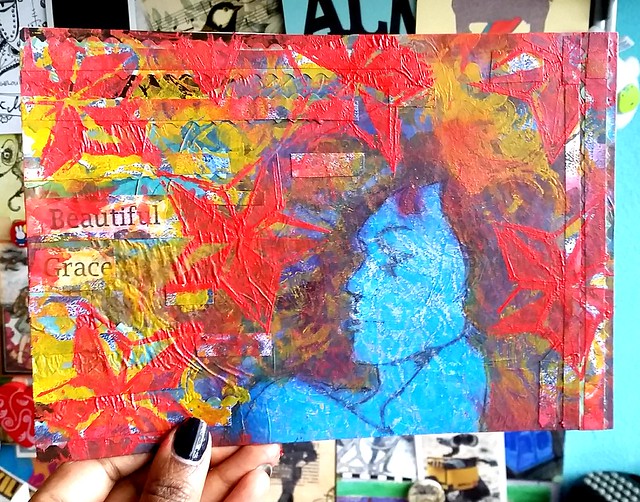
In follow up on this past Friday's post on my studies of Hera, I'm sharing a mailart piece I made with one of the gelli plate prints combining that large stamp.

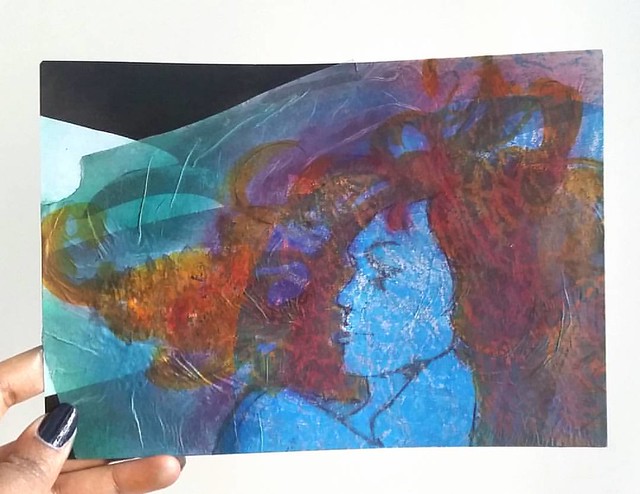
Made with one of last night's print. I call her Mystique #gelliprint #monoprinting #mixedmediaartist #mixedmedia #paint #oilpastels #ecoline #xmen #mystique #comicbookinspired #creativeexpression #creativitytakescourage

I took one of the prints made on tracing paper and did a ghost print of Hera (printed with staz-on cleaner & ink residue) on the monoprint. I adhered the piece onto a large art postcard which I used as background. Then went to color the hair with red and orange ecoline ink. I also used some metallic purple and green pearl rub ons for color on the edges. With a black fine liner I drew in the silhouette of the face a bit sharper. And even though I liked how she looked this way, I wanted to add more texture to it.

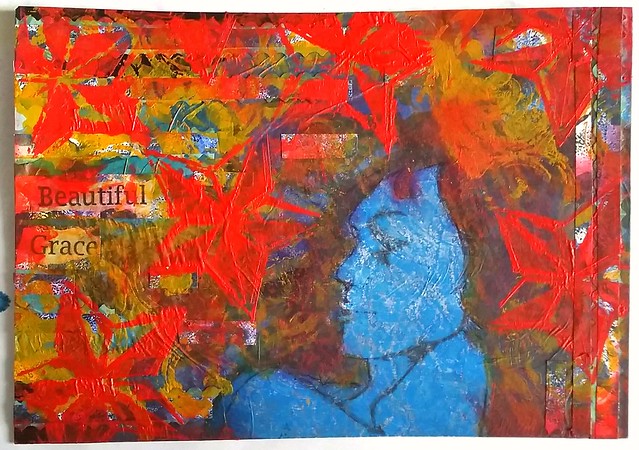
texture mail art
So I added more left over gelli printed paper which I cut into strips and added to the side, took some orange and red paint and stencils to overlap the piece in swirls and stars. The words "beautiful grace" come from this great large Misc. Words rubber stamp from Lost Coast Designs. I sealed the piece with a layer of artists gel medium to finish it. I just love how this piece feels, literally! So much texture! And I think Hera's transformation made her look a lot like X-men's mystique here, don't you agree?

hera texture
The colors also look a lot more vibrant in daylight!

This piece was sent for the TPS (the printing shop) mail art swap via swap bot. In this group we swap items made using your gelli prints in some way. It's a great way to use the mono print "left over's" into something else, like mail art.

Thanks for stopping by and have a wonderful day.

namasté
2016/06/24

Art Journal: A study of Hera part 3

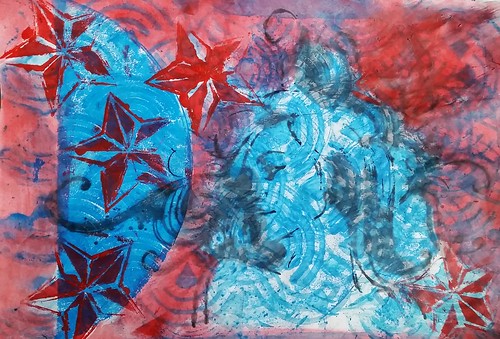
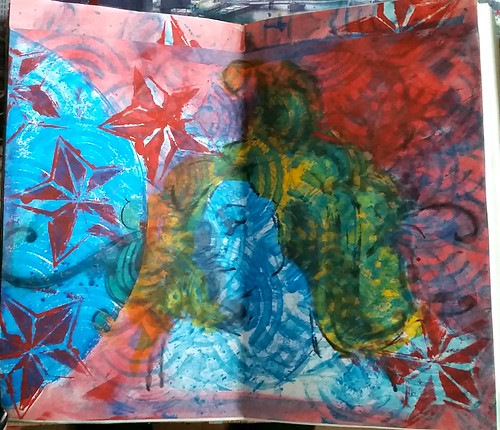
The Studies of Hera continues. This week experimenting with some gelli printed/mono printed left overs and Staz-on ghost printing.
hera studies
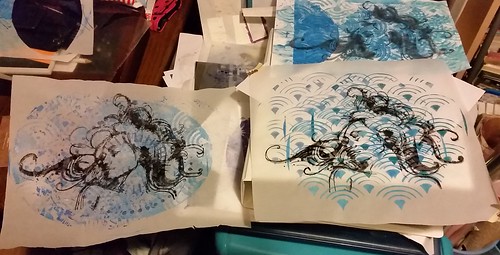
I used one of my print experiment pages from my first session of gelli print madness. The blue print on these pages are all gelli print. I stamped Hera a few times on various papers (some gelli printed) and let it out to dry. I took the print on the top right for this experiment.

hera texture
My Hera stamp was all covered with black Staz-On ink residue from all the stamping and I took my Staz-On cleaning dauber to clean the stamp. A lot of ink then came loose and didn't want to waste it. I made an imprint of the mixture of stamp cleaner and ink residue on the gelli printed paper. I like how the mixture reacted to the paper, It gave a nice blotchy effect, but also surprisingly sharp lines as well. I added the stars with a foam piece and acrylic red paint through a stencil to give it some more texture. I then dabbed my foam piece into a bit of water and started coloring the page with the red diluted ink. I left Hera, the half circle and the insides of the stars blue.

hera texture
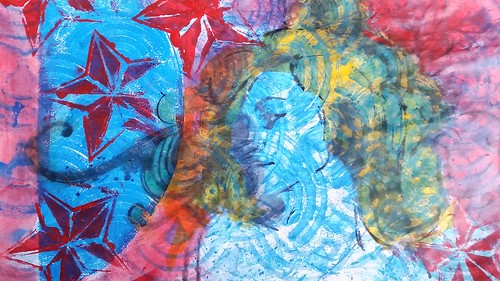
I wanted to add another color to create more distinction, so I took some yellow ecoline and a brush and colored her hair. The yellow is really bright and gives it a nice contrast with the blue and red. And I called this page done and adhered it to my art journal.

hera texture
I needed to trim the sides to it fitted in the journal. With the trip I covered the top white space up. Another completely different look of Hera this way. And I love the combination of this stamp with the gelli printed back ground. More of this to come in another studies I'm sure!

Thanks for stopping by and hope this inspires you to experiment with ink residue/ghost printing on your gelli prints.

Have a great weekend.

namasté