Showing posts with label stencils. Show all posts

2019/01/08

Art Journal: Just BE yourself (in love and friendship) - StencilGirl®

I hope you all had a wonderful start in the new year so far.
With the holidays last month I've taken some time to spend with friends and family & deepen the bond we have during this time of festivities and renewal. My hope is that you did the same.


On the StencilGirl® blog we are extending the focus on love and friendship as a theme this month and I wanted to share this art journal page I made while contemplating this theme. It's an intuitive art journal page for which I used minimal products and a few wonderful ATC format stencils from StencilGirl® Products which also are the perfect size for pocket sized journals like I am using.


Hop over to the blog post HERE to see a little video and more close up pictures as well as my views on this month's theme, LOVE and Friendship. 

 If you feel like playing along with the theme and share your creations, check out StencilGirl® Instagram for the details.

Thank you for stopping by!
Have an awesome day and talk to you again soon.


2018/10/26

Art Journal: Rooted Strong - StencilGirl®


This month at StencilGirl® Talk we share what we feel grateful for. I've made an art journal spread about my home town, Amsterdam. I'm feeling grateful for the roots I have there, the city I've spent the better part of my life in and in connection to my remaining family whom still live there. It's quite a personal spread, but it has so much meaning that I decided I wanted to share this with you here as it helped me worked through processing loss.


2018/09/21

Art Studio tour and StencilGirl® storage idea

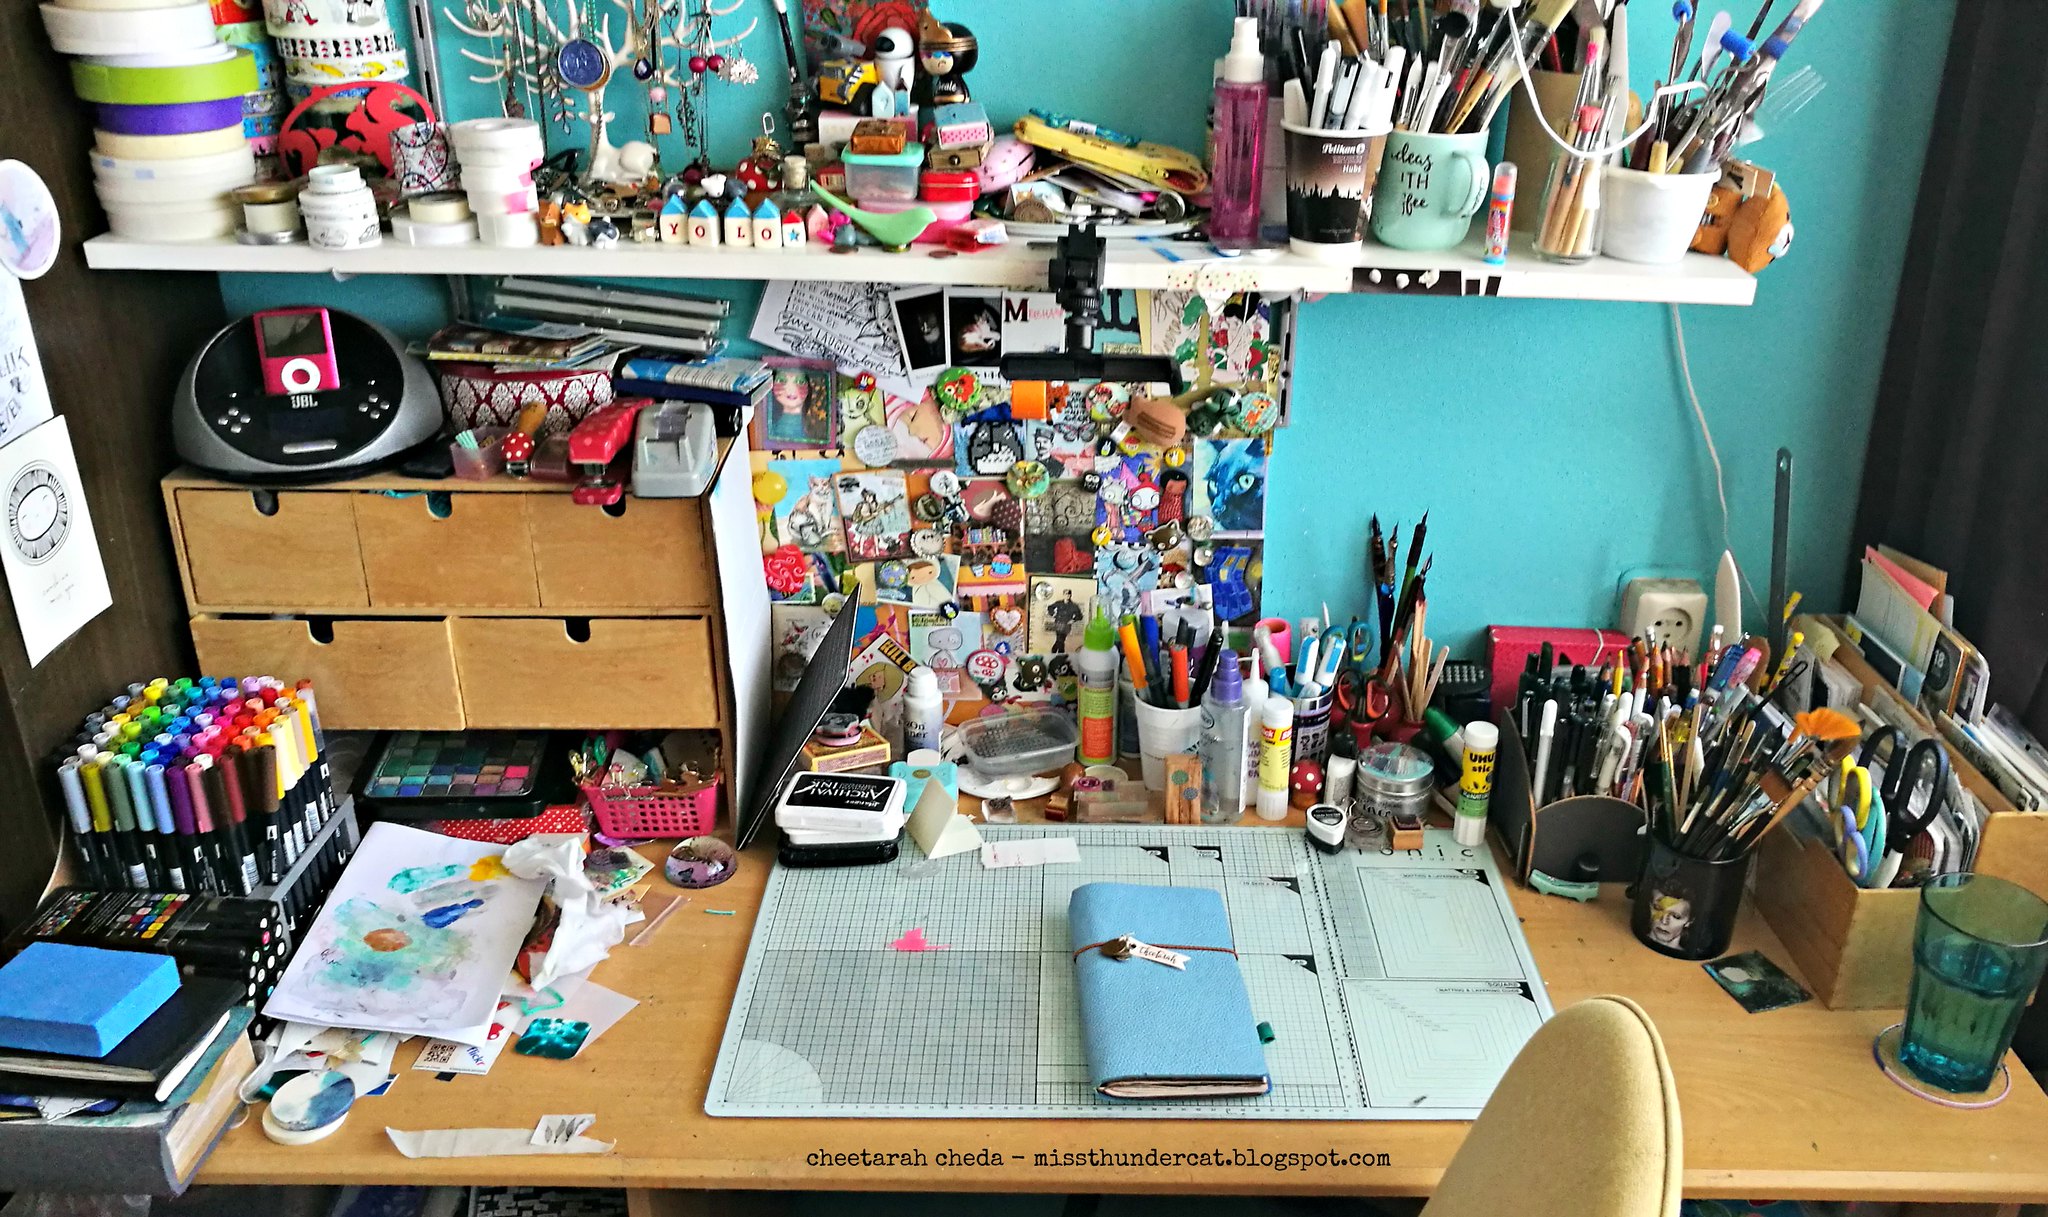
Over at StencilGirl® Talk this month the creative team share their studio/creative spaces and talk about stencil storage solutions. And it's been a while since I shared pictures of my studio, so here is a peek of what it looks like.

corners of my studio
This is my art desk, where I do most of my creative work and have a LOT of stuff going on here which I like to have in reach. Cups with brushes, pens, glue, paper, media etc. I have a different mug for different types of brushes - the Bowie mug holds all my watercolor brushes for example. And the i-pod dock is important - I always have music on when I am working on art journals. Thankfully I'm pretty good at keeping my work surface clean after a project and the blue traveler's notebook has the art journal I am currently working in.

corners of my studio
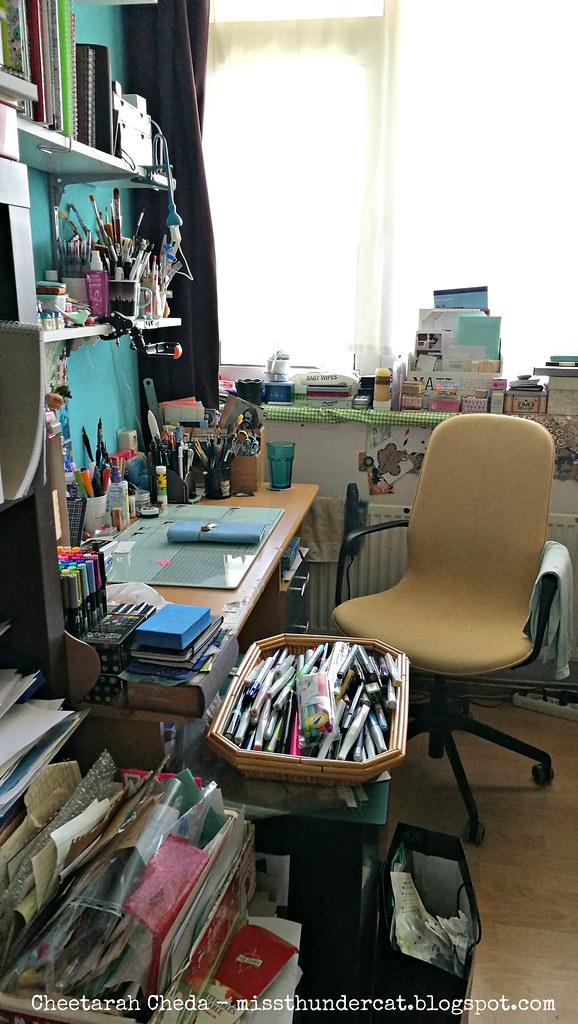
This is what it looks like when you open the door to my home studio - in our apartment we're lucky enough to each have our separate spaces for our creative work. So this room is packed to the brim with art stuff & I  even make good use of the window sill :)

corners of my studio 2
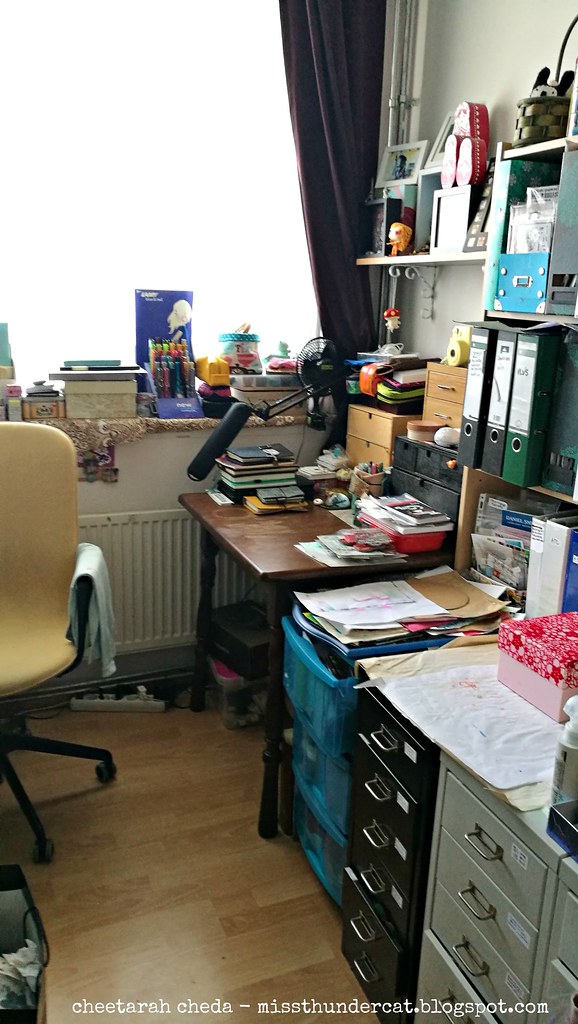
On the other side I have my writing desk which is packed with planners and notebooks. And of course fountain pens. The one thing I do not have here is a computer because I prefer to keep my studio as analog as possible. I also try to leave my phone out but as it's also my camera it's a bit difficult to maintain that.

corners of my studio
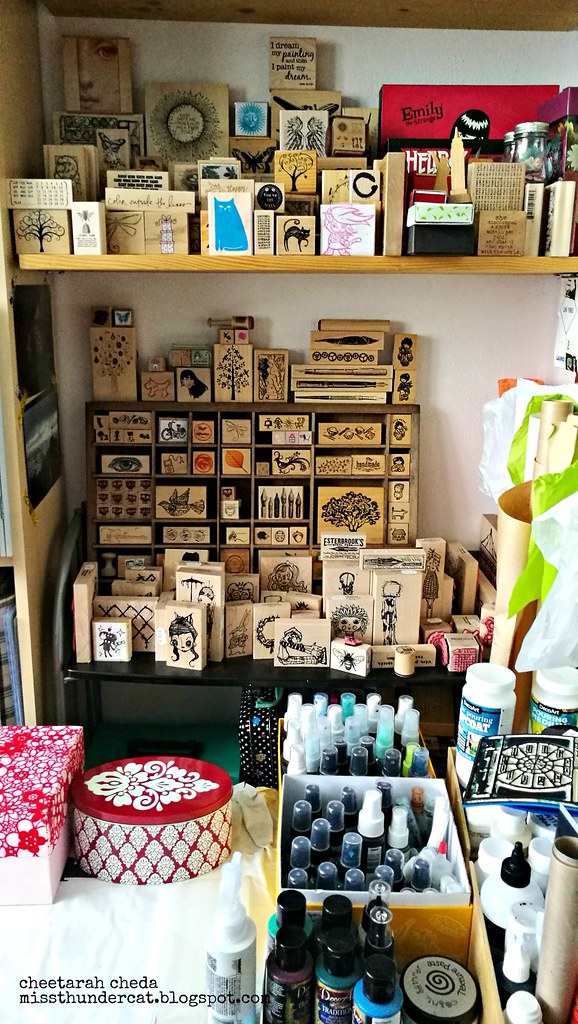
When you step to the right from that angle and face the wall you see my rubber stamp storage, wood mounted stamps. The clear/cling stamps are stored in ring binders. The open boxes contains media sprays and the tins have pigment powders. The lover cabinets placed together make a good extra work surface I use for spray/emboss/die cut work.

corners of my studio 4
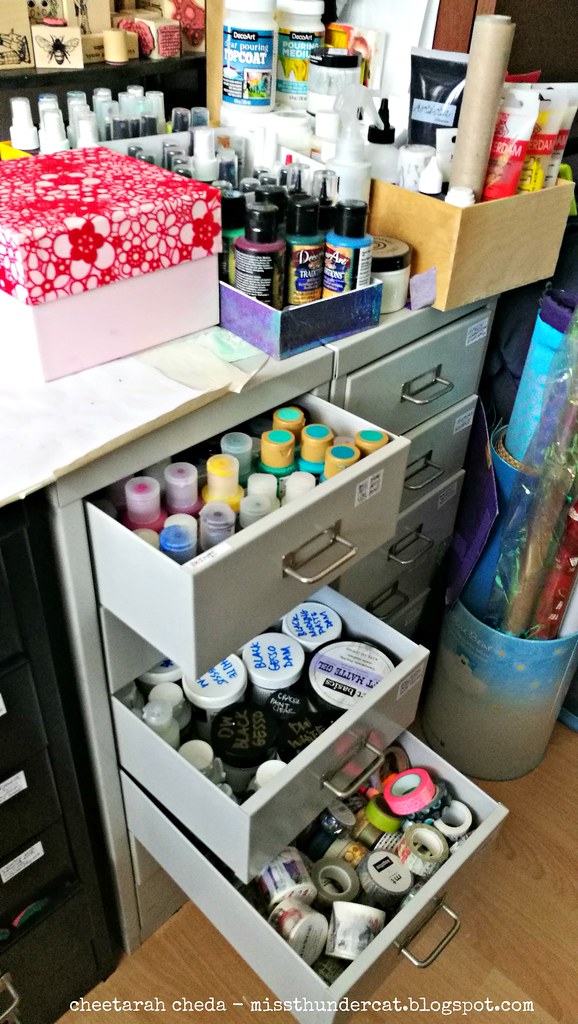
In the drawer cabinets (which were gifted to me by dear friends whom moved away) I store items such as paints, mediums, masking tapes etc. Every drawer has a specific use and are all labeled. 

corners of my studio 5
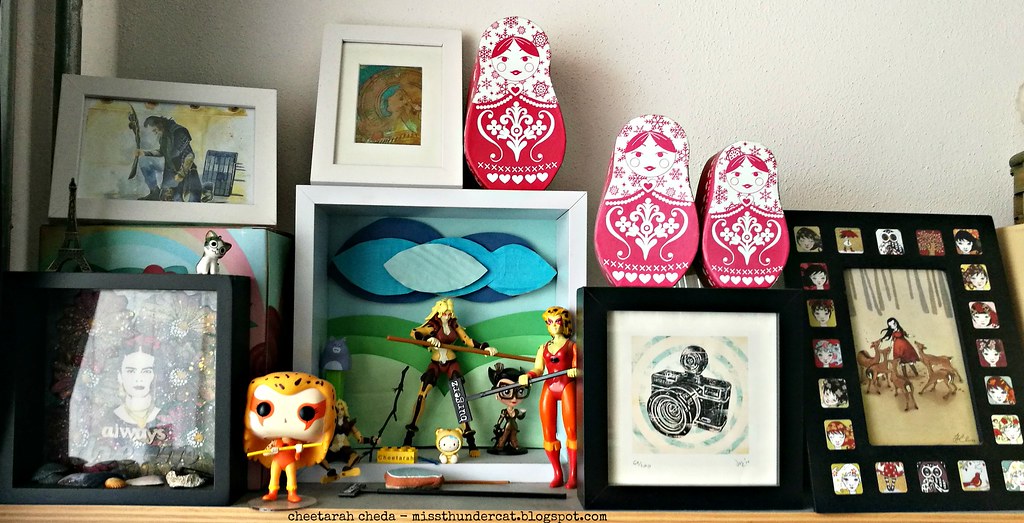
Last thing I wanted to show is a shelf above my writing desk where I store my little collection of Cheetara of the Thundercats toys/figurines :) The one on the far right is an original one of the 1980's. I also have a few prints of her and love getting her drawn by various (comic) illustrators.


Over at my post at StencilGirl® I talk about stencil storage solutions and made a visual reference book of all the SG stencils I currently own. There is also a little video tutorial and flip through. Have a look if you're interested in seeing how I store my stencils & might find this useful for yourself.

That concluded the tour of my home art studio :)
Thank you for stopping by and have an awesome day!

2018/08/30

What was old is new again - StencilGirl®


Hi all, excited to share my post over at StencilGirl® Talk this month where I have a special make over project to share with you. The segment is "what was old is new again" and I've found an old notebook cover which I've jazzed up using wonderful Stencils by StencilGirl® products. 


Please visit my post to see the process video and more close up pics, also from inside the cover. 

Thanks for stopping by and hope you have an awesome day!


2018/08/03

Art Journal: Kindness - Craft Stamper Challenge August 2018

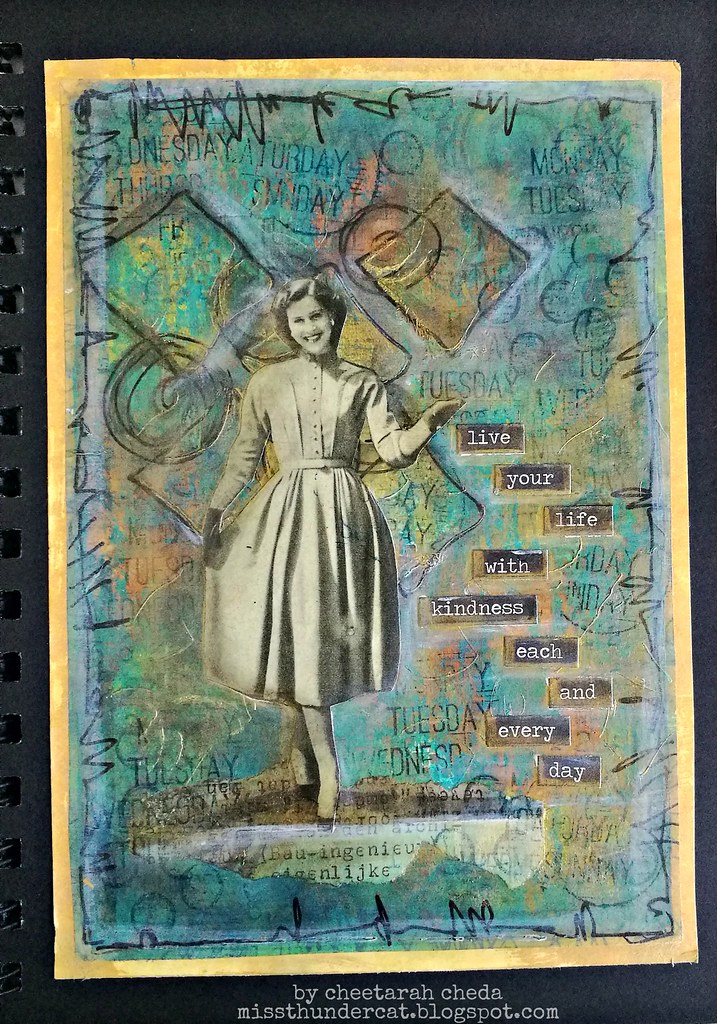
Art Journal live each day with kindness

It's the first friday of the month and that means the challenge over at Craft Stamper Take it Make it blog is live. This month you can win some fun Alcohol Lift products and a winners profile post. So share your creations by linking up your projects made with a rubber stamped element. 

I'm sharing this art journal page as inspiration. I made it with StencilGirl® Diamond dance stencil, paper artsy paints, carabelle studio & indigo blue stamps and vintage magazine images. A reminder to live everyday with kindness. 

Also sharing this with my art journaling friends over at Art Journal Journey, with the theme "count your blessings" and every day is a blessing therefore living with kindness and gratitude is so very important to me. Thanks for another inspiring monthly theme Elizabeth (bluebeard) and Susi! xo

Thanks for stopping by! Have an awesome weekend!

2018/06/14

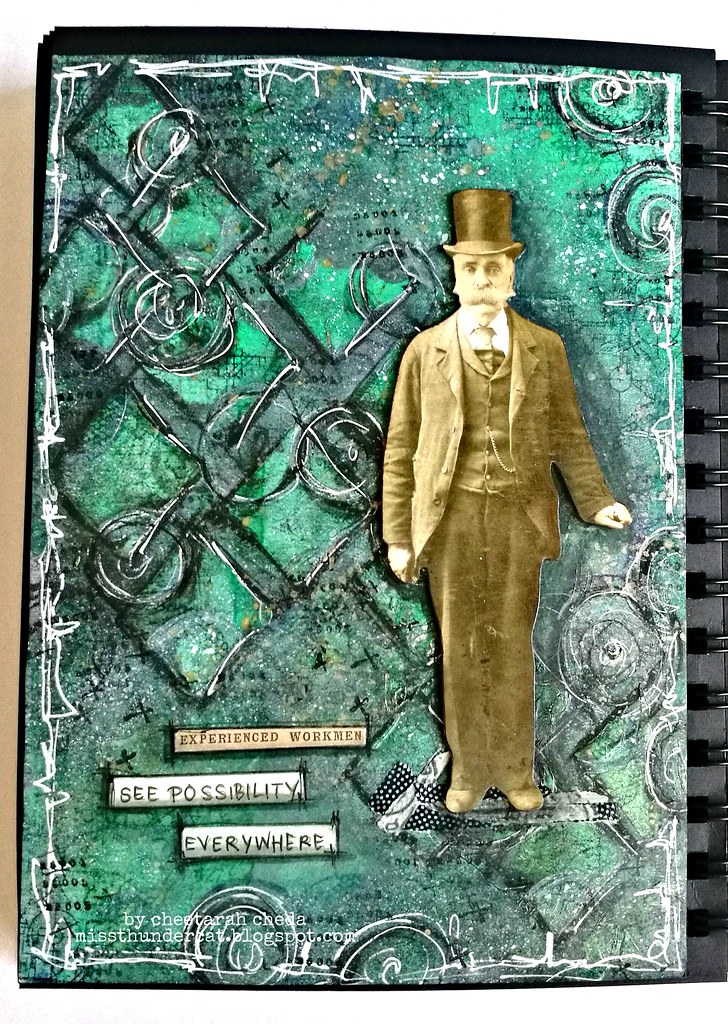
Art Journal: Experienced workmen

Art Journal: See possibility everywhere

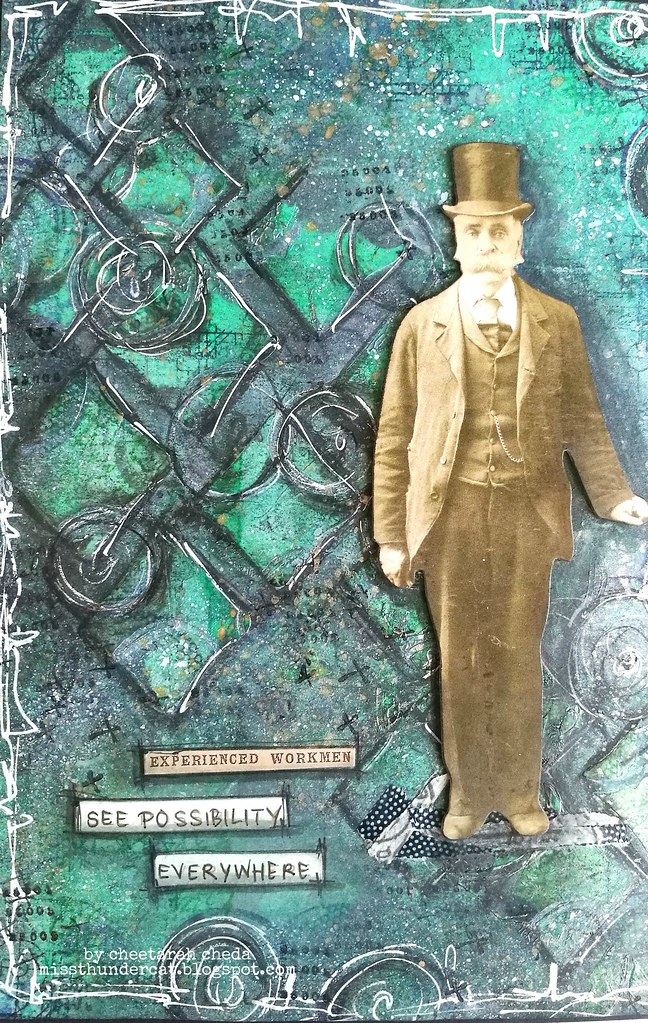
It's not often that I make masculine themed art journal pages but for some reason I was inspired to make this page in my art journal. I suppose it's also to do with the fact I got those Tim Holtz paper doll packs and there a bunch of masculine images in there and it prompted me to use one. Also perhaps, when doing free association art journaling, my dad popped up in my mind. Art journaling definitely helps me through this grief process and while he may not be here anymore to celebrate father's day with, which is this weekend, he will be always in my heart. And thus I also dedicate this page to men whom worked hard all their life and see possibility in every turn.

Art Journal: See possibility everywhere

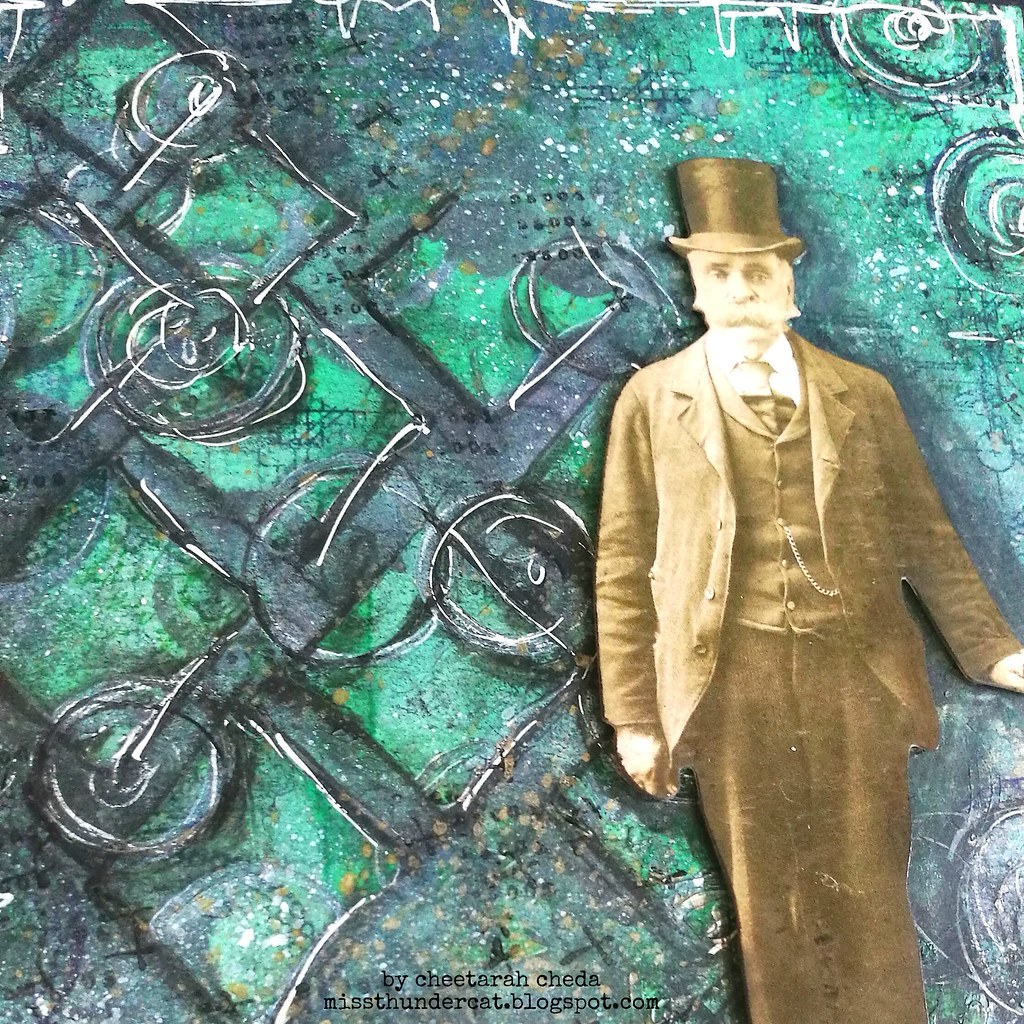
I started this page on watercolor paper by strathmore and used some Cosmic Shimmer pixie powder in emerald green which I already mixed with water and sprayed over the page. Then when that dried, I scraped some transparent texture paste through the Diamond Dance Stencil by Terri Stegmiller over the page that then dried would show through the deep emerald color and keep that under layer safe. I added some pewter pixie powder for some darker aria's and traced the shapes with first a black posca pen and then a white one. More texture with stamping mixed media stamps from VLVS! and AALL and Create. Some fine gold and white gouache splatters and created the border with the black and white posca pen. The image is popped up with some foam dots and he is grounded by washi tape. I created a shadow around him using stabilo all pencil and faber castell pitt pens.

Art Journal: See possibility everywhere
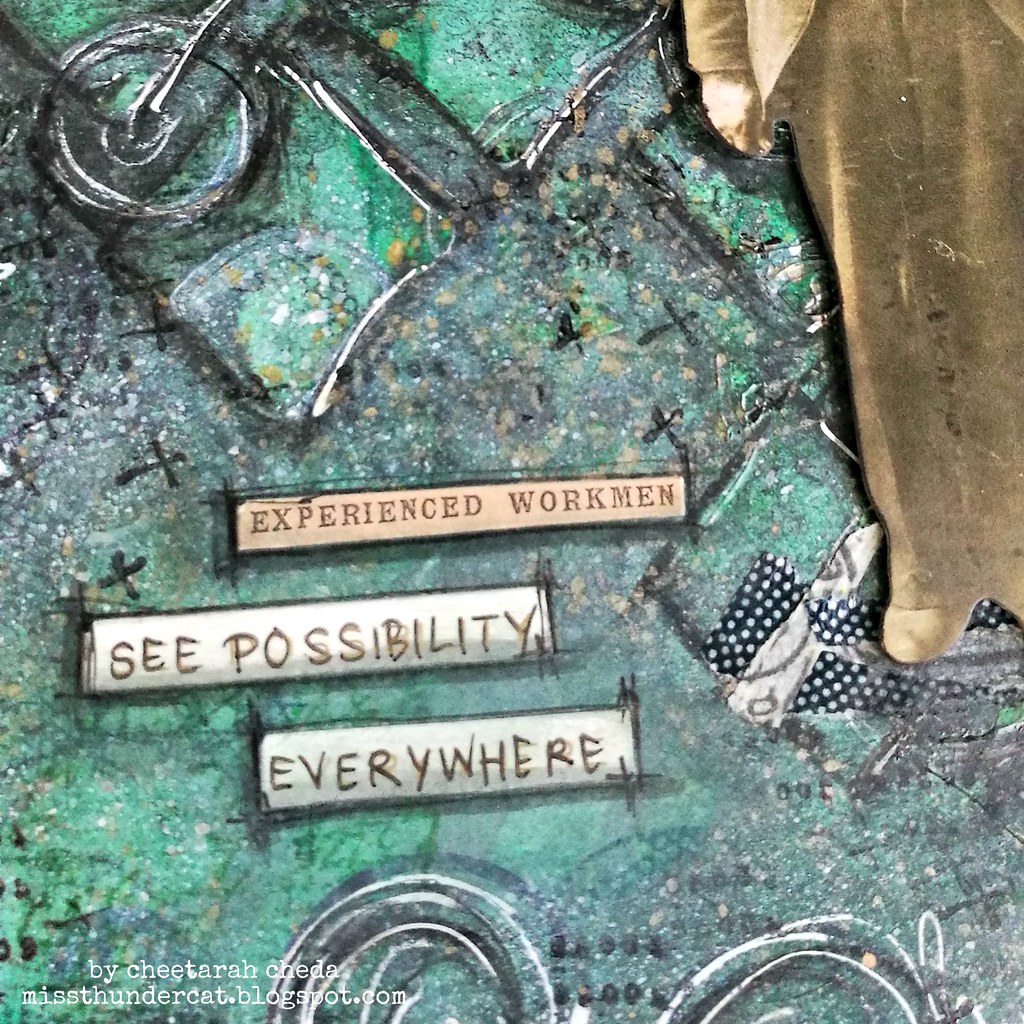
The sentiment is put together with Tim Holtz sentiment and chit chat stickers. I found the gold lettering on white too light so I traced it with a sakura pigma extra fine liner.

Art Journal: See possibility everywhere

The texture paste (which is semi glossy) resisted the other water soluble mediums and kept the brightness in the diamond shapes and the pewter pixie powder gave them more shadow and dimension on the page. And I love how these paper dolls have such a beautiful sepia tone that when you use a bright cool color tone under them, they just pop from the page as well. Definitely like how this page came together. 

Would love to share this journal page in the following challenges: 

(Inspired by my hard working dad and all fathers/men in general really) 

Thanks so much for stopping by and have an awesome day!

2018/05/09

WIP: no crying over spilled ink!

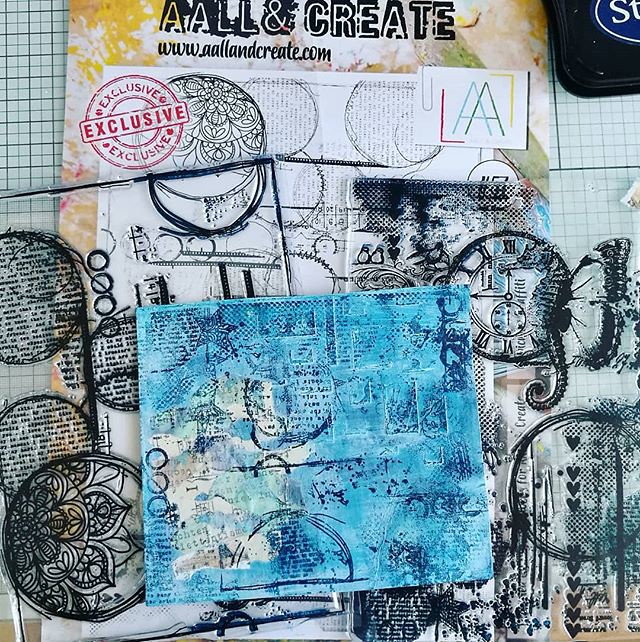
Work in progress with @aallandcreate stamps. And yes, that is a large A4 stamp which I cut in two. With the no. 57 this is really easy to do without harming the imagery. #workinprogress #WIP #collageart #rubberstampcollection #rubberstampart #aallandcreat

It's wednesday and bit of a hump day indeed, but pushing through the work today so I can enjoy a long bank holiday weekend. Looking forward to enjoy the sunshine and finish some works in progress. This is what my desk looked like this morning - left it like this as I was in a hurry to get out the door. Yesterday I started to work on the above art journal tip in page, did a bit collage and stencil work, some gesso over it and wanted to use my DecoArt Media Spray - got the turquoise shimmer spray and twisted the spray nozzle off to apply a little bit on the edges and as I put the bottle down, was not looking where, it tipped all over my card and the glass matt!!

I learned a couple of things here: don't open bottles right over your work, always look where you are putting your bottle away, having a glass matt is super duper handy (clean up was easy and managed to save some spilled ink with a pipette) and baby wipes and gesso are life savers for sure!
So after the clean up, I dried the piece thoroughly, gesso over it until desired muted effect and started again. No crying over spilled ink or "mistakes" because you can just always start over! 

By the way, stamps are from AALL and CREATE  (very popular new brand of clear stamps and stencils) actually it is one LARGE A4 size stamp which I cut in two - the imagery was not hurt because they can actually be used separately. This is #57 and designed by Olga Heldwein - I actually met her and Autour at Art Specially earlier this April and they are just delightful!

Another piece I am working on is the following:
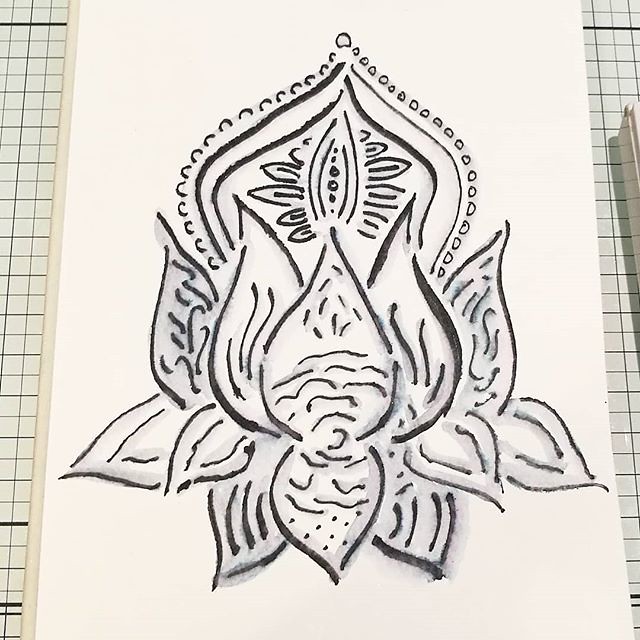
The elegance of the Elegant Writer. Fun to finally test it out with @stencilgirl_products 'thanks a lotus' stencil. Also loving my new @tonicstudios A3 tempered glass matt ✨ #elegantwriter #elegantwriterpen #stencils #stencilgirl #watercolorplay

I finally used the Elegance writer pen by speedball over a stencil and watercolor paper. I just wet the outlines with a water brush to create this effect. And I am not sure to add more color or just a little color or just leave it like this with a quote... well, it has been on my desk for a while (thankfully no blue spillage on there!) so I hope to finish it this weekend. 

This stencil I used is from StencilGirl® and is called Thanks a Lotus designed by Andrea Matus deMeng. It's new in my stash and I absolutely LOVE it! By the way, if you missed the news, I am super thrilled to be on the design team for SG this term! So you'll be seeing me using their stencils a lot more frequently in my coming work :) 

Sharing the desk shots over at Julia's WOYWW #466 this week. Hope you all have been doing well and looking forward to catch up with you! 

Thanks for stopping by and have an awesome day!

2017/11/06

Art Panel: From ugly duckling to ballerina swan

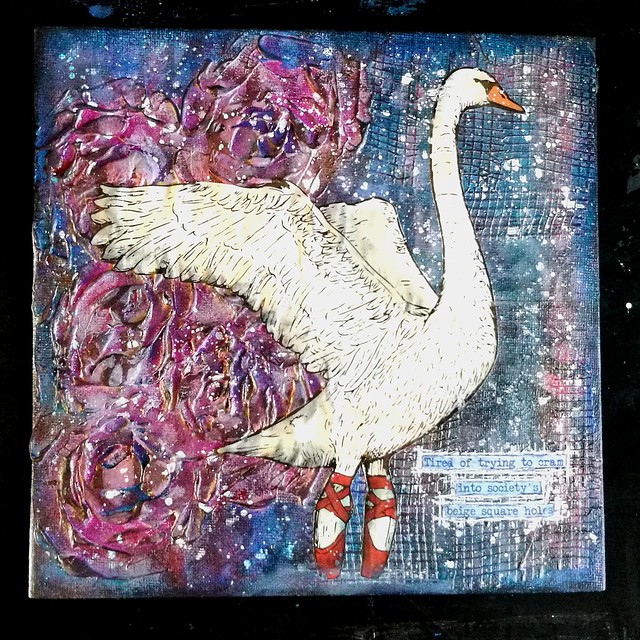
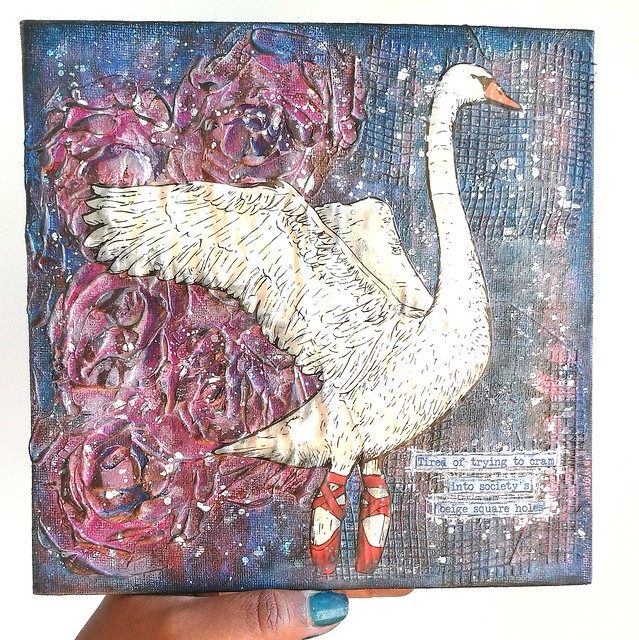
Ballerina swan in roses

In september I had the amazing opportunity to attend a workshop by Nika Rouss (aka Nika in Wonderland)  at ArtChicks Studio. Since the site only updates the newest workshop, I'm sharing the flyer that was posted about it.
Image may contain: 6 people

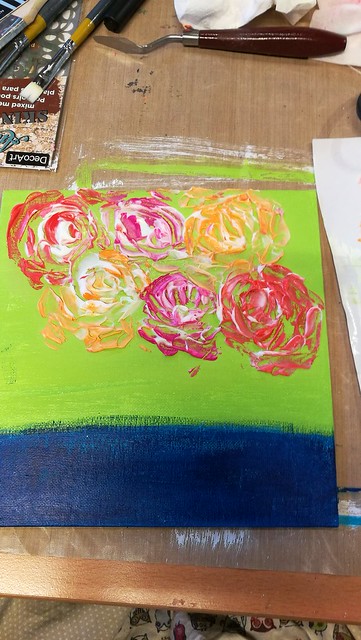
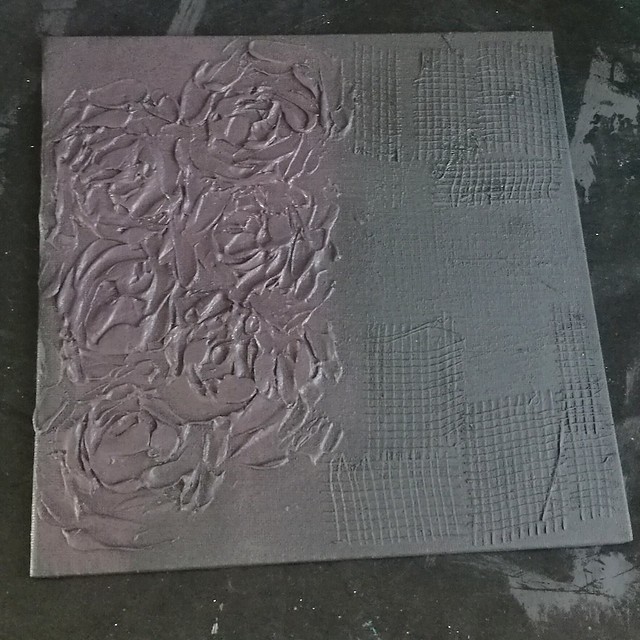
I attended the Saturday midday workshop and I honestly didn't know what to expect, except awesomeness, because Nika is pretty awesome! The workshop was "intuitive painting with roses" (like this video) and this is how I started my canvas
rose experiment
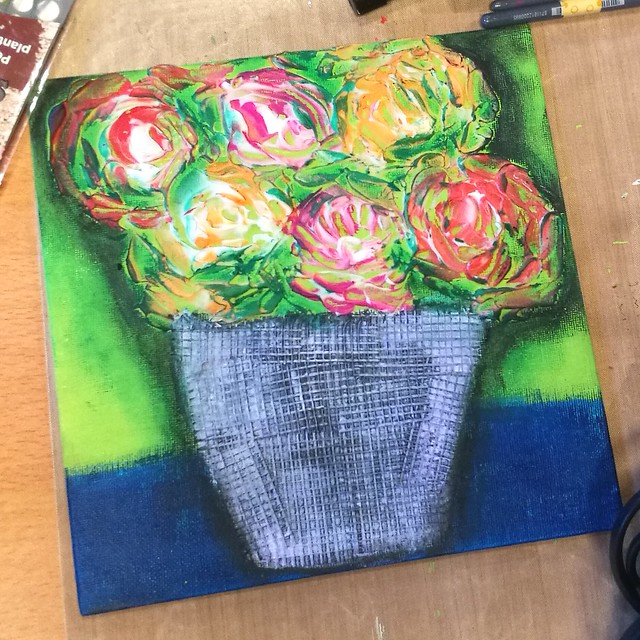
We took some modeling paste mixed with paints and the pallete knife to form the image of a rose bouquet. But there were some well unforeseen circumstances in the day - it was hot and humid and the "peeks" of the roses would not dry.  So it took a chunk of the lesson time to dry which was unfortunate. In the end we had to hurry to finish up the piece and this was what I went home with (next to awesome times with the other workshop participants and Nika, of course!)

rose experiment

The end result I had made was really not to my liking and I worked on it at home to create something that was more true to my own style and imagination. As Nika said, There are no mistakes! If you don't like it, Gesso over it and try again! So that is what I did at home.

Ballerina swan in roses
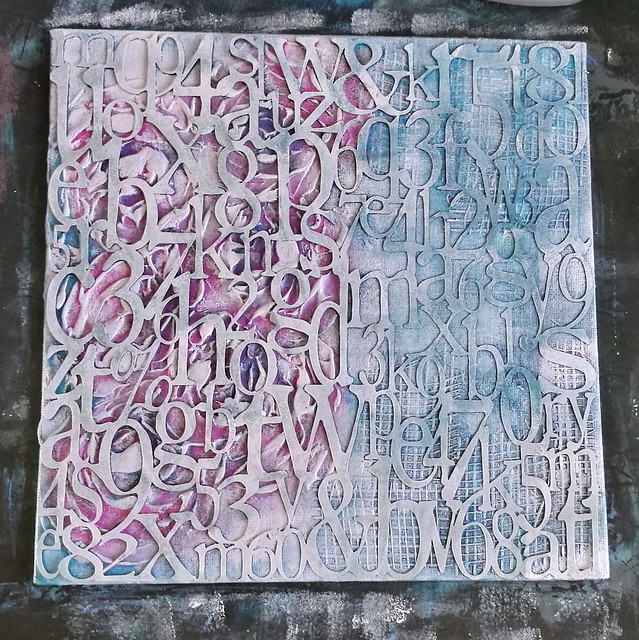
I turned the canvas to the left and took apart the drywall tape and applied some heavy coats of black gesso over it. Then started to add some colors and layers of paints with Deco Art Media and paper Artsy fluid acrylics paints. But alas I forgot to photograph the coloring process (I was in a really good flow!) but I do have images of the next stages when I used the Alpahbet Spagetti stencil from Ady Skunner (decoarts mixed media)

Ballerina swan in roses
I rolled on some lighter paint over the stencil.

Ballerina swan in roses
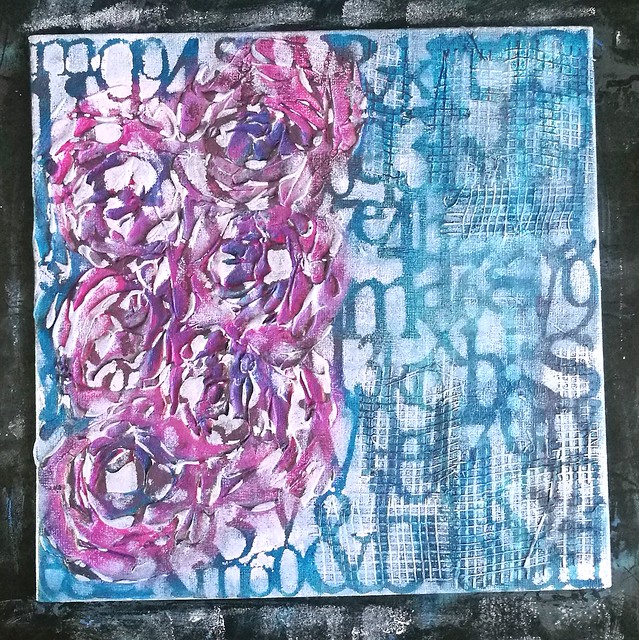
And this was the colorful result. So much better and happier at this point! I wanted to tone it down just a little bit so I glazed some blue paint over and around the edges.

Ballerina swan in roses
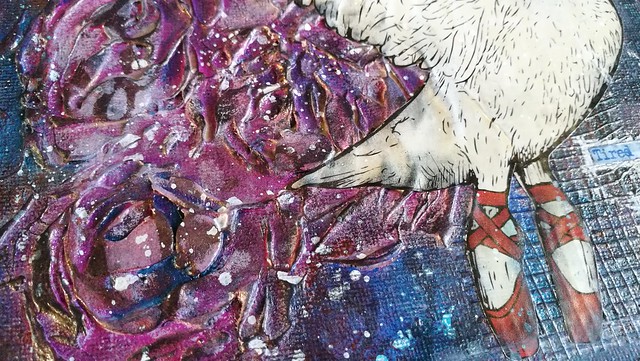
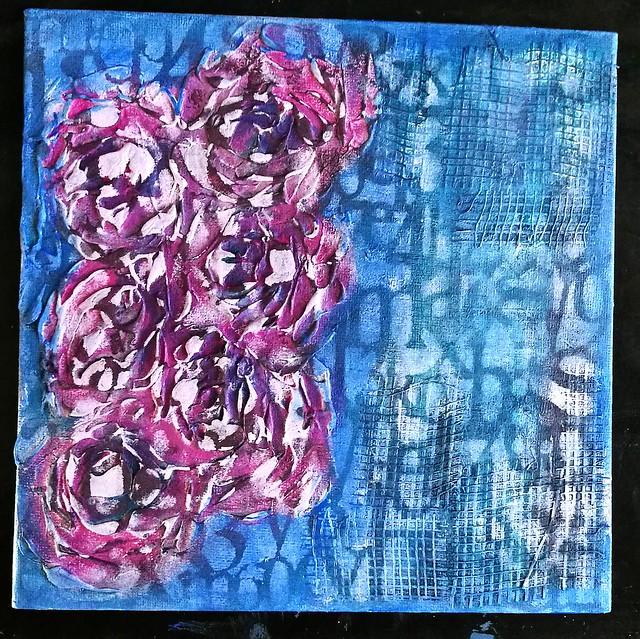
The blue glaze made the roses pop out more and this is where I was fully happy with the background. So then I added my focal point.

Ballerina swan in roses
The ballerina swan (a magazine cut out)! I added more depth to the piece with caran dáche neo oil pastels and spatters with a white posca paint pen. The sentiment is a part of a Viva Las VegaStamps! sentiment ...

Ballerina swan in roses
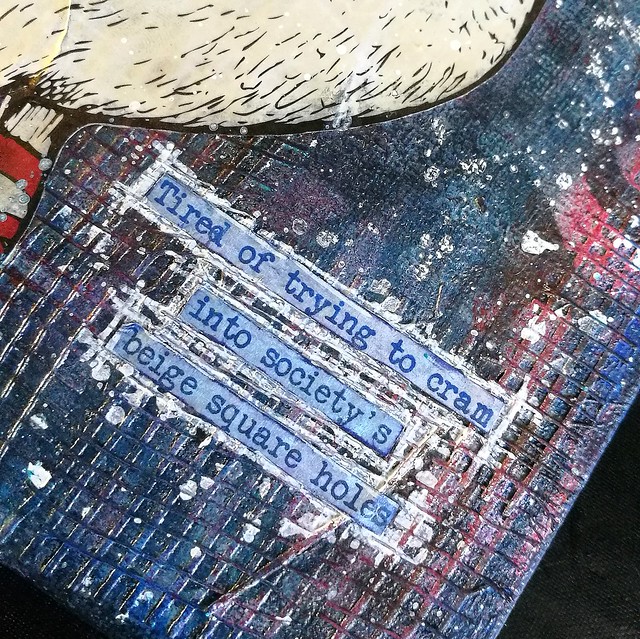
"tired of trying to cram into society's beige square holes" I thought it was powerful to add this piece of text over the square shaped drywall tape. And combined with the swan, it makes the piece complete.

Ballerina swan in roses

Now I am 100% happy with the finished piece! I do want to thank Nika for the inspiration and fun workshop and all her YT tutorials helped with understanding certain techniques. She isn't afraid to share her mistakes and also show how you can correct them, which is the biggest inspiration of all. So that would be my biggest take away from this workshop. 

Hope this got you inspired to work on a piece you gave up on initially and create from that ugly ducking a beautiful swan yourself!

I would like to enter this piece in the following challenge:
Take It, Make It Challenge
Craft Stamper take it make it november 2017

CURRENT CHALLENGE
MMW#30 Anything mixed media goes
Thanks so much for stopping by and have a great day!


2017/04/07

Shopping Highlight: Art Specially 2017

Well as I hinted last Friday, last weekend was spent at the wonderful Art Specially event in Nijkerk. My lovely husband came with me (both days) to share in the crazy fun and also to make sure I didn't spend too much. Well the latter spectacularly failed, haha! But we definitely had crazy fun!

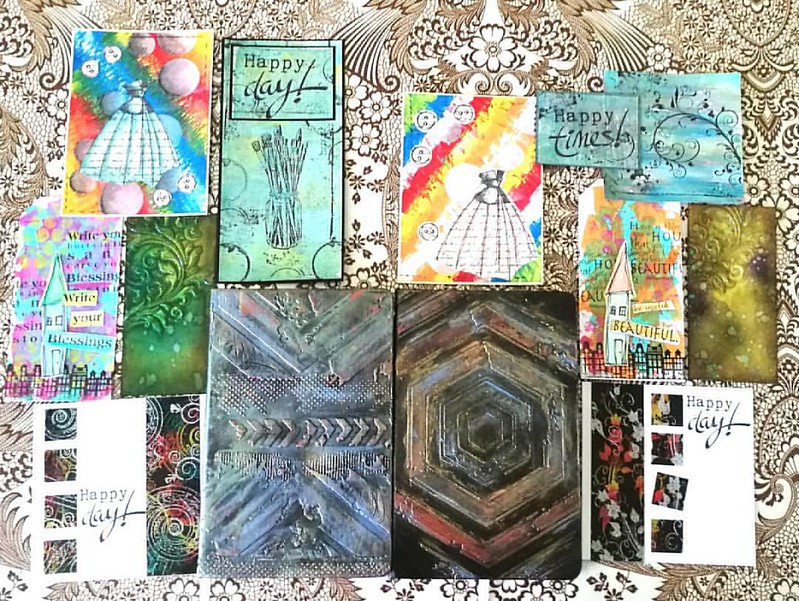
There were a lot of workshops/make and takes were offered this year again but we only had time for a selection. Also there were lines for the very popular workshops, like the notebook decoration by Papillon Hobby. We sat in line for 1 1/2 hours for that one. It's good to have a buddy with you so you can take turns in waiting. It was well worth the wait and fun to use a new to me product; Cadence brands wax, stencils and media. We also had workshops with Dylusions paints (dress card), paper artsy and infusions powders on gelli plate (the Happy cards), Dina Wakley paints (the house tags), Distress ink layering (swirl tag) and dual emboss resist technique (the happy day card). 
Result of 2 days workshopping at ArtSpecially 2017. Left side my works and right side works made by @cornelius.grayl Was great fun and am totally exhausted!! #artspecially2017 #artspecially #workshopresult #showyourwork #showyourart #mixedmediaartist #mix
On the left works I made and on the right the works my husband made. He got a lot of fun comments on being one of the few guys there attending the workshops :) I learned a lot these two days and I can't wait to implement some of these fun techniques in my own works. And I learned a great way to customize my Rhodia/Leuchtturm notebook!

The trends/pushed products on the event this year were: Distress Oxides, Cadence products (seriously almost every stand was pushing this new brand!), Pan Pastel, alcohol ink on yupo and gilding wax/faux metallic effects. I managed to resist buying a few of these pushed products, like the gilding wax, but also came home with a great deal of other things. 

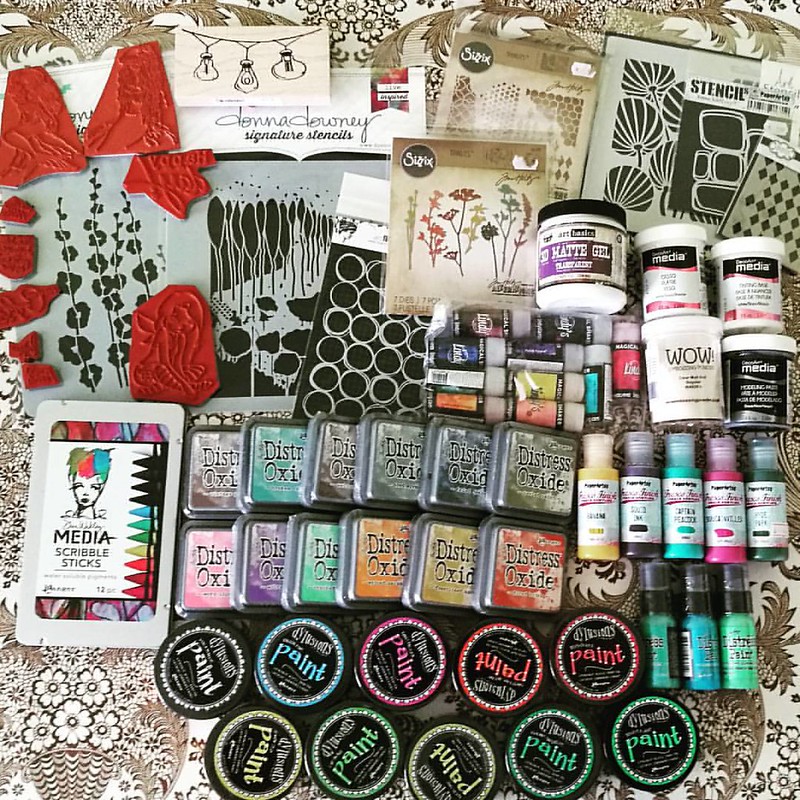
The loot from Art Specially this weekend. gosh, I am glad it's only once a year! #crafthaul #craftyendeavors #craftsupplies #artsupplies #theloot #spoils
Well... like I said, not spending too much has spectacularly failed this year! So happy this is just a yearly event! I had pre-ordered the Distress Oxides and saw Corrie Herriman live doing a demo with them at Hobby Compleet de Duif stand. I'm really excited to give them a whirl! I also pre-ordered the Lindy's magical shakers and am very happy to have found the Scribble Sticks. I'll to a comparison of both those products with similar products because I am curious on the differences between them. Will of course share my findings with you. All the paints and deco arts media were on sale and well since I love a good sale and wanted to have the dylusions paints for a while, so I went for it! A bit light on the stamps this year around, but that´s because I had my eye on different media to try out. You gotta make choices somewhere right? ;)

My husband also made some purchases and went for a set of ZIG's Clean color brush set

and I love that he is trying out this new to him medium :)

I am looking forward to use my goodies this weekend.
Have a great one you all and thanks for stopping by :)


2017/03/03

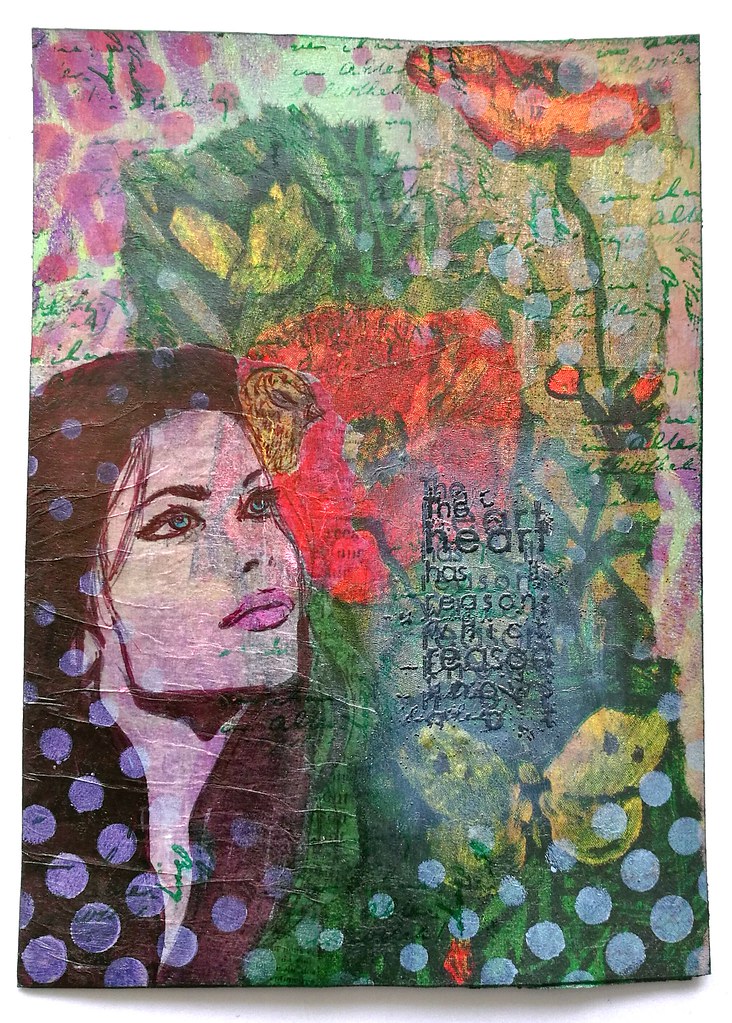
The heart has its reasons

The heart has its reasons

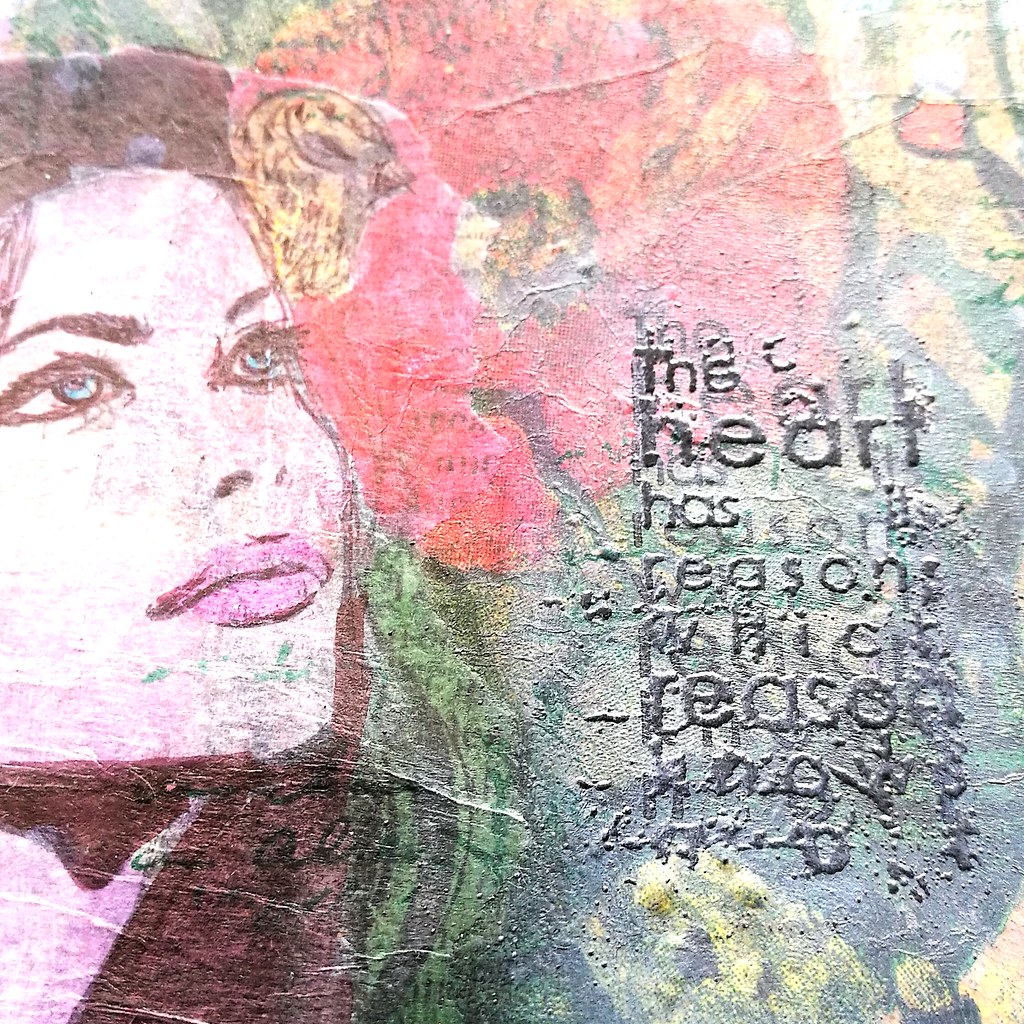
Today I am sharing a postcard inspired by Postcard Sunday's theme, butterflies. I got tipped by this fun group via Mixed Media Jenn's instagram where she mentioned she was hosting the postcard challenge this week. I have these gorgeous tissues with poppies and butterflies on them which I thought would be great to use for this theme. The base is an ad postcard (4x6) which I coated with gesso, paint (distress paints) and stencils (by the crafter's workshop) and then over layed the tissues with soft matte gel by art basics (prima marketing). The woman and sentiment stamp is from Carabelle Studio's. I have stamped the woman on thin tracing paper with memento black and also adhered with soft matte gel. Colored her in with pro markers and also used the markers to color correct here and there so no white was showing through. Took the polkadot stencil with a light blue distress paint to add more texture. The scrips stamp is from Paper Artsy.

The heart has its reasons

The sentiment stamp was stamped twice and embossed for a better effect. Dabbed some of that light blue paint over it so it stands out more from the card. 

Also entering this card in the following challenges because it fits the theme nicely
Stamps and Stencils Birds
Time out Love/friendship (also it's their 3rd anniversary, congrats and hooray!)
Paperminutes Spring
Southeren Girls - Nature Inspired
Frilly and Funkie - Spring 

Thanks so much for stopping by and have a wonderful weekend!


2017/02/24

Thank you card with magic INK technique

Thank you card

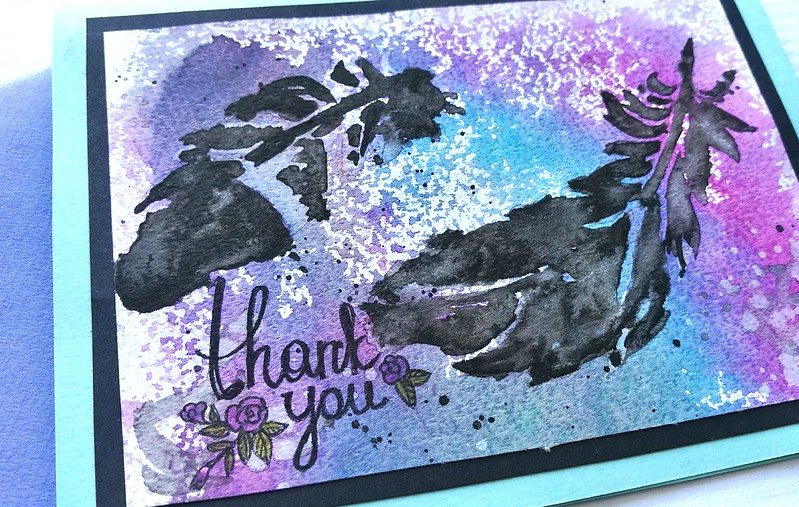
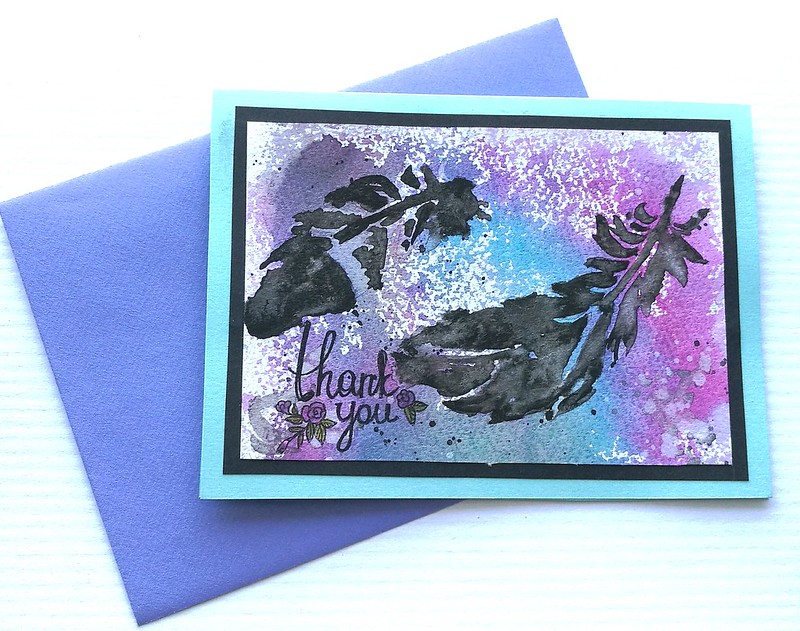
A great scours of inspiration has been watching these great little (10 min max) video tutorials on various art techniques over at YouTube. I'm following this awesome illustrator Mary Doodles and she creates fantastic illustrations using india ink combined with water colors. Check this Wolf in INK video out, isn't it MAGIC? The thank you card I am sharing has been done with that technique. Super fun and easy to do! You just have to move quickly and accept serendipity!

Thank you card
If you can't really draw, or are stumped on idea's what to draw, you can also use stencils. I have taken a feather stencil (by Viva Decor) and placed it on top of watercolor paper (maruman zuan) and brushed water over the stencil onto the paper. Removed the stencil, got my brush loaded with india ink and tapped the water on various places to make the feather appear. SO FUN to watch! The outcome is not perfect or as sharp as the stencil is, but I love the airy "feathery" feel they have. Once dry the india ink is water proof. I wet my paper a little in various places and tapped a bit of fountain pen ink in Diamine Magenta and Havasu Turquoise on the water to spread and mix. I mopped up some excess water and spattered more inda ink and a bit of water to get some more texture. The Thank You sentiment is a stamp from Studio Light, a nice hand written font adds to the whimsy of the card. Matted onto black card stock and then onto a blue card. I chose a violet envelop for it to keep the color scheme going. 
Check out more of Mary's awesome How To tutorial video's HERE. Hope this inspired you to get out some india ink and various water color ink and play with them. Once you get going, you can make a whole stack, trust me!

Entering this card in the

  HLS February Watercolor challenge


And because of the layers of colors Rubber Dance Layers Challenge


And over at Stamplorations CAS card challenge for February


This card was sent to P.W. Akkerman in the Hague for organizing such a great welcome for the first ever fountain pen meet up which was this past weekend :)

Thanks for stopping by and have a great weekend!