Showing posts with label ranger inks. Show all posts

2017/04/20

De-stressing with Oxides

Distress oxides play

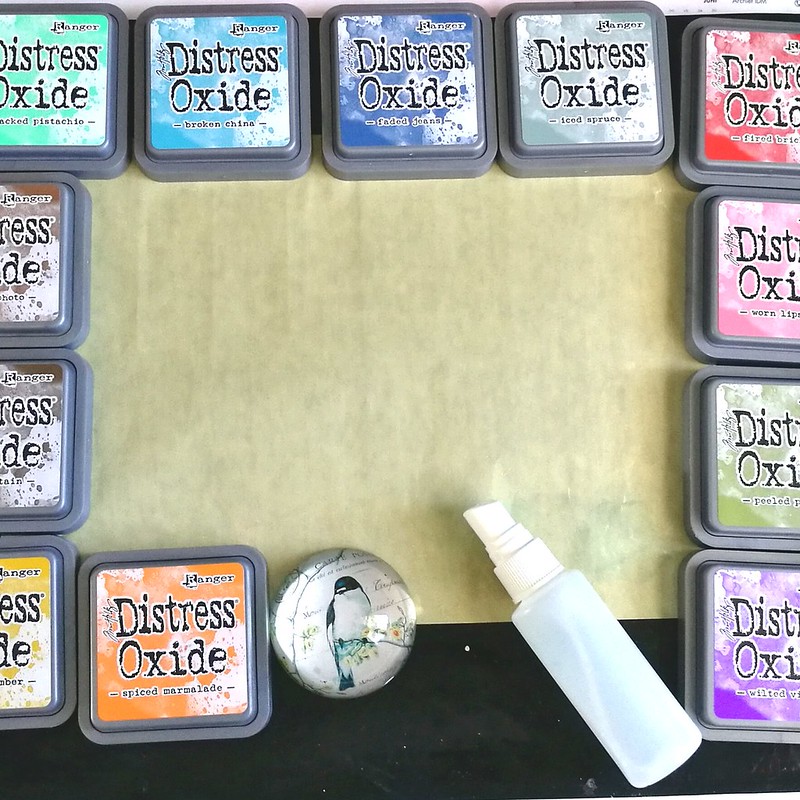
A couple of weeks ago I finally had some time to play with my Oxides inks which I got at Hobby Compleet de Duif at Art Specially earlier this month. I may be late to the party and I'm sure you by now have heard all about these products so no in depth review from me, just a few things I have noticed while playing about with them. So I got my craft sheet, oxides, water spritzer and heat tool ready to play!
Distress oxides play
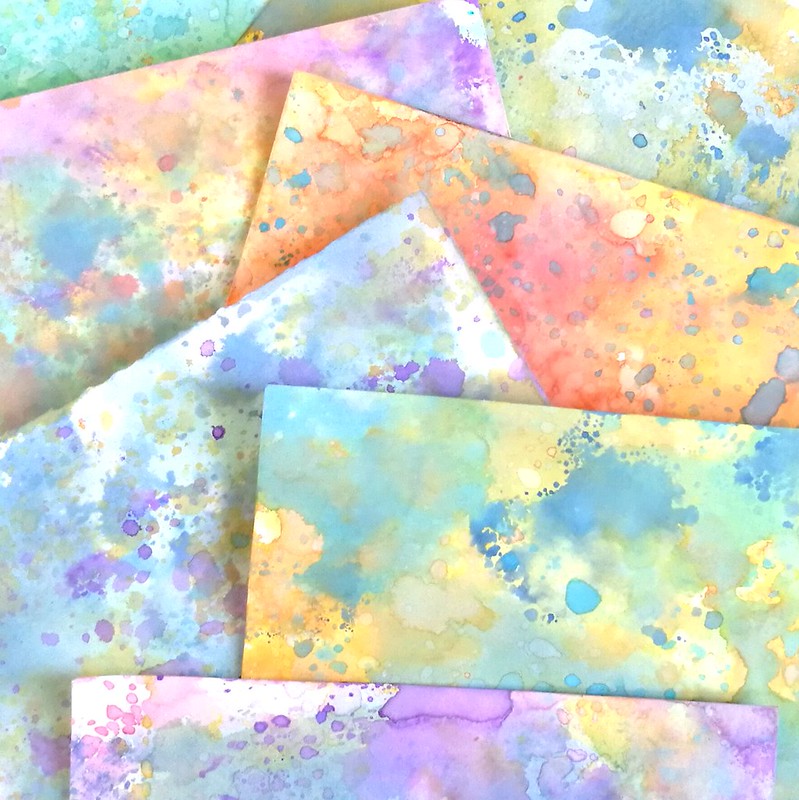
These are the background I have made after just one play session and  I can say that I am absolutely in love with these. You can make amazingly colorful back grounds with wonderful layered colors. The inks do not get muddy as they would with regular distress inks when you're layering. The colors stay crisp and have an interesting effect. Some papers work better than others and I found using water color paper you'll get a crisper look than if you would on regular card stock, but both have a fun effect. The effect changes with the amount of water you use but they all finish with a soft suede like feel to it. For more info on the inks and on how to layer them, see this great video on how Tim Holtz does it at CHA. It's super fun just to lay on color and De-stress and play! 
Distress oxides play
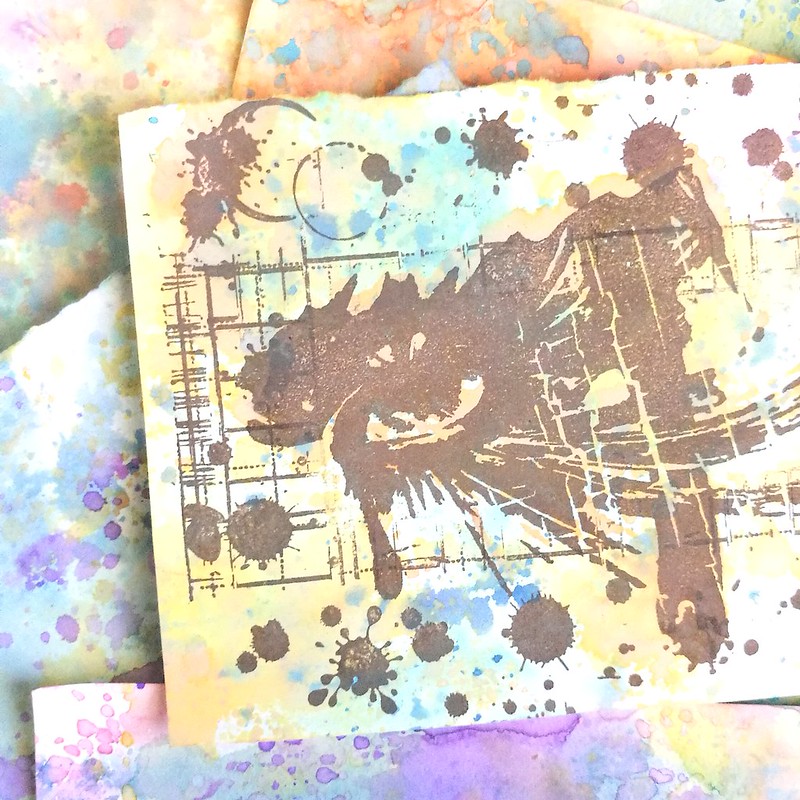
I took a few backgrounds and stamped these indigo blu stamps on them, with ranger dye ink java brown and it already has a stunning effect like this.
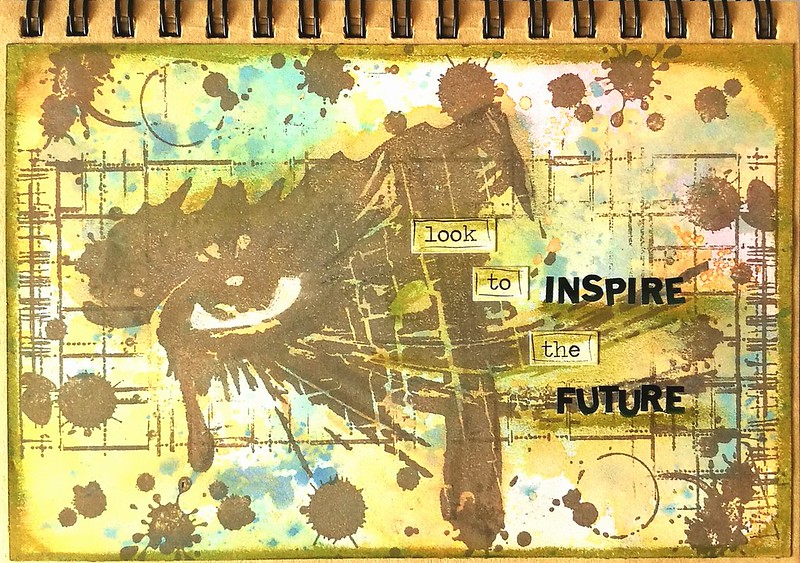
Inspire the future

I finished a couple of pages for my journal with these tests and the above page I only added white gel pen and accents with peeled paint distress crayon. Some chit chat stickers and letter stickers to form "look to inspire the future" .
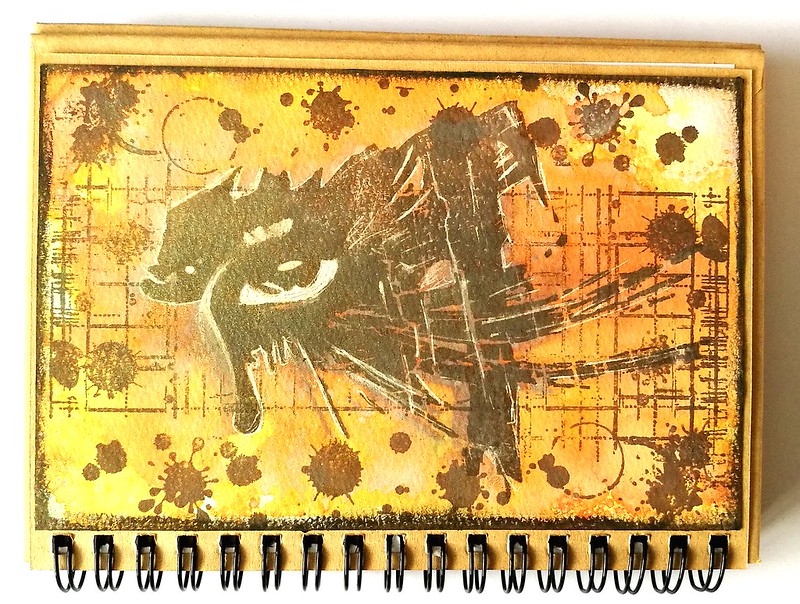
Inspire the future
The second experiment was stamping the eye stamp with Walnut Stain oxide directly onto water color paper and spritz water all over it. That sort of dissolved the image into a blurry mess BUT the spiced marmelade orange background, remained bright and orange. I dried the page and stamped the image again with the ranger Java dye ink and accentuated with walnut stain distress crayon and a white gel pen. 

Definitely loving these effects and there are so many more ways to use them too. Jennifer McGuire has a very useful blogpost and video about it here. I loved seeing how she creates some stunning cards with these inks! Looking forward to use these inks in my upcoming projects!


Thanks for stopping by and have a great day!


2017/03/20

MailART Monday: Springtime BIRDS

BIRDS mail art

Today is the start of spring as marked in the calendar and I wanted to show you some happy bright springtime mixed media envelope on today's MailART Monday. I've only used Dylusions stamps for this piece together with my gelli plate, distress paints, embossing powders, sharpies and alcohol markers. It was really fun to do!

Springtime birds mail art
I started off by masking the round address circle on an envelope which already had some blue paint on it. Then I brayered on some orange and green colors. I made some texture by stamping on some bubble wrap with green paint directly on the envelope and also with use of my gelli plate.


springtime birds mail art
Then I layered on the stamps with memento, dylusions and staz-on inks. I made the birds blacker with sharpies and used the text stamps over them and embossed those to finish it off as you can see in the first picture on the blogpost.

BIRDS mail art back
The back was also decorated the same way with brighter green and blue colors. I used a white gelpen to accentuate the outer lines. I loved using my Dylusions stamps again as I has them in my statsh for a good long while, at least over a year. 

Dylusions stamp sets used: 

Entering this to the 


 also a great challenge to encourage people to use what they have in their stash already!


Creative Artiste Challenge for march - Anything mixed media goes

Hopefully spring weather will arrive soon again here!

Thanks for stopping by and have a great day!

2017/02/23

The dream catcher

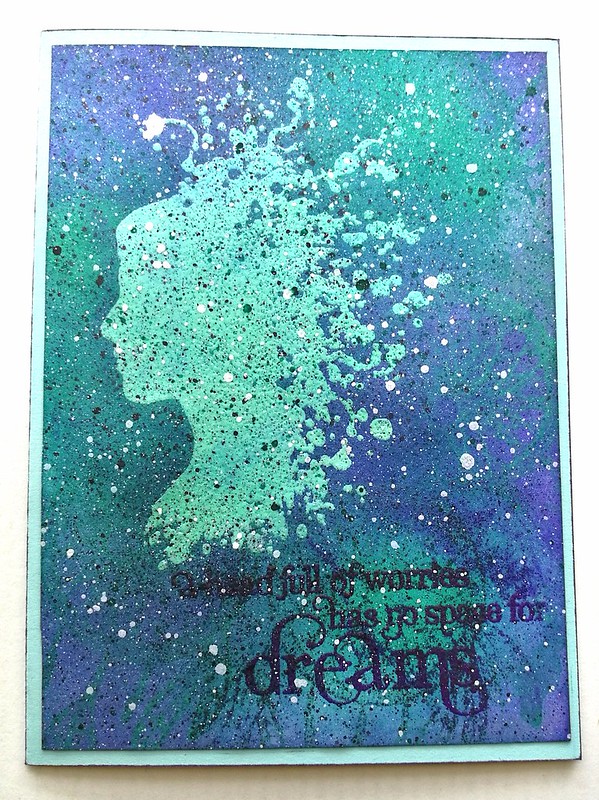
Head full of dreams

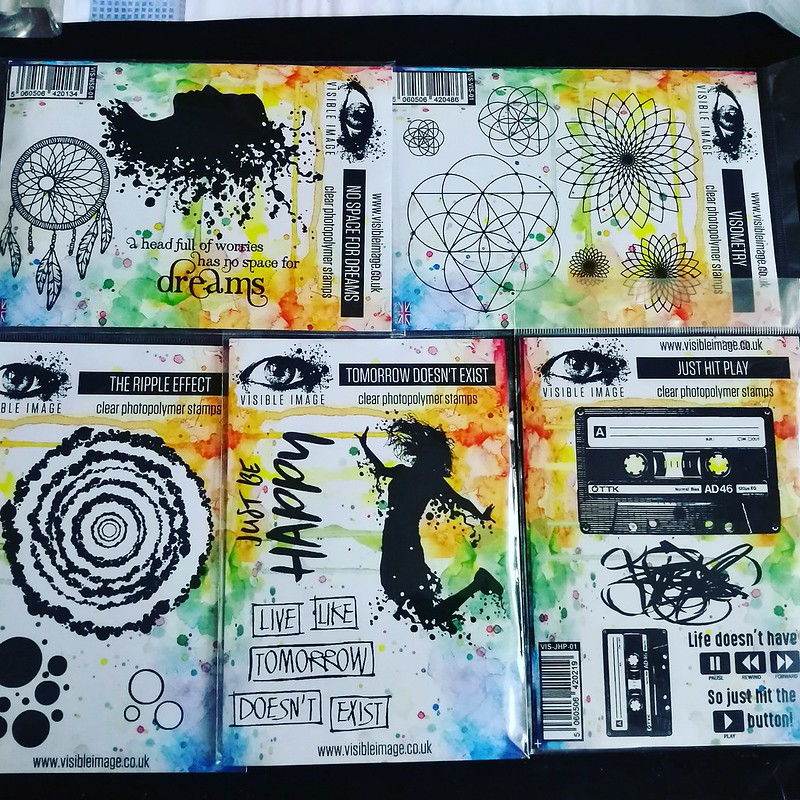
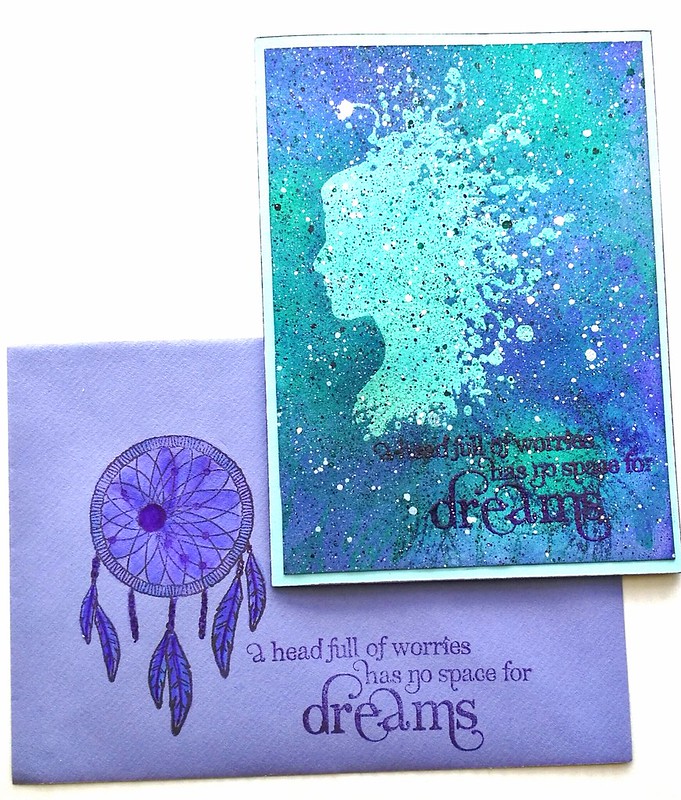
I finally had some time to play with these gorgeous Visible Image stamps which I had ordered in november during their black friday super sale, but sadly got lost in transit. Thanks to Helen and their excellent customer service, I did get all the stamps I ordered eventually. I made this card using stamps from THIS set which you see on the top right on the picture below.

Visible image stamps
My order from Visible Image. I am looking forward to use the other stamps as well! They are clear polymer stamps and a tip for you when you first start to use them as they can be very tacky coming right out of the package. To get some of that off, just use an eraser and rub over the stamp. The ink should take better when you've done that (of course don't forget to wipe away the eraser shavings!) I founs using colorbox, memento luxe or versamark (a slow drying rich ink) work best on these photo polymer stamps. You also get a better result when you emboss the image with clear embossing powder. That is what I have done with the card I am showing you today. 

Head full of dreams

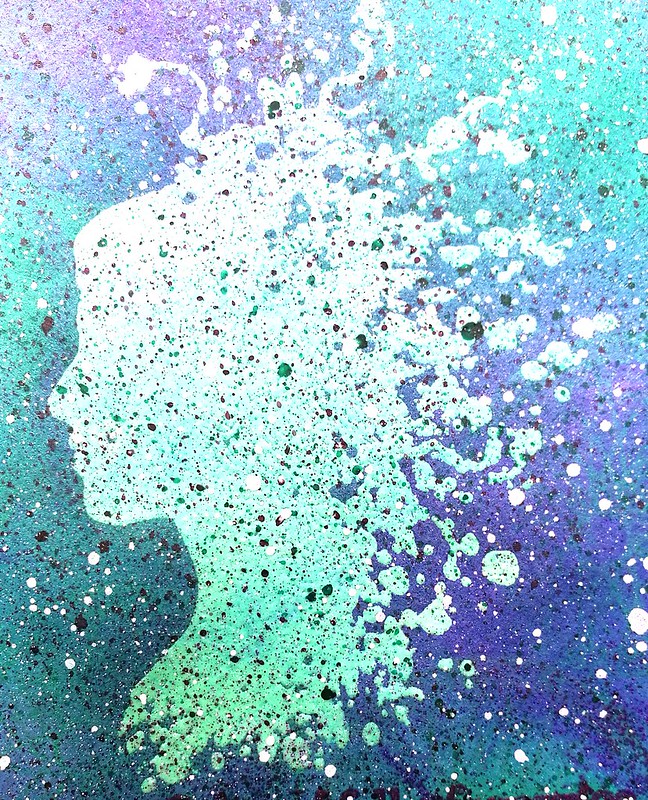
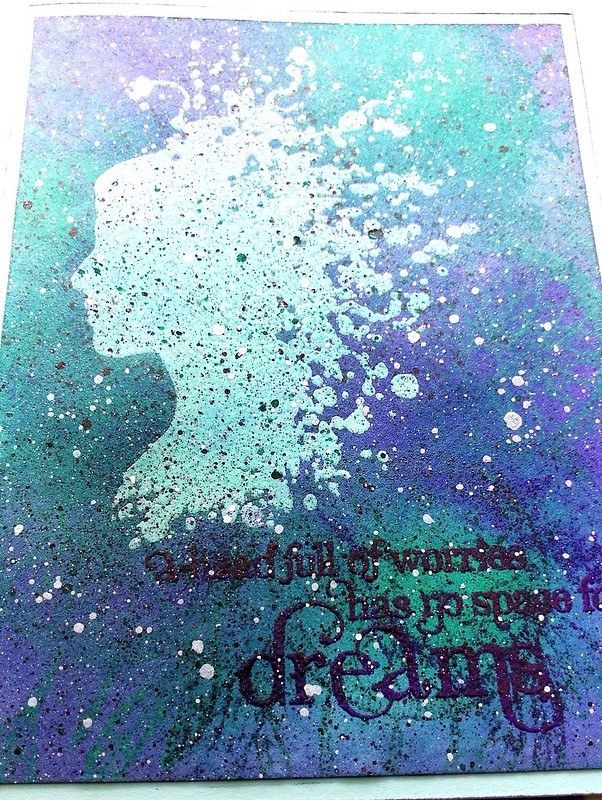
This head image is one of my favorites of their designs. Beautiful silhouette with whimsical hair. The card is fairly simply made, a clear embossed image on a blue card, colored the card with distress inks peacock blue, lucky clover and wilted violet by using a distress tool. Ink spatters done with liquitex titanium white, black and muted green and pink.

Head full of dreams
I stamped the dream catcher a couple of times with distress ink lucky clover and wilted violet. The sentiment "a head full of worries has no space for dreams" was embossed with WOW indigo embossing powder.

Head full of dreams
The envelope is decorated with the dream catcher and the sentiment to make a nice pair. And yes, I rather have my head full of dreams so there is no space for worries :)

Entering this in the TioT Let's get Messy Challenge because of all ink splats and messy look.


This card has heavy layers of ink, embossing powder and then more ink!

Thanks for stopping by and have a great day!