Showing posts with label stencil. Show all posts

2018/12/21

Art Journal: SisStars Do small things with great love - AALL & Create


Hi and happy winter Solstice! With the holidays and new year nearly upon us, it's time to spend with friends and family to deepen the bond we have with them during this time of festivities and renewal. I have an art journal page to share with you which I have dedicated to my sisters, or as I like to call them, my SisSTARS because they definitely have a bright shining spot in my heart. I've used AALL & Create products for this and I'll share the process of making the journal spread with you now. 

 
So in my project last week I showed you how I used the numerical circles from set #110 to make a season themed card. Since I only used a portion of the stamp, I also cut out circles and leafs with punches to use in this project. I also cut out the fern, but alas that didn't fit into the journal spread this time. Good to have for another project :) 

I started with gluing the circular and leaf pattern down randomly on the pages in my junk journal with matte medium. Some aria's have been embossed with copper embossing powder so that will have some extra texture. 

I applied some gesso over it and then raked the edge of a plastic knife through the gesso for some interesting texture. When that dried I applied modeling paste through the Lotz of Dotz stencil #39 over some empty spots. The teeny tiny dot pattern also remind me of stars. Now to add some color. 

I took my small foam brayer and a few cool blue colors, ranging from light to dark to add depth and contrast on the pages. Then to add color under the stenciled aria's I used some home made shimmer sprays from Cosmic Shimmer and Lindy's Gang.
 
I used some darker grey colors like pewter (cosmic shimmer) and black forest (Lindy's gang) and made sure that the most of the white was saturated with color. To get more of the contrast back I traced the patterns with a blue Stabilo all pencil & activated them with water to get the shading going. I also stamped the grungy flower of set 123 randomly over the page. I left it to rest and took

The next day I added a deeper layer of color over the page and some scribbles & sayings like Pinky Swear, Keep your promises always, stay grounded in gratitude and a few others to signify the sisterly bond. The word stars is a die cut from DieNamics and cut out of starry scrap book paper. I used black forest ink to darken the background and white to highlight the word. The image of the sisters are from Tim Holtz vintage people pack. To ground them I added hemp twine and a skelleton leaf. The text stamp is from set 123 as well and I stamped it on a contrasting color to make it pop out more. 

I definitely love how this turned out as an hommage to my lovely SisStars. 

These are the products I used: 


This is also my last project as Guest Designer for AALL& Create. Thanks to Autour de Mwa for inviting  me on board these past months, I really appreciate it and enjoyed working with the products. You can find the stockist HERE and be sure to check out the newly released collection of December for another array of great designs :)

Thank you all for stopping by today. I really appreciate the support you all have given me here and over at my other social channels over the year. Thank you, you're all STARS for sure! Wishing you all a wonderful holiday season and transition to the new year. May you spend it with the people you hold dear.

See you in the new year!

2018/12/08

Art Journal: Blossom - AALL & Create


It's saturday and that means I have another project to share with you using wonderful AALL & Create products. This time I made this art journal page using a lot of texture and elements to create a deep rich mixed media page. let me tell you how I made it. 


I started off by stamping this gorgeous girl image from set 127 by Katy Paltridge on a piece of book paper that had excess paint on. I gessoed the text part & stamped with Versafine black to get a crisp imprint. 

Here I have stamped the flower multiple times from set 123 by Tracy Evans on a piece of gelli printed paper and cut then out to include in the art journal at a later point. First I had to incorporate the stamped image into the art journal. 

I have glued the book page and several text and music clippings to my art journal page to create more texture and layers. 

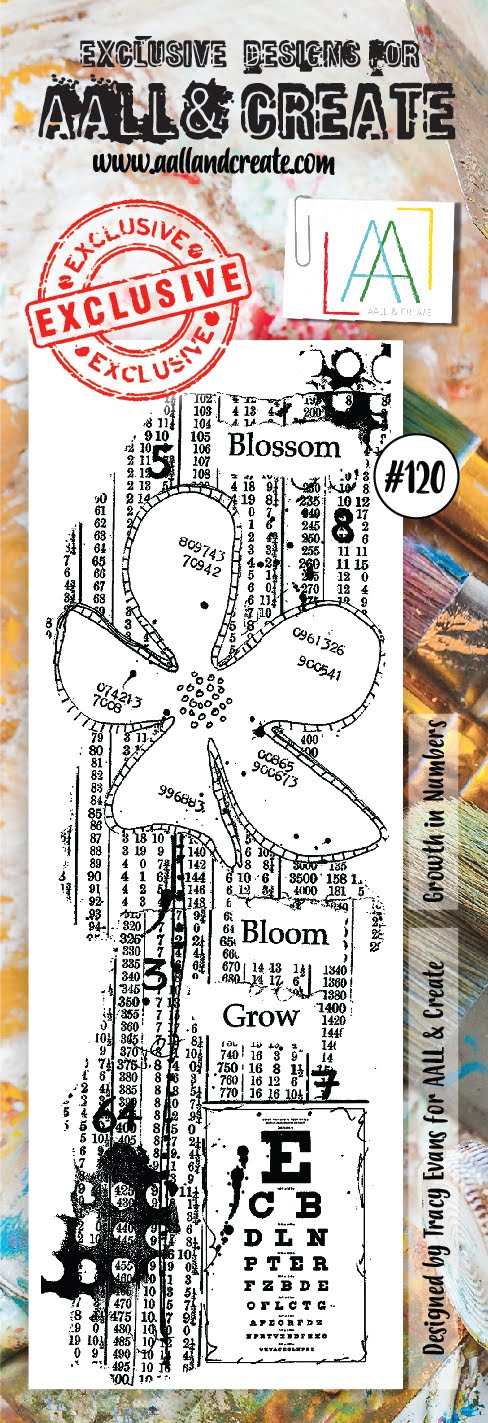
Then I added gesso, white and gold over the collaged elements and stamped bits of set 120 with Staz on stone gray over the page for some cohesion. 

To add more interest to the page I took stencil 41 Mickle Muckle and added white crackle paste through it. Under the layers I also glued on some different fiber fabrics to add to the deverse texture. I had let this dry really well before applying color on it. 

So the next step was applying color and I used a variety of mediums for that: Lindy's Sprays, finnabair metallic paints, perfect pearl metallics for the "Frame" and the girl's face is accentuated with watercolors. 

Because the book page was treated with gesso, it took the watercolor really well. I just applied bits of color to the face for accents and shadows, and made sure you could see the book text shine through it still. I really love how dreamy she looks here. 

And now onto adding the flower elements that covers the open spot on the side. Glued them in the middle onto the page so the stand out a little. The color in the flowers also come back in the background of the page. I also stamped a bit of texture and text in the background to have more interest. And decided the bottom part needed to stand out a bit more too. 

So stamped and cut out the word bloom from set 120 and another flower to "ground" it. 
As a last step I added some white splatters all over the page and created a scribble border with acrylic paint marker. 

I absolutely LOVE how this journal page turned out and glad the idea I had in my head worked out like it did :) This page reminds me a lot of sping and it's my second fave season, or well it's a tie actually with autumn. I'm linking this to my friends's challenge Art Journal Journey with the theme of My fave season.  

The products I used: 
41.jpg 
Stamps-Insert-10.jpg


You can find the stockists at their Boutique.

Thank you so much for stopping by and have a wonderful weekend!


2018/11/03

Follow your heart - AALL & Create


Today I wanted to share a card I made using wonderful stamps and stencils from AALL & Create. I've used stamp sets number 127 & 128 designed by Katy Paltridge and the sentiment is from set 138 by Olga Heldwein. 

\
The sketch type stamps by Katy Paltridge has such a wonderful whimsical feel to it. I love using watercolors with them. Above you see the process of getting the color in this young lady done. I'm using Jane Davenport Glitz sea set on Caran d'ache mixed media paper. When The colors were blended to my liking I drew in the hair in the same sketchy feel as the stamp. I trimmed the piece to 6x4 inches and made the card out of it.

I masked the woman and took stencil #39 - lotz of dotz and a blending tool & sponged distress oxide fossilized amber through it. It created the background pattern with beautiful golden tones & makes the front image pop. 


On the bottom I stamped the foliage in set 127 in lavender tones & added the banner and sentiment from set 138 to finish the card. I had to cut the sentiment apart to fit into the banner how I wanted it, but I personally do not have an issue with that. Just goes to show how versatile clear stamps are. 

This could be the type of card you can send to a young woman entering adulthood, reminding her to follow their heart amidst the turmoil of growing up.

AALL & Create Products used 

Hope you liked seeing this project with gorgeous AALL & Create stamps. Please visit their boutique to shop online or to see where you can get these stamps from their many stockists world wide. 

Thanks for stopping by and have an awesome weekend!


2018/05/21

WIP: Texture play layer building

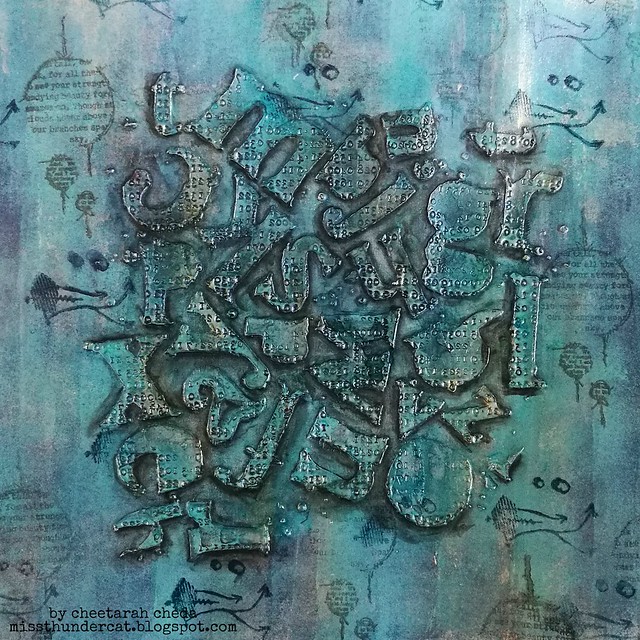
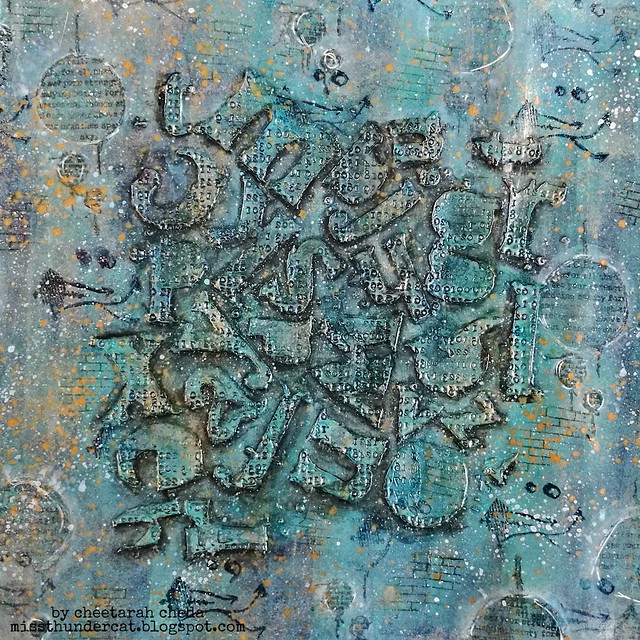
Today I wanted to show you a little something different, which I have done before with the poppy flowers a while back, and that is to show you how I create some textured backgrounds and layer building process with paints and other media. I've used AALL and Create stencil #18 and stamps from their latest release for this.

Texture play and layer building

First I start off with a base of gesso on mixed media paper. Then applied the modeling paste through the stencil, heat dry to the touch then stamp in the paste to get the texture imprint. Once that was fully dry, I gave it another coat of gesso and when that dried I did the glazing technique with black paint to get the shadows/low light effect. You can see DeeDee Catron do that HERE for Donna Downey Art Gang.

Texture play and layer building

Now to add some color: I used cosmic shimmer pixie powder for the first layer. Used different colors of greens and pewter to get a bit of an ombre effect. Looks fun so far, but the pixie powder stays too water reactive and I wanted something more permanent and brighter. So in with the paints!

Texture play and layer building

So I've taken my mini foam brayer and paints in blue hues by paper artsy and finnabair blue metallic paint & Opal Magic Rose Gold and just brayered on some layers of paint. I made sure to use a combination that blends well together and added lighter and darker aria's for depth. I also brayered paint over the textured aria and it had lost some shading so I tried to bring it back with a stabilo all pencil.

Texture play and layer building
So the shadow parts make the texture stand out a lot more! I then stamped around the modeling paste texture for some other texture to break up the pattern.

Texture play and layer building
To finish it off I added some white and gold splatters, outlined some circles with a white gel pen and added touches of the rose gold paint over it for a bit of shimmer. And I called the background done! 

Stay tuned for the art journal page I created with this background coming up soon!

Thanks for stopping by and have an awesome day!

2018/05/07

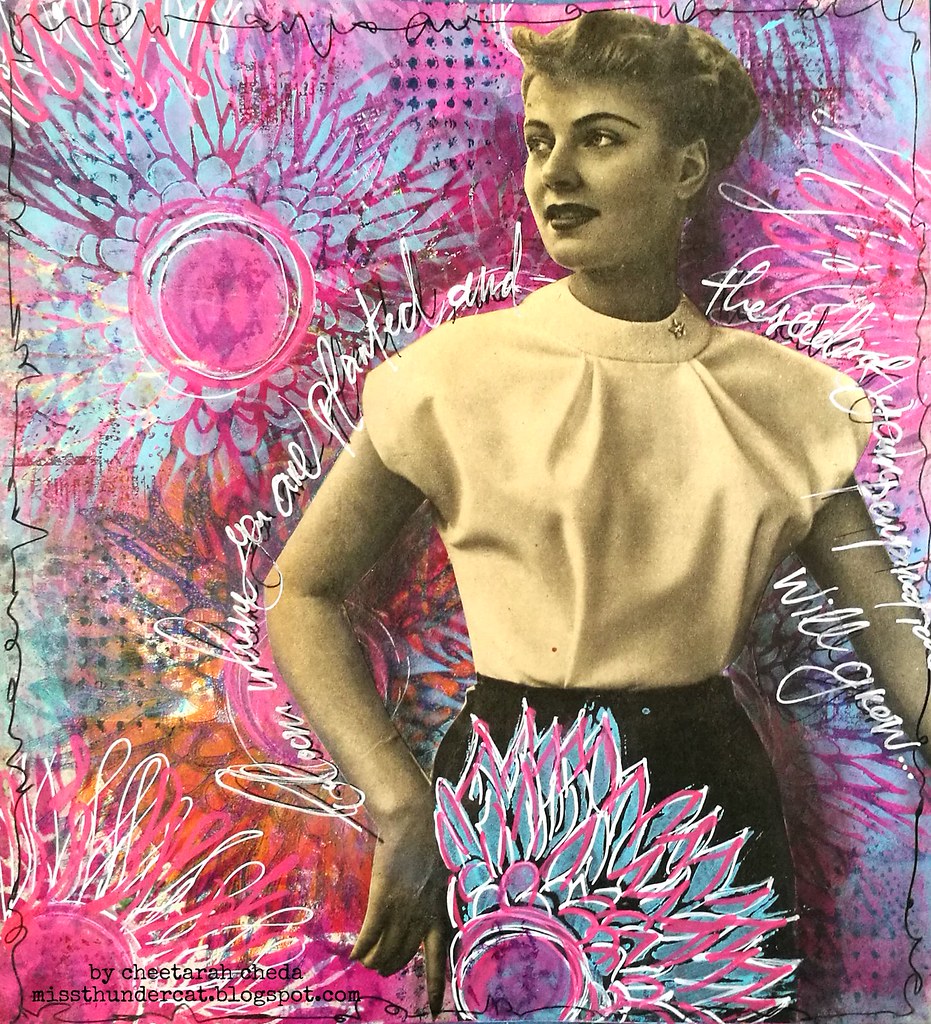
Bloom where you are planted - StencilGirl DT announcement!

Bloom where you are planted

It was so difficult to keep this a secret, but now I can finally tell you 
all about this awesome news: 
I am so excited to announce I'll be part of the Stencil Girl Products Design Team for this term :) You know me, I love using stencils in my work and I was just over the moon when I got the news I was accepted in this awesome team to represent this amazing company through my work! 

To celebrate it made this Art Journal tip-in page using one of my fave stencils/masks by Traci Bautista Deconstructed Chrysanthemum The background is made with my gelli plate and I made several prints and ghost prints on a piece of patterned paper. I also sponged some paint through the stencil in various places and accentuated them with doodles. Stamped some lush grungy stamps from Lost Coast Designs in the background for more texture. The lady is a cut out from a vintage magazine and I adhered her with matte medium. Covered her skirt with the same stencil flower pattern and gave her some shadow contrast with a grey artist pitt marker. 

Then I took my black posca pen to doodle the edges and write down the sentiment 
"Bloom where you are planted and the seeds of your perspiration will grow" 
I went over it with a white posca pen because I wanted the sentiment to POP more which now it does. 
This art journal page is to inspire me (and you) to do what you love and love what you do, so that when you bloom where you are, you will see your efforts come to fruition.  

Hop on over to StencilGirl Talk today and find out who my other wonderful creative team members are and let us know what you think :)

I would like to enter this art journal page in the following challenges:
Art Journal Journey: Flora and Fauna
Moo Mania: Flowers
Try it on Tuesday: Stencils/die cuts

Looking forward to showcase more work over the coming year with StencilGirl® stencils.  

Thanks for stopping by and have a wonderful day!