2017/02/27

MailART Monday: Believe in hatching your dreams

Hatching dreams collage PC

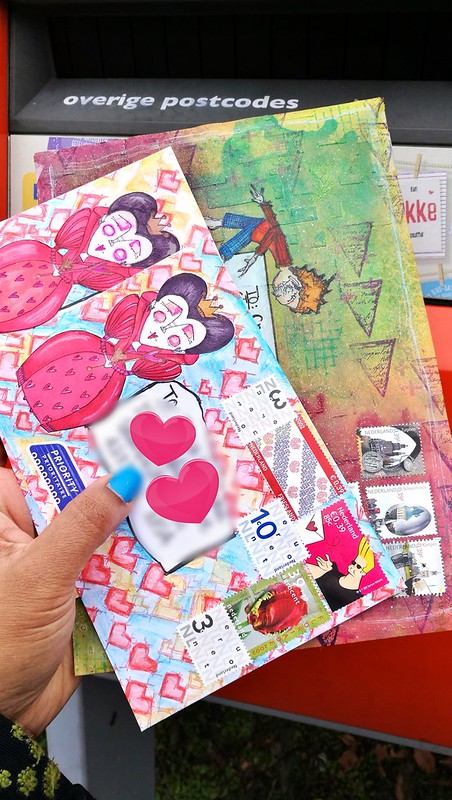
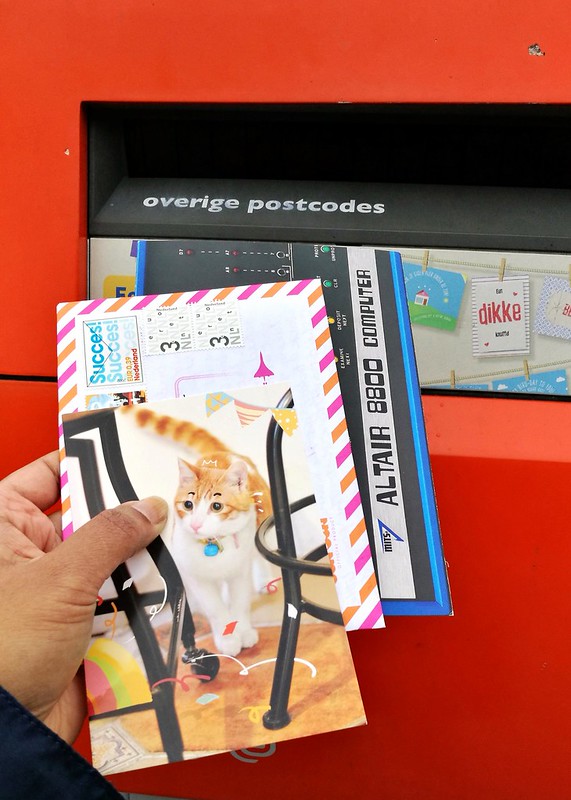
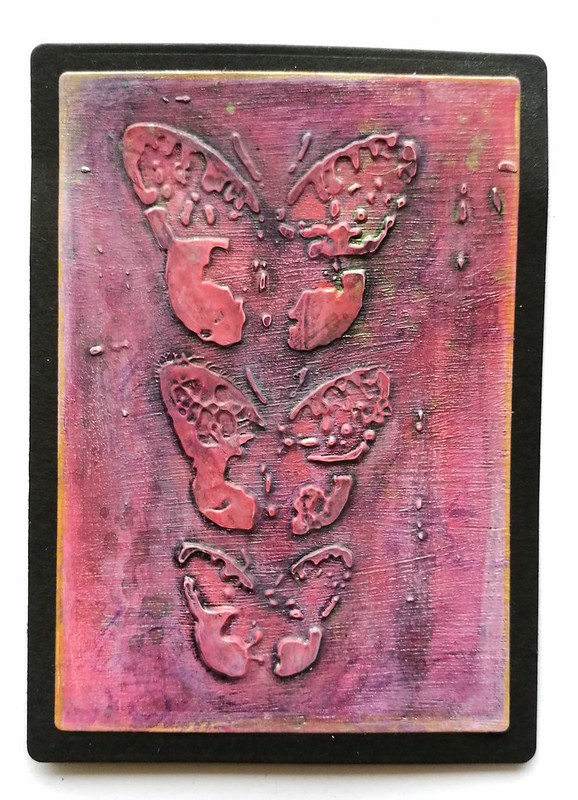
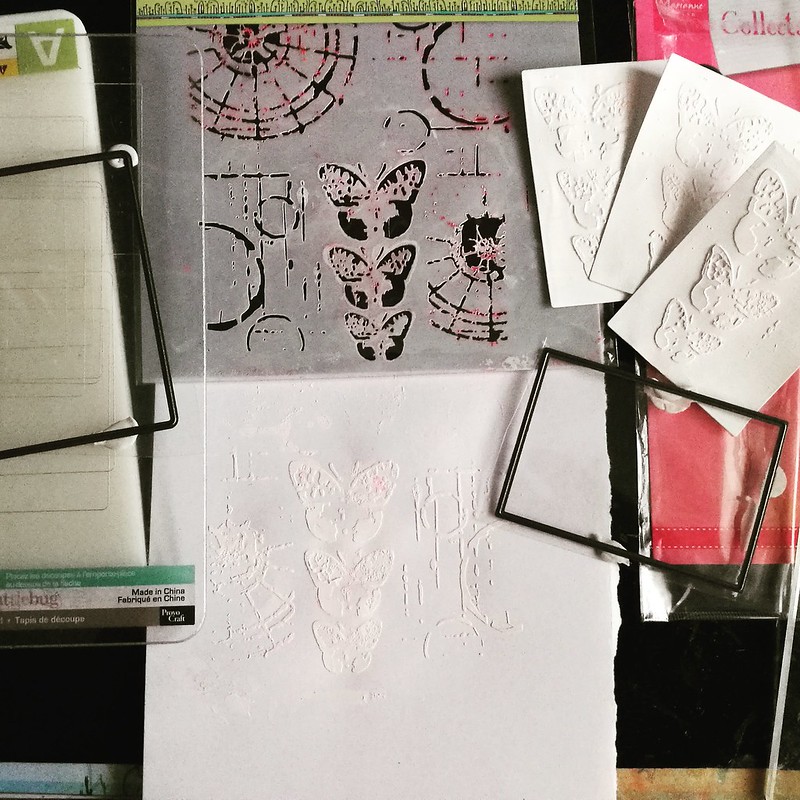
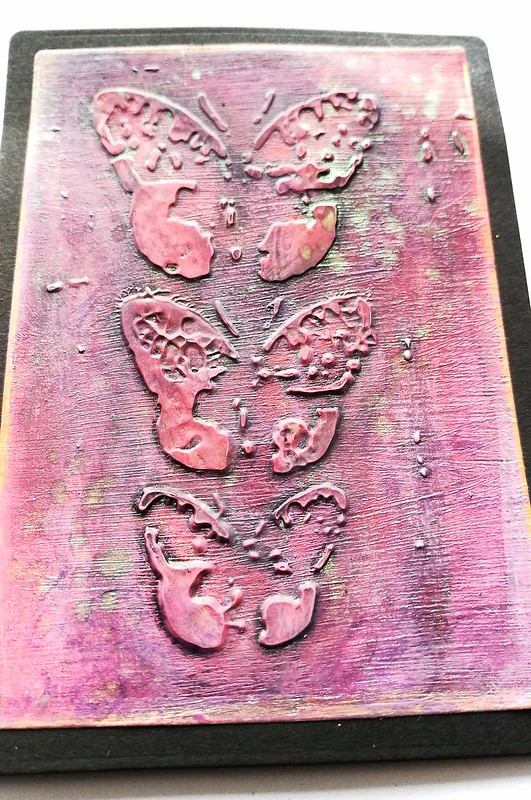
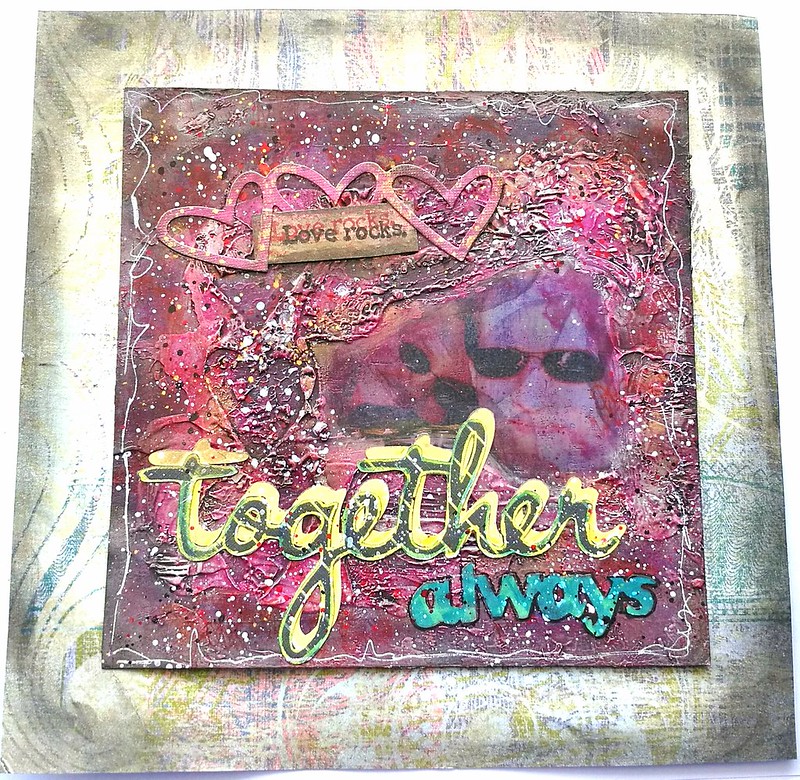
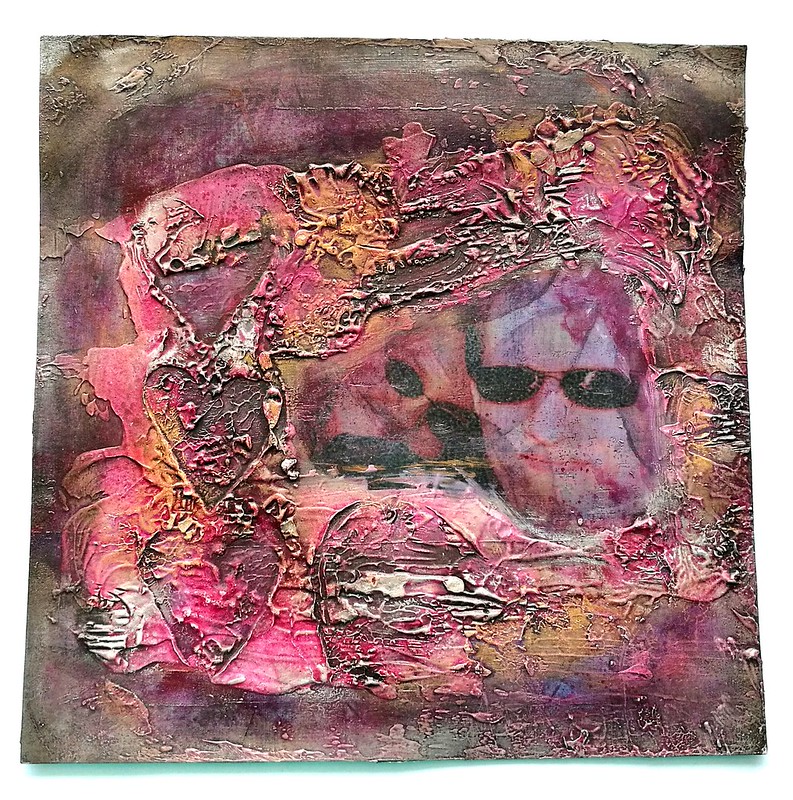
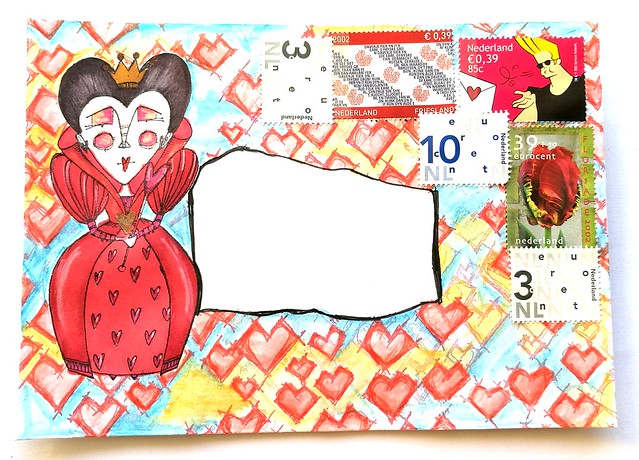
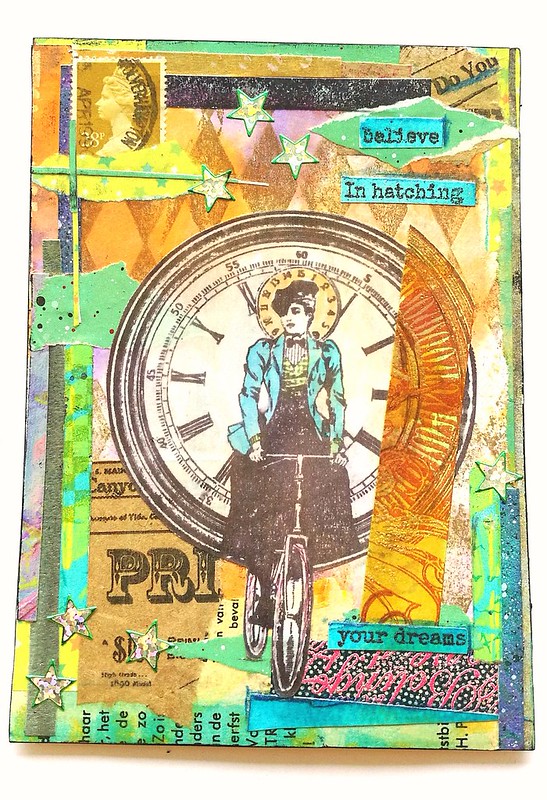
Today I wanted to share a MailART collage postcard I made with the "create something in 30 minutes challenge" in mind which is held over at Country View challenges. This collage is made with scraps from my "junk paper box"  in which I keep all my left over scraps and pieces from other projects. I decided to grab a hand full of papers and see what I could make from it. It's very fun to see how all of this can just come together though serendipity :) The background is a sticker paper piece on postcard size that already had the diamond from Lost Coast Designs stamped on it. The cycling steampunk Lady is a LCD favorite of mine and I had stamped and cut her out for a few other  mail art projects as well. So that was very handy to use. The sentiment from Cat Kerr was a left over cut out from THIS ART journal page and the golden colored piece of paper over on the clock is actually a piece from THIS ATC. Pretty cool how the circle alignment worked out there. All the other scraps and pieces were added together as a frame and then covered the whole piece with a shimmery coat of modge podge. This was sent to my partner for a February sender's choice swap at Creative Collage over at Swap-Bot. Of course I was in such an inspired mood, I made a bunch of other collages which I will show you later this week.

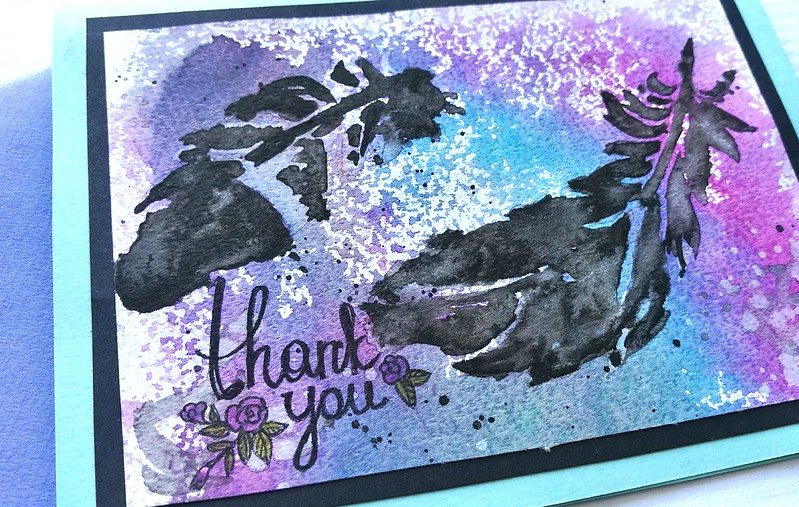
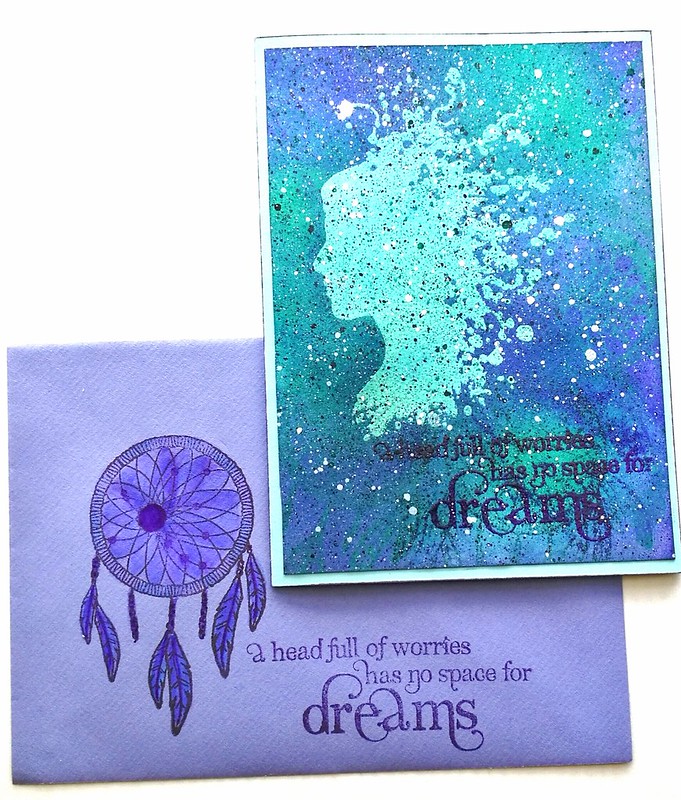
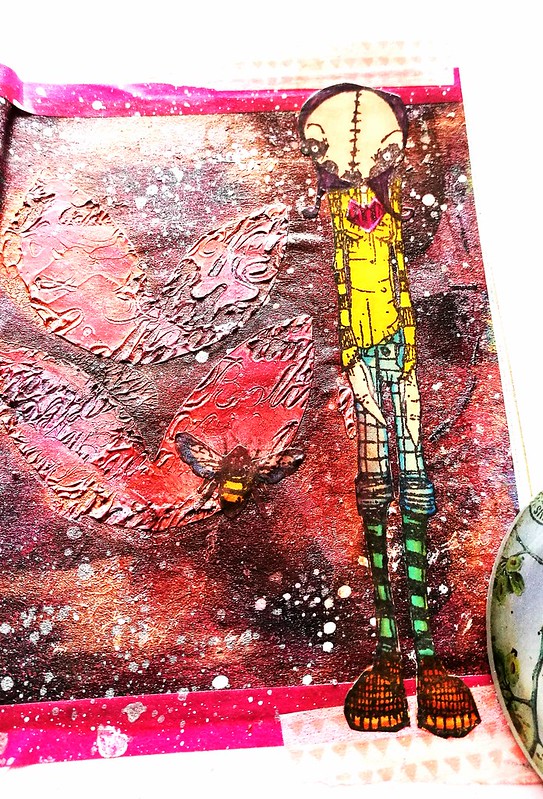
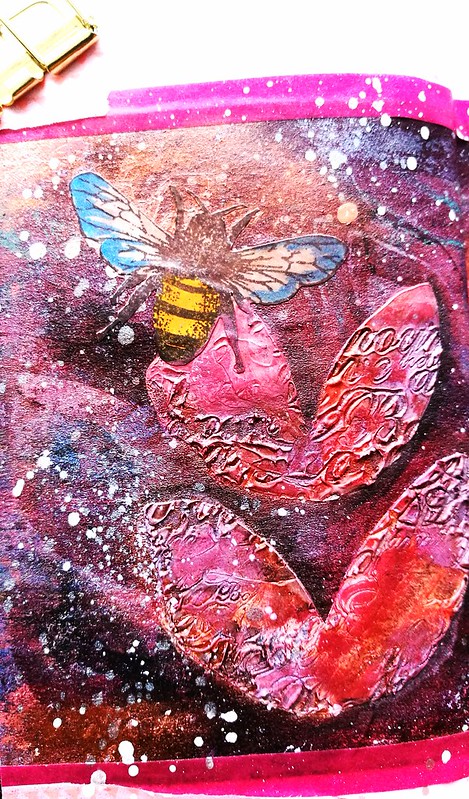
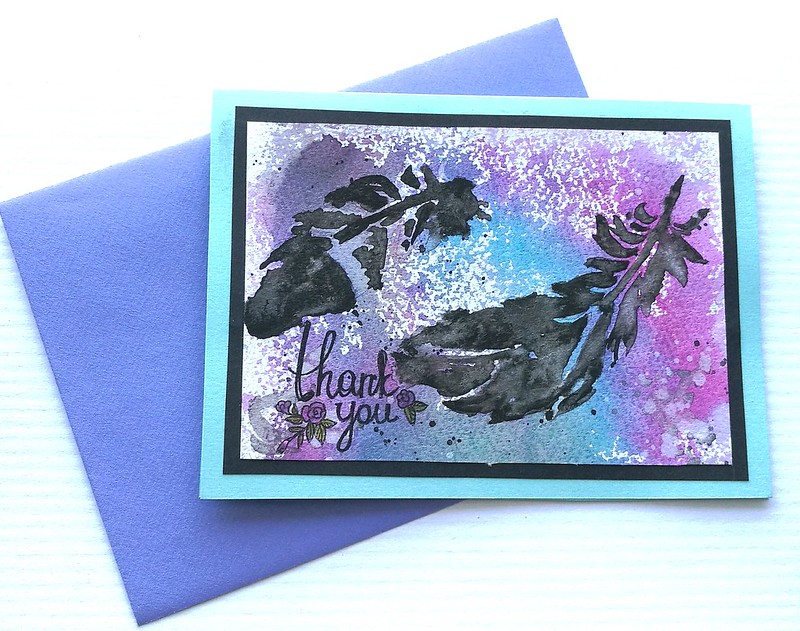
Entering this card as the my 3rd and final entry for the Rubber Dance Layers theme in february

Join our Challenge:

Also entering this in the Creative Artiste Mixed Media February Challenge


Thanks for stopping by and have a great day!


2017/02/24

Thank you card with magic INK technique

Thank you card

A great scours of inspiration has been watching these great little (10 min max) video tutorials on various art techniques over at YouTube. I'm following this awesome illustrator Mary Doodles and she creates fantastic illustrations using india ink combined with water colors. Check this Wolf in INK video out, isn't it MAGIC? The thank you card I am sharing has been done with that technique. Super fun and easy to do! You just have to move quickly and accept serendipity!

Thank you card
If you can't really draw, or are stumped on idea's what to draw, you can also use stencils. I have taken a feather stencil (by Viva Decor) and placed it on top of watercolor paper (maruman zuan) and brushed water over the stencil onto the paper. Removed the stencil, got my brush loaded with india ink and tapped the water on various places to make the feather appear. SO FUN to watch! The outcome is not perfect or as sharp as the stencil is, but I love the airy "feathery" feel they have. Once dry the india ink is water proof. I wet my paper a little in various places and tapped a bit of fountain pen ink in Diamine Magenta and Havasu Turquoise on the water to spread and mix. I mopped up some excess water and spattered more inda ink and a bit of water to get some more texture. The Thank You sentiment is a stamp from Studio Light, a nice hand written font adds to the whimsy of the card. Matted onto black card stock and then onto a blue card. I chose a violet envelop for it to keep the color scheme going. 

Check out more of Mary's awesome How To tutorial video's HERE. Hope this inspired you to get out some india ink and various water color ink and play with them. Once you get going, you can make a whole stack, trust me!

Entering this card in the

  HLS February Watercolor challenge


And because of the layers of colors Rubber Dance Layers Challenge


And over at Stamplorations CAS card challenge for February


This card was sent to P.W. Akkerman in the Hague for organizing such a great welcome for the first ever fountain pen meet up which was this past weekend :)

Thanks for stopping by and have a great weekend!


2017/02/23

The dream catcher

Head full of dreams

I finally had some time to play with these gorgeous Visible Image stamps which I had ordered in november during their black friday super sale, but sadly got lost in transit. Thanks to Helen and their excellent customer service, I did get all the stamps I ordered eventually. I made this card using stamps from THIS set which you see on the top right on the picture below.

Visible image stamps
My order from Visible Image. I am looking forward to use the other stamps as well! They are clear polymer stamps and a tip for you when you first start to use them as they can be very tacky coming right out of the package. To get some of that off, just use an eraser and rub over the stamp. The ink should take better when you've done that (of course don't forget to wipe away the eraser shavings!) I founs using colorbox, memento luxe or versamark (a slow drying rich ink) work best on these photo polymer stamps. You also get a better result when you emboss the image with clear embossing powder. That is what I have done with the card I am showing you today. 

Head full of dreams

This head image is one of my favorites of their designs. Beautiful silhouette with whimsical hair. The card is fairly simply made, a clear embossed image on a blue card, colored the card with distress inks peacock blue, lucky clover and wilted violet by using a distress tool. Ink spatters done with liquitex titanium white, black and muted green and pink.

Head full of dreams
I stamped the dream catcher a couple of times with distress ink lucky clover and wilted violet. The sentiment "a head full of worries has no space for dreams" was embossed with WOW indigo embossing powder.

Head full of dreams
The envelope is decorated with the dream catcher and the sentiment to make a nice pair. And yes, I rather have my head full of dreams so there is no space for worries :)

Entering this in the TioT Let's get Messy Challenge because of all ink splats and messy look.


This card has heavy layers of ink, embossing powder and then more ink!

Thanks for stopping by and have a great day!


2017/02/22

WIP: A wink of sparkle

Sweetpea kitty girl ATC
It's always really wonderful to try out new craft supplies and discovering something you really like. A while back I picked up a clear Wink Of Stella brush pen by kuretake at a local retailer and I was curious about the effect it could give to my work. Chose to work with this particular stamp as it's a recent addition. I love this Sweetpea stamp a lot! How cute is this girl, those eyes and the kitty!! It's about ATC size (most of their stamps are) and fit wonderfully in a 9 pocket protector or ATC sleeve. I colored her in with pro markers on neenah classic crest paper. 

A hint of sparkle
Errr... yeah I might have gone overboard with the purchase (disclosure, these were all 50% off on retail price at a holiday sale at an online store ) but one can not have too much sparkle in one's life, right? I'm also very curious to try out the spectrum noir brush pens and how they compare to wink of stella. I found a very useful review HERE by Sprinkled with Glitter if you are interested in the difference yourself. The Dina Wakely Mica Spray has been on my wishlist for a while, glad to finally have them to play with. 

Sweetpea stamp & letraset colors
So here you see her with the added sparkle. I used it to accentuate some streaks in the girl's hair and eyes and I love it! It's easy to work with and just lightly applied, so much shimmer can come off it. The brush is bouncy and smooth and the sparkle really sparkles! It's a fine glitter and it stays on the page quite well even when dry. I'm a fan! The dots are done with a white gel pen, the one I received in the ArtSnacks October box. Talking about the Artsnacks boxes, I'm like 3 months behind with a show and tell/review. Ugh, so much to do and so little time... Hope to do those eventually!

By the way, I'm sad that the SweetPea Stamp company discontinued to make stamps, so if you find any of them out there which you like, grab them up for sure!

Thanks for stopping by and have a great day!


2017/02/20

MailART Monday: INCOWRIMO outbox edition

My hopes to update about my Incowrimo weekly mailings haven't really panned out. Though I have been quietly but diligently writing a few letters and more postcards to my friends these pasts weeks. And with still a week to go, it's a good time to share a couple of outbox shots of my mailings for InCoWriMo.

sent mail incowrimo 2
I love using Vintage Postage to jazz up the envelopes.

mail out incowrimo
You've seen the first couple of envelopes being made on my Mailart Monday post last week. The back envelope was a special posting and I will do a post on how I made that envelope soon. What was inside that envelope I will be revealing in a few months time from now... :)

mail out incowrimo

incowrimo mail out
As I said, a lot more fun postcards were mailed as well! I've noticed that this month has been great for postcard sending!! I'll be sharing a tutorial on how to jazz up your postcards with some fun snaimail stamps in a future mailart monday. 

How are you getting on with InCoWriMo this month? 

Thanks for stopping by and have a great day!


2017/02/17

Art Journal: Creativity Takes Courage


I'm back this week at the Viva Las VegaStamps! inspiration blog with some more Banksy inspiration, this time for our February challenge. I made the art journal page in my pocket journal based on this month's mood board which is this:

Isn't it fantastic?? Words like reds, oranges, greens, blues, pinks, purples... ALL the colors! Spray paint, art, graffiti, artists, surrealism, banksy, stripes, splatters, drips, dots and more inspired me to take some fun stamps and my distress paints and play!

Have a look at my post over at VLVS! on how I made the above journal page and more close up shots! Don't forget to link up to the challenge to have the chance to win some great rubber stamps :)

I'm also entering this page at the Try in on Tuesday's challenge Let's get Messy which I think this journal page fits PERFECTLY :) 

Thanks for stopping by and have a great day!


2017/02/16

Cascading butterflies

Cascading butterflies ATC

I have been so inspired by the February mood board at Our Mixed Media Moods I created another piece based on the lovely butterfly imagery and color on the top right. I created the ATC you see above.


WIP stencils and nesting dies

I created the base of the ATC using gesso and modeling paste from The Crafter's Workshop. The butterflies are from a mixed stencil set created by Joanne Fink (Zenspirations)  for TCW) I used some ATC nesting dies from Marianne's Creations to cut them to size.

liquitex muted collection heavy body paint

The color on the ATC I created with these gorgeous Liquitex Muted Collection paints. I used the muted grey, rose and violet. And also the corresponding INKS! in the same line.

Cascading butterflies ATC
Added a bit of shimmering spatters on the work with Ranger perfect pearls kiwi and corn poppy and added tarnished brass distress stain on the edges before I matted it on the black card stock. I really love how this turned out and am going to make a few of these in different colors.

I am also entering this in the Simon Says Stamp Monday Challenge - use your fave tool which in the past months have been modeling paste & stencils for sure!

Thanks for stopping by and have a great day!

2017/02/14

Love rocks, together always

love rocks, together always

Over the weekend I had this idea for a fun layout to make for Valentines Day and I've managed to complete it before today, yay! Happy to be sharing this with you, also this is my first layout ever as I don't usually do scrapbook type of layouts. But this is framed and on our wall now :) Let me share with you how I made it.

Love rocks, together always - valentine layout

I started off by gelli printing a piece of 6x6 scrap book paper with a valentine theme. Took one without the modeling paste heart shapes because I was going to add some of that later. I transferred a photo of us using Amsterdam Photo Transfer gel, let that dry for about a day and rubbed off the paper with water and sealed with liquitex gloss varnish. Then comes the fun and rather messy part, stamping in modeling patse! I used the same techniques, like I did with this journal page. So I scraped some modeling paste around the photo, let it dry to the touch and stamped in Dina Wakely's Collage hearts into it and let it dry. It took me a couple of tries to get the texture the way I wanted to look, I sprayed some fuchsia Mixed media artist spray over it, used the same techniques for darker shading as I did with the poppies and rubbed metallic pearl rubs for the lighter tones. As you can see I also scraped a bit of modeling paste around the edges and when you rub pearl rubs over it it creates the loveliest subtle texture. Time to build up the sentiment layers!

Love rocks, together always - valentine layout
The "together always" sentiment is cut out with my MM Slice and I used various scrapbook papers for it. Traced with Posca fine liners in black and white and added some sparkles to it with Zig wink of Stella's. Zig's two way glue is pretty great to adhere pieces onto worked on surfaces with.

Love rocks, together always - valentine layout
I then used some paper heart embellishments which I had forever and the sentiment stamp "love rocks" from the Dina Wakely stamp set on top right of the picture. It is stamped on a piece of craft paper. Spattering is done with Liquitex paints in white, muted violet, gold and hot pink.

Love rocks, together always - valentine layout
I doodled with white uni posca fineliner around it and matted it onto a bigger piece of scrapbook paper which had colors of the lettering I used.

Love rocks, together always - valentine layout

Definitely happy how this Valentines Lay-Out turned out and so did my sweet husband. By the way this is one of my fave pictures of us together while we were on holiday in Barcelona in 2005. We celebrated out 13 years together last november in Seville and I can't wait for our next trip together in March to Valencia :)


And entering this in the Art Journal Journey 50 shades of RED

Feel free to use the graphic below to send as Valentines greeting to people you love :) 


Thank you for stopping by and wishing you all a wonderful Valentines day! 

2017/02/13

MailART Monday: The Heart Collector

It's about that time of year where hearts are all over the place. Since it's always good to send out mail to loved ones and now it's a great excuse to use all those hearts stamps and a splash of red. I used a couple of my recent Stampotique Originals Stamps for this MailART monday.

The heart collector

My focal image is the Queen of Hearts by Janet Klein and the background is Daniel's Hearts by Daniel Torrente.

The heart collector
The process of these envelopes are actually quite simple, yet effective. I stamped the queen, masked her off with a space next to her for the address. Then stamped the hearts with Ladybug Red from Memento and colored them in with Caran d'Ache aquarelle pencils. The discovery set is from the december Art Snacks box.

The heart collector
Colored the queen in with alcohol markers, accents with a white gel pen and a bronze edding, chose some fun postage stamps to go with it and that's it!

The heart collector
These were sent to my partner's for last month's swap. Glad they got received well :)

I am entering this for the Love Bug SDC266 Challenge at the Stampotique Designer's Blog. My bug (besides using the Ladybug ink from memento ;) is Johnny Bravo! When he loves you, he bugs you, haha :)

Also entering this in the "30 minute or less"Challenge at Country View Challenges. These envelopes take less then 30 minutes to make and one you get going, you can make a whole lot of them ;) 

Thanks for stopping by and have a great day (and a wonderful valentine's day tomorrow!)


2017/02/10

Art Journal: Listen to your heart, it's buzzing

Art Journal listen to your heart

Over at Stampotique Designer's Challenge blog, this fortnight the challenge is Love Bugs and I have made a little art journal page with lovely Stitch and medium and small bee stamp. Ever since I saw Julie's posts with her bees, gosh I have been wanting to use mine for a while. It's the perfect theme for it to use now.

Art Journal Listen to your heart
The background was made with this gelli printed book page, which I put on the hearts with modeling paste and stamped a word stamp about love in it. So while this spread doesn't have visible words or sayings in them, the hearts are still buzzing with words. Stitch and the bees are colored with alcohol markers, fussy cut and adhered with liquitex gloss medium. The borders are done with washi tape and spatters with Liquitex INKS! in white.

Art Journal Listen to your heart

These little hearts are buzzing with love. As is mine. 


And lastly for the Stamplorations February Mixed Media challenge Stencil Sunday

* And as invited I'm also entering this in the 50 shades of red Challenge over at Art Journal Journey :)

Hope you all have a wonderful weekend and thank you for stopping by!