Showing posts with label hand carved stamp. Show all posts

2017/05/29

Mail Art Monday: Libélula

Mail Art postcards

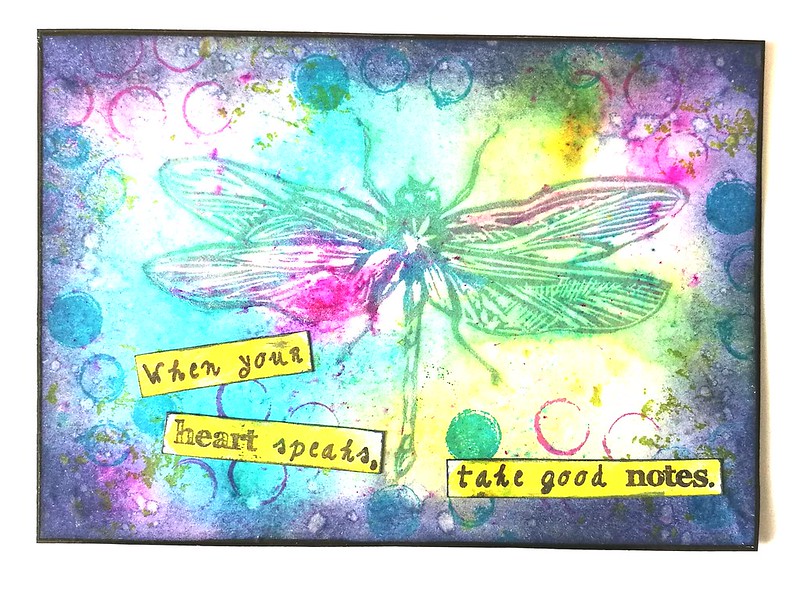
Today I would like to share another postcard I made with the Dragonfly hand carved stamp I created a little while ago. This one was sent to Ana in France whom suggested the name for my stamp :) It's made with Lindy's Magicals, Katzelkraft Les Rondes stamps and distress ink. The sentiment stamp is from Stampotique Originals.

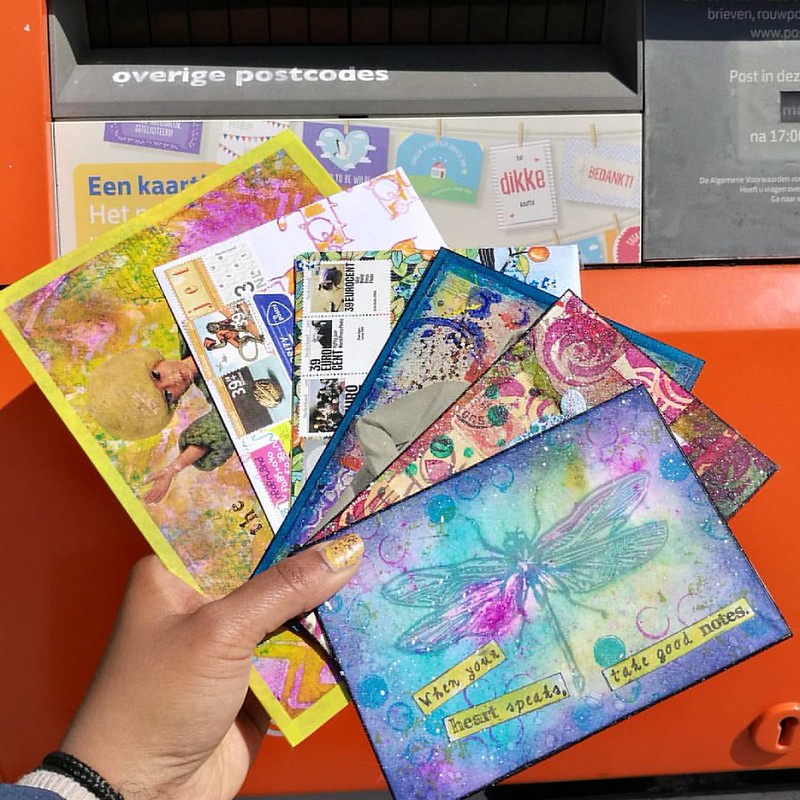
Monday Mail box shot. Some mail to friends and swaps @swapbotnews.
In the end I also added some white spatters with gesso and it was mailed off with these other happy envies and postcards :) 

It's been such great weather lately, looks like spring jumped right into summer! Hope you all are enjoying these beautiful sunny days as well!

Entering this in the following challenges
 Let's Craft and Create #125 create your own background challenge
Paper Creator's challenge #58 - bright and bold
Simon says stamp monday challenge "we're going around in circles" 

Thanks for stopping by and have a wonderful day!

2017/05/15

Mail ART Monday: Embrace imperfection

Mail Art postcards
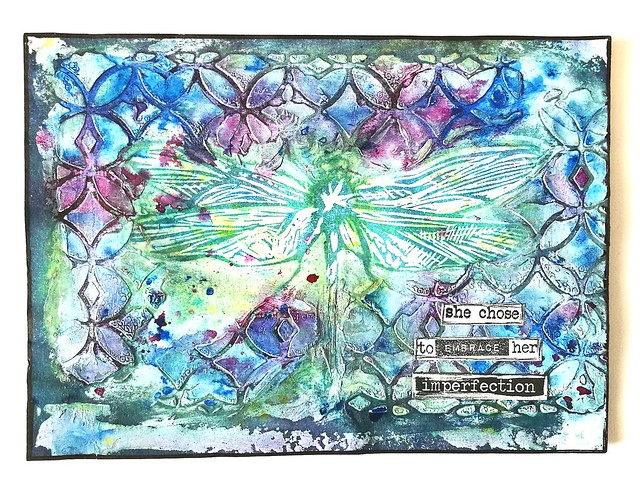
This week on Mail Art Monday I would like to show you a postcard I made using my Dragonfly hand carved stamp in action :)  I just used one of the prints you saw at the end of the post and worked with it. It's the one on the top right where you can see a little bit of the excess carving on the print. Hence the "she chose to embrace her imperfection" on the postcard. Imperfections are what makes things special after all! The sentence is formed by using a part of this VLVS! stamp combined with a Tim Holtz Chit Chat sticker. It's super fun how you can create your own saying by combining text stamps and stickers like that! 
There is also another hand made item in play here which is the stencil I used for the background. It's made by using one of tim Holtz Mixed media die cut on a thicker cardboard to create a stencil. It works really well! I had applied some Liquitex flexible molding paste messily around the image and also scraped a bit around the edges of the card. To give it these smashing bright colors, I used Lindy's Stamp gang products! I got a few magicals and Moon shadow sprays recently and just LOVED playing with those! I had covered the dragonfly with magenta and turquoise interference paints by DecoArt Media first. it gives it a nice shine and also protects from the water sprays. After I was done playing I used Chipped Sapphire distress inks to create a vignette and then a Krink black marker on the edges to frame the card. 

By the way Lindy's products used were from the Drop Dead Diva Set and the Buccaneer Bay Blue moon Shadow Spray

I would like to enter this card in the following challenges:

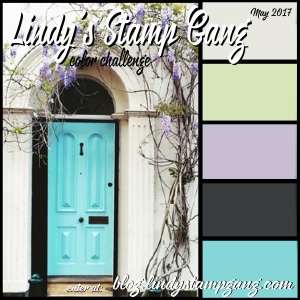
Lindy's Color Challenge


Thank you for stopping by and have a wonderful day!


2017/05/10

WIP: Libélula (dragonfly) Stamp Carving

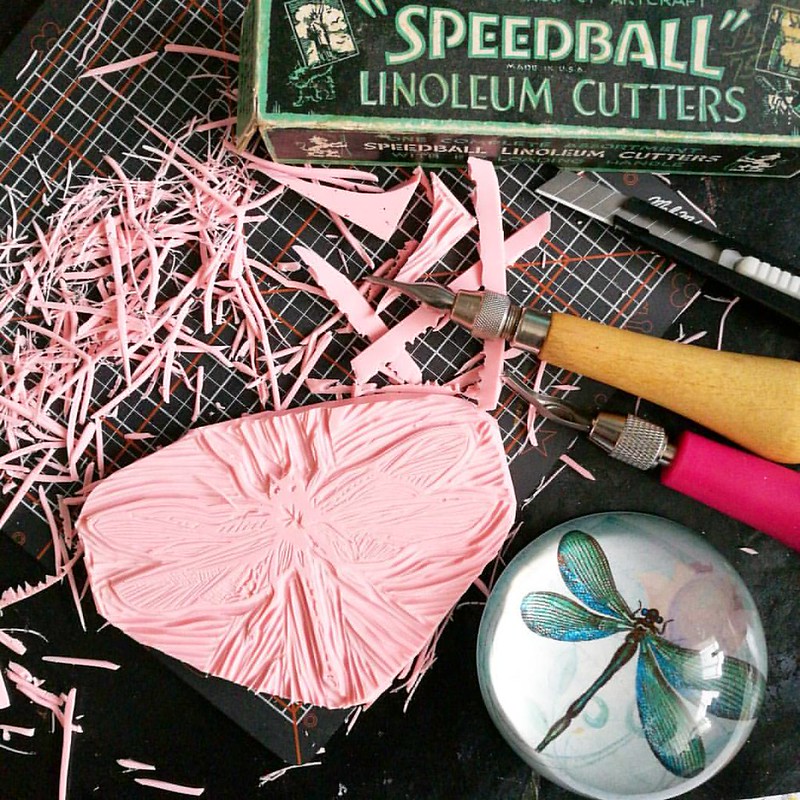
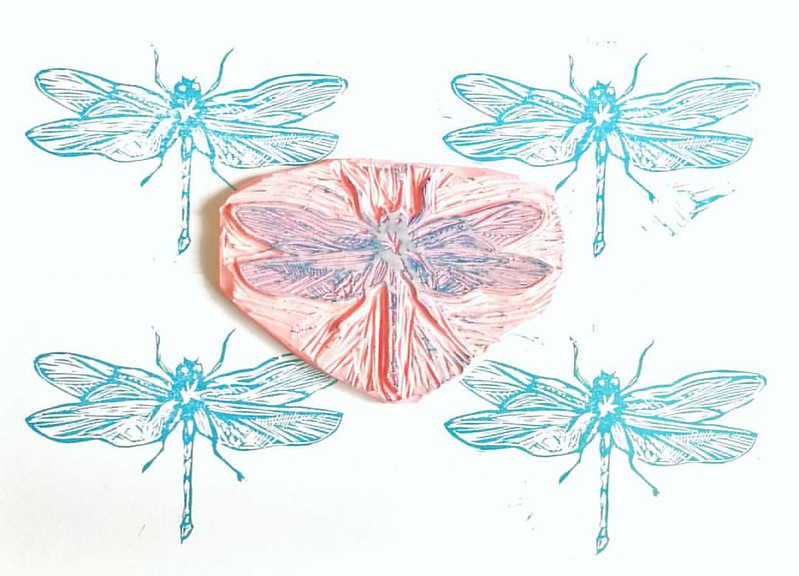
You might have noticed that one of my fave creatures with wings is a dragonfly. It was ages ago when I used my carving tools last and they were calling to me again. So last week I finally sat down and did this carving.

I'm about to pull the first print of my hand carved dragonfly stamp. It's an echo carving and I haven't done one of these in years! Excited to see what it will look like :) #stampcarving #linocarving #print #speedball #handmade #carving #echocarving #drag
And let me tell you it felt SO GOOD to get those tools out again! I worked at this one for about an hour and a half (I think) and it was really fun and relaxing. The stamp size is about 8x6 cm and I purposely wanted a larger dragonfly to use for a mono printing idea I had.

Not too shabby! Only needed to do some clean up around the image and it's a whimsical Dragonfly  Also it felt soooooo goood to take out my carving supplies for a spin again 😊 Think I'll be making more bugs in the near future!  
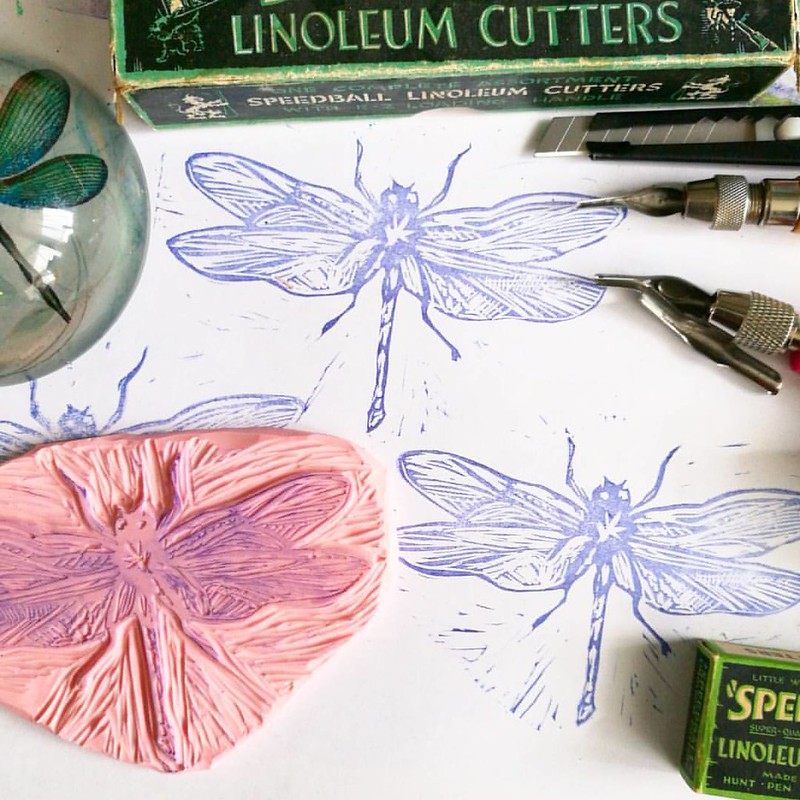
This is the first set of prints I made and I was really happy with the design at the first go! All I had to do was clean up the edges around the image and the stamp/ soft lino block carving was done.

Dragonfly carving on a soft pink Speedycarve block. Very happy with how this one turned out! Now to name her... any suggestions?
And here she is, Libélula (is Spanish for Dragonfly for which I have my IG friend Ana to thank ) I'm super happy with the result and it's such a great feeling to finally make something you had in your head a while! I already am using this one for some art journal pages and postcards swaps.

Carving this has inspired me to do a "bug series" so I hope to share more carvings with you in the near future :)

Thanks so much for stopping by and have a great day!


2016/07/04

Mailart Monday: Star Man

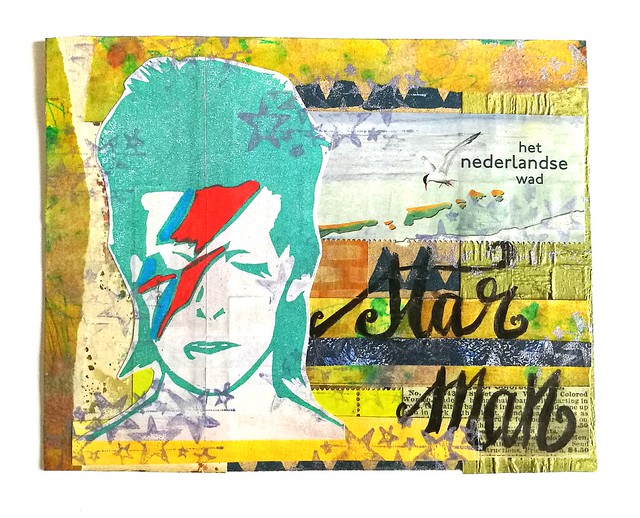
On today's mailart monday I wanted to share a collage piece I made for a swap on Swap-Bot Mail Art Postcard Random hosted in the group Sealed with Love. What I literally did for this swap, I took a hand full of small paper scraps from my junk paper boxes and see what I could come up with collage wise. The card below is the result.
mail art Star Man
In the "lucky dip" of papers there were paper scraps from scrap book papers, left over pieces from gelli prints, postage stamp sheet left overs and a home made sticker from my David Bowie Print I made earlier this year. These were "faulty prints" as the print was on the cut line of the sticker sheet. But I'm glad I kept these none the less, as it's fun to use in projects such as this (plus you know I can't throw away anything, so yeah...) I stamped some stars on the card with Brilliance lavender ink and sealed the card with artists medium. Afterwards I decided to put some accents on the  lettering with a white gel pen.

mail art
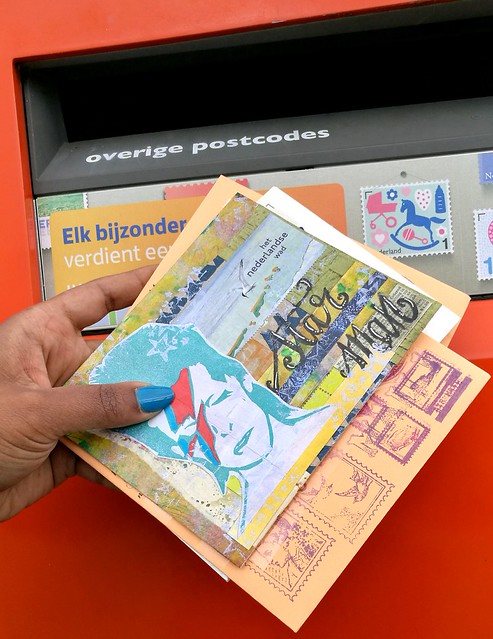
And then the Star Man was ready to be mailed out! I'm happy to say that the recipient liked this card and the lyrics was stuck in my head for a week! Want to sing along?


All together now...

There's a starman waiting in the sky
He'd like to come and meet us
But he thinks he'd blow our minds
There's a starman waiting in the sky
He's told us not to blow it
'Cause he knows it's all worthwhile
He told me
Let the children lose it
Let the children use it
Let all the children boogie

This card is also suitable for #32 "use songtext/lyrics" of the craftorij summer challenge prompt :) 
Thanks for stopping by and have a great day! Shout out to all my USA friends, hope you all are having a great 4th of July celebration!

namasté

2016/05/02

Mailart Monday - Ideas create the story, ART makes it visible

Mail art panel composition

As you might know I like to collect and keep a lot of paper things in my "junk paper boxes" because of the "you never know" feeling. You know, that feeling that every piece is valuable, because that little scrap of paper would be perfect for the over all image for the idea you have for your mailart? That feeling causes me to be a hoarder and is creating space issues! Anyhow, that is a story for another time. 
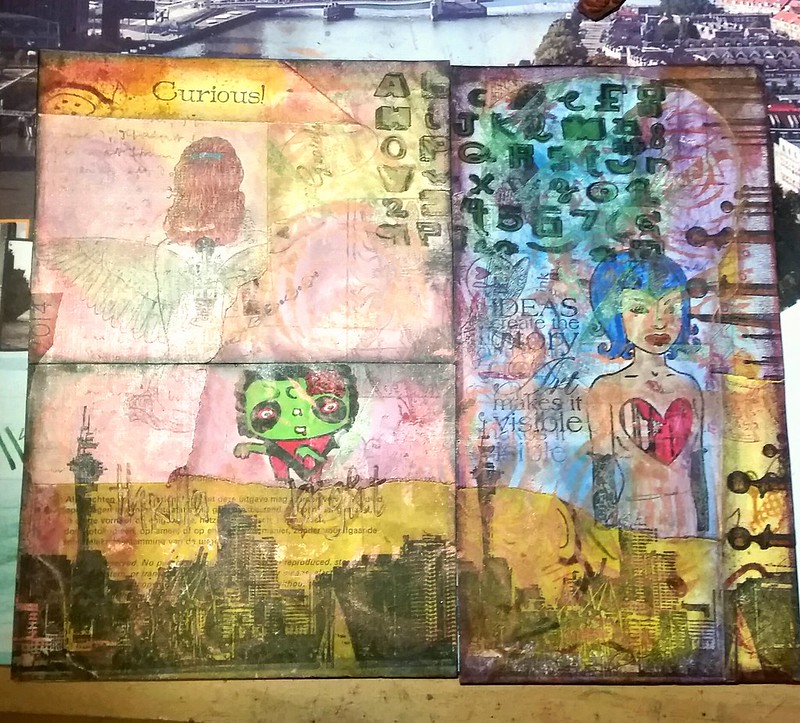
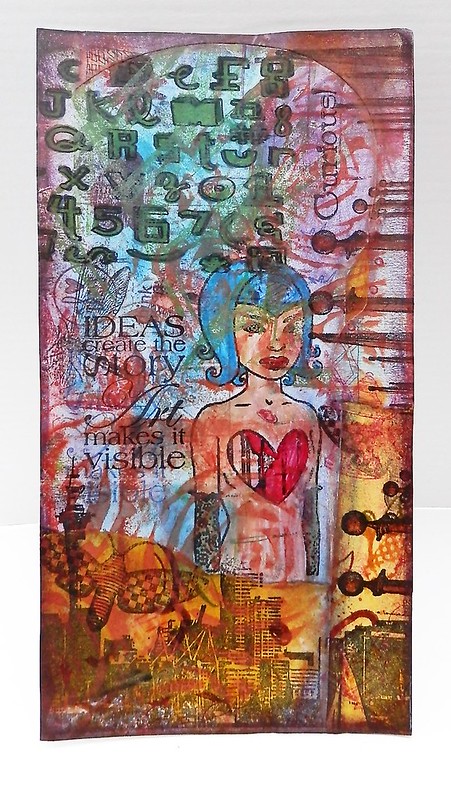
On my cramped desks pace I have managed to make large collage panel pieces with random images like the one you see above. For this piece, I used a lot of my test papers as the back ground and added more scraps and bits to the collage. 
When I was satisfied with the collage element, I cut this huge panel piece into 3 postcard mail-able size pieces and worked on them individually.  I then added more color with rub on metallic pearls, rubber stamped images and some stencils prints to the layers. 

Mail Art 018-2016
Finished close up piece on the far right: the blue haired girl is a drawing by Tara McPherson [sometimes I just want a hug] which is also in her coloring book. I made a stamp of with my Teresa Collins Stamp maker (still working on a review for that!) I also made that alphabet rubber stamp set myself with the machine. Every other stamped image on this piece and the next ones are from various stamp companies: Paper Artsy Hotpicks moths, Lost Coast Designs ATC background sets, Art Specially "men just Chill" set... I like how all the elements came together and how the Blue Haired girl is unintentionally centered in this piece.

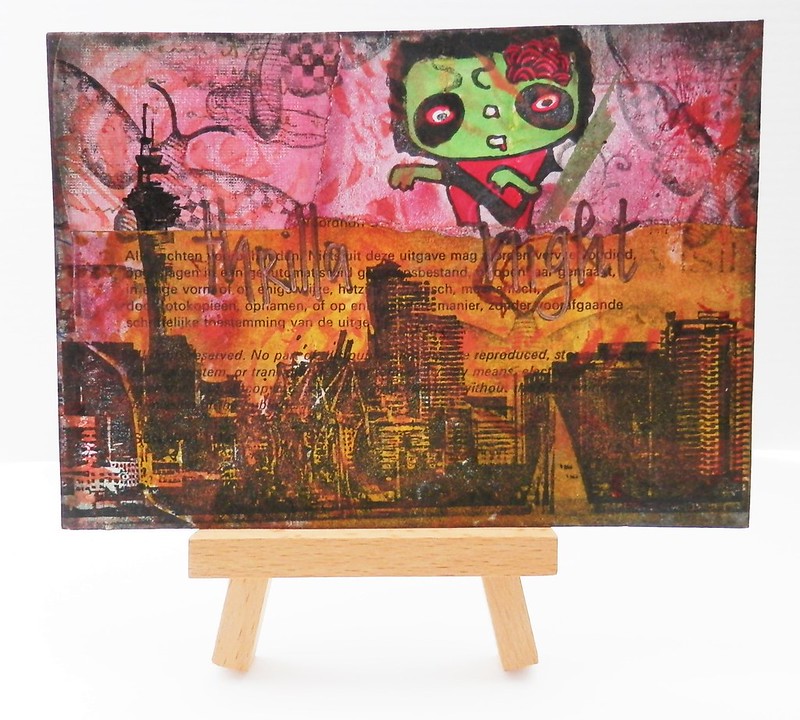
Mail Art 2015-032
Close up of the piece on the bottom: The Michael Jackson Thrilla stamp is hand carved.The city stamp is from Art Specially and Moth Stamp from Paper Artsy. You can see faint imprints from the Succulents Stencil from StencilGirl which are all over the other pieces as well. Wrote "Thrilla night" on it with a sharpie and went over it with a copper colored gel pen. To finish it off I added black smoke metallic rub on to the sides.

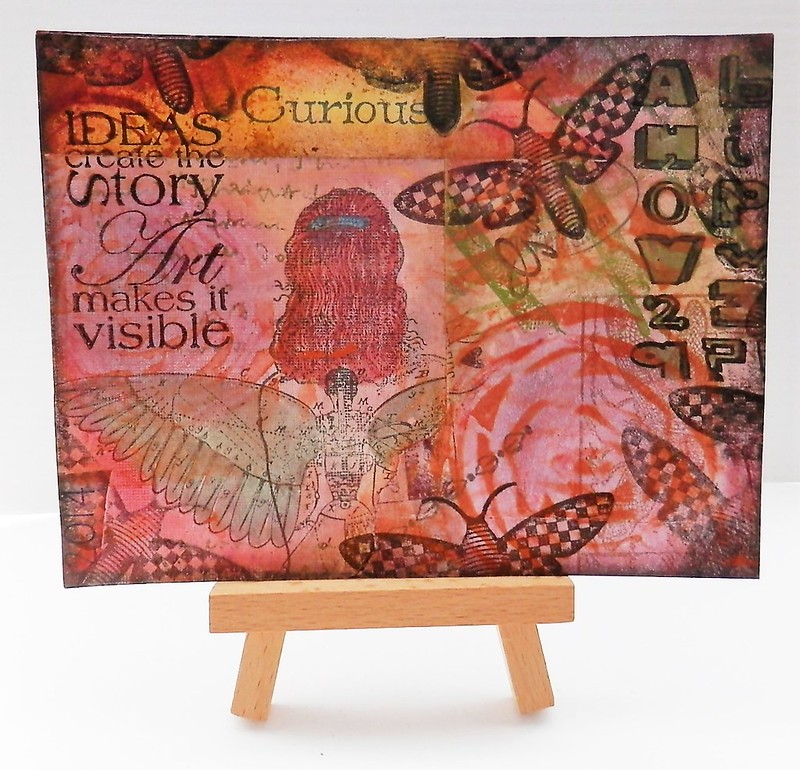
Mail Art 019-2016

Close up of the piece on the top: The woman with wings was a test piece for this "Davinci's Muse" work I made for the one layer challenge at Inkadinkadutchies. I used both Lost Coast Designs and Carmen's Veranda stamps. Same other rubber stamped elements are used in this one as well. A more prominent stencil mark of the succulents was used here. What I like most about this piece is the stamp I used from Art Specially "Ideas create the Story, ART makes it visible" which essentially marks my experience with creating. This test piece was a journey to create the idea I had for Davinci's Muse. And in the end all the test pieces are a part of an idea turned into art as well. A nice artsy loop ;)


Thanks for stopping by and have a wonderful creative week!

namasté


2016/03/28

Mailart Monday - Happy Easter!

It's easter monday, so I thought it would be fun to do a themed mail art post today.

easter egg

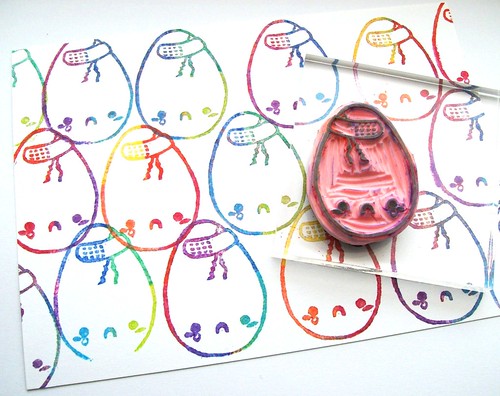
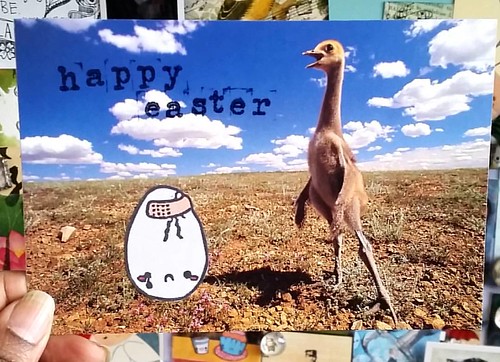
A while back I made the above easter egg rubber stamp and even held a giveaway on my blog for it years ago. I of course also made one for myself to keep and it's such a fun stamp, I used it to alter a postcard for easter theme this year as well.

Happy easter! #mailart #mailartists #snailmailing #snailmailrevival #postcard #easter #egg #easteregg #humour

A fast and fun way to make mail art is to alter a post card. I found this postcard of a lonesome Demoiselle Crane on a field in Mongolia in my postcard stash. I have no idea how I got it (probably through swap bot) but I thought it would be fun to use for this idea. I stamped my egg stamp on sticker paper, colored it and cut it out to stick on the head of the shadow. It looks like the crane pecked the poor little egg on its head. Probably trying to find chocolate ;)

Hope you all are having a wonderful and relaxed Easter Monday.

Thanks for stopping by!

namasté

2016/02/05

Monthly planning MTN: January 2016 overview

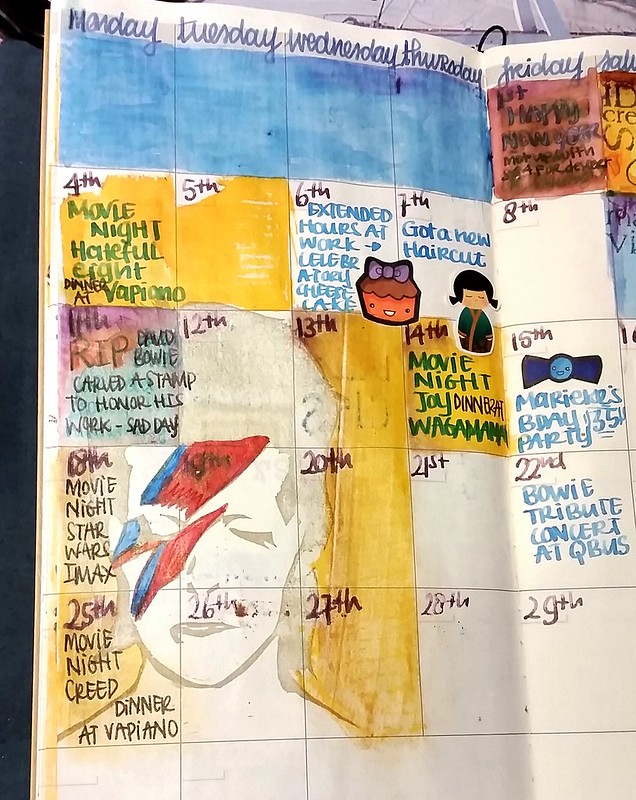
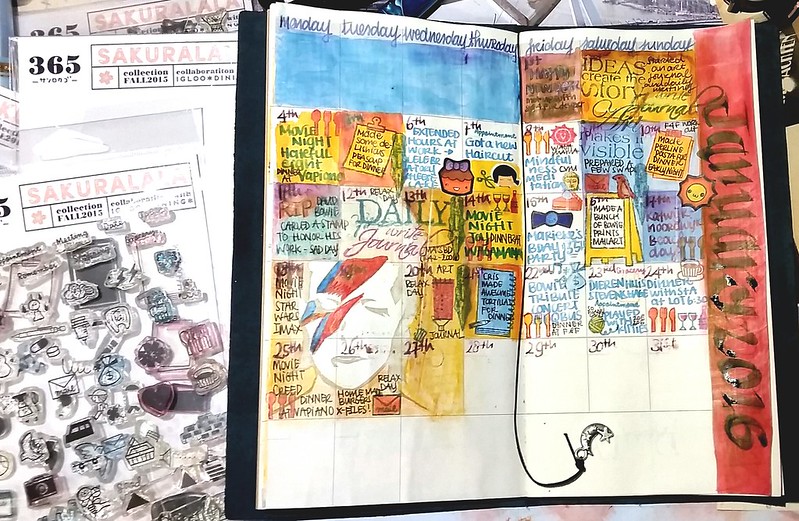
So I started this overview in the 3rd weekend of January but I actually managed to complete it this past monday! It seems like I'm getting the hang of it, finally! I have been using different things for this month so it looks "bolder" than the previous months pages do. Also a lot has happened this month. I've taken a few "work in process" pictures as it's fun to see how the pages change as I add more stuff to it. FYI I did not use a primer like I did in the december month. Bleed though is still an issue, sadly...

Midori january monthly update
A print of my hand carved David Bowie stamp (printed with versamark chalk ink olive tone) could not be missed in this month's overview for obvious reasons.

Midori january monthly update
Lots of orange, red and blue tones. And I keep busting those adorable 365 planner stamps from sakuralala. I recently found THIS cute little matchbox box again with those adorable hand made stickers. It was sent to me in a swap with my friend Arkaya years ago and they are so perfect to use in the planner!

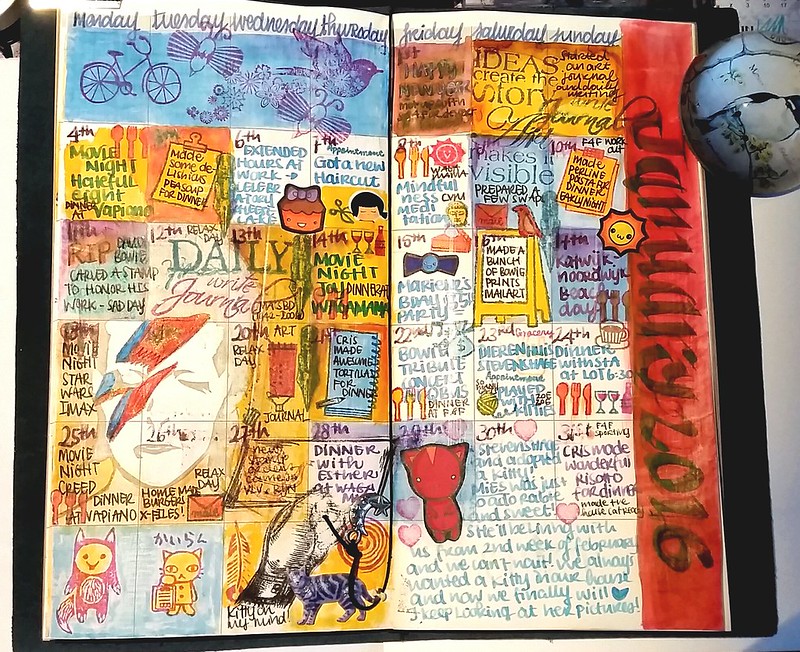
Finished monthly overview january
And this is what the finished month looks like. I have written 'January 2016' with a Pilot Parallel Fountain pen 6mm width. Other fountain pens I used on here; pilot kaküno with black ink (the fune print), Edison Nouvau premier LE Caribbean sea with Pilot Iroshizuku Ama Iro and Franklin Christoph Intrinsic 02 with Kingdom Note Saskia Charona. 

Finished monthly overview january
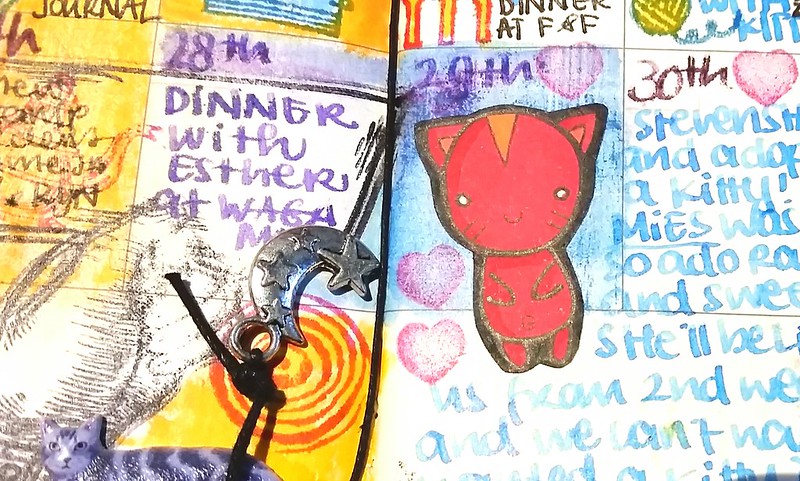
A close up of the kitty sticker and I still really love that gorgeous Moon charm.

The last weekend of January turned out pretty Epic for the following reason: we adopted a cat from the local animal shelter! My heart is so full with love for our little pretty kitty... and she will start living with us 1/2 through February! I suspect the month of February will have a lot of cat mentions in them :) Also a reason to finally use my Instax mini 8 camera maybe? 

Thanks for stopping by. 

namasté

2016/02/01

Mail Art Monday - tribute to David Bowie

Exactly three weeks ago the news hit that David Bowie passed away. It really seemed like the whole world was grieving this loss. I sure was and I have shared my process of this grief with you here. A weekend later I made a limited edition run prints of 12 that I put up for sale on my personal FB page to share with friends. They were gone within a day. For the envelopes I made customized stickers and I sent 12 pieces of mail art the following monday.

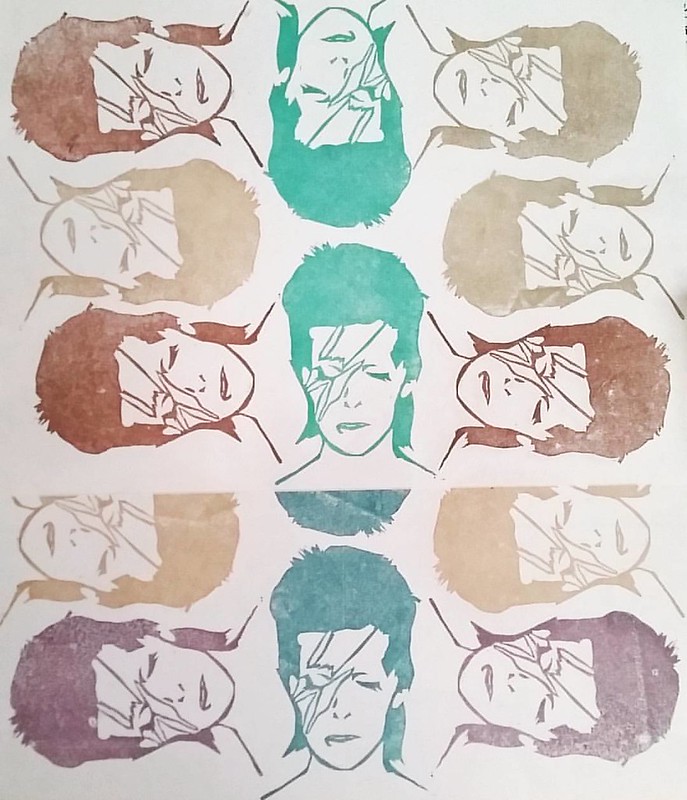
Making prints with my Bowie stamp

Prints made with archival chalk versamark ink on A4 white matte sticker paper.

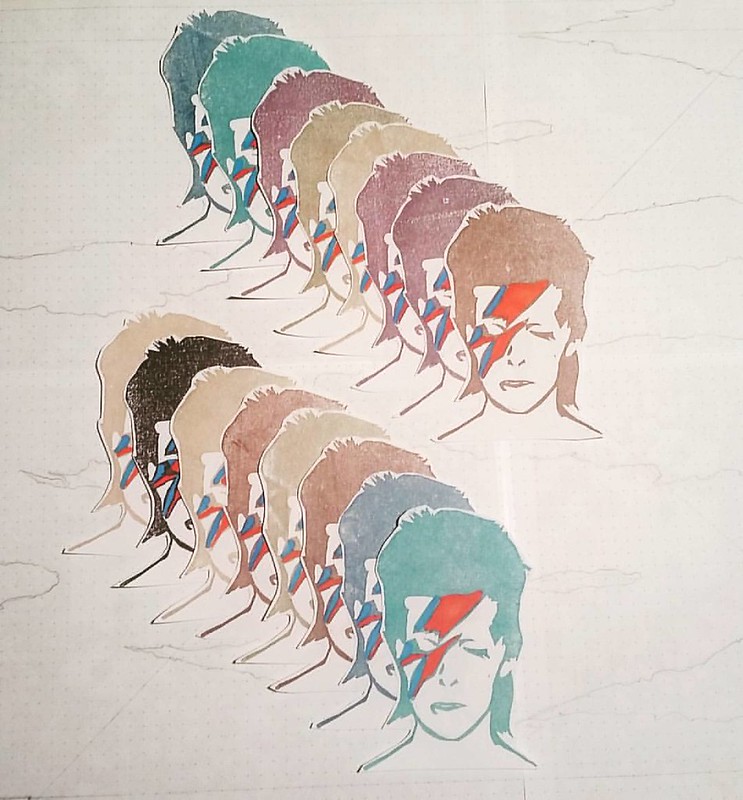
Stickers are done. Going to be on envelopes of the prints I am sending to friends.

It was quite a process coloring and cutting them all out, but the result is very pretty, if I may say so myself.

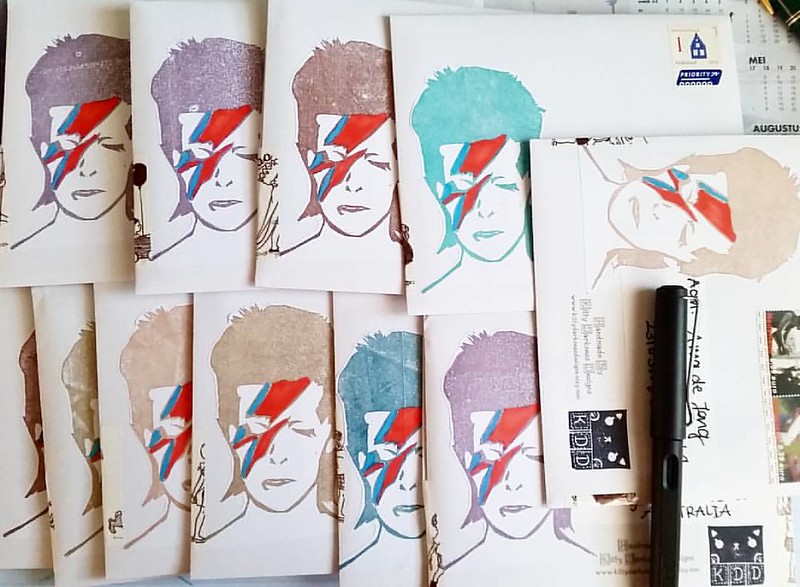
All these prints went out today! Thanks for the orders and I hope you all will receive them soon :) #davidbowie #printmaking #print #mailart #mailartists #mailout #sent #outbox #snailmailrevival #snailmailing

All prints carefully packaged and ready to be mailed out. I love seeing the reactions of my friends when they get them in the mail. A few of them from instagram


Due to requests from others whom missed out on the first run of the print, I might make more Limited Edition runs of this carving to sell in the near future. If you are interested in a print, please follow my facebook page for updates. 

Have a great week!

namasté

2016/01/12

A tribute to Ziggy Stardust

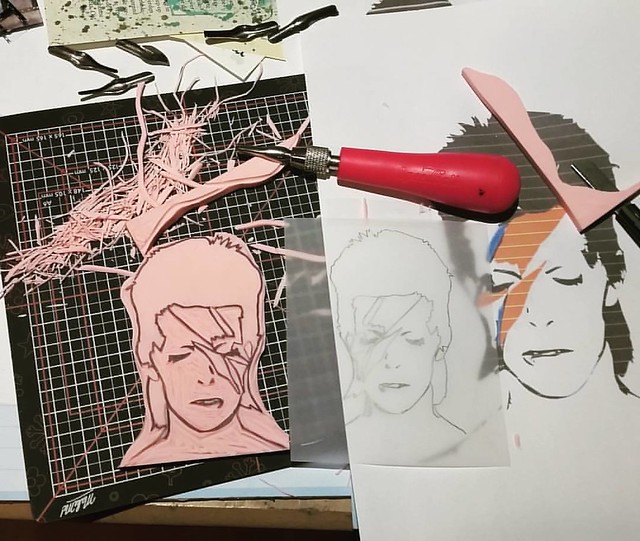
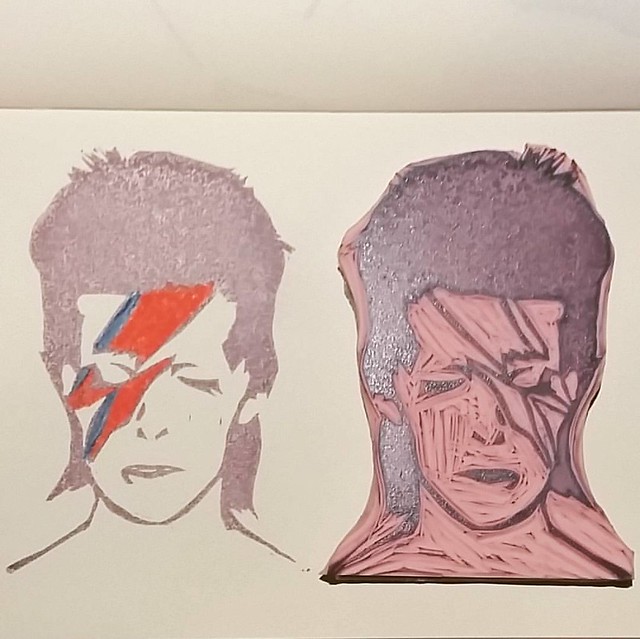
Yesterday, for me, was one of the bluest monday's ever. By now I think the whole world knows and feels the loss of a very influential and talented person. Needles to say, I loved his music and the Labyrinth was one of my fave childhood movies. As a process of working through this loss, I have carved a stamp in his image as tribute/hommage to him. I've not felt the need to carve a stamp in well over a year, but this just came to me as a 'must do' and I when I did, I felt a sense of calm. Making something is my way of processing grief.

Processing grief #ripdavidbowie #ziggystardust #handcarvedstamps #handcarvedstamp #davidbowie #stampcarving #rubberstamps #mailartists #rubberstampart #tribute

This image was shared most on response to his death. And thought it was most fitting for the tribute stamp.

Such a sad, sad day.  R.I.P. David Bowie

Final print in my test journal. I carved it on speedy carve using speedy carve lino tools. Ink used is versa mark eggplant. Colored in with pro-color markers.

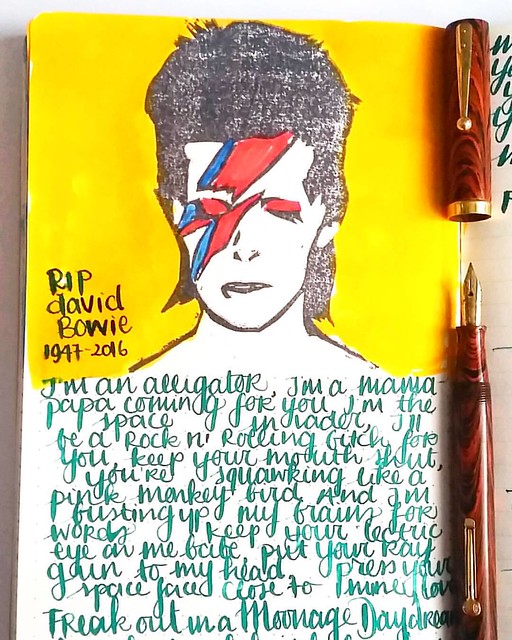
Journal entry from last night. Hand carved stamp and Lyrics written with waterman 52 and Dandy Turquoise #mondaymatchup #mondaymatchupgiveaway #gouletpens @gouletpens

In my journal with Lyrics of Moonage Daydream, one of my fave songs. Pen and ink combo is Waterman 52 red ripple with Montblanc Dandy Turquoise.

Thank you for the legacy you leave behind, David Bowie. 
You will be forever remembered and cherished.

namasté

2015/08/01

stamp carving workshop

stamp carving class, originally uploaded by Miss Thundercat.

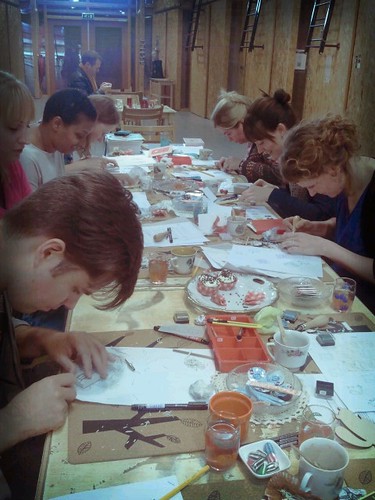
The 5th edition of the stamp carving workshop I taught at Shop Elle Aime on May 13th (mother's day) was another great success & super fun :)
 everyone went home with a nice hand carved stamp.
Thanks for joining in and the 'Gezelligheid' everyone :)

2015/06/03

CZC1 - Playing Tag


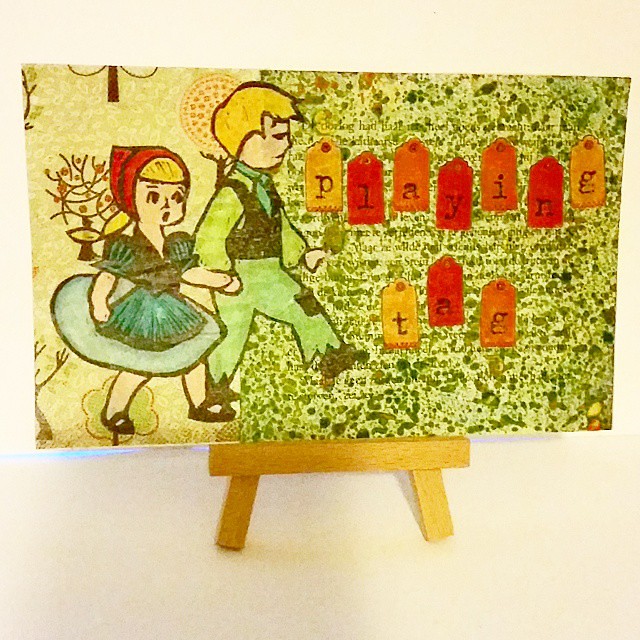
Challenge no.1 'use two or more tags' - I like word puns... #craftorijzomerchallenge #czc2015 #CZC1 #crafty #summerchallenge #crafting #mailart #collageart #hansengrietje #tikkertje #tags #wordpuns #wordpun

The craftorij zomer challenge 2015 started off with the challenge 'Use two or more tags' and this is what I made for it. Yes I like wordpuns ;) The Hansel und Gretel rubber stamp is hand carved by my friend Kate Lee which I received a while back. Gretel's hand is touching Hansel's hand so it looks like they could be playing tag ;) The small tag stamp is from a HEMA stampset which I got a while back. I used it many times for snailmail in combination with my fave typewriter font alphabet stamp. I stamped both the hansel and gretel stamp and the tags on semi transparent paper, colored it in with promarkers and cut it out & glued on the background. I used scrapbook paper and a marbled bookpage as background. I sealed it with artist medium. 

I'll be sharing more of my creations for the summer here but they are at 'random' as I'm doing the challenges as inspiration hits me. Just to keep it fun and not add any pressure of having to do said challenge on the day it's posted. 

thanks for stopping by!

namaste
Tarah

2015/01/04

A Knitted Rilakkuma Hat

A friend of mine commented that I should blog more as it's fun :) I'm trying to get into swing of the blogging thing again, So I'll try to blog more frequently with things I'd like to share with you all :) Also a warm welcome to my new followers via Swap-Bot. Glad you all could make it over here and I hope you'll enjoy your stay :)

This cute Rilakkuma Hat was made for me by my friend Lily, aka Little Emma K on flickr. She got inspired my the travels of the Little bear, as we went to NYC this past June, and made this hat for me :) What a wonderful gesture from someone I just met online :) Her knitted wares are just adorable definitely check out her shop. I'm so inlove with this hat! It's definitely going to be handy in our next travels to Sweden where it be undoubtedly rainy! And it's a good camouflage to hide in the forest, not?

For this kind Rak (=random act of kindness) of hers I've made a little RAK for her in return, this rilakkuma stamp with him wearing the hat :) And I'm glad that it was well received :)


2015/01/03

Stamp Carving - a Greater Challenge


I was struggling with a decision about a stamp I really wanted to carve, but was too intimidated by the design to give it a try. Well a while back I just sat down and just went for it and I wanted to share the result with you here.

First it took me a while to get it started, with sizing the design and tracing with tracing paper and pencil then transferring the image on to the carving block, as you can see on the picture here

The swirls were complicated but I managed to get through them, with a lot more patience than I thought I had ;) After 3 hours the result is this

and I'm pretty happy with the result :) I've decided to stamp her on items I'll be selling on my etsy.
I was looking for a phone slip for my Samsung Galaxy S and the sleeves for Iphone are just a little too small so I made one for myself and offer one up at my etsy and will make more in different colors soon. I love how the print looks on the faux leather fabric :)