2018/05/25

Art Journal: Share the Adventure

Art Journal: Share the adventure

You might have seen the texture play post from earlier this week and today I wanted to show you the art journal page I made with that background. As you can see above, I used the half of the background image I created for my a5 size journal. I created a border with distress crayons and matted onto a lighter card stock then onto the journal. I've rounded the corners with a paper punch because I like the look it gives.

Art Journal: Share the adventure

I have found some older leaf embellishments and adhered with double sided tape, it's really fragile stuff so I had to be careful not to break them. but once they are stuck on to the paper it's no problem, The girls are from Tim Holtz paper dolls set and so is the sentiment I formed. 

"Sisters share the adventure of this happy life together" 

I really love how this page came together esp. how the muted colors of the imagery pops against that boldly colored background! 

Sharing this art journal page to Art Journal Journey's May Flora and Fauna theme. 

Thanks so much for stopping by and have an awesome day!


2018/05/21

WIP: Texture play layer building

Today I wanted to show you a little something different, which I have done before with the poppy flowers a while back, and that is to show you how I create some textured backgrounds and layer building process with paints and other media. I've used AALL and Create stencil #18 and stamps from their latest release for this.

Texture play and layer building

First I start off with a base of gesso on mixed media paper. Then applied the modeling paste through the stencil, heat dry to the touch then stamp in the paste to get the texture imprint. Once that was fully dry, I gave it another coat of gesso and when that dried I did the glazing technique with black paint to get the shadows/low light effect. You can see DeeDee Catron do that HERE for Donna Downey Art Gang.

Texture play and layer building

Now to add some color: I used cosmic shimmer pixie powder for the first layer. Used different colors of greens and pewter to get a bit of an ombre effect. Looks fun so far, but the pixie powder stays too water reactive and I wanted something more permanent and brighter. So in with the paints!

Texture play and layer building

So I've taken my mini foam brayer and paints in blue hues by paper artsy and finnabair blue metallic paint & Opal Magic Rose Gold and just brayered on some layers of paint. I made sure to use a combination that blends well together and added lighter and darker aria's for depth. I also brayered paint over the textured aria and it had lost some shading so I tried to bring it back with a stabilo all pencil.

Texture play and layer building
So the shadow parts make the texture stand out a lot more! I then stamped around the modeling paste texture for some other texture to break up the pattern.

Texture play and layer building
To finish it off I added some white and gold splatters, outlined some circles with a white gel pen and added touches of the rose gold paint over it for a bit of shimmer. And I called the background done! 

Stay tuned for the art journal page I created with this background coming up soon!

Thanks for stopping by and have an awesome day!

2018/05/16

SDC298 - Black and White with a pop of colour

SDC298 BW and a pop of colour

Today at Stampotique Originals DC blog is the second week of a fun challenge: a pop of color with the black and white. This is what I made. I just LOVE that poodle stamp and yeah I did a lot of masking for this! LOL! I really love how this one turned out and hope you will join our challenge this week. Stamps I used are all from Terri Richardson and I used Poodle Doodle, Ewe and the sentiment I made from various words from the Valentine's Day sentiments. 

Thanks for stopping by and have an awesome day!

2018/05/11

Craft Stamper TIMI - May Challenge Inspiration

CSTIMI You are worth it

Today I wanted to share some inspiration with you for the Craft Stamper Take It Make It May Challenge. I've created this page in my junk mail art journal and the idea of this journal is to use up my trims and excess craft waste and turn it into something new. On this page I glued down a lot of excess die cut waste in a nature and flower theme. Then used some black gesso over it and got to work with DecoArt Media metallic Lustre to highlight and shine some aria's. I also used a white posca pen to accentuate some inner lines. Stamped it up with some lush mixed media stamps from VLVS! and Stamplorations. The face stamp is a boxed lady from Dina Wakley which I colored with promarkers and paired with words from the Boxed Sentiments stamp set from Stamplorations. Lastly some white spatters to bring it all together. 

CSTIMI You are worth it

Close up shot of the page. I really enjoy this technique, it's fun and simple to do!

I've made a little video on it how you can achieve the back ground look with the DecoArt Metallic Lustre which you can view here:
Hope you found that little technique video useful. Let me know by hitting that like button :)

Thank you kindly for sending me these Metallic Lustre products to play around with
DecoArt Media crew!

Hope this also inspired you to join the challenge at the Craft Stamper blog where you can be in the running for fabulous prizes from this month's sponsor and have a chance to get your work featured in the magazine! But you must be it it to win it, so link up your projects here :)

Thanks for stopping by and have a great weekend!

2018/05/09

WIP: no crying over spilled ink!

Work in progress with @aallandcreate stamps. And yes, that is a large A4 stamp which I cut in two. With the no. 57 this is really easy to do without harming the imagery. #workinprogress #WIP #collageart #rubberstampcollection #rubberstampart #aallandcreat

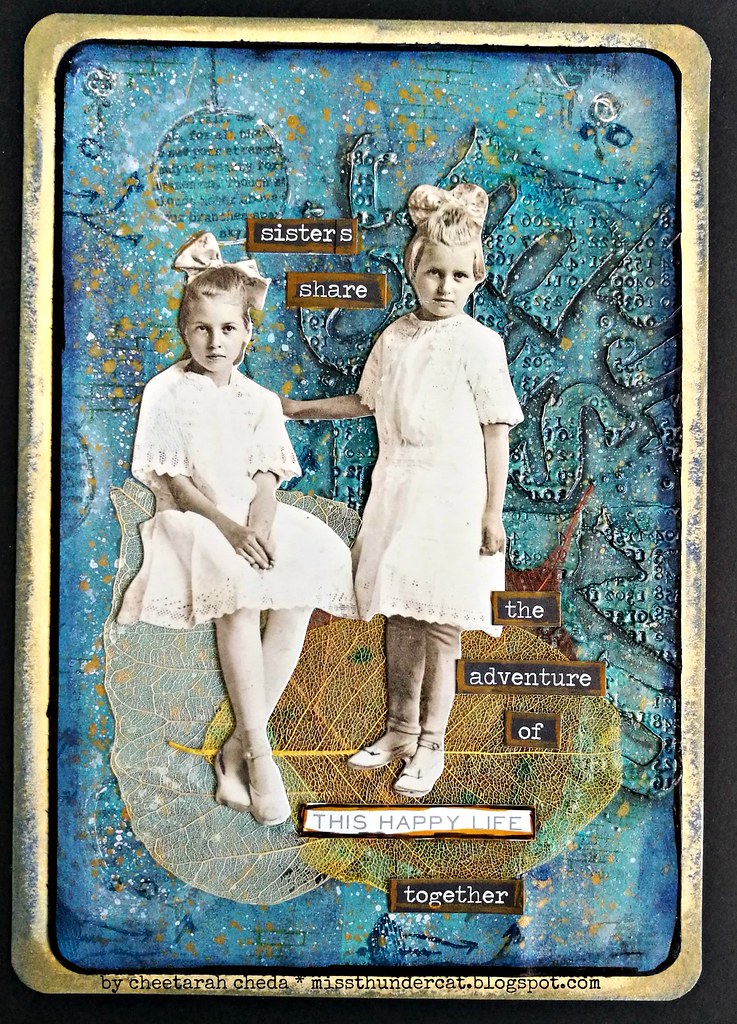
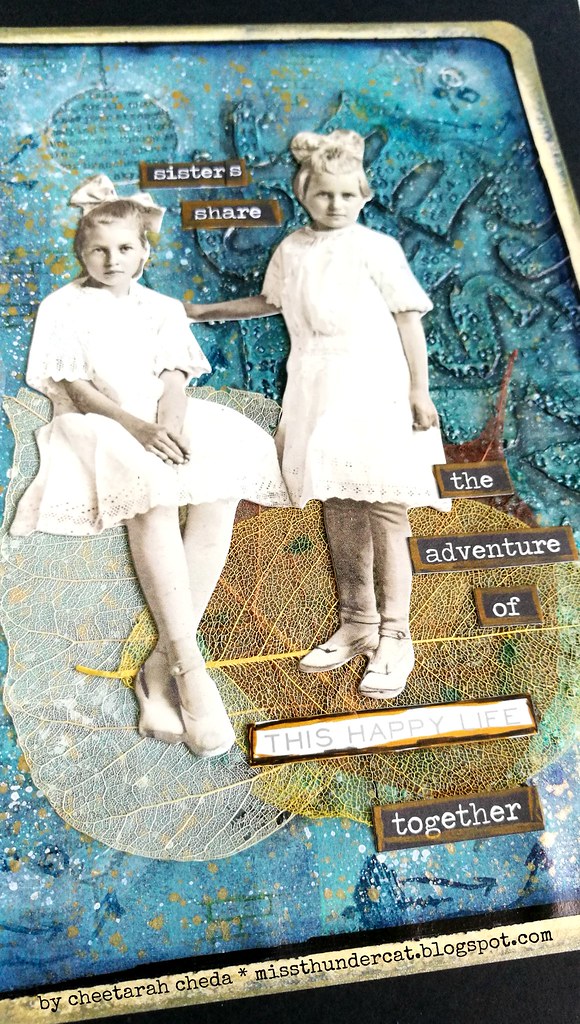
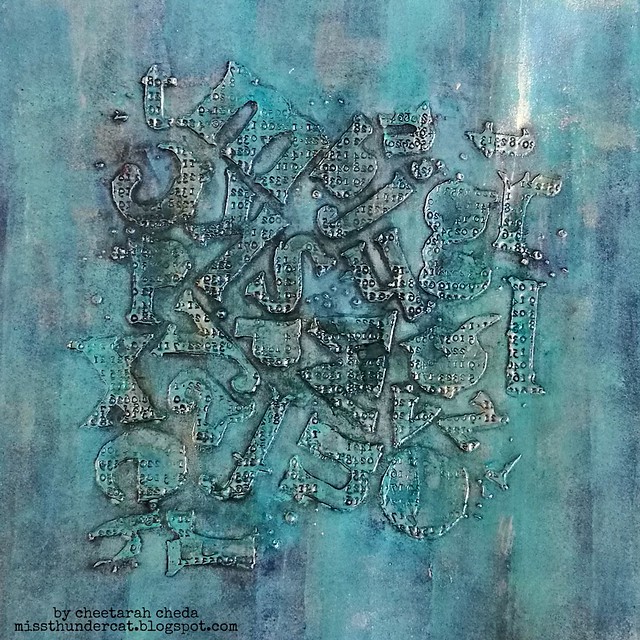
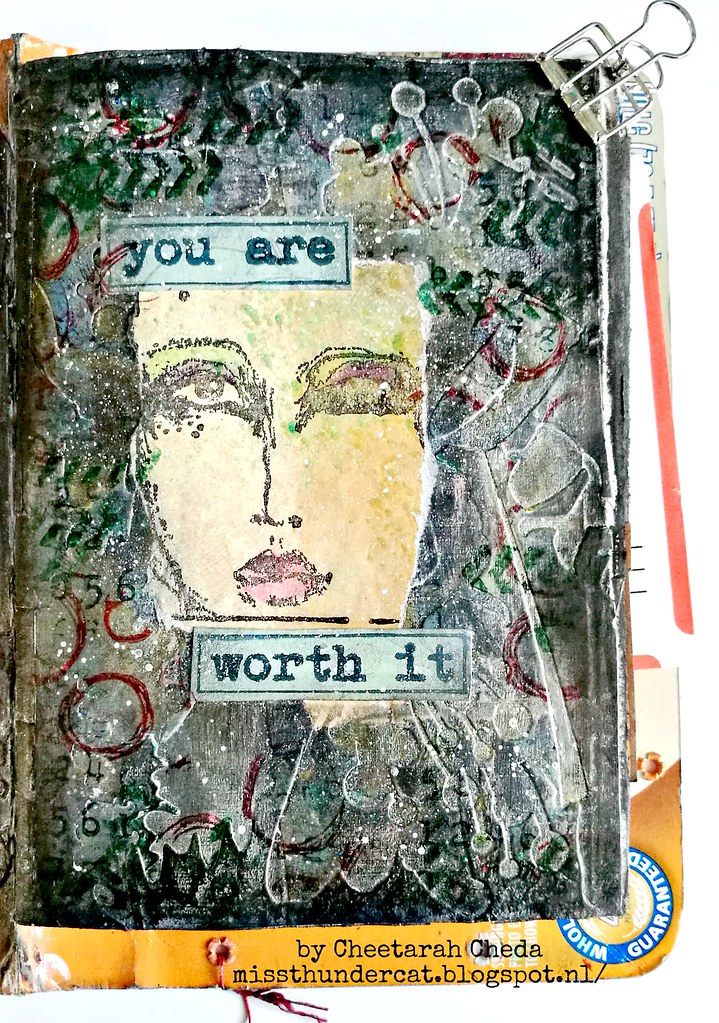
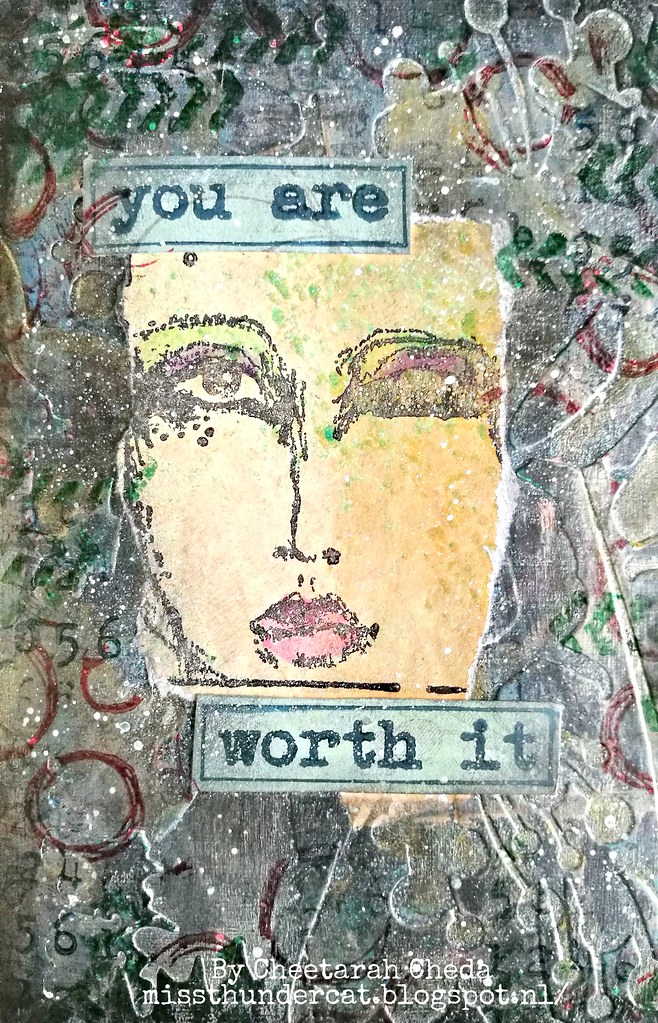
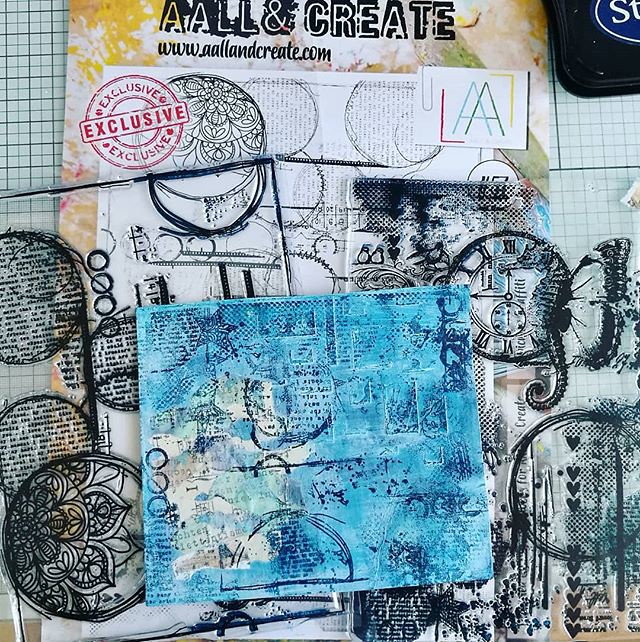
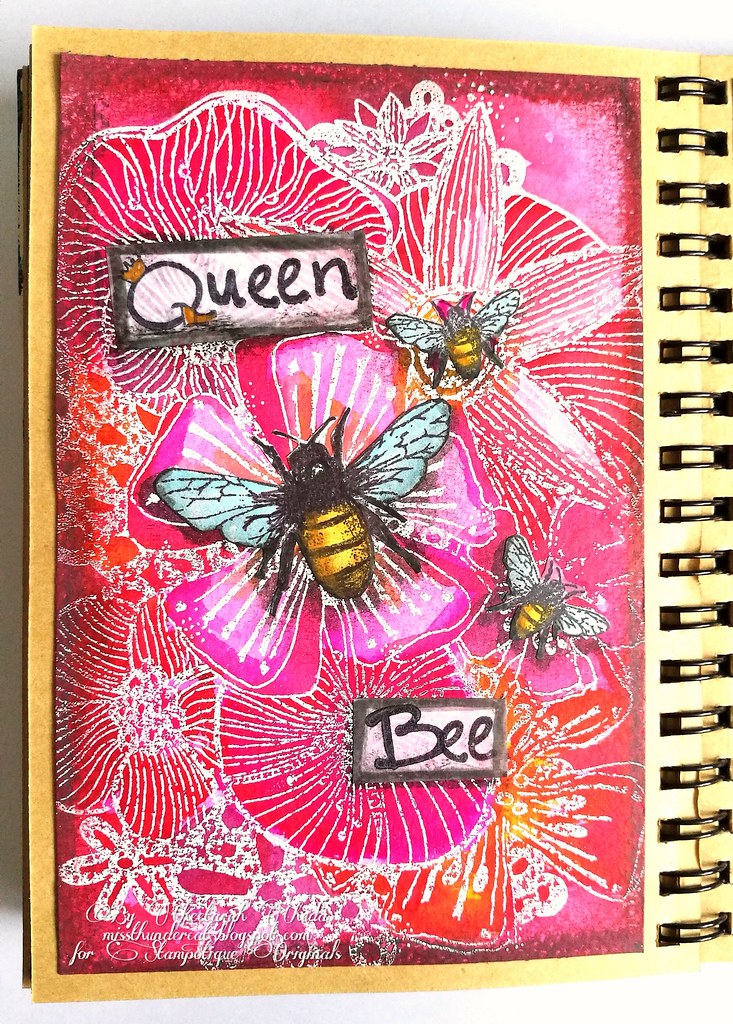
It's wednesday and bit of a hump day indeed, but pushing through the work today so I can enjoy a long bank holiday weekend. Looking forward to enjoy the sunshine and finish some works in progress. This is what my desk looked like this morning - left it like this as I was in a hurry to get out the door. Yesterday I started to work on the above art journal tip in page, did a bit collage and stencil work, some gesso over it and wanted to use my DecoArt Media Spray - got the turquoise shimmer spray and twisted the spray nozzle off to apply a little bit on the edges and as I put the bottle down, was not looking where, it tipped all over my card and the glass matt!!

I learned a couple of things here: don't open bottles right over your work, always look where you are putting your bottle away, having a glass matt is super duper handy (clean up was easy and managed to save some spilled ink with a pipette) and baby wipes and gesso are life savers for sure!
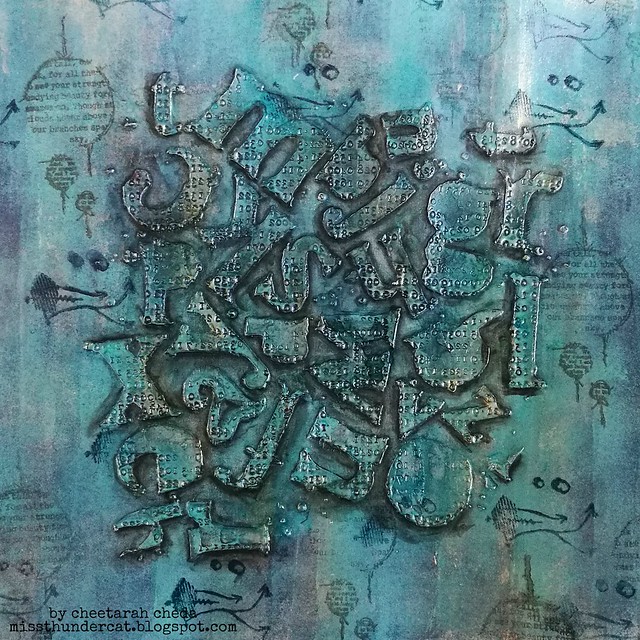
So after the clean up, I dried the piece thoroughly, gesso over it until desired muted effect and started again. No crying over spilled ink or "mistakes" because you can just always start over! 

By the way, stamps are from AALL and CREATE  (very popular new brand of clear stamps and stencils) actually it is one LARGE A4 size stamp which I cut in two - the imagery was not hurt because they can actually be used separately. This is #57 and designed by Olga Heldwein - I actually met her and Autour at Art Specially earlier this April and they are just delightful!

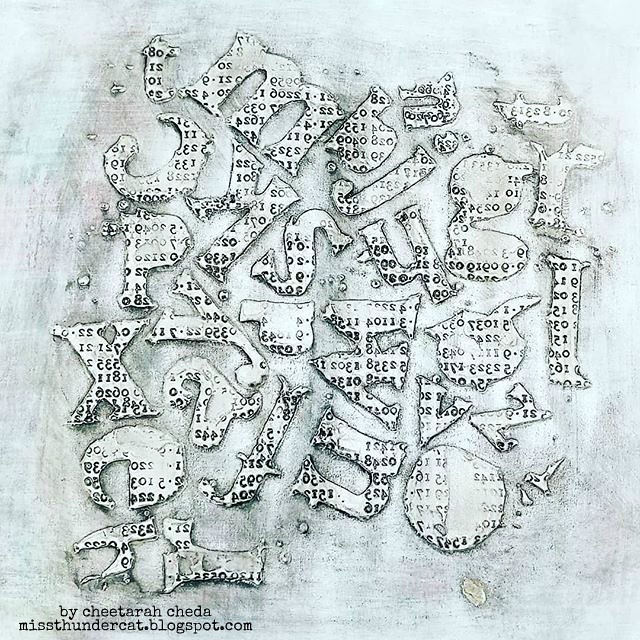
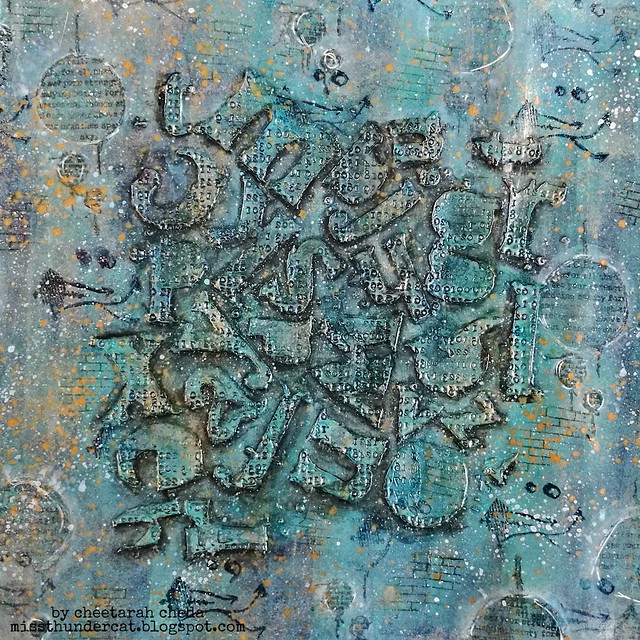
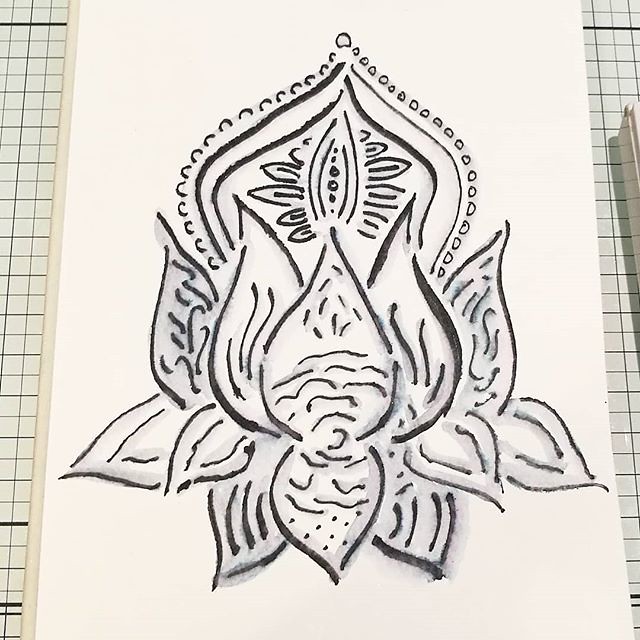
Another piece I am working on is the following:
The elegance of the Elegant Writer. Fun to finally test it out with @stencilgirl_products 'thanks a lotus' stencil. Also loving my new @tonicstudios A3 tempered glass matt ✨ #elegantwriter #elegantwriterpen #stencils #stencilgirl #watercolorplay

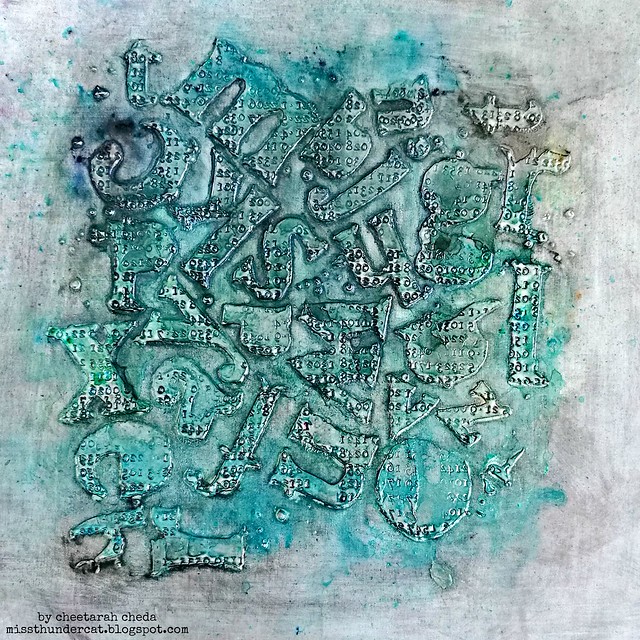
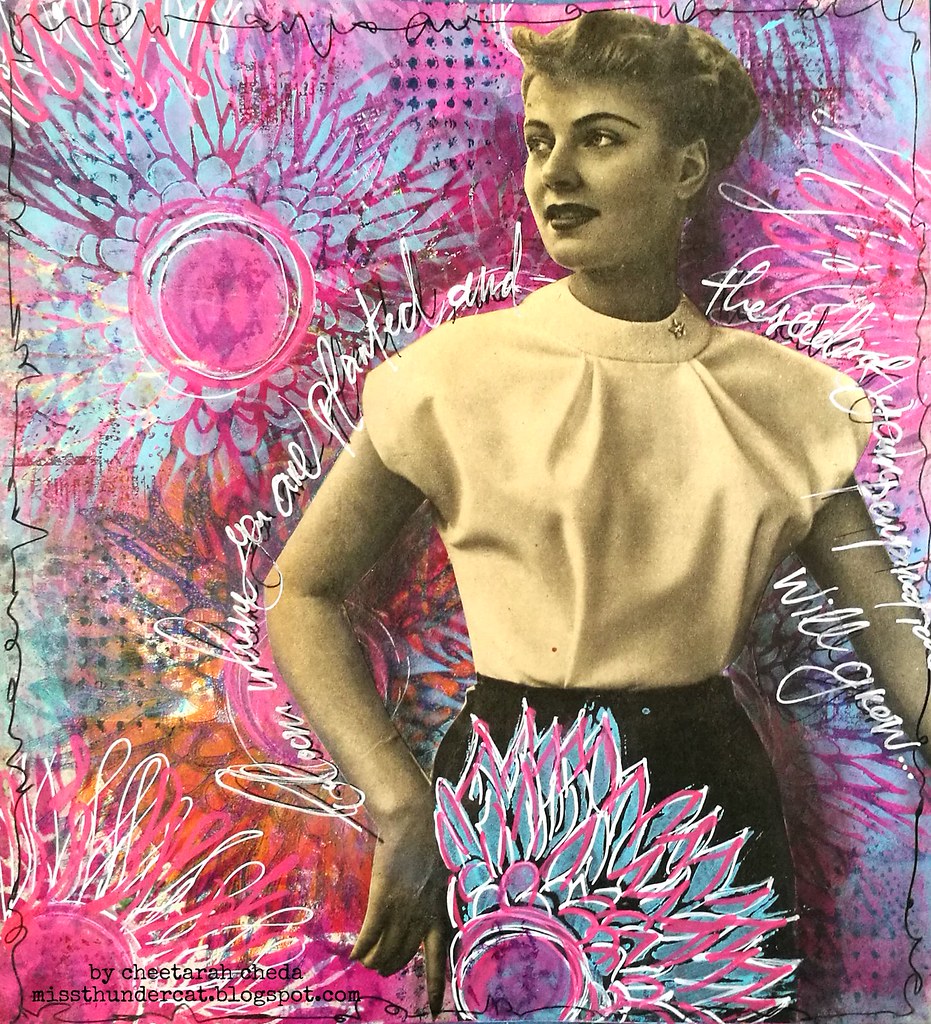
I finally used the Elegance writer pen by speedball over a stencil and watercolor paper. I just wet the outlines with a water brush to create this effect. And I am not sure to add more color or just a little color or just leave it like this with a quote... well, it has been on my desk for a while (thankfully no blue spillage on there!) so I hope to finish it this weekend. 

This stencil I used is from StencilGirl® and is called Thanks a Lotus designed by Andrea Matus deMeng. It's new in my stash and I absolutely LOVE it! By the way, if you missed the news, I am super thrilled to be on the design team for SG this term! So you'll be seeing me using their stencils a lot more frequently in my coming work :) 

Sharing the desk shots over at Julia's WOYWW #466 this week. Hope you all have been doing well and looking forward to catch up with you! 

Thanks for stopping by and have an awesome day!

2018/05/07

Bloom where you are planted - StencilGirl DT announcement!

Bloom where you are planted

It was so difficult to keep this a secret, but now I can finally tell you 
all about this awesome news: 
I am so excited to announce I'll be part of the Stencil Girl Products Design Team for this term :) You know me, I love using stencils in my work and I was just over the moon when I got the news I was accepted in this awesome team to represent this amazing company through my work! 

To celebrate it made this Art Journal tip-in page using one of my fave stencils/masks by Traci Bautista Deconstructed Chrysanthemum The background is made with my gelli plate and I made several prints and ghost prints on a piece of patterned paper. I also sponged some paint through the stencil in various places and accentuated them with doodles. Stamped some lush grungy stamps from Lost Coast Designs in the background for more texture. The lady is a cut out from a vintage magazine and I adhered her with matte medium. Covered her skirt with the same stencil flower pattern and gave her some shadow contrast with a grey artist pitt marker. 

Then I took my black posca pen to doodle the edges and write down the sentiment 
"Bloom where you are planted and the seeds of your perspiration will grow" 
I went over it with a white posca pen because I wanted the sentiment to POP more which now it does. 
This art journal page is to inspire me (and you) to do what you love and love what you do, so that when you bloom where you are, you will see your efforts come to fruition.  

Hop on over to StencilGirl Talk today and find out who my other wonderful creative team members are and let us know what you think :)

I would like to enter this art journal page in the following challenges:
Art Journal Journey: Flora and Fauna
Moo Mania: Flowers
Try it on Tuesday: Stencils/die cuts

Looking forward to showcase more work over the coming year with StencilGirl® stencils.  

Thanks for stopping by and have a wonderful day!

2018/05/03

Art Journal: Floral Queen Bee

Floral queen bee

Continuing with playing in my art journal with the new release from Stampotique Originals and this time it's Flower Frenzy designed by Kassa Hayselden. I just absolutely LOVE the flower designs she does and this is no exception! The image is embossed on watercolor paper and colored in with Jane davenport Mermaid markers. Love how the white part which is embossed resists all the color.  Bees are by Jo Capper Sandon and I've cut parts of the sentiment of Be your Own Queen to make Queen Bee. The beauty of text stamps really, is you can just rearrange stuff to your liking to form phrases you want ;)

Sharing this art journal page to the following challenges:


Thanks so much for stopping by and have an awesome day!


2018/05/02

Art Journal: So Knotty About You (New Release Stampotique Originals)

It's the 1st of the month so that means that it is new release day for Stampotique Originals! These are mr. and mrs. knotty and they are knotty about each other! Stamps designed by @arwen_mccullen and available at Stampotique Originals today _____ #Stampo

So this post should have gone up yesterday, but things didn't work out that way... but I am here now to show an art journal page made with some NEWLY released stamps from Stampotique Originals this month. Starring on this page is Mr. And Mrs. Knotty whom are So Knotty about each other. They are designed by Arwen McCullen. Aren't they just fun?  The back is made with a brick stencil, modeling paste, black gesso and deco arts metallic luster. The figures are colored with alcohol markers. 

Go check out more of the new release project on your Facebook page from my fellow DT mates and I'll be showing some more later this week. 

Thanks for stopping by and have an awesome day!