Showing posts with label one layer. Show all posts

2018/05/21

WIP: Texture play layer building

Today I wanted to show you a little something different, which I have done before with the poppy flowers a while back, and that is to show you how I create some textured backgrounds and layer building process with paints and other media. I've used AALL and Create stencil #18 and stamps from their latest release for this.
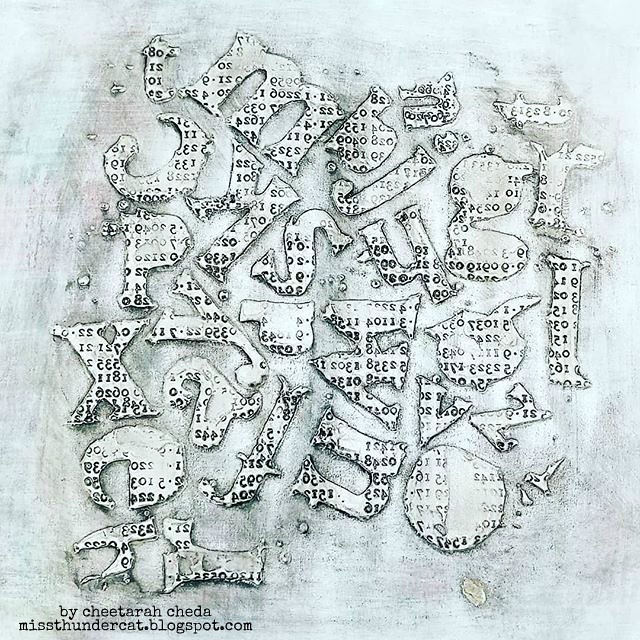
Texture play and layer building

First I start off with a base of gesso on mixed media paper. Then applied the modeling paste through the stencil, heat dry to the touch then stamp in the paste to get the texture imprint. Once that was fully dry, I gave it another coat of gesso and when that dried I did the glazing technique with black paint to get the shadows/low light effect. You can see DeeDee Catron do that HERE for Donna Downey Art Gang.
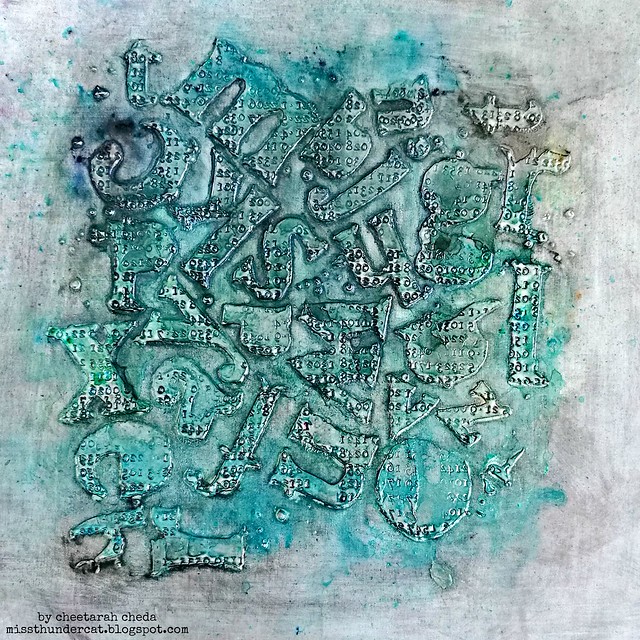
Texture play and layer building

Now to add some color: I used cosmic shimmer pixie powder for the first layer. Used different colors of greens and pewter to get a bit of an ombre effect. Looks fun so far, but the pixie powder stays too water reactive and I wanted something more permanent and brighter. So in with the paints!
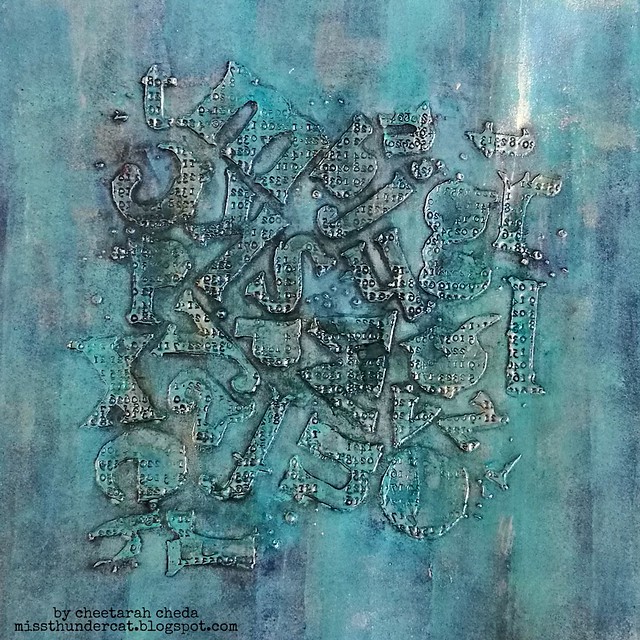
Texture play and layer building

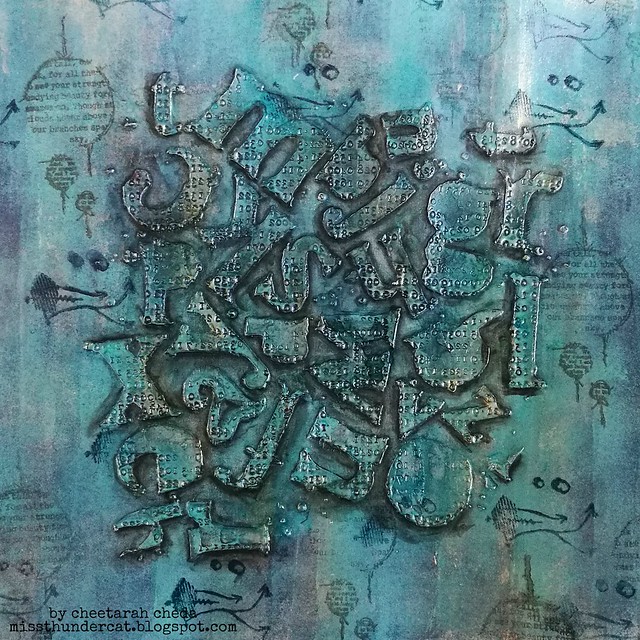
So I've taken my mini foam brayer and paints in blue hues by paper artsy and finnabair blue metallic paint & Opal Magic Rose Gold and just brayered on some layers of paint. I made sure to use a combination that blends well together and added lighter and darker aria's for depth. I also brayered paint over the textured aria and it had lost some shading so I tried to bring it back with a stabilo all pencil.
Texture play and layer building
So the shadow parts make the texture stand out a lot more! I then stamped around the modeling paste texture for some other texture to break up the pattern.
Texture play and layer building
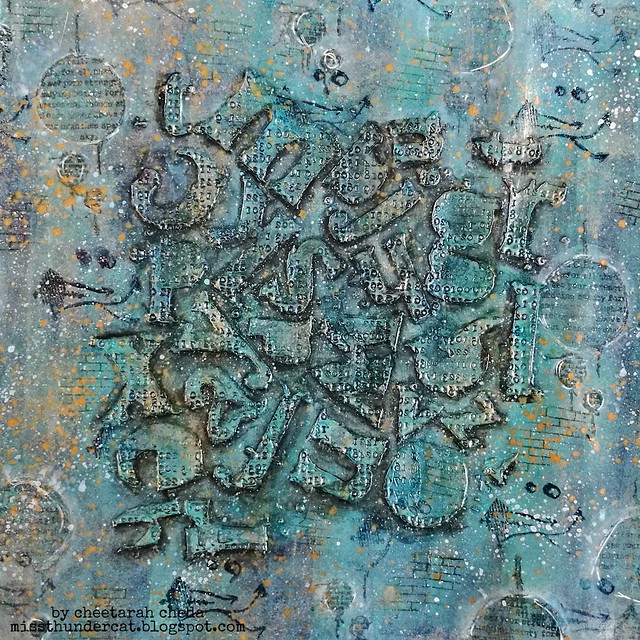
To finish it off I added some white and gold splatters, outlined some circles with a white gel pen and added touches of the rose gold paint over it for a bit of shimmer. And I called the background done! 

Stay tuned for the art journal page I created with this background coming up soon!

Thanks for stopping by and have an awesome day!

2017/04/26

It's time to focus - SDC#272 Guest post

One layer - Stampotique Originals guest post April

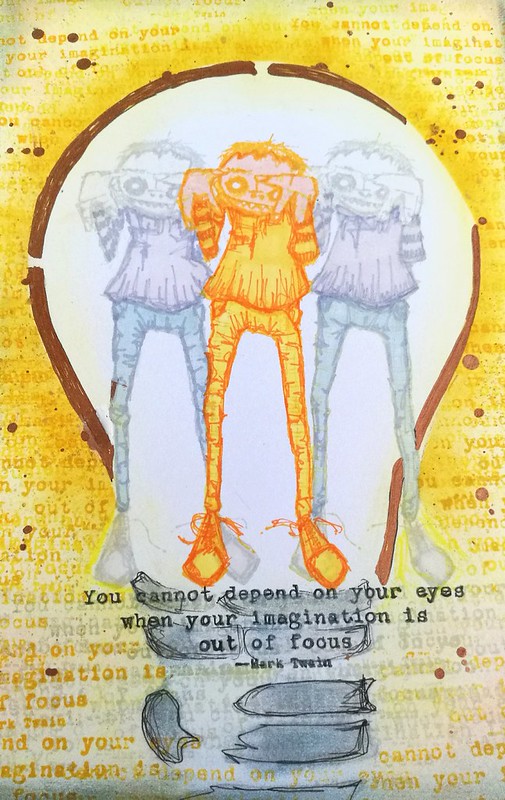
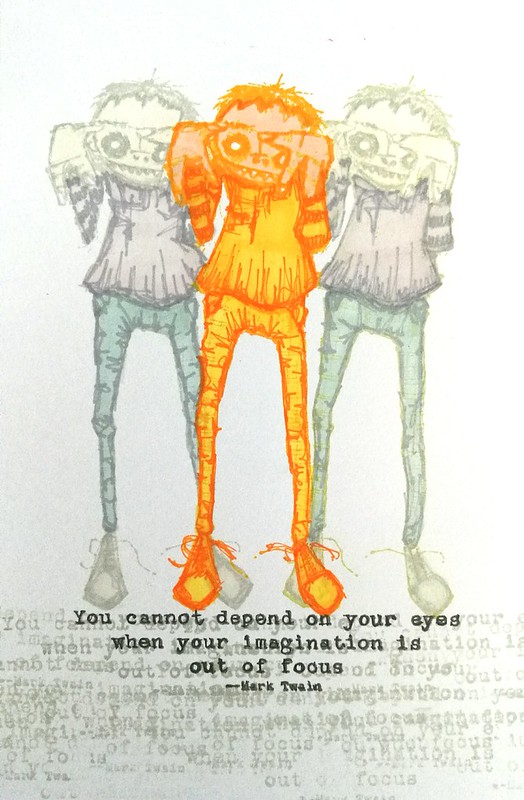
It's my last week over at Stampotique Designer's Challenge blog as guest designer and wow this month just flew by! Today I am sharing the project I made for this fortnight's challenge; One Layer. One of the most common techniques to achieve a one layer image is to use masks. I've done that with this journal page and only used 2 stamps, Topher and You cannot depend quote stamps and the Enlighten Stencil from Donna Downey.

One layer - Stampotique Originals guest post April
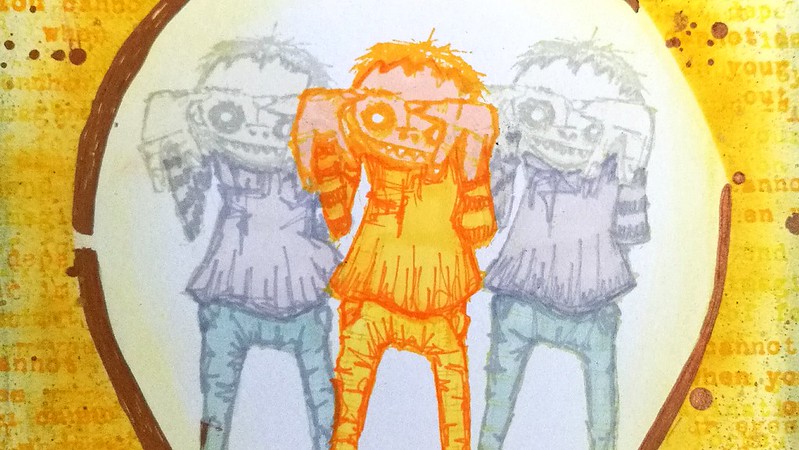
First off I have stamped Topher in the middle, then masked and stamped on either side. I used Staz On mustard yellow and dove grey to stamp because I wanted to do a no line coloring in them (a coloring technique where you won't see the stamped lines). I used my stamping ruler to get the placement right. I measured the quote so that it would fall on that line width and not beyond. When I had my Tophers set, I stamped the quote in memento black and a few times with dove grey. I colored the guys in with Letraset Promarkers. Now the advantage of stamping with a lighter ink pad is that you do not have to follow the lines of the stamp! I gave them different lines in the pants section as i wanted similar lines as the shirt. And the middle one is yellow/orange because he's the bright light of the bunch, ha! I do LOVE how topher and the quote really match!

One layer - Stampotique Originals guest post April

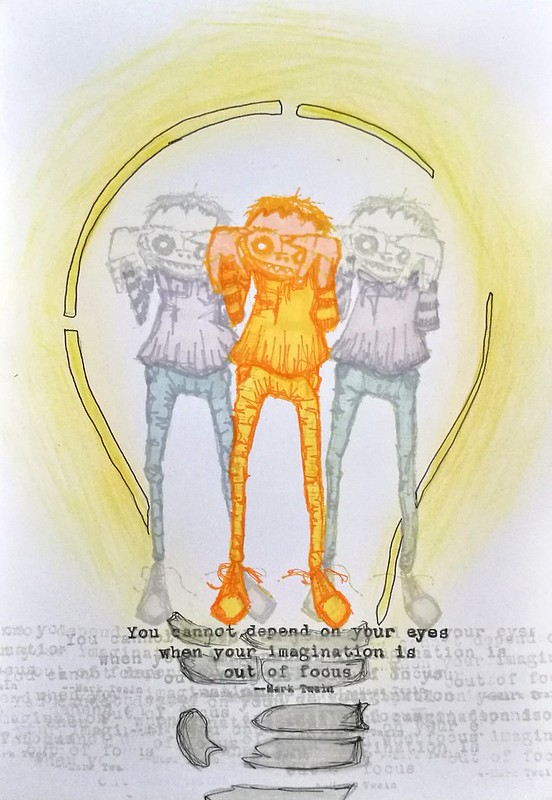
Next up I placed the light bulb stencil over the image and traced with a faber castel pitt pen. I then colored it in with chalks and colored pencil, but thought it was too light. So I made a mask for the lightbulb and used my distress ink in yellow with a blending tool to get a bright yellow beam of light around the bulb.

One layer - Stampotique Originals guest post April
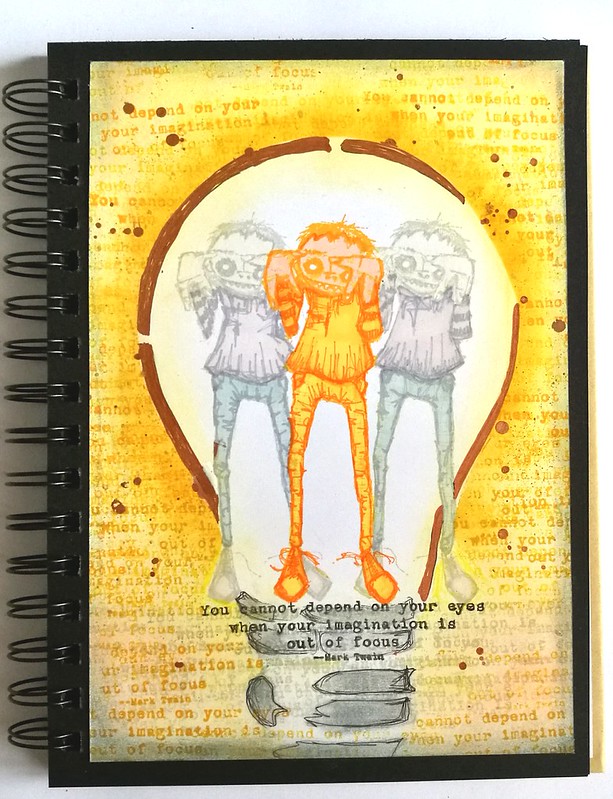
I stamped the quote several times on the outside of the bulb and used a copper paint pen for accents and spatters. Made some shadows and accents with chalks and called it done.

One layer - Stampotique Originals guest post April
A close up of the page where you can see the chalky accents in the bulb. 

As Topher is trying to do, I'm getting my imagination into focus and I hope this inspired you to play along with this fortnights theme over at Stampotque Challenge blog!

I wanted to thank Stampotique team again for having me over for a visit this month, I really had fun! And I hope you have enjoyed the projects I made their stamps this month as well :) 

Thanks for stopping by and have a wonderful day!