Showing posts with label you tube. Show all posts

2018/02/06

The magic of writing (+ Process Video)

Art Journal: the magic of writing

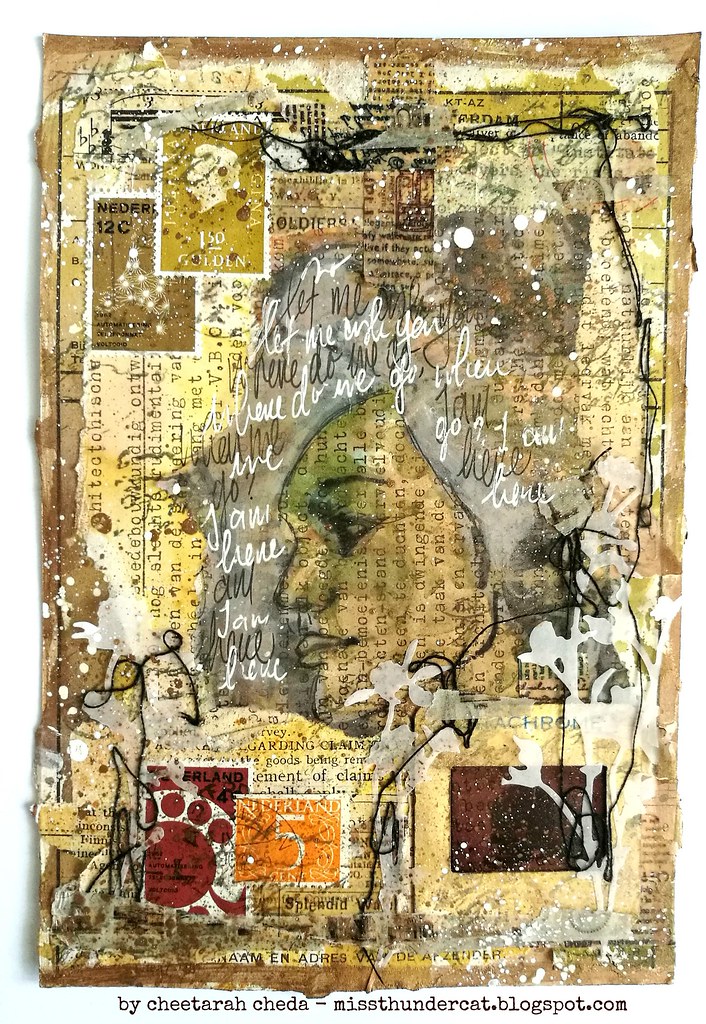
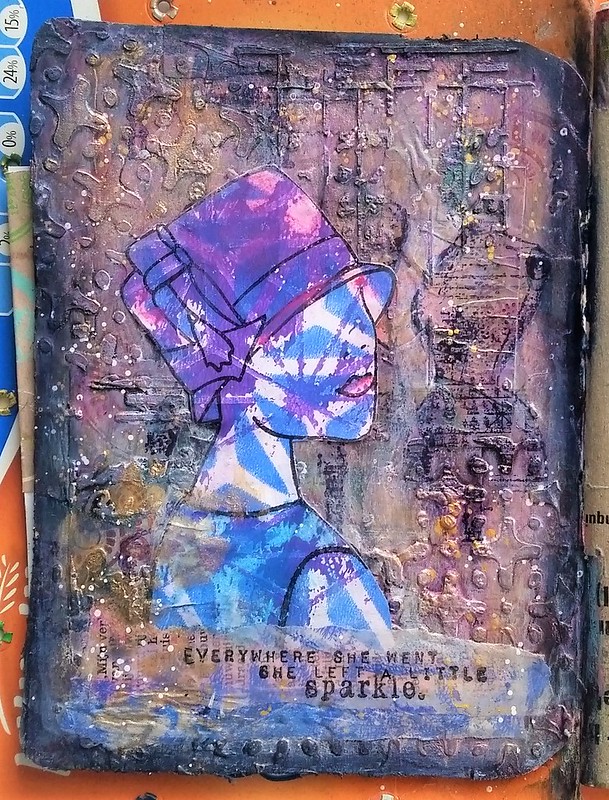
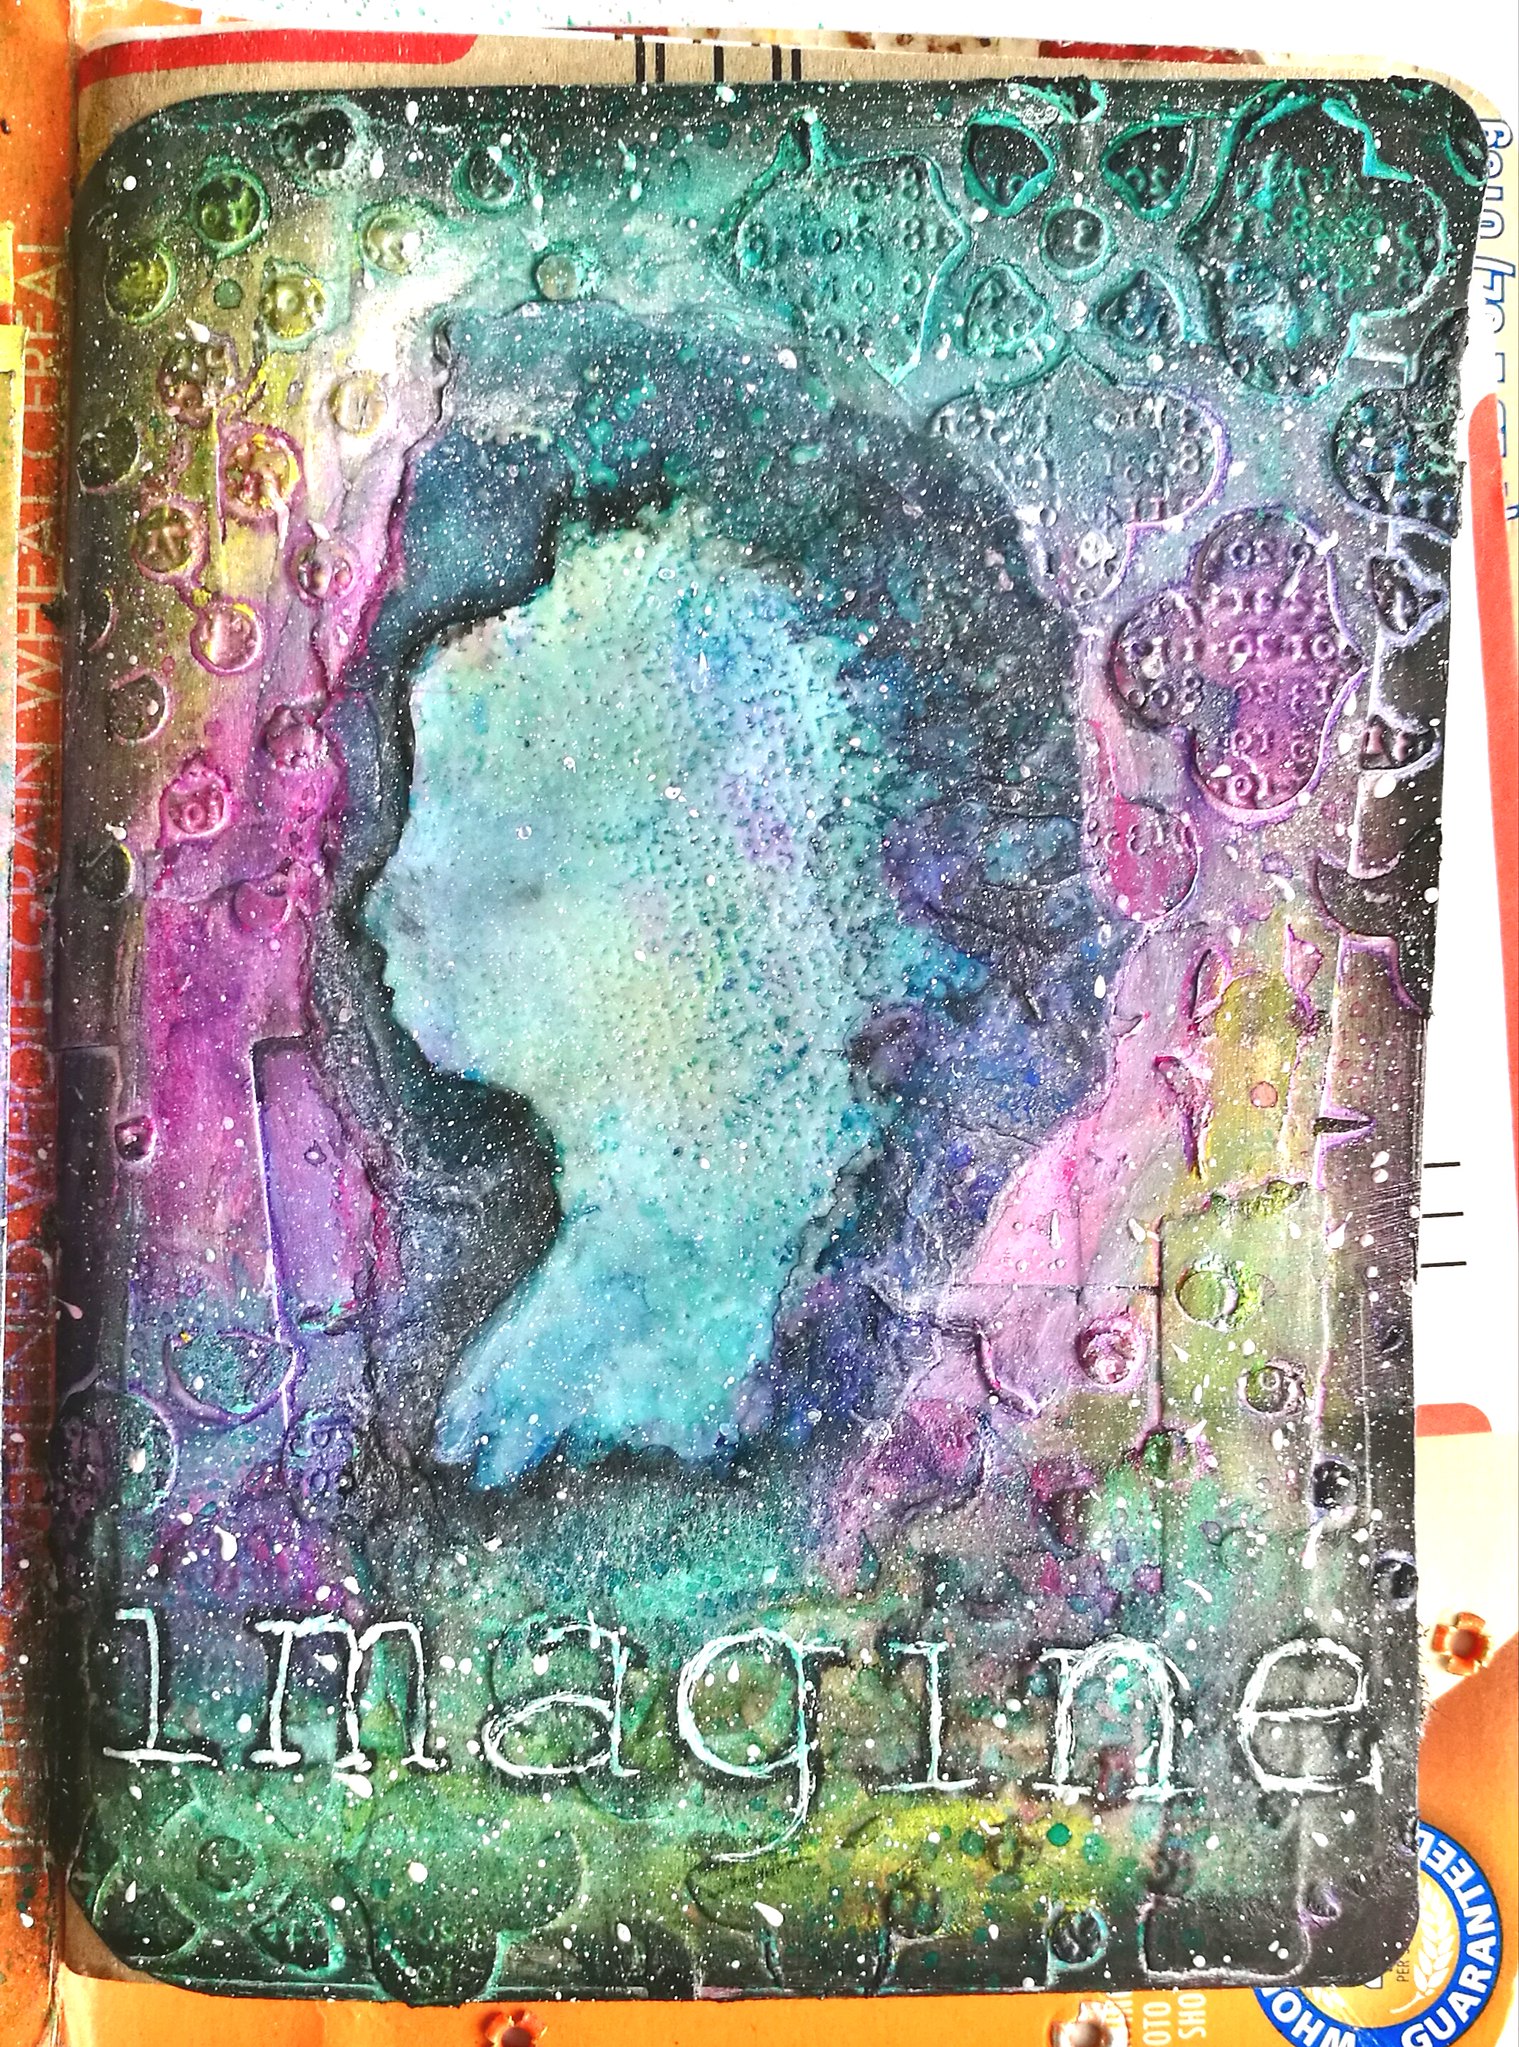
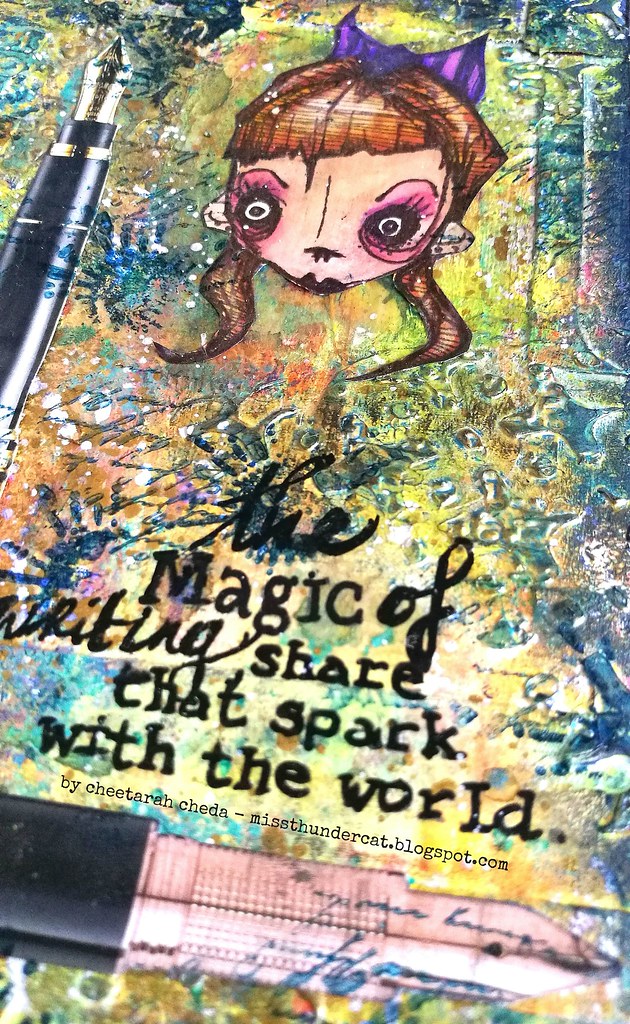
Hey everyone, I've got a fun mixed media art journal tip in page to share with you. This Mixed Media piece shows my love for art journaling and writing. It's INCOWRIMO (international Correspondence Month) and it absolutely fits with that theme.  
Art Journal: the magic of writing

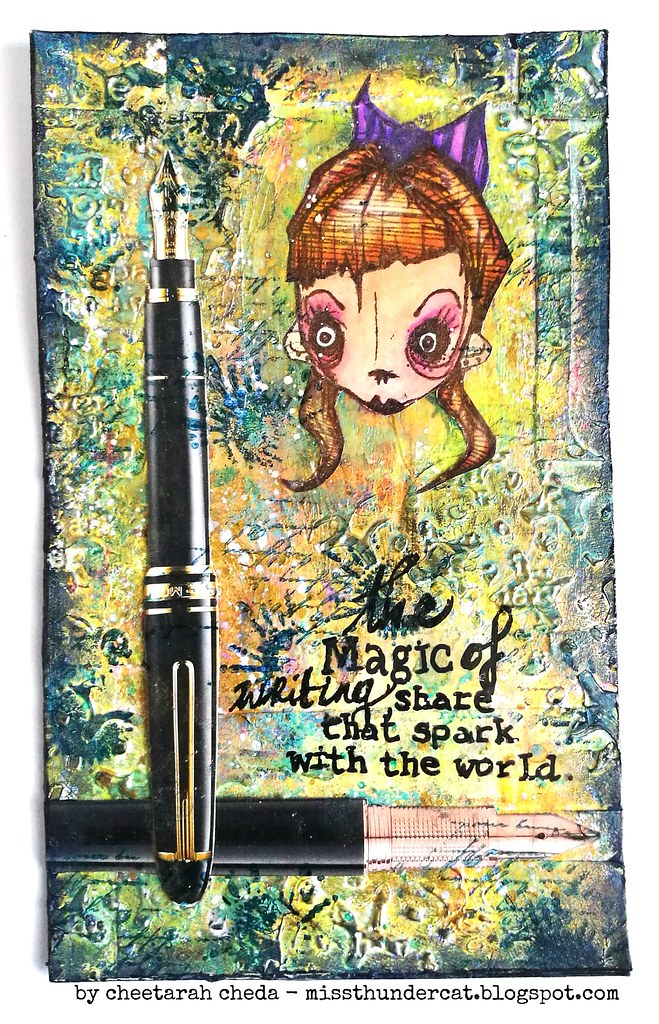
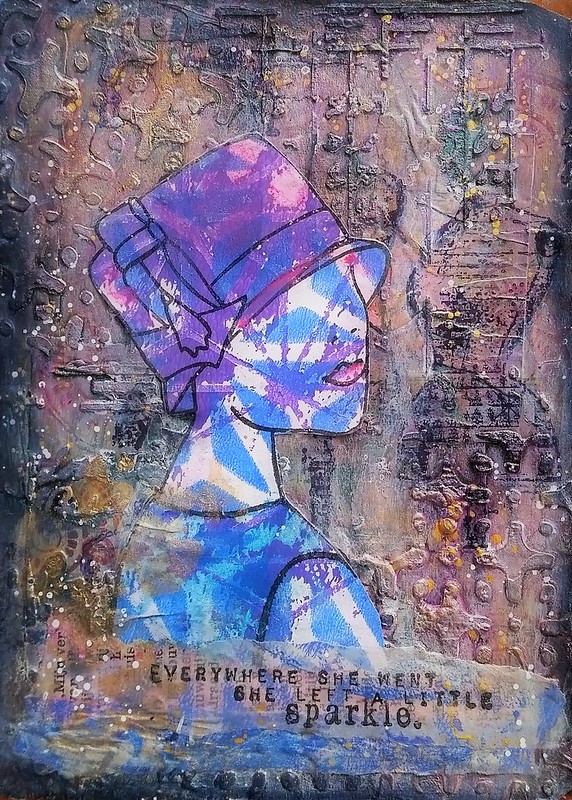
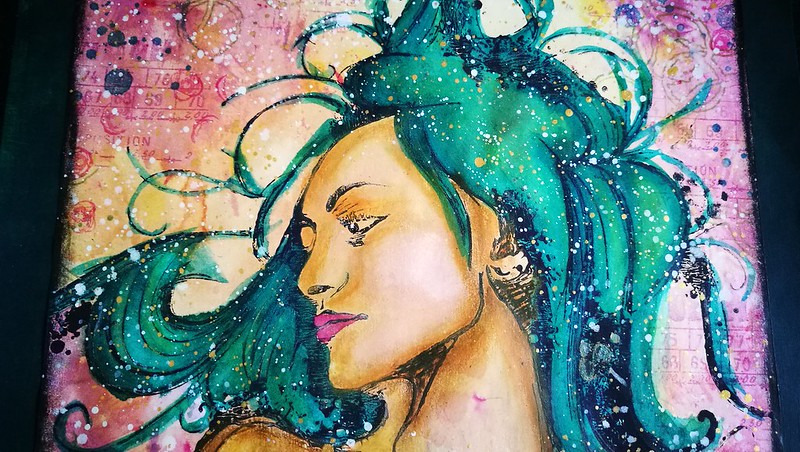
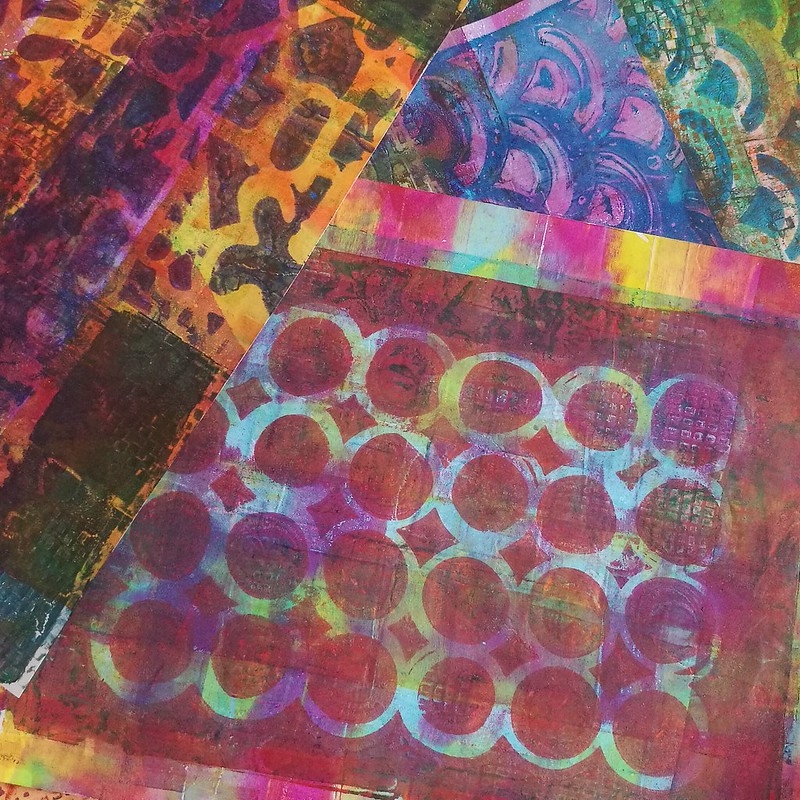
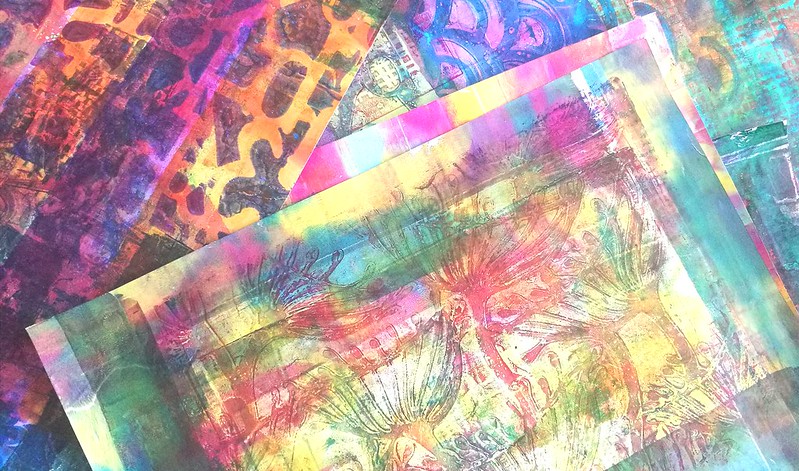
I love how colorful and textured this piece turned out!

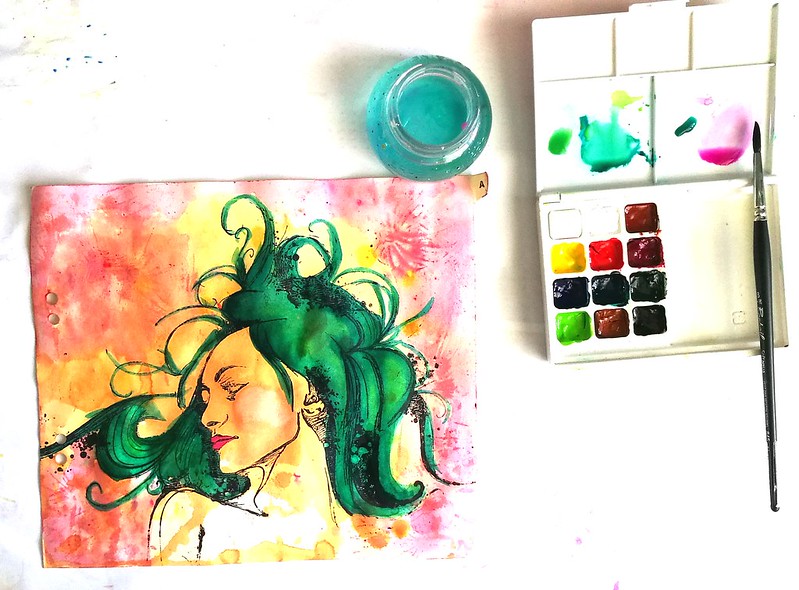
I've also filmed the process so you can see exactly how I made the texture and added color in the background here:


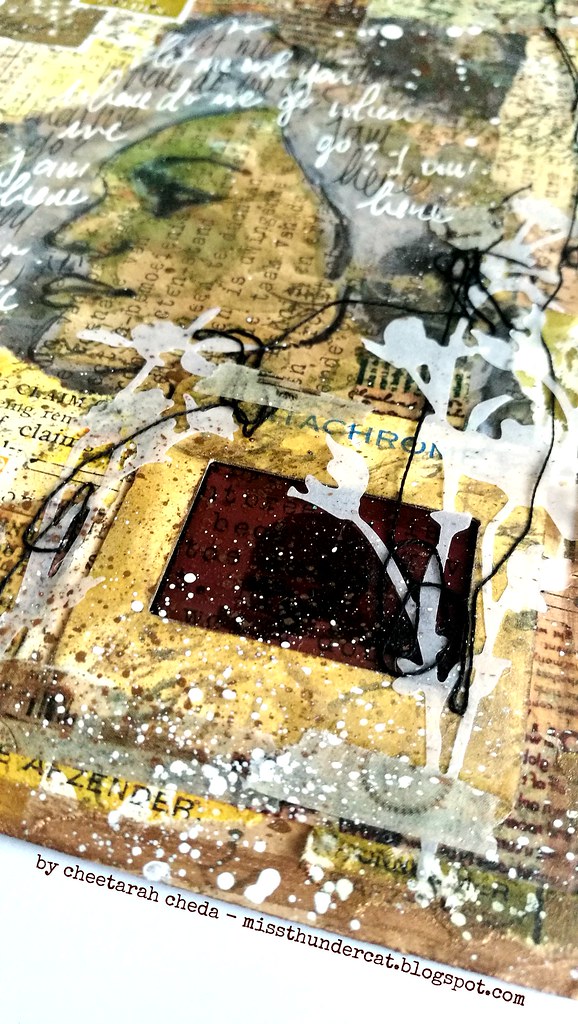
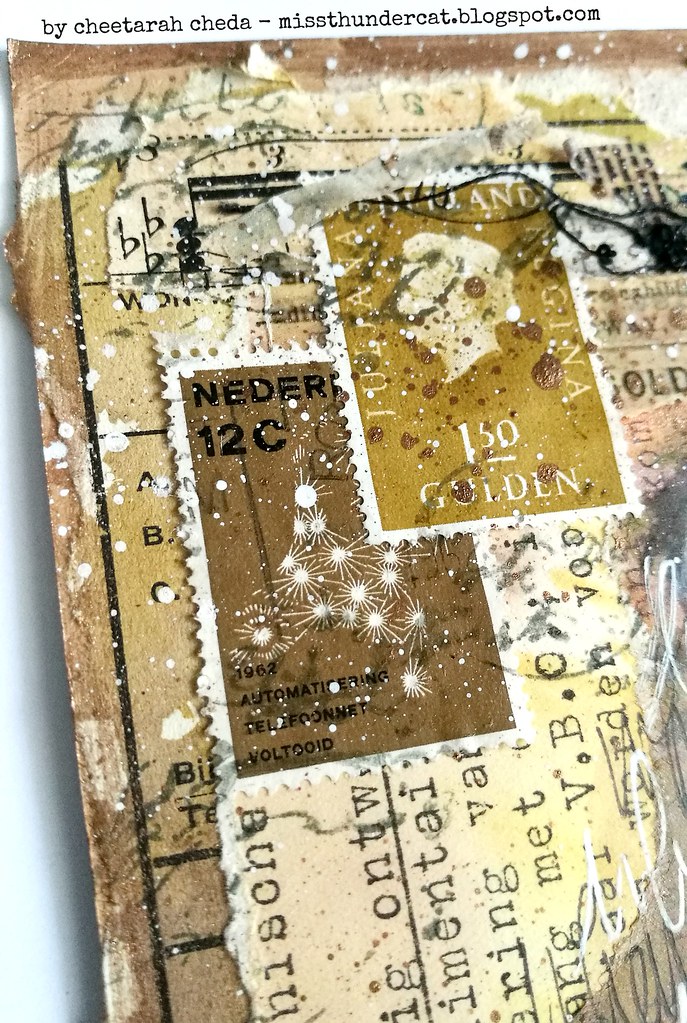
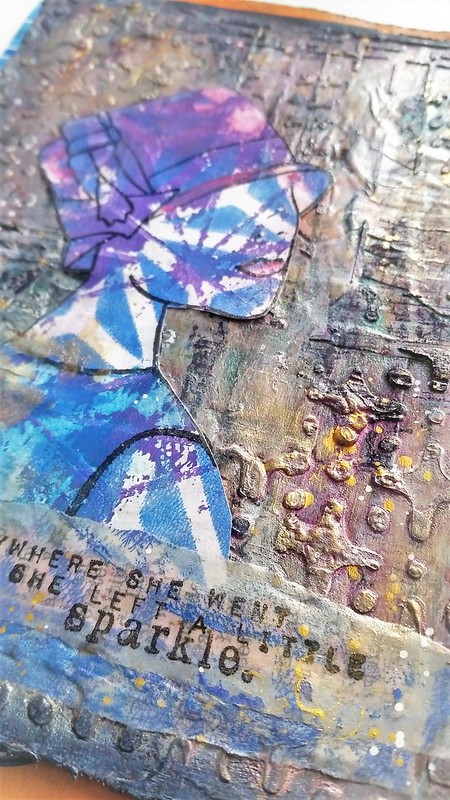
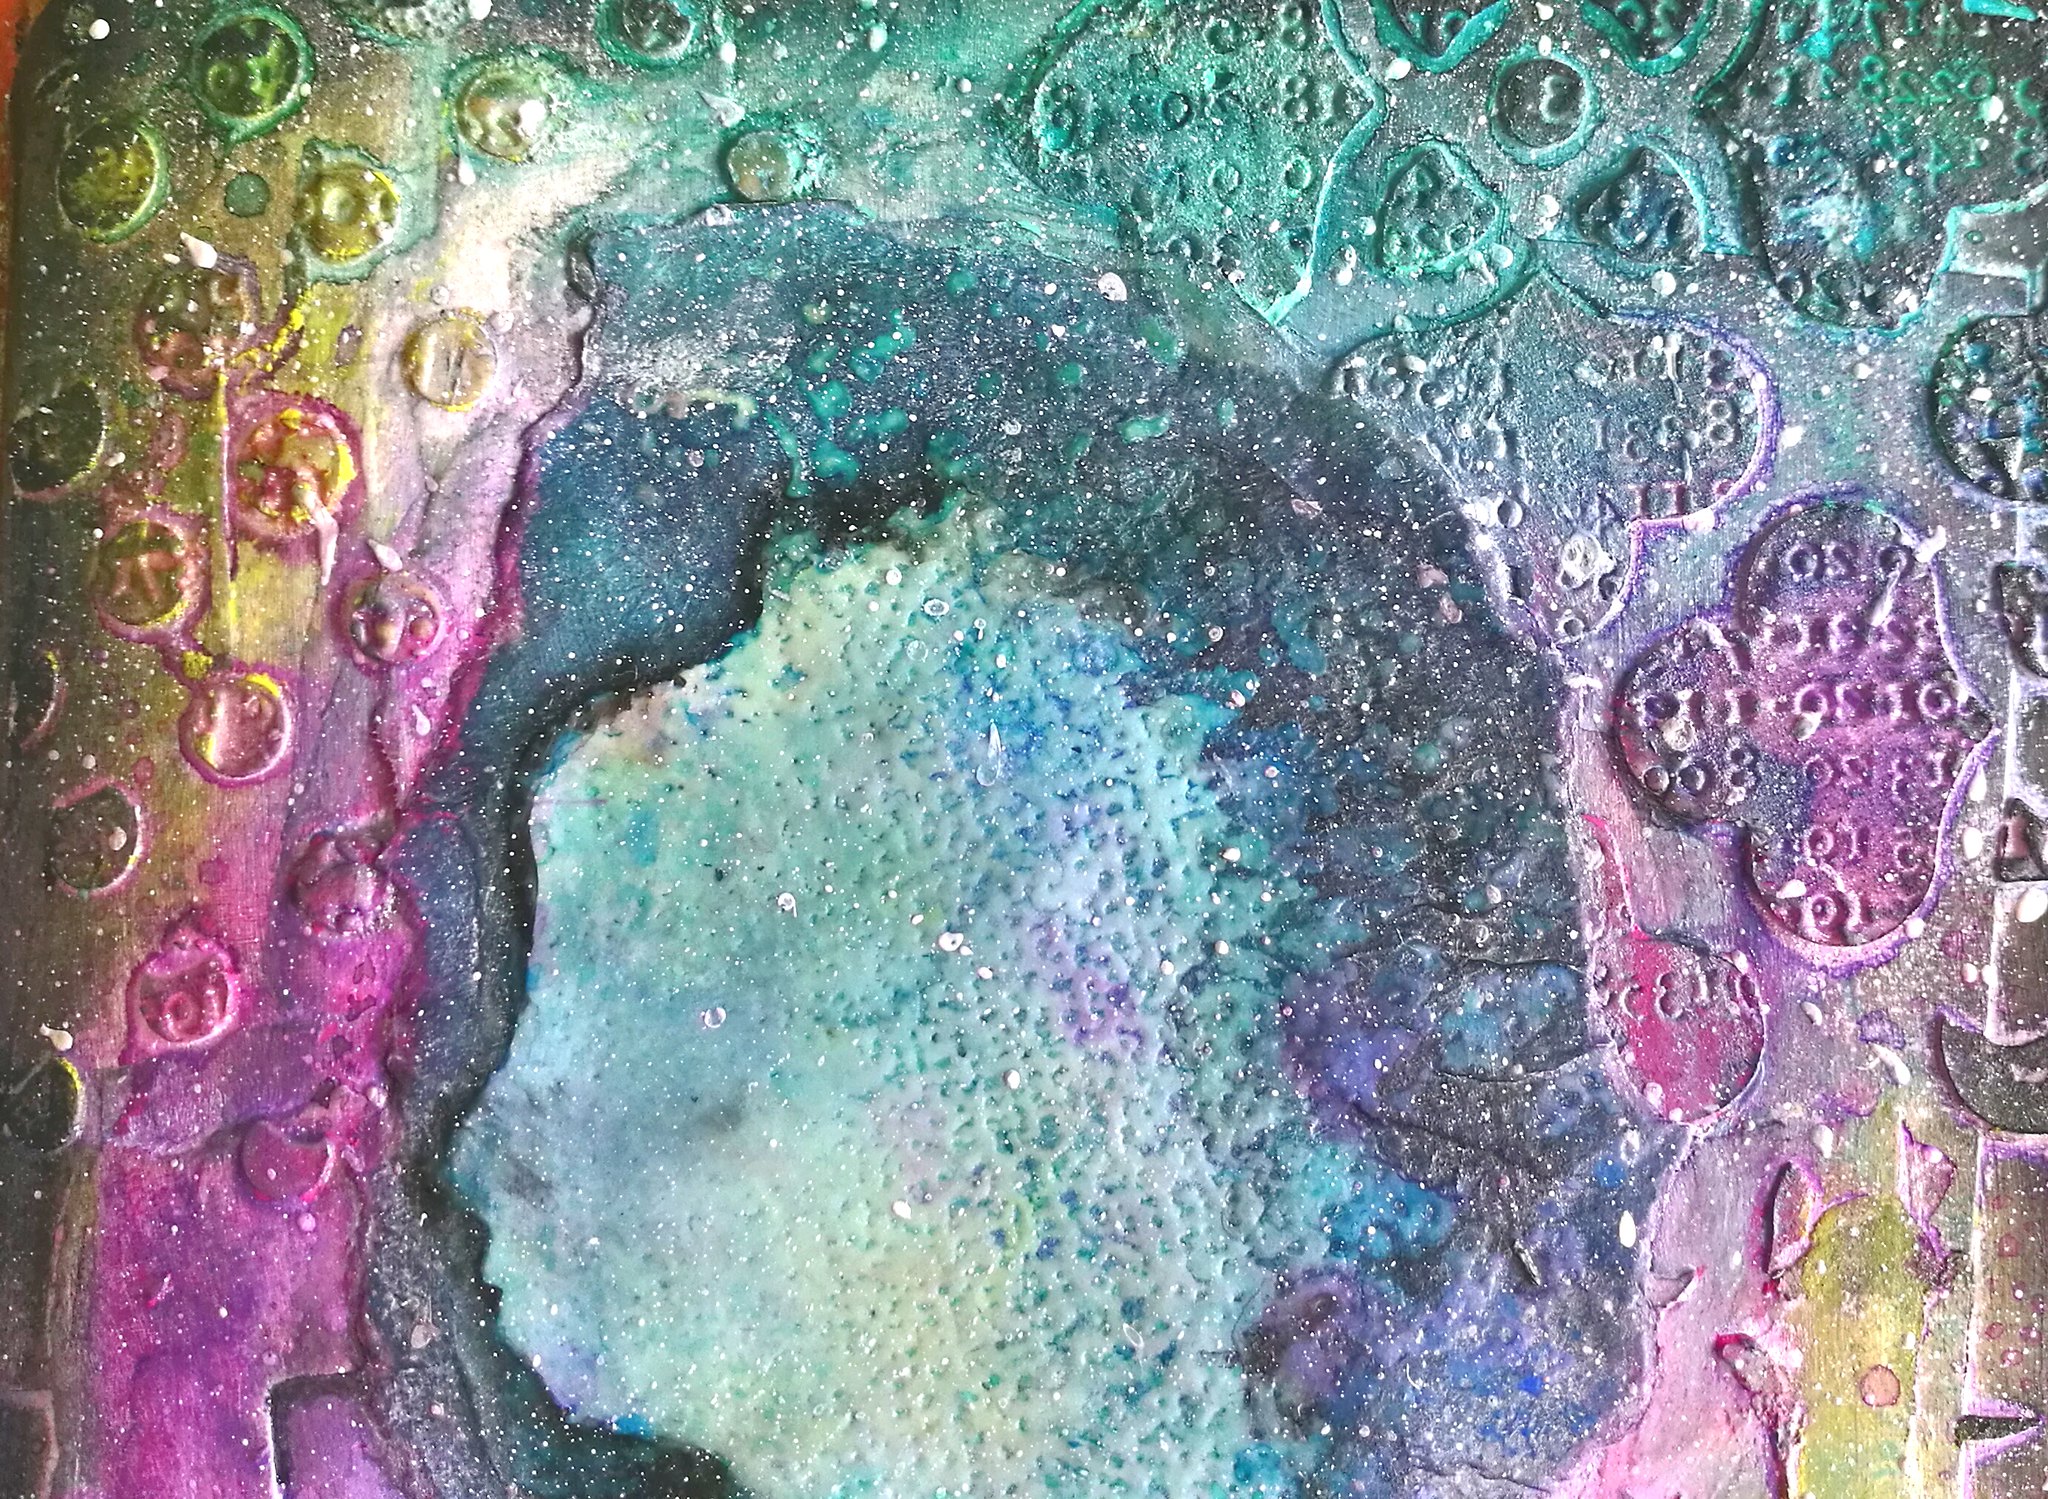
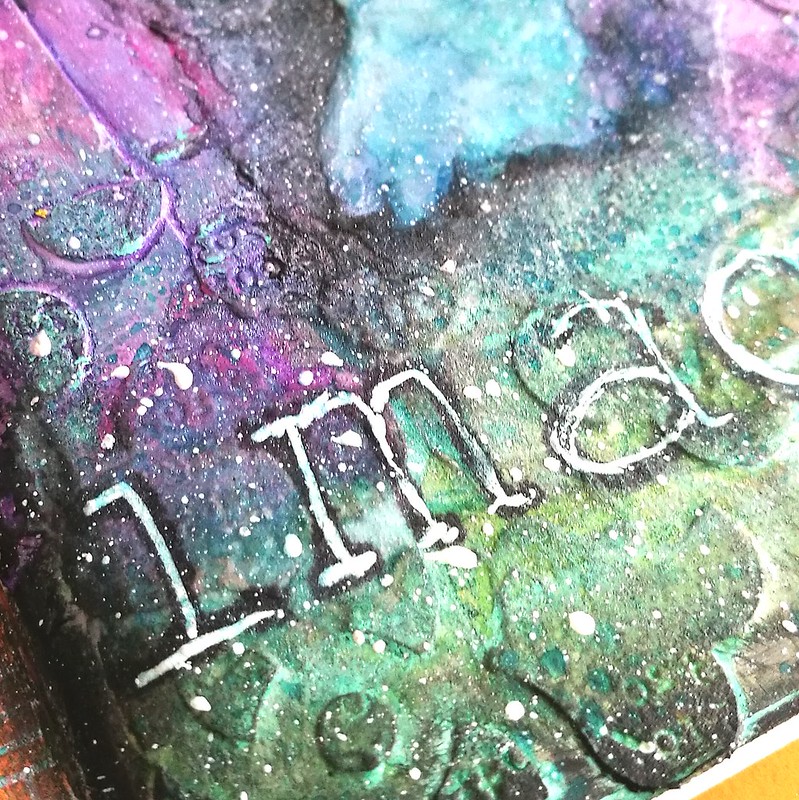
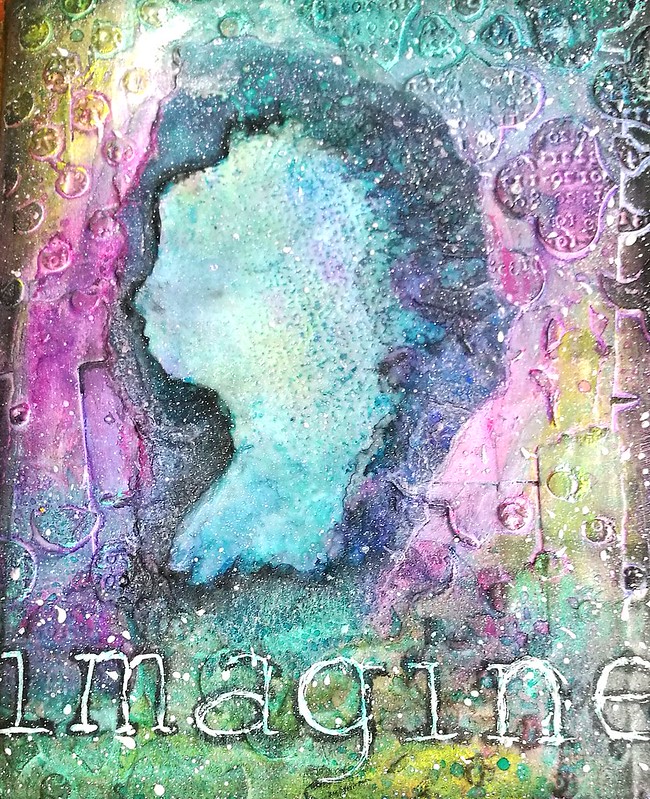
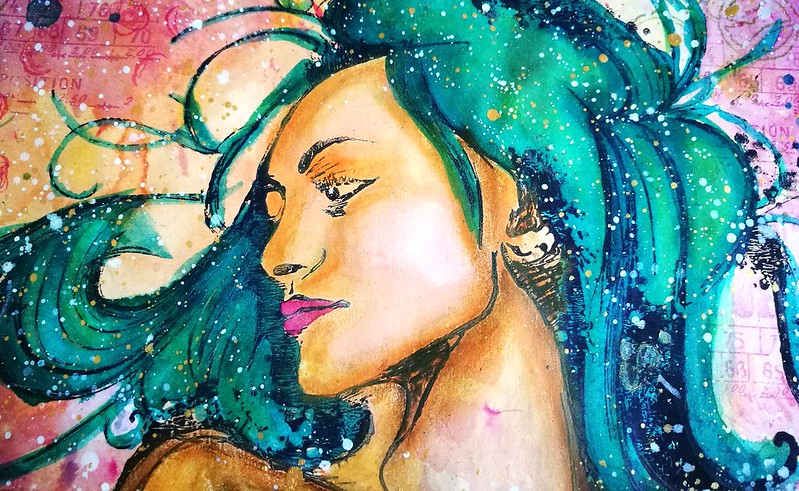
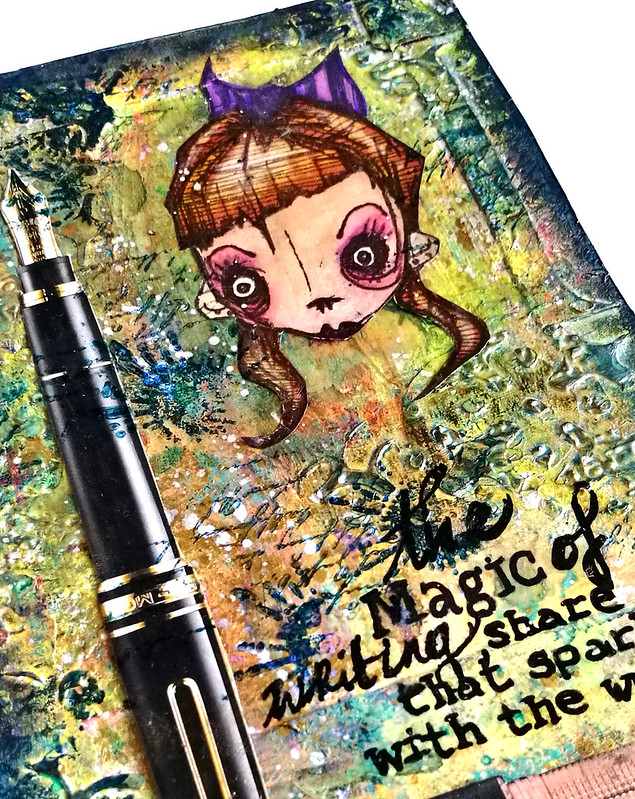
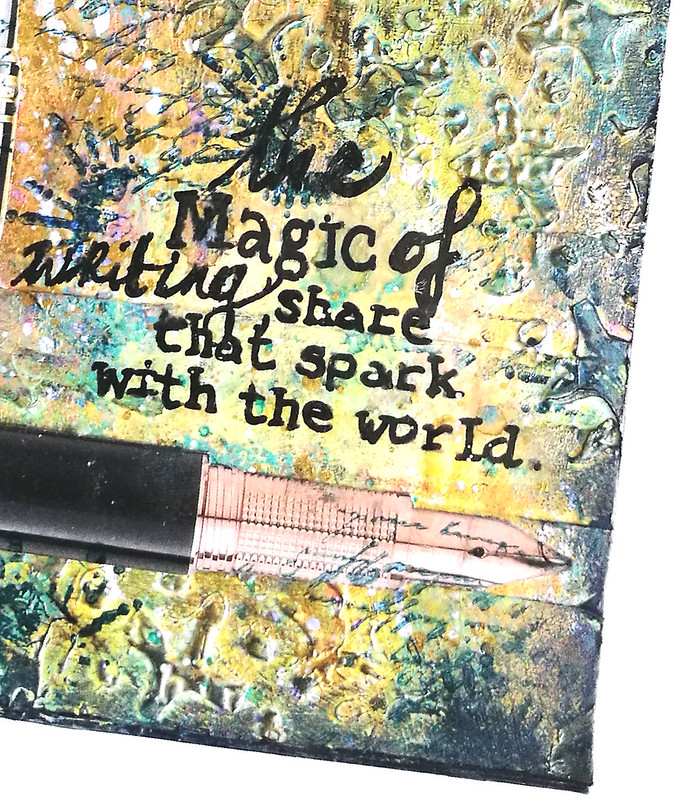
A few close up shots:
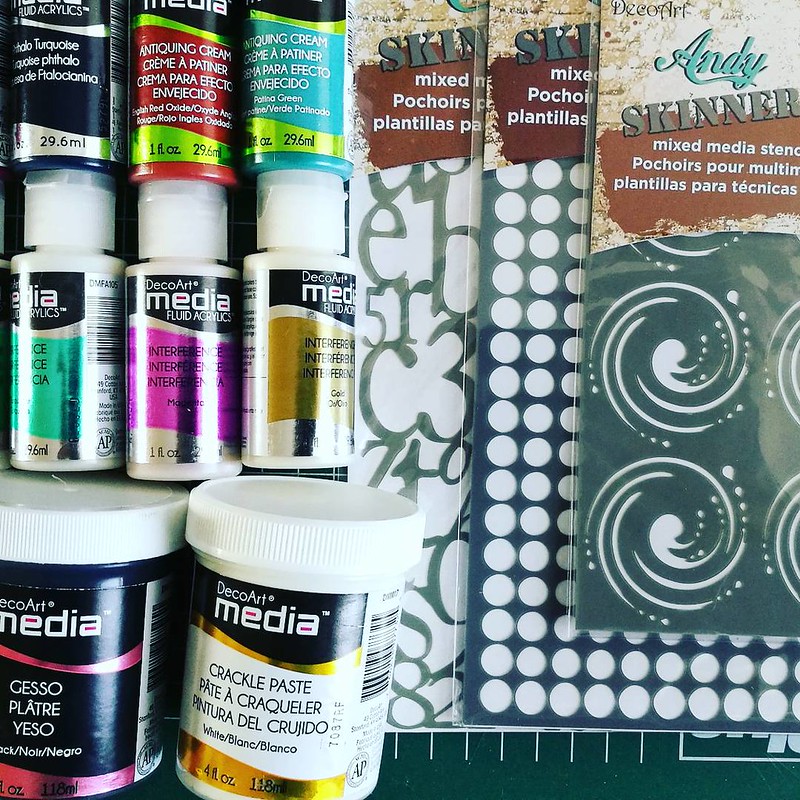
Art Journal: the magic of writing


Art Journal: the magic of writing


Materials Used:
Stamps from Stampotique Originals Miss Snottie and Texture Cube; PaperArtsy Script Stamp, Share that spark quote stamp from Magenta, Distress paints, DecoArt Media interference and gold paint, Liquitex flexible Modeling paste, Artplorations Stencil,  Derwent graphix black writer, Spray ink, distress crayons, Liquitex INK, PenWorld cut outs, Modge Podge shimmer gold sealer glue.

Hope you enjoyed the process video. Please let me know what you think and if you would like to stay updated on my YT tutorials, please subscribe to my channel HERE.

Entering this piece in the following challenges:
Creative Artiste Mixed Media #35 
More Mixed Media challenge February
Stamps and Stencils: Off to collage

Thanks so much for stopping by and have a wonderful day!

2018/01/29

Art Journal Page: In Neutral (+ Process Video)

In Neutral

This weekend I finally had the urge to make a collage work again and I also filmed the process. This piece is made with vintage ephemera and neutral colors, as inspired by Our Mixed Media Moods mood board of January 2018, put together by DeeDee Catron and Jenn Engle.

Isn't this mood board just amazing?! I absolutely love the color scheme and I have collected a lot of vintage ephemera over the years that fits wonderfully in this theme. I also love all the layering and adding transparencies into the piece. I was mostly inspired by the bottom two right images with layering and color tone, so that is what I used as a inspiration start up point for my project.

In Neutral
At a thrift market I also found an envelope full with slides and negatives and I used one of them in this project. I've sandwiched a piece of type written paper in it so that you can see that through the negative. I also used Tim Holtz silhouette flower dies cut in tracing paper to add some interest.

In Neutral

Of course I also had to add some vintage postage stamps to the piece! You can see the whole process below in the video.

By the way the lyrics I scribbled down are from a song from the new album of PINK, which I am continuously listening to these days. 

Items used: 
distress stains in colors: vintage photo, tea dye, wild honey, antique linen, 
Metallic copper and brass. 
Script stamp from Joy Crafts
face stamp from Carabelle Studio's
Staz-on Stone Grey ink
Memento mocha 
Silhouette flowers die cut 
matte medium 
uhu glue stick 
black embroidery floss 
crafter's companion tape roller 
LOTS of vintage emphemera

I'm also entering this piece in the Simon Says Stamp Wednesday Challenge Layer it up

Thanks so much for stopping by and watching the video. As always your support is hugely appreciated, so if you liked the video, please let me know by pressing like on YT and perhaps subscribe to my channel if you want to stay updated on my process video's. 

Thanks again and have a wonderful day!

2017/12/27

WIP: You Tube channel overhaul!


Hey all, hope you have had a wonderful holiday celebration with your loved ones filled with laughter and joy! I certainly had a wonderful relaxing time and took a little time off to enjoy the festivities. Now I'm doing a bunch of work behind the scenes and did a little overhaul on my YT channel. I have also uploaded a couple of video's which I have made for VLVS! earlier this year, so if you have missed them, feel free to check them out. My goal for next year is to make and upload more process video's of my work. The tricky part is to find the time to do the editing because I rather be in my art room creating than behind the computer in my spare time, you know? The goal is to have bi weekly video's on my channel and thankfully I have a few lined up. Hopefully I can get a better sort of handle on editing time that as I go on with it. If you have any tips on that it would be much appreciated!  Anyhow, I've also tried to make the thumbnails more unified and personally like the look of it. Would love feedback on it and if you are interested in seeing more of my process video's in the future, please make sure to subscribe to my channel. 
As always thanks so much for stopping by and your continued support!


2017/08/14

Mail Art Monday: Summer Hiatus (+process video)

MAM summer Hiatus

Hello my dear friends! With the summer holidays here I am slowing down my productivity and having a little hiatus from the weekly Mail Art Monday posts for august/september. This time is to relax, replenish and regroup to come back with more creativity in the fall. I plan on making some more Mail Art tutorials on my You Tube Channel like I did for the one above for Viva Las VegaStamps! A few months ago :)


Hope you enjoyed watching the process video and if you do I would appreciate a 'like' in the video and if you would like to follow my channel then you'd be notified when I have more process video's up (there are a bunch waiting in the editing line....) 

Thanks so much for stopping by, your support means a lot! Have a wonderful summer and do drop by for my DT and art journal posts in the coming time :) 


2017/08/04

Always remember you are beautiful - VLVS! (+ process video!)


It's my turn on the VLVS! inspiration blog and I'm sharing how I made the above piece with you.

The really fun Whimsical Jester stamp and You are Beautiful phrase are my focal points. I have used some pigment powders, modeling paste, gelli printed deli papers and home made stencil for this piece. A full list of the stamps and materials used are listed below. I also have recorded the process video for this which you can see here on our Time2Stamp channel:

Stamps used: 

Others:
Staz-On jet black, midnight blue, vibrant violet, black cherry, royal purple 
Color Bursts mustard, merlot, indigo 
Lindy'magical shaker oompah loompah pink 
Liquitex modeling paste and INKS! in white and gold
Art medium glue 
Tissue papers 
Random collage papers and gelli printed deli papers 
Tim Holtz Sizzix mixed media die cut for my stencil 
Black pearl rub on
Black soot distress crayon.

Also don't forget our August Challenge is up and running :) I will be back mid month for some inspiration for it :) 

Hope you enjoyed this :) Thanks for stopping by and have an awesome weekend!

2017/07/20

Art Journal: She left a Sparkle (+ new process video!)

She left a sparkle

Today I wanted to share a page from my Junk Mail Art Journal. I have also filmed the process and would love to share that with you here as well. I wanted to use the stamps I had bought a while back but not used at all which were the dress form stamps you see in the back. Also a few new to me ARTploration stencils from STAMPlorations were used. The focal point is the woman stamped on the gelli printed paper. Well, you can see how it all came together here:

There were some bits I was struggling with, I wanted to have the dress form popping out and that took a few tries but got there in the end. I also muted the colors down a bit because I didn't want to take away from my focal point as she was very bright and colorful too. With these art journal pages I create I learn something new every time. Glad I can share this journey with you :) 

She left a sparkle


She left a sparkle

Materials used:
The Crafter's Workshop; Gold Gesso, Light and fluffy modeling paste, Script stencil
Finnabair soft matte gel
Dylusions, perfect pearl and Lindy's Stamp Gang Sprays 
Deco Arts Tradition black; fluids interference magenta, turquoise and gold
Golden glazing medium
Marianne stamps in sewing theme 
Impression obsession dress form stamp
Viva Las VegasStamp! everywhere she went  
Dylusions Couture clear stamps 
Caran d'Ache neocolor oil markers 
Staz-on rubber stamp inks 
Dina Wakley Scrible sticks 
Distress Crayons 
Liquitex inks in gold and white
Modge Podge gols shimmer varnish


I would like to enter this page in the following challenges;
Used the ARTploration stencil as listed above

So these dress forms are showing a shape of the "ideal" female figure. Most women feel compelled to "get into shape" and working towards having these hourglass figures. Believe me you don't need to, you have your sparkle no matter what shape you are built in. 

Pop this on your blog to find us fast!
The challenge for this two weeks is Let is shine 

Thank you for stopping by and have a wonderful day!


2017/07/18

Wish You were Here - VLVS! July challenge Inspiration

Hi everyone! I have a post over at Viva Las VegaStamps! blog as a bit of inspiration for our July challenge. I have made the above ICAD (index card a day is a challenge that runs every summer in June and July) and while I am not participating this year, our challenge inspiration prompt is summer and the ICAD is always a summer activity so I thought it would be fitting to make one :) 


I have also filmed the process, so be sure to check out that video as well to see how I created this piece. 
Thanks so much for stopping by and hope you have an awesome day!


2017/06/16

Art Journal: Imagine (+ process video)

imagine

I've recently found a little Junk Mail Art journal back which a friend from Swap-Bot sent me for swap a while back. It's the perfect journal to help me get rid of left over pieces I am forever seem to be collecting! I've managed to record the process of this page and I'm doing a little flip through of the empty journal in the beginning as well.

imagine
I've used a lot of texture and spray paints for this one.

imagine
Some home made sprays with Lindy's magicals. They have such a wonderful shimmer to them!

imagine
The focal point of the page is a silhouette stamp from Visible Image and text stamp from Impression Obsession. A list of supplies is below the video...


Hope you enjoyed the process video :)

Supplies used:
Art Basics Soft Matte Gel Medium 
Liquitex Flexible Molding paste 
Claudine Helmut Studio gesso 
Lindy's Magicals made in spray form: hi Maintenance Magenta, Turbine Teal, Guten tag Teal
Kipper's hobby shunshine burst 
Tissue paper
left over scraps and pieces 
Stencils from the dollar store Action
Tim holtz reflection stamp
Visible image head full of dreams stamps
Imagine text stamp from impression obsession
Stabilo ALL pencil in blue
Pentel Water brush
Pentel white gel pen
Caran d'Ache Neocolor Oil pastels
Black pearl rub ons 


I would like to enter this piece in the following challenges:

Simon Says Stamp Monday Challenge Touchy Feely

STAMPlorations Mixed Media Challenge June

 Art Journal Journey June - Circles theme
you can see recycling as a circular process, right? :)

Thanks so much for stopping by today and have a wonderful weekend!


2017/05/17

Mixed Media Mermaid (+ process video)

Mermaid

This piece I am sharing with you today, is a special one to me. And for some reason, it happens to be again with the Héra XXL stamp from Carabelle Studio. She helped me to release my inner mermaid while working on this piece. I've got a few more pics to share and the process video is below as well as a list of supplies and stamps I used.

Mermaid
She was made on an A5 piece of vintage paper which had saved from work. I have used many different materials to get her to GLOW the way she does.


Mermaid
So before I direct you to the process video, I did not record the beginning and the end fell off due to battery outage... I am still very new to making video's (this is only my 3rd) so I am learning new things, all the time, like make sure you actually press record and not pause, LOL! And keep your camera charger nearby! Well, I was doubting to actually show you the process video because it's incomplete but I can tell you what I didn't record is how I got the background color and her hair color. All is done with the Sennelier Aquarell pallet you see in the above picture. I just played around with the water colors until I was satisfied with how she looks. 

The video starts from this point on, I hope you will enjoy watching this :) 


Mermaid
In the end I wasn't totally satisfied with how the skin looked and wanted a more realistic look and skin tone. I used a mixture of distress crayons to give her that creamy soft look. Gave her left shoulder also more definition and over all more contour in the body. The crayons are really soft and easy to smooth out over different media and they worked like a charm over Sennelier watercolors. 

It's now framed and hung in the hallway next to this piece. They make quite the pair.

List of supplies:
Carabelle Studio; 
Héra XXL   

Others:
Sennelier watercolors
Memento ink pads 
Liquitex Inks
DecoART Traditions paint
Distress Crayons 
Washitape

I would like to enter this piece in the following challenges:


Mixed Media monthly #36 - put a stamp on it

Creative Artiste Mixed Media Challenge #26 - Anything Goes 

Grab our Badge


Thanks so much for stopping by and have an awesome day!

2017/05/03

WIP: Gelli Printing on Tomoe River Paper + process video!

Gelli printinh session on tomoe river paper

Today I'm sharing a fun experiment I did recently, which is gelli printing on Tomoe River paper. It's a very lightweight paper, 52gms and in the fountain pen community famous for its great workings with fountain pen (and other) inks. I was wondering if it could hold up to fluid acrylic paints so I experimented a little with DecoART media Fluid Acrylics which I recently received from the decoarts media team as part of the blogger out reach program.

decoart mixed media materials
Gorgeous little bottles with fluid acrylics from Deco Art Media. I also used the bottom stencil by Andy Skinner for a couple of prints among other stencils.
Gelli printinh session on tomoe river paper Gelli printinh session on tomoe river paper

The paper holds up the fluid acrylics really well and the drying time wasn't bad at all. I've filmed this process video and you can watch the whole process here

Not bad work for an half an hour on a monday night, right? The video is sped up to around 9 minutes total, so no worries, LOL :) I really had fun with this and am looking forward to use the prints in a few upcoming projects. If you like the video, please hit like and subscribe to my channel to see more. I have been working on a few other process video's and hope to upload on a bi-weekly basis. Still very new to this, so if you have any tips/suggestions they are welcome. 

As always, thanks ever so much for stopping by and hope you are having a wonderful day!


2017/04/18

ATC: Your Heart Speaks - with process video!


It's been on my mind for a while, recording process video's and sharing them with you. Well this past weekend I have decided, I would do a trail run, see how it would go with filming and how I would get on with editing etc. It was a steep learning curve, I need to adjust my zoom and placing better for one. But Windows Movie Maker definitely makes editing a lot workable. I recorded the process of these ATC's with Stampotique Originals Stamps which I made for the April swap "use your words" over at their facebook groups page.

 
So here it is, my first process video! I hope you liked it! It's my first video EVER so be gentle, LOL! 


I have been inspired by so many talented people sharing there work on youtube! I'm ever so grateful for their inspirational posts, tips, tricks and techniques. I decided to join in the fun and jump in the deep ;)  Please give a thumbs up if you like it and subscribe to my channel if you want to updated on more videos I post:) I'm ever grateful for your support!

Materials used
Stampotique Originals: Dragonfly, When heart speaks, Daniel's Hearts
The Crafter's Workshop light and fluffy modeling paste, 
Perfect Pearl glimmer mist in Kiwi, 
ecoline ink in magenta, 
wink of stella brush pens, 
Script stencil by Panduro hobby, 
gelli printed deli paper and card stock, 
Paper Artsy paint (on the cardstock), 
distress paints (on the deli paper), 
Alcohol markers. Zig 2-way glue pen. 
ATC dies by Marianne Designs. 

I would like to enter this work in the following challenges: 

Stampotique Originals - Bling it on SDC271 

STAMPlorations - things with wings 

Crafty Cardmakers - Things with wings 


Simon Says Stamp monday challenge Splash it On

Thanks so much for stopping by and have a wonderful day!