Showing posts with label tim holtz. Show all posts

2018/12/21

Art Journal: SisStars Do small things with great love - AALL & Create


Hi and happy winter Solstice! With the holidays and new year nearly upon us, it's time to spend with friends and family to deepen the bond we have with them during this time of festivities and renewal. I have an art journal page to share with you which I have dedicated to my sisters, or as I like to call them, my SisSTARS because they definitely have a bright shining spot in my heart. I've used AALL & Create products for this and I'll share the process of making the journal spread with you now. 

 
So in my project last week I showed you how I used the numerical circles from set #110 to make a season themed card. Since I only used a portion of the stamp, I also cut out circles and leafs with punches to use in this project. I also cut out the fern, but alas that didn't fit into the journal spread this time. Good to have for another project :) 

I started with gluing the circular and leaf pattern down randomly on the pages in my junk journal with matte medium. Some aria's have been embossed with copper embossing powder so that will have some extra texture. 

I applied some gesso over it and then raked the edge of a plastic knife through the gesso for some interesting texture. When that dried I applied modeling paste through the Lotz of Dotz stencil #39 over some empty spots. The teeny tiny dot pattern also remind me of stars. Now to add some color. 

I took my small foam brayer and a few cool blue colors, ranging from light to dark to add depth and contrast on the pages. Then to add color under the stenciled aria's I used some home made shimmer sprays from Cosmic Shimmer and Lindy's Gang.
 
I used some darker grey colors like pewter (cosmic shimmer) and black forest (Lindy's gang) and made sure that the most of the white was saturated with color. To get more of the contrast back I traced the patterns with a blue Stabilo all pencil & activated them with water to get the shading going. I also stamped the grungy flower of set 123 randomly over the page. I left it to rest and took

The next day I added a deeper layer of color over the page and some scribbles & sayings like Pinky Swear, Keep your promises always, stay grounded in gratitude and a few others to signify the sisterly bond. The word stars is a die cut from DieNamics and cut out of starry scrap book paper. I used black forest ink to darken the background and white to highlight the word. The image of the sisters are from Tim Holtz vintage people pack. To ground them I added hemp twine and a skelleton leaf. The text stamp is from set 123 as well and I stamped it on a contrasting color to make it pop out more. 

I definitely love how this turned out as an hommage to my lovely SisStars. 

These are the products I used: 


This is also my last project as Guest Designer for AALL& Create. Thanks to Autour de Mwa for inviting  me on board these past months, I really appreciate it and enjoyed working with the products. You can find the stockist HERE and be sure to check out the newly released collection of December for another array of great designs :)

Thank you all for stopping by today. I really appreciate the support you all have given me here and over at my other social channels over the year. Thank you, you're all STARS for sure! Wishing you all a wonderful holiday season and transition to the new year. May you spend it with the people you hold dear.

See you in the new year!

2018/06/14

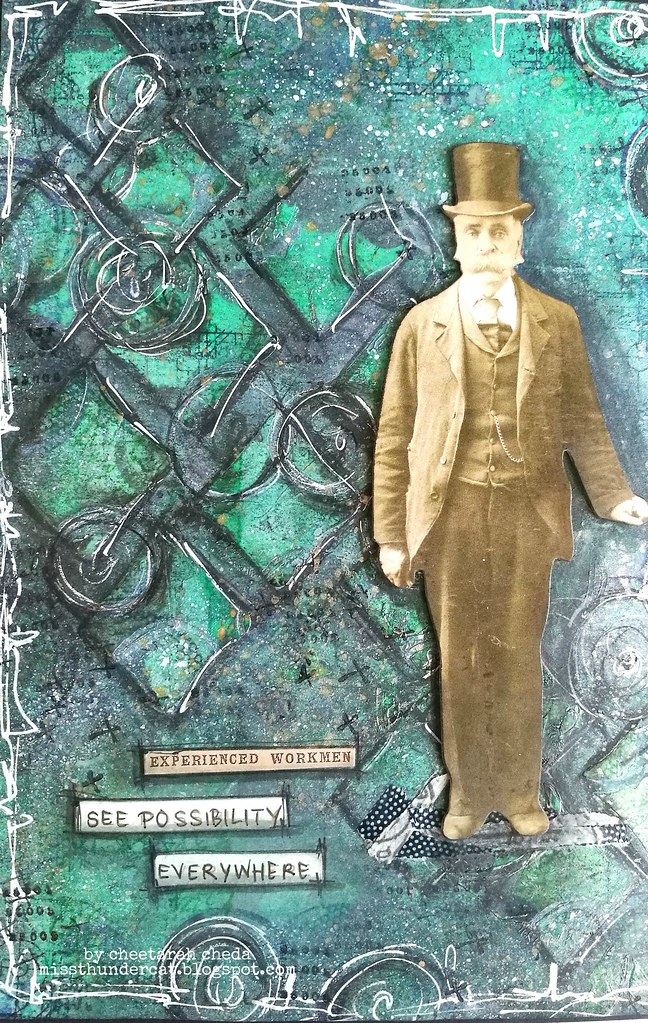
Art Journal: Experienced workmen

Art Journal: See possibility everywhere

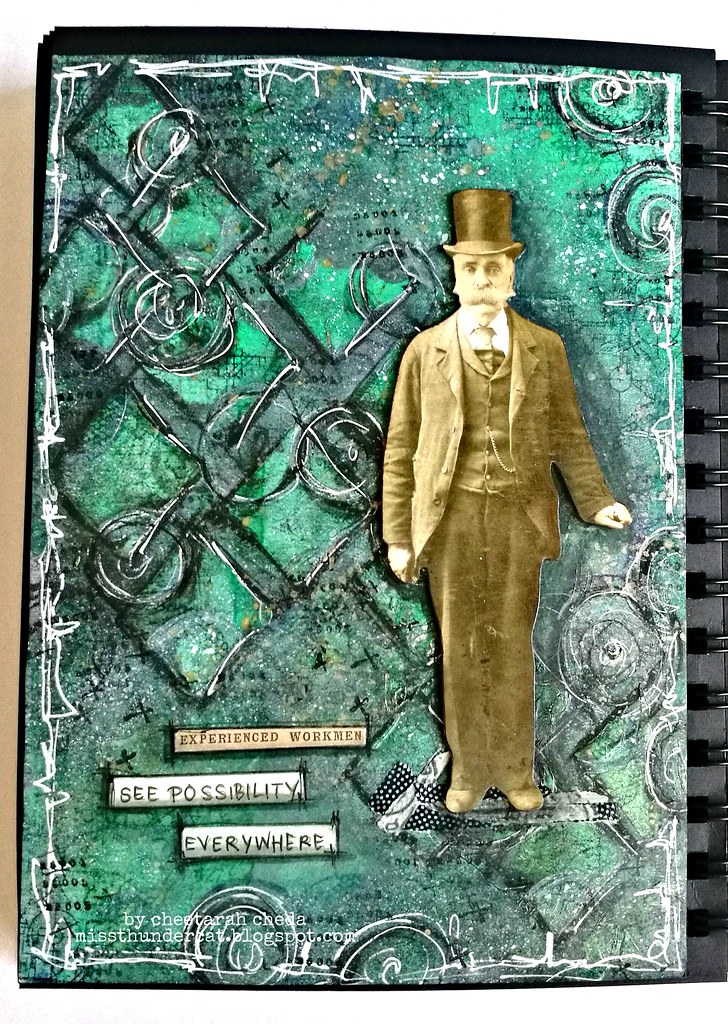
It's not often that I make masculine themed art journal pages but for some reason I was inspired to make this page in my art journal. I suppose it's also to do with the fact I got those Tim Holtz paper doll packs and there a bunch of masculine images in there and it prompted me to use one. Also perhaps, when doing free association art journaling, my dad popped up in my mind. Art journaling definitely helps me through this grief process and while he may not be here anymore to celebrate father's day with, which is this weekend, he will be always in my heart. And thus I also dedicate this page to men whom worked hard all their life and see possibility in every turn.

Art Journal: See possibility everywhere

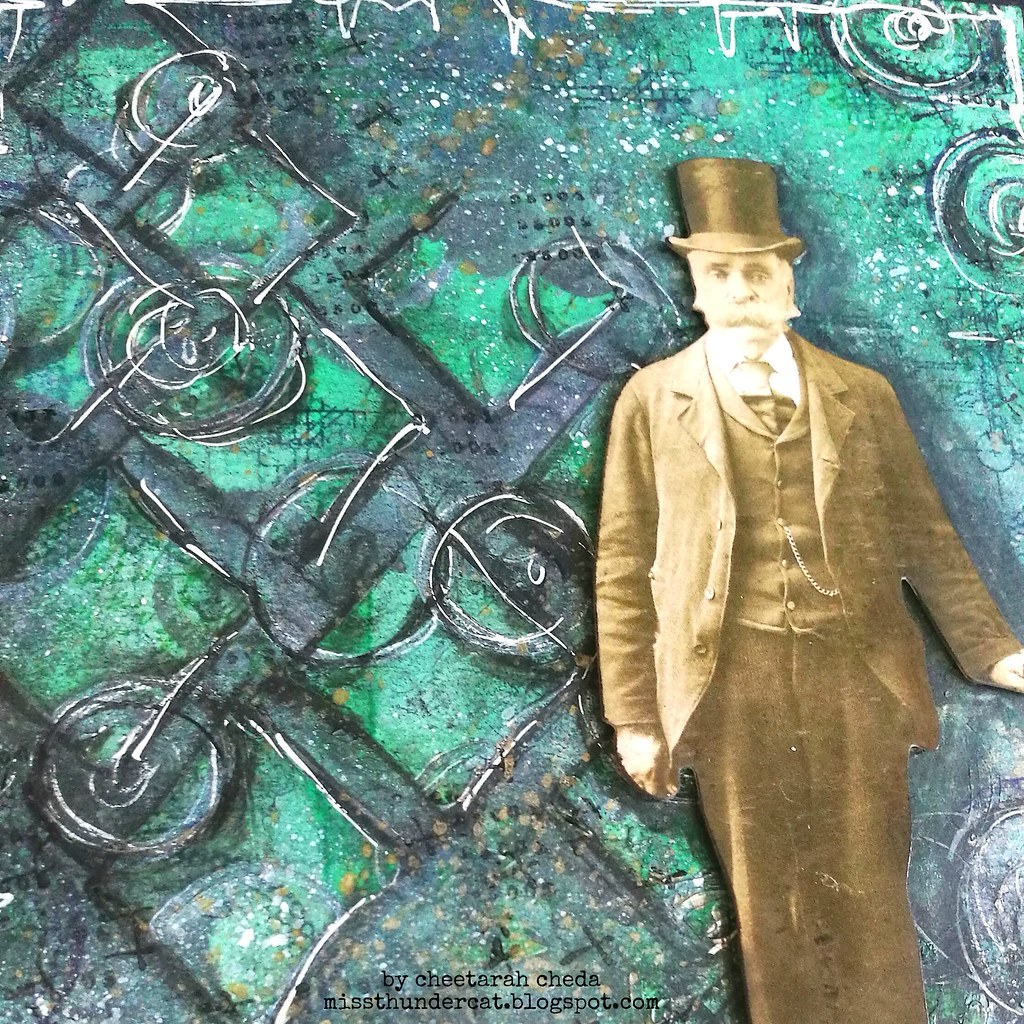
I started this page on watercolor paper by strathmore and used some Cosmic Shimmer pixie powder in emerald green which I already mixed with water and sprayed over the page. Then when that dried, I scraped some transparent texture paste through the Diamond Dance Stencil by Terri Stegmiller over the page that then dried would show through the deep emerald color and keep that under layer safe. I added some pewter pixie powder for some darker aria's and traced the shapes with first a black posca pen and then a white one. More texture with stamping mixed media stamps from VLVS! and AALL and Create. Some fine gold and white gouache splatters and created the border with the black and white posca pen. The image is popped up with some foam dots and he is grounded by washi tape. I created a shadow around him using stabilo all pencil and faber castell pitt pens.

Art Journal: See possibility everywhere
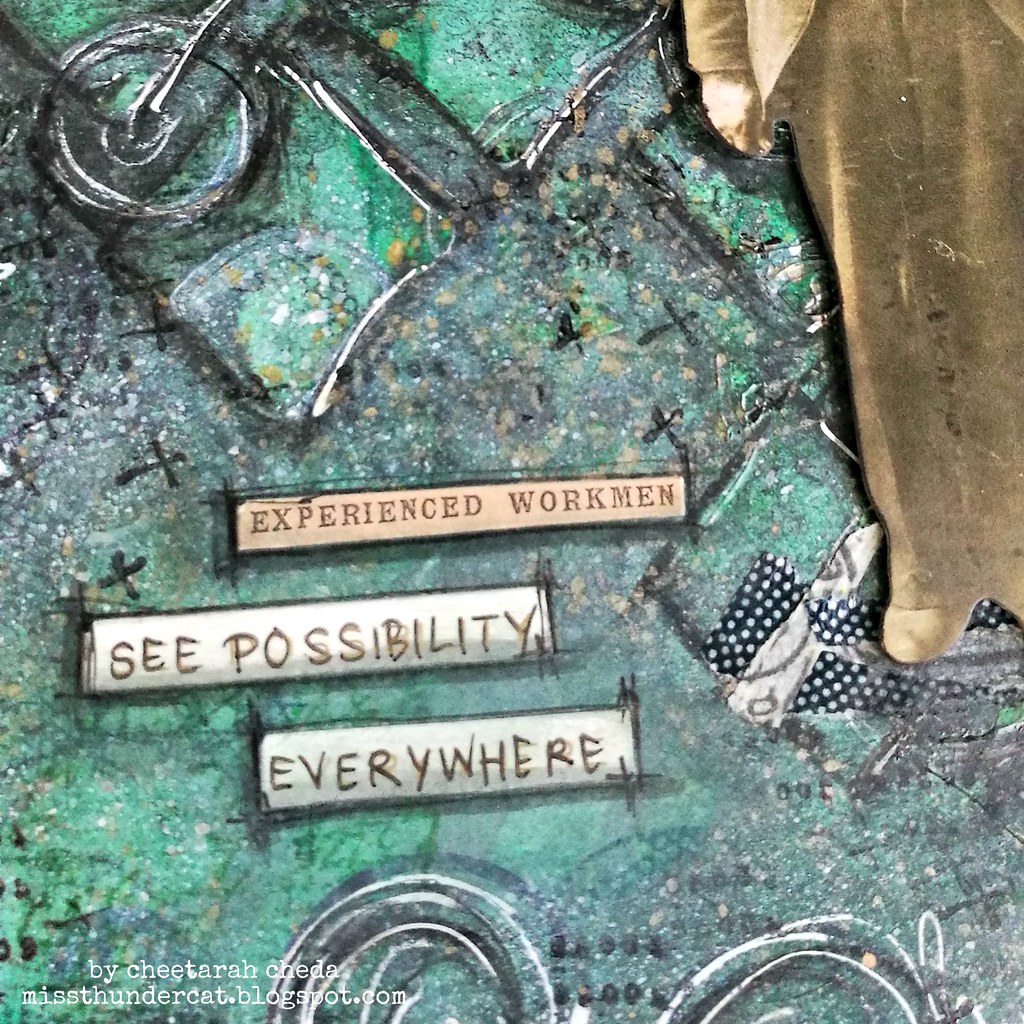
The sentiment is put together with Tim Holtz sentiment and chit chat stickers. I found the gold lettering on white too light so I traced it with a sakura pigma extra fine liner.

Art Journal: See possibility everywhere

The texture paste (which is semi glossy) resisted the other water soluble mediums and kept the brightness in the diamond shapes and the pewter pixie powder gave them more shadow and dimension on the page. And I love how these paper dolls have such a beautiful sepia tone that when you use a bright cool color tone under them, they just pop from the page as well. Definitely like how this page came together. 

Would love to share this journal page in the following challenges: 

(Inspired by my hard working dad and all fathers/men in general really) 

Thanks so much for stopping by and have an awesome day!

2018/05/25

Art Journal: Share the Adventure

Art Journal: Share the adventure

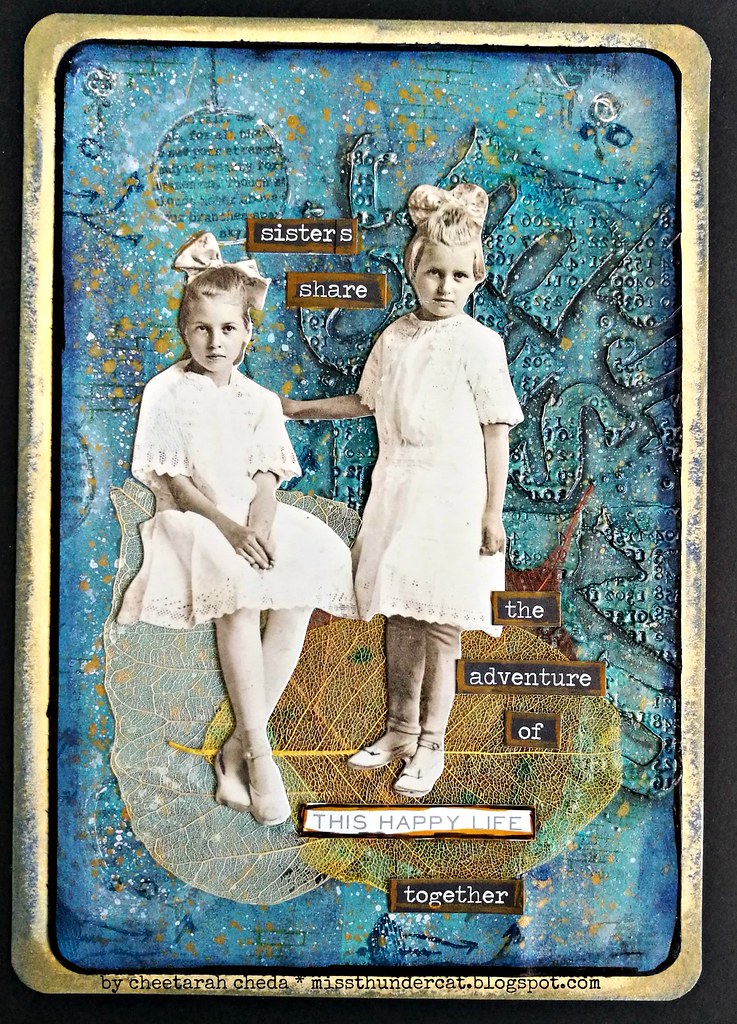
You might have seen the texture play post from earlier this week and today I wanted to show you the art journal page I made with that background. As you can see above, I used the half of the background image I created for my a5 size journal. I created a border with distress crayons and matted onto a lighter card stock then onto the journal. I've rounded the corners with a paper punch because I like the look it gives.

Art Journal: Share the adventure

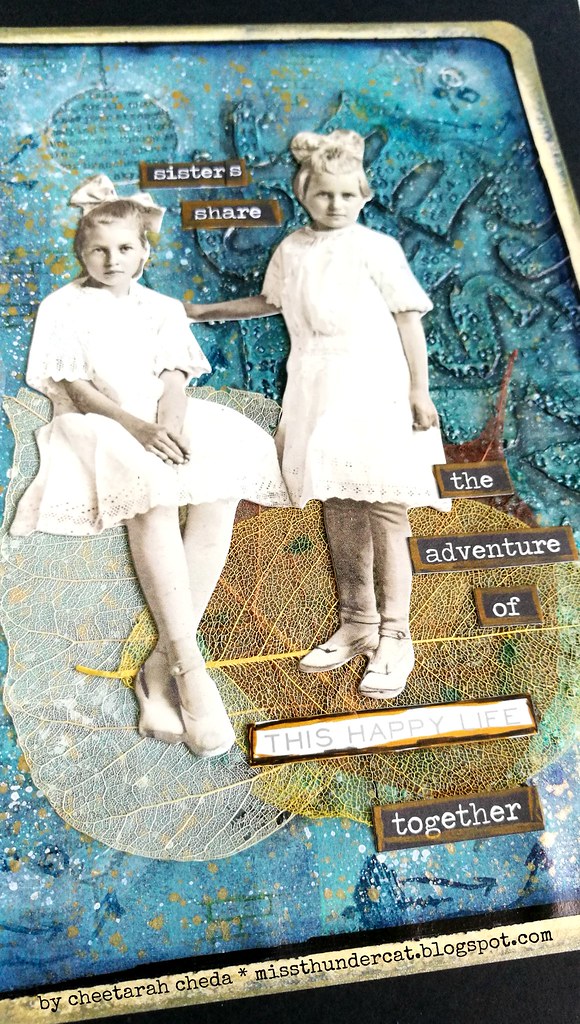
I have found some older leaf embellishments and adhered with double sided tape, it's really fragile stuff so I had to be careful not to break them. but once they are stuck on to the paper it's no problem, The girls are from Tim Holtz paper dolls set and so is the sentiment I formed. 

"Sisters share the adventure of this happy life together" 

I really love how this page came together esp. how the muted colors of the imagery pops against that boldly colored background! 

Sharing this art journal page to Art Journal Journey's May Flora and Fauna theme. 

Thanks so much for stopping by and have an awesome day!


2017/08/03

Art Journal: Remember, I'll love you more after coffee!

Art Journal: I'll love you more after coffee

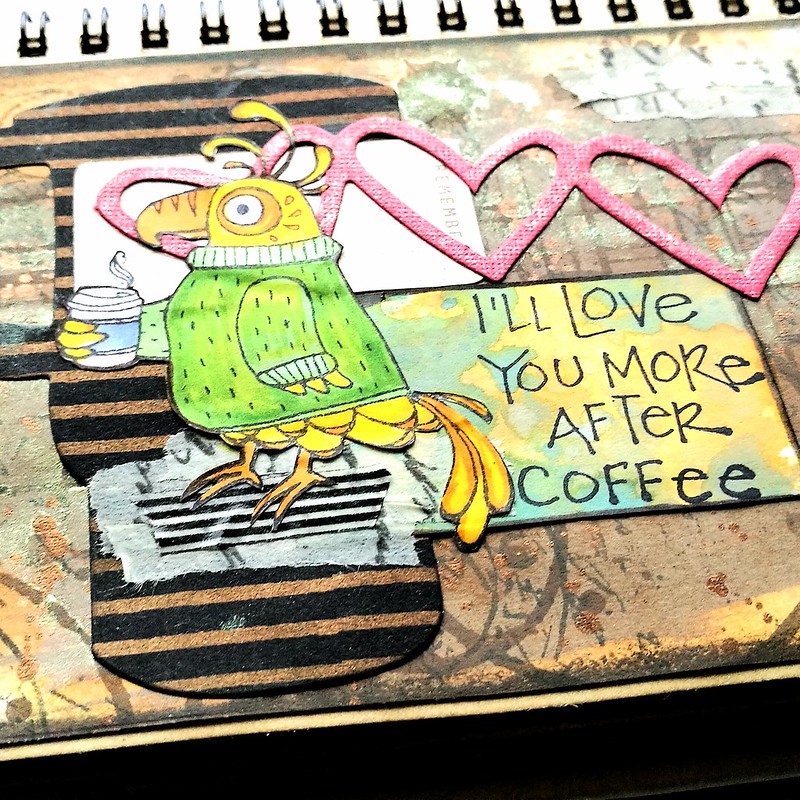
Today I wanted to share a fun page I created in my spiral pocket art journal. I incorporated a bunch of different elements and experimenting with a little scrapbook lay-out style. Most of the elements I used are combined from different projects out of my "lefTOVERS-scrap box".
The background is made with Distress Oxide, I still have so many left from my very first play session with them, and stamped on it Indigo Blu Ledger, Tim Holz Coffee Rings and splatters, Large VLVS! Coffee rings and Joy Crafts script stamp. All stamped with Java dye ink from Ranger. Then I sprayed some Kiwi perfect pearl mist over it. IRL it does shine a lot more.
Then I built up the layers using die cuts, the coffee mug is from Stamplorations and one I cut from this project, some left over hearts from this project and used some left over papers from yesterday's project to stamp the sentiment on. Which is, as well as the bird, from Stampotique Originals.
I put in a little "remember" tag before the sentiment to make it a sentence. The bird is colored with letraset promarkers on sticker paper and fussy cut out. 

Art Journal: I'll love you more after coffee
I grounded Cocoa Bird on some washi tape and tape a little bit on the right top corner for some balance. Gave the hearts some shimmer with a wink of stella marker and called it done. I really love this page as I imagined the bird being a parrot, echoing this to people who want to talk to me before I had my morning coffee :D

Entering this journal page in the following challenges: 

Simon Says Stamp Monday Challenge - Food and/or Drink 


We gals love our coffee and bling, right? :) 

Art Journal Journey - Poetry in Motion
I thought this would fit the theme as well, though I am SLOW-motion before my coffee, LOL!

Simon Says Stamp Wednesday Challenge - Splatter it

Thank you so much for stopping by and have a wonderful day!


2017/08/02

Bee Hive - SDC279 Only Animals

Stampotique DT work

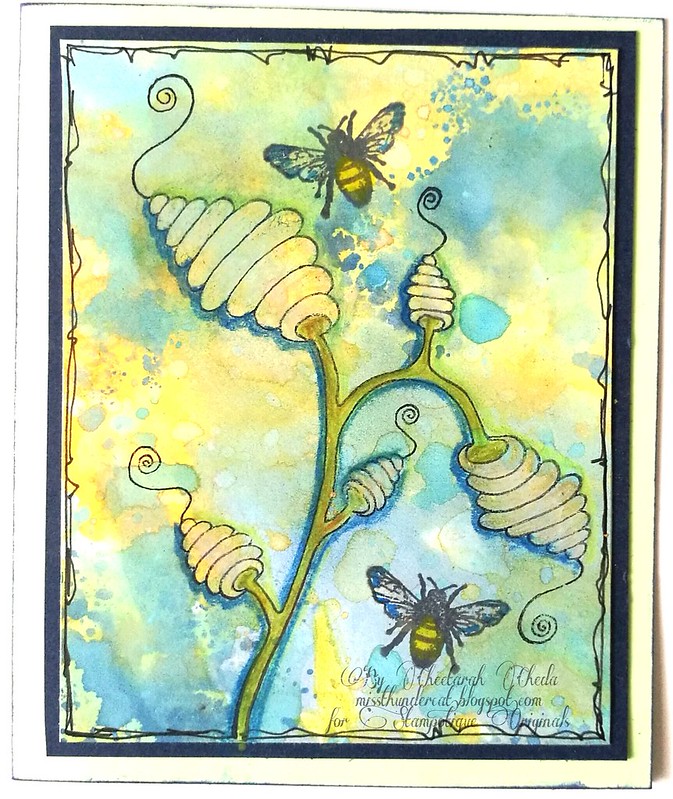
It's hard to choose a favorite among the august new releases as they are all super fun to work with, but the Hive Flower by Arwen McCullen would be my fave. Here I made a little note card and stamped it on a piece of Distress Oxidized backgroud.  This was a combination of blue and green inks and I just love how these inks work so well together. I colored the flower with my Caran d'ache Pablo's and stamped the little bees on it which I then colored with Wink of stella markers for some shimmer. The edges are doodled with a Faber Castell Pitt marker. I just LOVE the combination of the bees and the hive flower!  I also have been spotting bees back in the city again which is great! These little creatures do have a hard time and I am happy to see them in unexpected places.
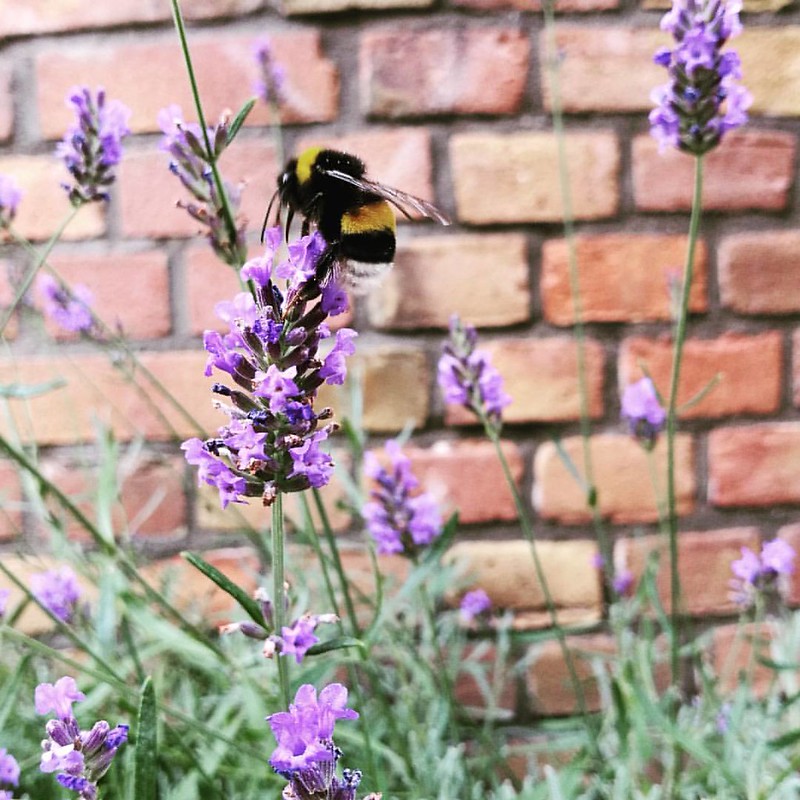
So good to see these little guys flying about 💕 #saveourbees #bees #beelove #summertime #summerlove #amsterdam #bee #honeybee

In a small little lavender garden along the side walk...

Beauty can be found in unexpected places. It takes awareness to see that in every day life.
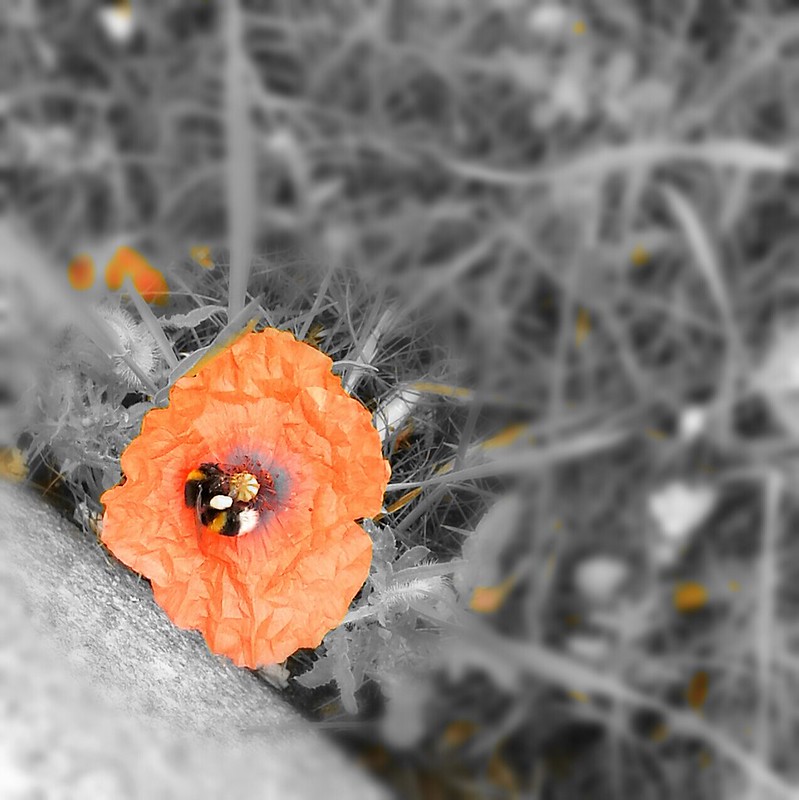
and in poppies at the side of the tram/bus stop. I've read our country is making an effort to plant more flowers near the highway (the Honey Highway initiative) and are now initiatives in the city (like in Amsterdam) to plant flowers near tram stops to attract more honey bees to do their work. It's a beautiful effort which I hope will spread to other cities as well. 

So an ode to the honey bee here for our SDC279 challenge in which you are invited to use animals/insects etc in your designs. There is also some exciting news which are going to be implemented from now on for the challenge;
People have been asking SODC to let them join our challenges on our Facebook group. Well, we are listening!! You can now join in our challenges on our Facebook group. We will be creating a photo album for each challenge, all you need to do is add your project to the proper photo album in order to join. We do encourage you to add your creations here on the blog but if you don't have a blog or don't know how to upload your photos to this blog, you can now join on Facebook.
So now there are two ways to join in and I hope you will join this fortnight's challenge as well :) 

Thanks for stopping by and have a wonderful day!
 

2017/07/18

Wish You were Here - VLVS! July challenge Inspiration

Hi everyone! I have a post over at Viva Las VegaStamps! blog as a bit of inspiration for our July challenge. I have made the above ICAD (index card a day is a challenge that runs every summer in June and July) and while I am not participating this year, our challenge inspiration prompt is summer and the ICAD is always a summer activity so I thought it would be fitting to make one :) 


I have also filmed the process, so be sure to check out that video as well to see how I created this piece. 
Thanks so much for stopping by and hope you have an awesome day!


2017/07/12

WIP: Words with meaning!

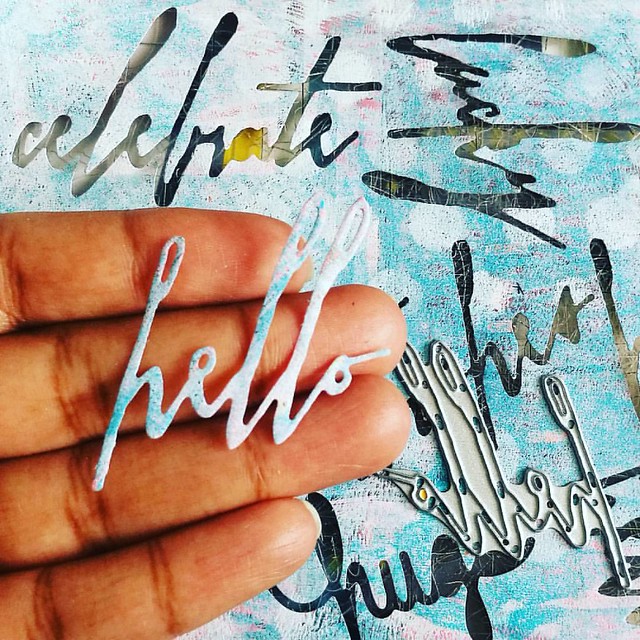
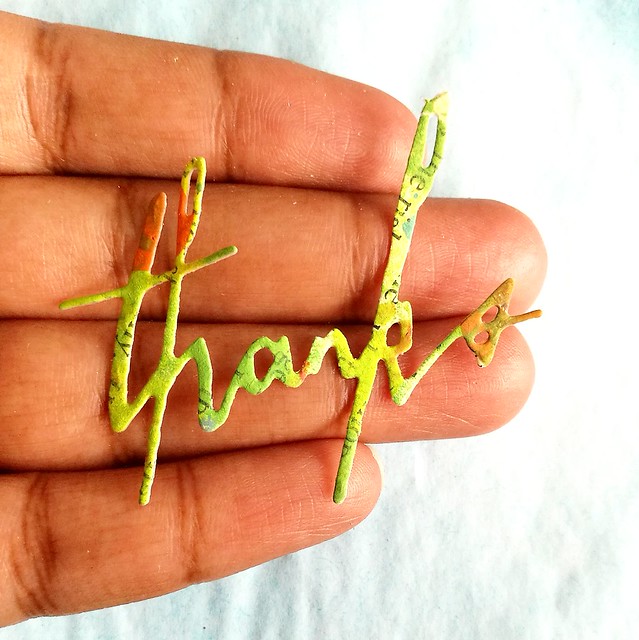
Hello friends! What are you doing on this lovely Saturday? I am using this fun words die cut from @tim_holtz and @ranger_ink on @gelliarts gelli printed paper. I just love this whimsical handwriting font, don't you? What are you doing on this lovely Satur

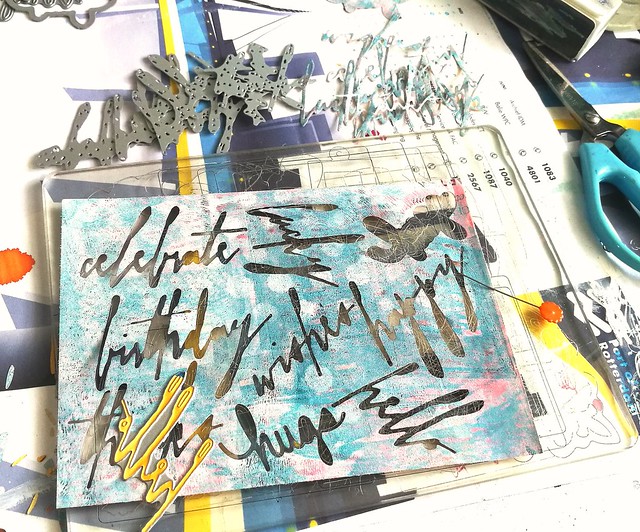
After getting my cuttlebug out a few weeks ago and giving it some love, I came completely besotted with die cuts and got myself a few new ones to play with. Like these handwrtiiten celebration words set from Tim Holtz. I just love that font! So my desk was littered with all these die cuts.

die cut mess on my desk
They are so fun to cut out from gelli printed pages and that fun whimsical script will be great for on cards. The only thing is, in my enthusiasm I forgot to back the paper with doublesided adhesive, so it's going to be a pain to glue them on... well thankfully I have a trusty ZIG 2 way glue pen that really is useful for this. Anyone has other tips to glue down delicate die cuts? Please do share :)

Linking up to Julia's WOYWW #423 - and glad to hop off to see what's on everyone's desk this week. Last week I missed it because of this special announcement, and it was my week to share inspiration for the Stampotique Challenge Celebration (which is still going on this week) so while I do hope to participate and visit everyone's desk (well try to anyway) I won't be able to do it every week... but I am sure not everyone can participate every week, right?

Thanks!

I also wanted to say a heartfelt THANKS! to everyone taking the time to visit my blog and post a comment on my work or just to say hi :) It's so appreciated and warms my heart everytime, thank you!! I have a giveaway in the works sometime later this month with all sorts of craft stuff I have been keeping but never use. It's time to give them a new home! So if you haven't yet, please follow my blog so you'll get an update on that giveaway :) 

Have a wonderful "hump day", thanks for stopping by and catch you all later. 


2017/06/29

Life is short. Drink Good Coffee!

Life is short, drink good coffee

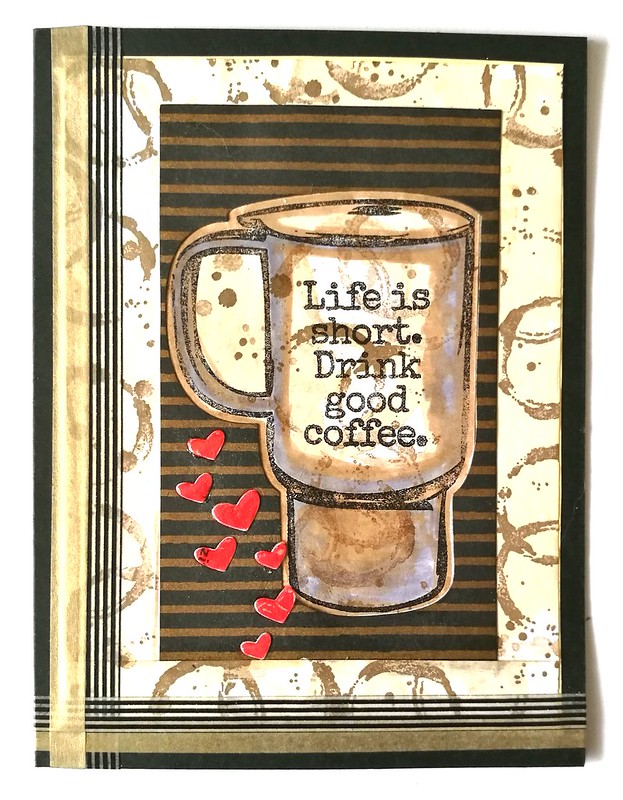
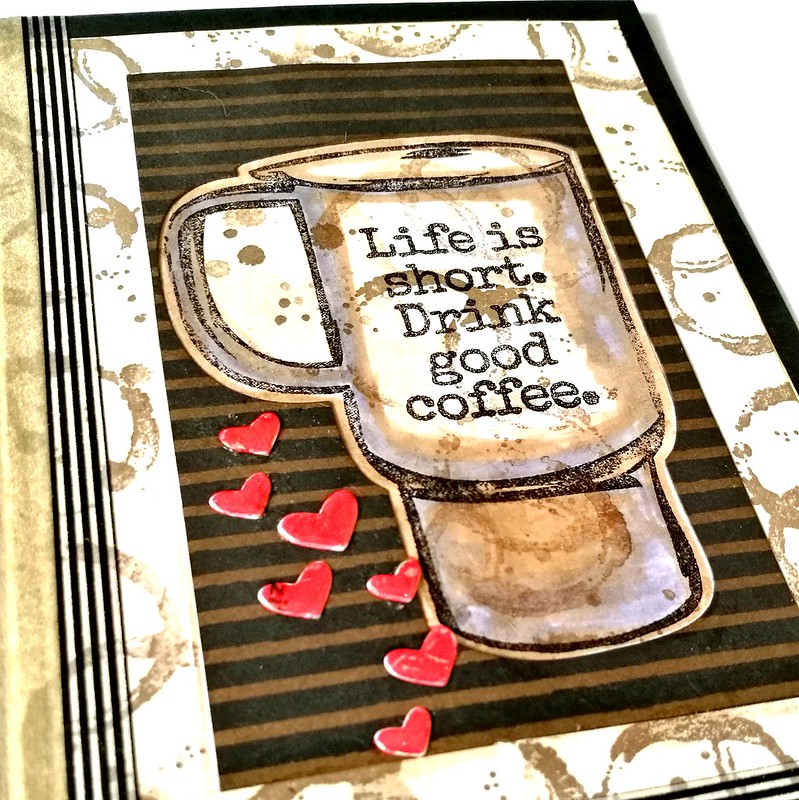
Today I have a fun card to share with all Coffee lovers out there. As soon as I saw these stamp sets from STAMPlorations, I knew I had to have a few of them!! I went for the Anywhere there's coffee stamps and die set because of the above statement. So true!! Why waste your life drinking bad/mediocre coffee, right?! So last night I made a fun, quick and easy card with the Mug and coordinating die. The little hearts are made with the Candy Hearts die from Poppy Stamps, by the way.

Life is short, drink good coffee
I used the die cuts to cut out the mug and small hearts on patterned paper. Then I glued it down to a piece of coffee stained paper of which I had several lying about. Stamped in the Tim Holtz Coffee rings and splatter stamp all over and a bit inside the mug cut out. Stamped the mug and sentence with Staz On Jet black. Gave the mug a bit of shadows and accents with Tombow markers. Matted the piece on to black card stock and gave some gold and black/white accents with washi tape. For the hearts I used an inlaid layered die cut technique I saw Jennifer Mcguire doing in one of her video's. Mine definitely didn't turn out as dimensional as hers, but that's because I have only used 2-3 layers tops to get them a little raised. I also used my red wink of Stella glitter pen and glossy accents and let the hearts dry over night. They definitely do look a lot more like Candy Hearts IRL! Loved doing this technique even though it was a pain to get all the little hearts to line up and glued together! The result was worth it though!

Coffee lovers must have stamp sets from STAMPlorations
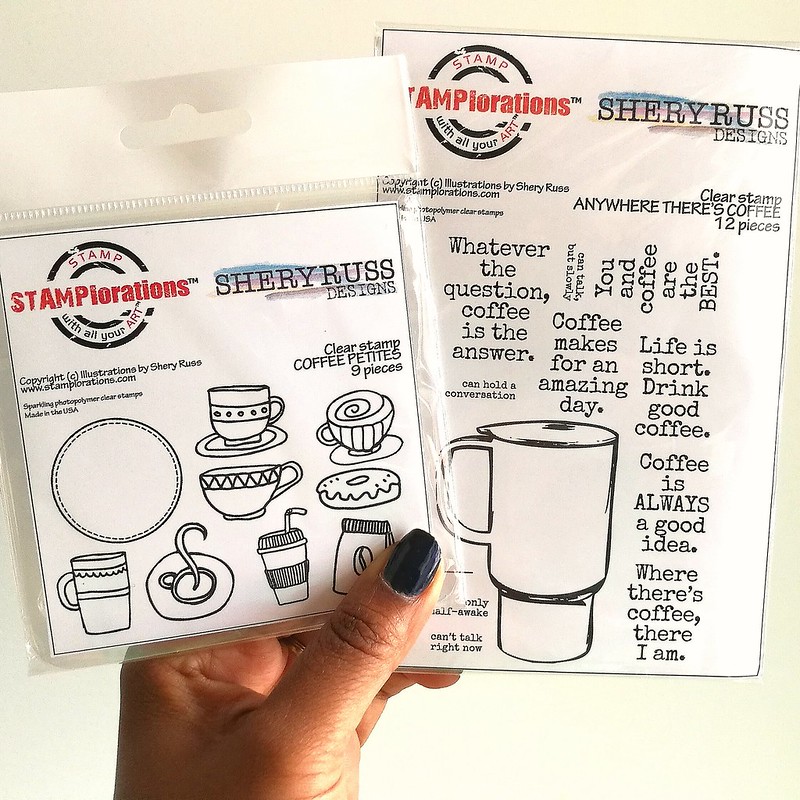
Here is a close up of the coffee stamp sets I have bought at STAMPlorations. You can see all the phrases on the Anywhere there's coffee stamp set and I have also gotten a Coffee Petites stamp set (of which I used the round stitched die cut here) and those are so fun to use for ATC's! Can't wait to use those next!

I also wanted to share something fun the STAMPlorations blog is doing; a new release and wishlist party bloghop!


Shery and her team are celebrating their 4th anniversary with a wishlist part where, if you link up your stamplorations whishlist, like I have, you can win some prizes from it! The generosity is just beyond measure really with over 200$ worth of prizes to be won! I am loving the new words stamps and die cut sets!! And seeing they also have a Sale going on now, I couldn't help myself and ordered a few items from my wishlist anyway ;) By the way, no affiliation here what so ever, just a happy customer gladly helping out a small business (whom offer GREAT products!!)

I would also like to enter my card to these following challenges:
Cutploration challenge June - inspired by the red color and well you need Coffee with any cake, right? ;) 


 Thanks for stopping by and have a great cuppa coffee today :)


2017/05/05

Art Journal: Be Vivacious

Be vivacious

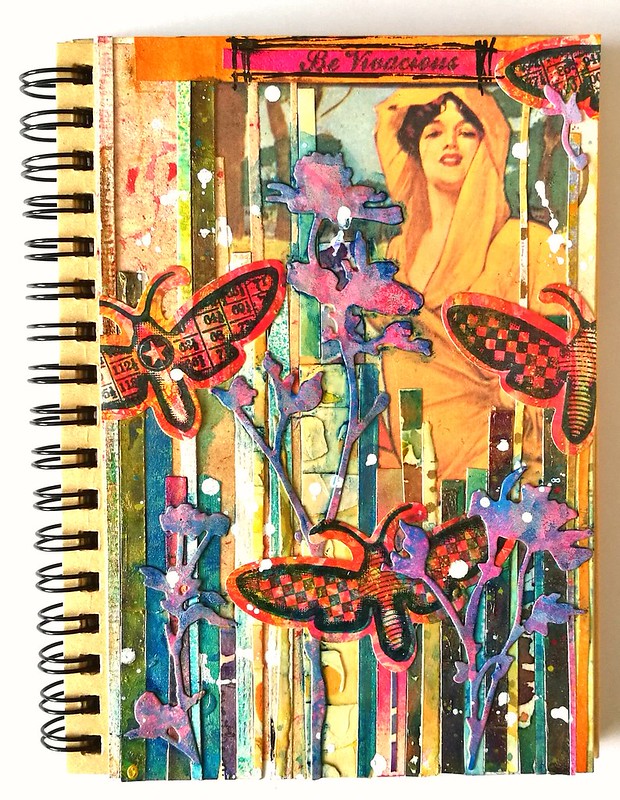
This is a journal page I made with an advertisement postcard being the base. I glued on several strips of left over trims and then added some flowers cut with the Tim Holtz flowers die and the paper Artsy moths die and stamp set. Those were made from left over gelli print paper. I used the Stabilo marks all water color pencil in blue for some shadow on the flowers and then added some spatters with my posca pen. The sentiment "be Vivacious" was left over from this journal page and seemed very filling for the page. Very easy and quick journal page which was done under 30 minutes and helps you to get rid of your left over trims :)

I would like to enter this journal page to the following challenges:

Simon Says Stamp Wednesday Challenge - Hint of Pink
(there is a hint of Pink in the flowers after all :)

Moo Mania - Hats (the lady is wearing a cape/drape over her head)

The Artistic Stamper - Floral fantasy

Watercooler Wednesday Challenge #WWC117 - Feminine Anything goes challenge

Make My Monday - May Flowers

Art Journal Journey - Elegance and Grunge

Time Out Challenge #82 - Anything goes with optional Kissing

Thanks so much for stopping by and have a great day!


2017/04/20

De-stressing with Oxides

Distress oxides play

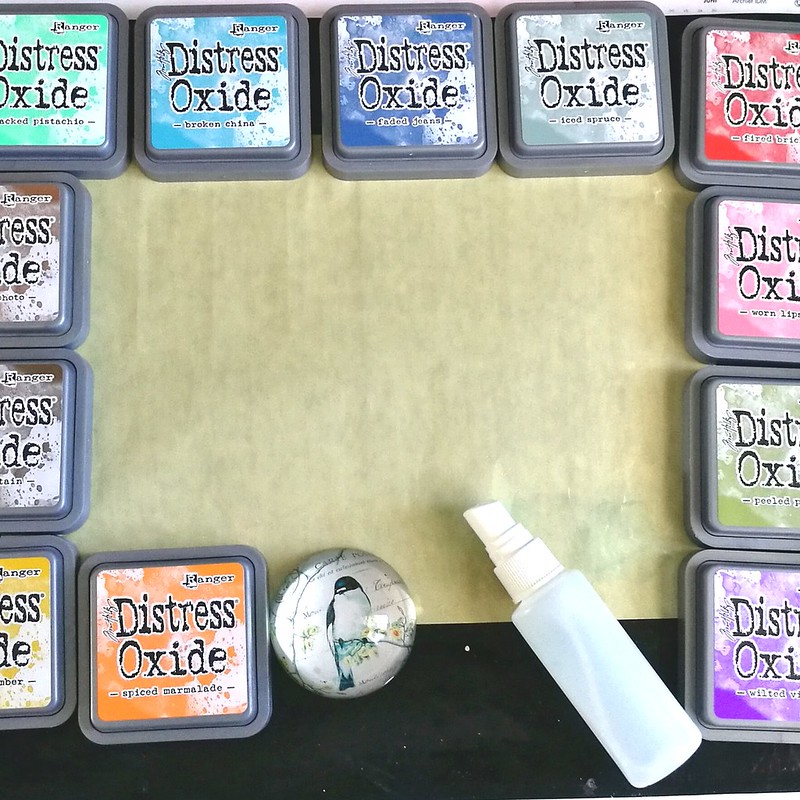
A couple of weeks ago I finally had some time to play with my Oxides inks which I got at Hobby Compleet de Duif at Art Specially earlier this month. I may be late to the party and I'm sure you by now have heard all about these products so no in depth review from me, just a few things I have noticed while playing about with them. So I got my craft sheet, oxides, water spritzer and heat tool ready to play!

Distress oxides play
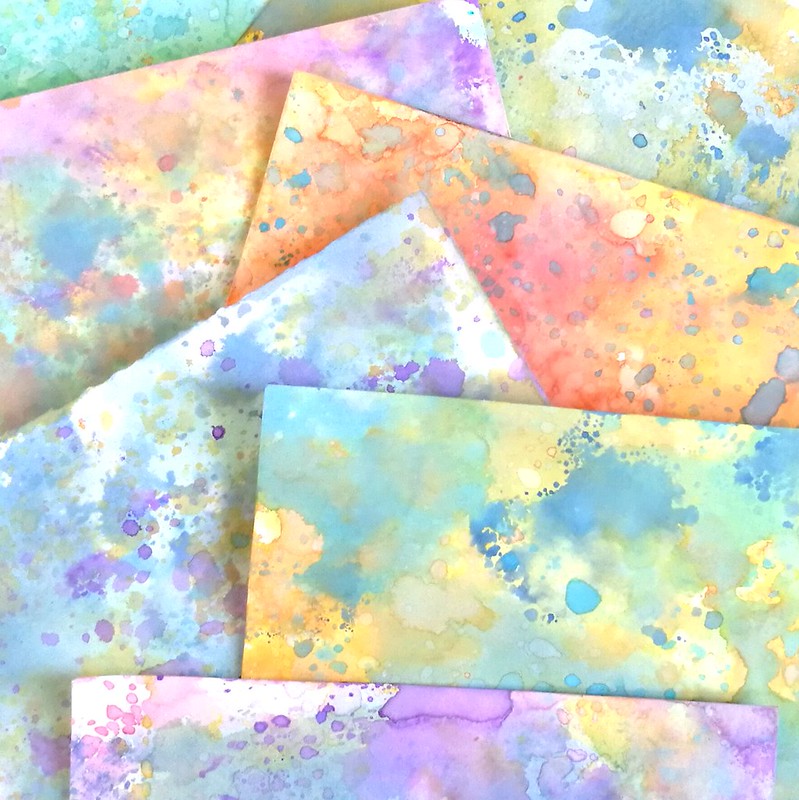
These are the background I have made after just one play session and  I can say that I am absolutely in love with these. You can make amazingly colorful back grounds with wonderful layered colors. The inks do not get muddy as they would with regular distress inks when you're layering. The colors stay crisp and have an interesting effect. Some papers work better than others and I found using water color paper you'll get a crisper look than if you would on regular card stock, but both have a fun effect. The effect changes with the amount of water you use but they all finish with a soft suede like feel to it. For more info on the inks and on how to layer them, see this great video on how Tim Holtz does it at CHA. It's super fun just to lay on color and De-stress and play! 

Distress oxides play
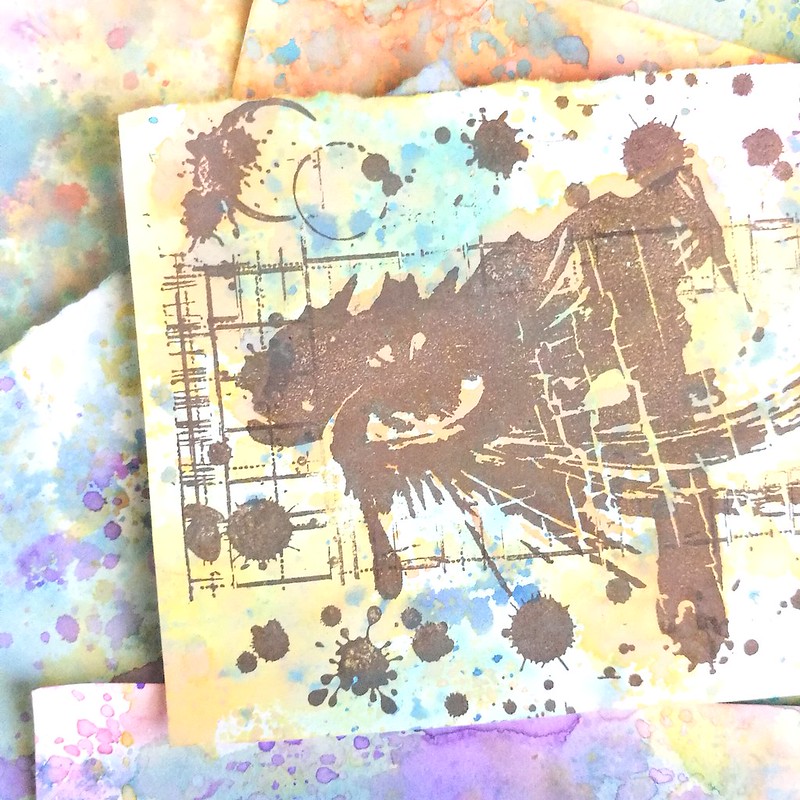
I took a few backgrounds and stamped these indigo blu stamps on them, with ranger dye ink java brown and it already has a stunning effect like this.

Inspire the future

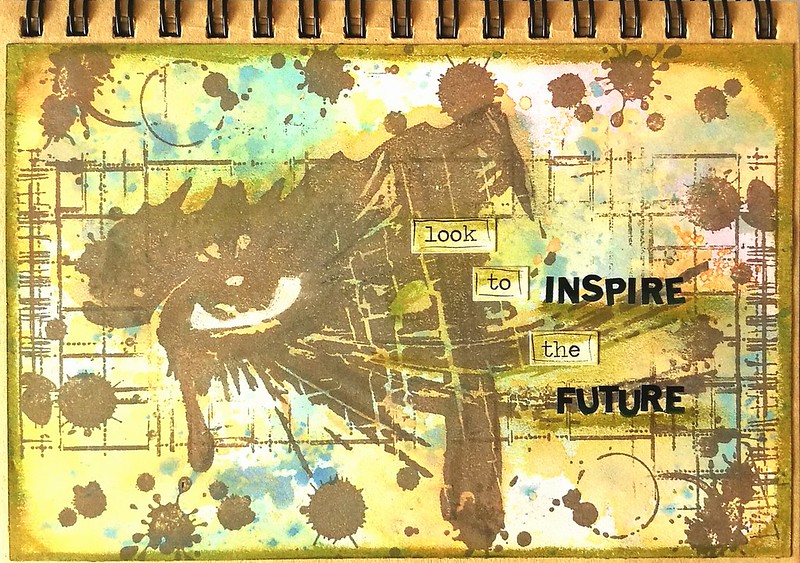
I finished a couple of pages for my journal with these tests and the above page I only added white gel pen and accents with peeled paint distress crayon. Some chit chat stickers and letter stickers to form "look to inspire the future" .
Inspire the future
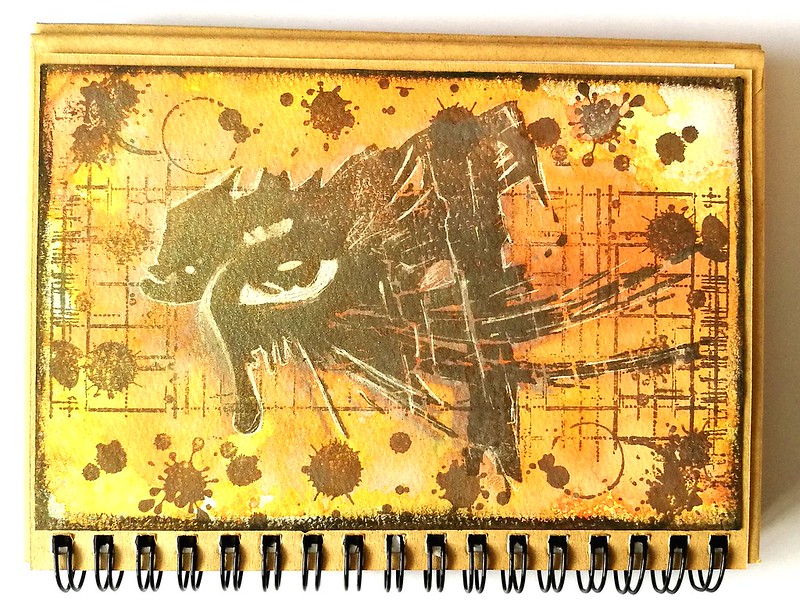
The second experiment was stamping the eye stamp with Walnut Stain oxide directly onto water color paper and spritz water all over it. That sort of dissolved the image into a blurry mess BUT the spiced marmelade orange background, remained bright and orange. I dried the page and stamped the image again with the ranger Java dye ink and accentuated with walnut stain distress crayon and a white gel pen. 

Definitely loving these effects and there are so many more ways to use them too. Jennifer McGuire has a very useful blogpost and video about it here. I loved seeing how she creates some stunning cards with these inks! Looking forward to use these inks in my upcoming projects!


Thanks for stopping by and have a great day!