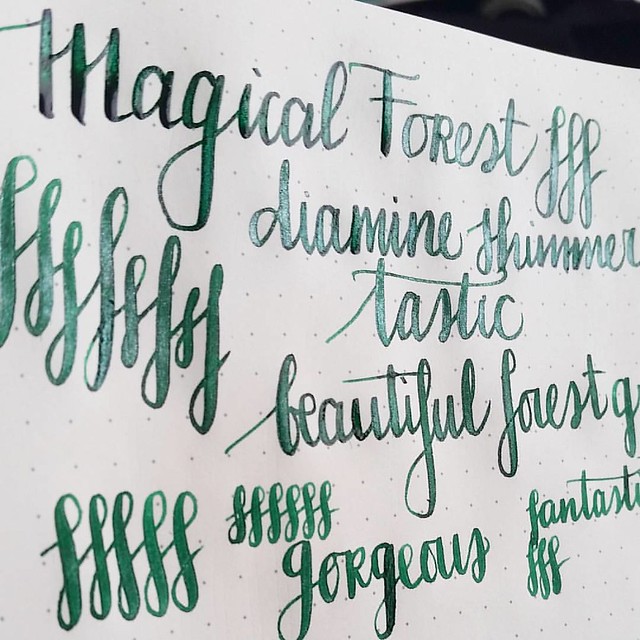
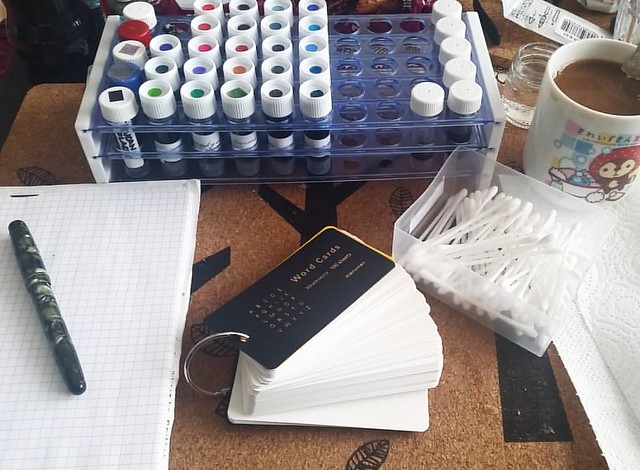
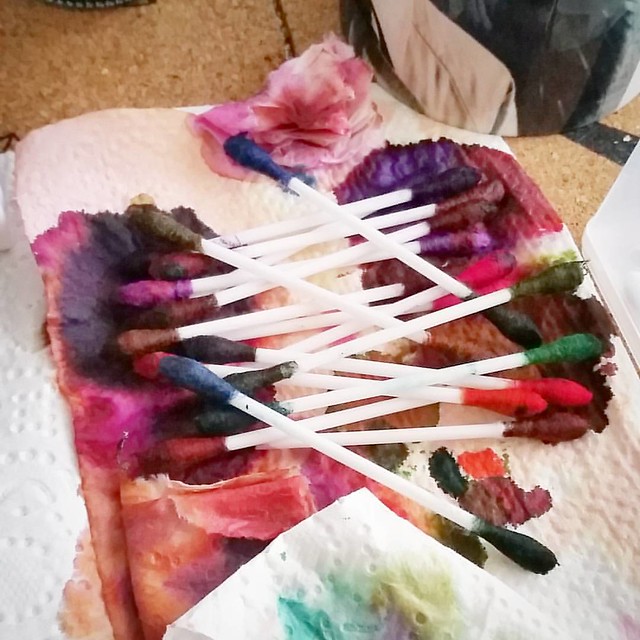
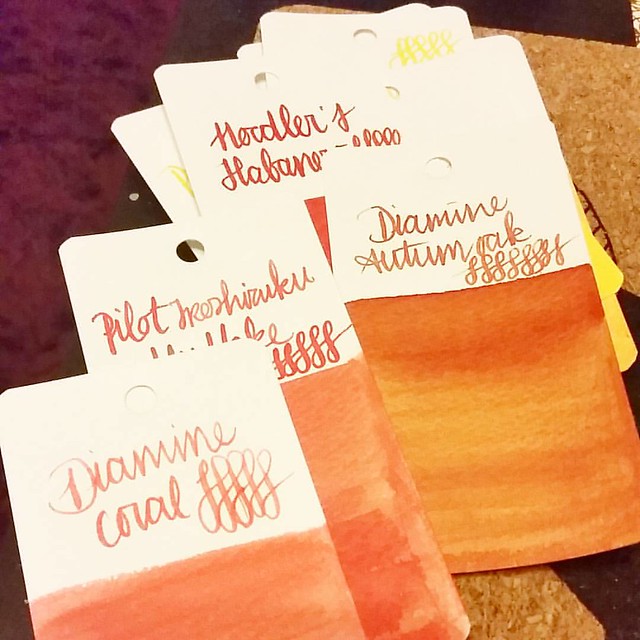
In my last post I showed you the writing examples with Diamine Shimmertastic ink samples, Mishka from Bureau Direct so graciously provided and today I wanted to show you some mail art I made with the remaining drops that were in the sample vials. No drop was wasted! [This post is going to be image heavy]
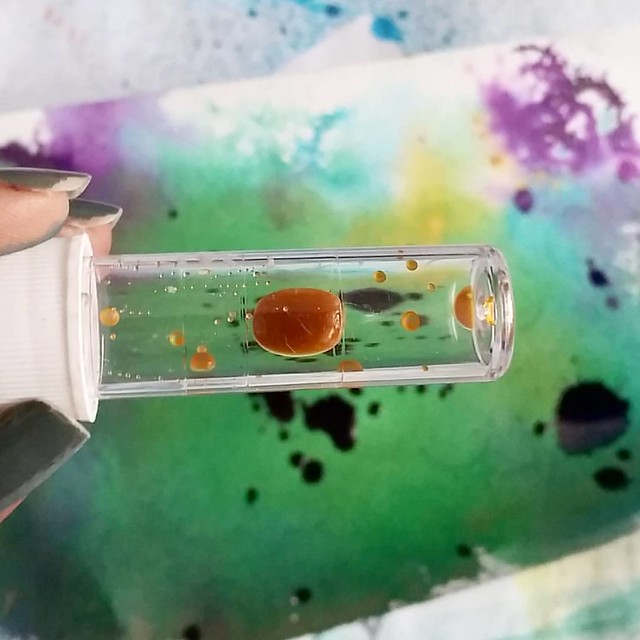
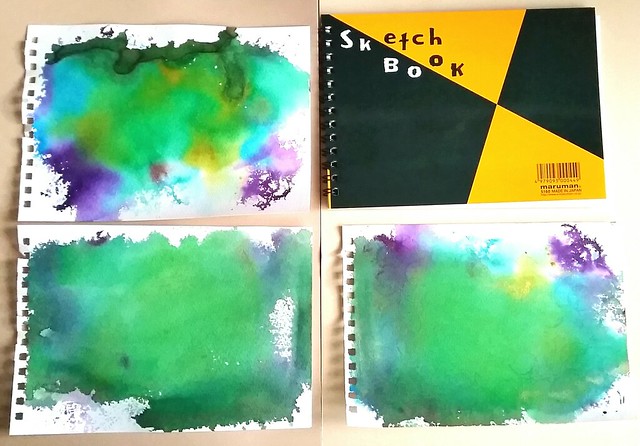
I started off with making my base back grounds first. I drizzled some drops with a pipette and tapped the inks strait from the vials on the page and sprayed water all over the pages with a mini mister, so that the colors would blend over. Then I dried the pages with my heat tool.
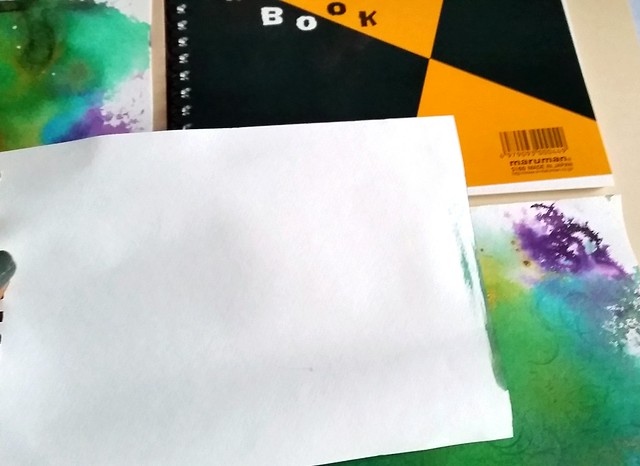
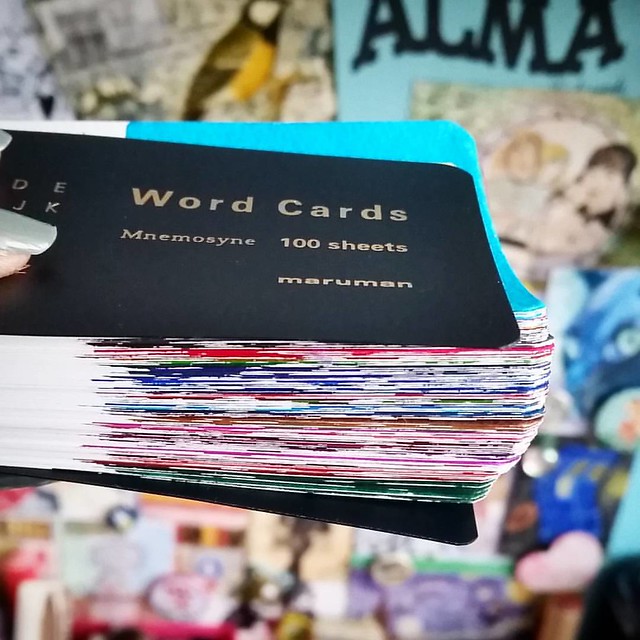
It's important that you use good absorbent yet sturdy (watercolor)paper for this. The paper I used is the Maruman Zuan B5 sketchbook which I got at my recent Pen Store haul. It's 126.5 grams of great quality water color paper and with the inks and water spillage I have doled out, it hold up pretty well! No bleed through on the other side as you can see above (the smudges on the right side is from excess water that pooled over) And warping of the page after drying is minimal.
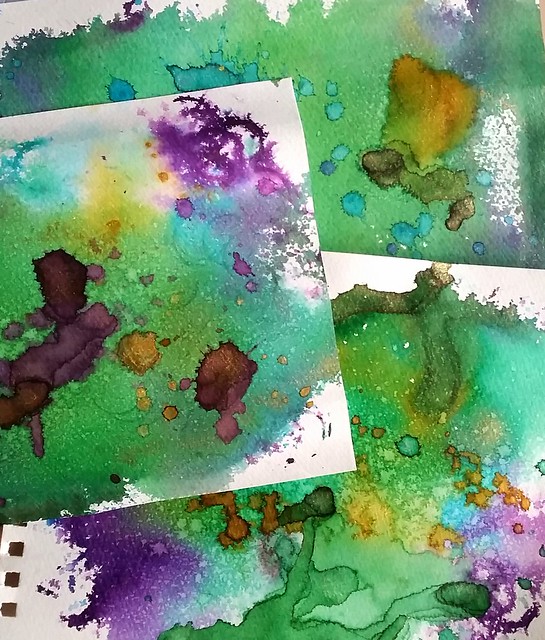
When the sheets were properly dry, I added some more shimmery ink drops on them by using a syringe to create random spatter patterns. I also diluted the ink a little bit in the ink vial to get more 'mileage' out of the last few drops. This way you also create some color variation, a light ombre in the color scheme. When I was satisfied with the amount of droplets, I dried the pages with my heat tool again. This time, when dried completely as shown in the picture above, the added drops are much brighter and the shimmer is more pronounced. Now to turn these pieces into mail art!
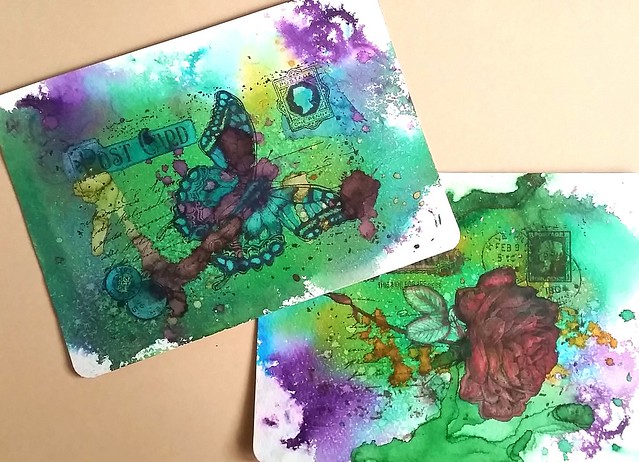
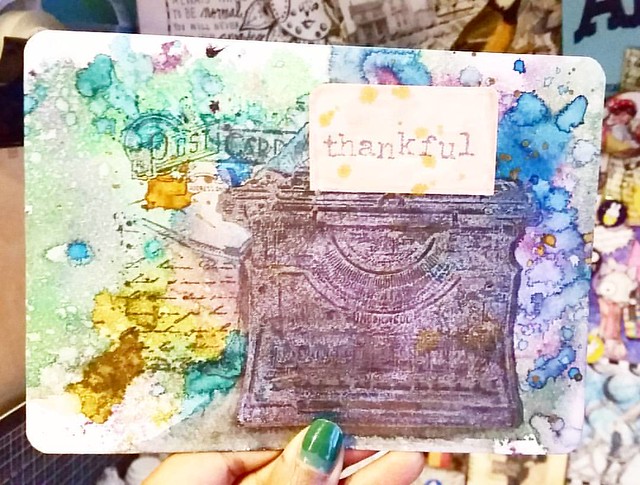
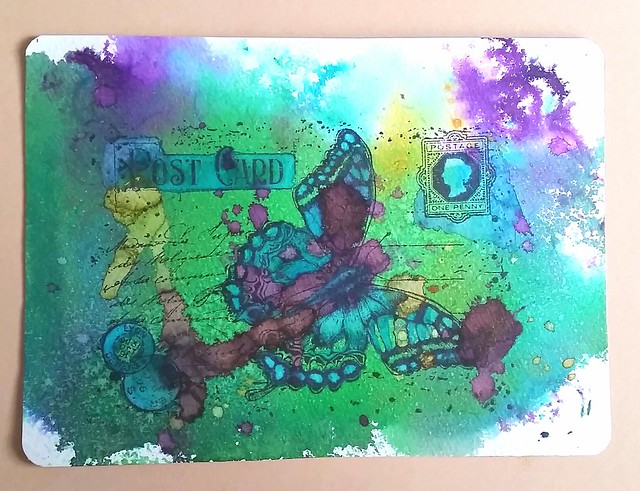
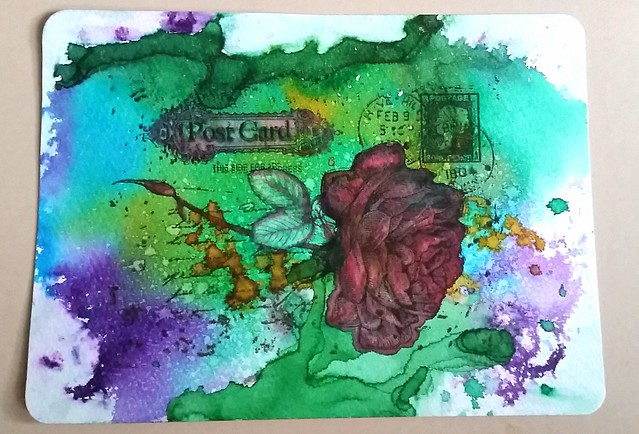
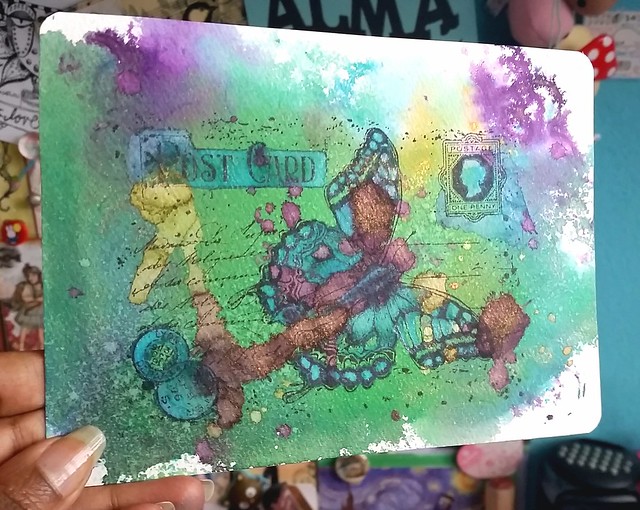
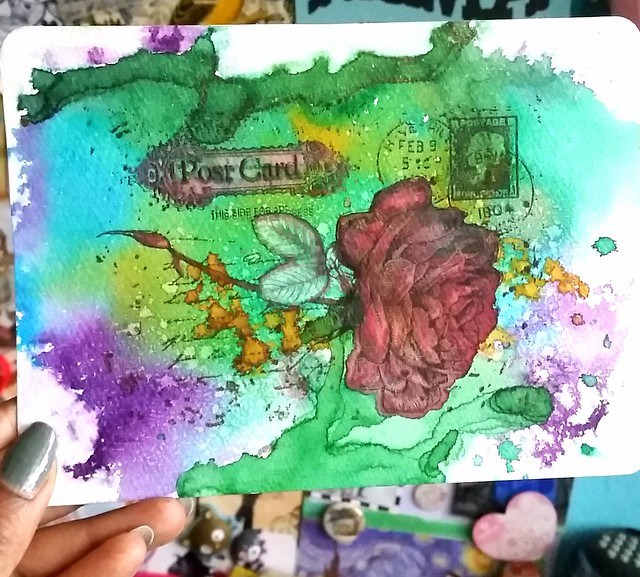
I took 2 of the background pieces I liked most and stamped Joy Crafts Old Letter Rose 2 and Old Letter Butterfly (by Noor design) on them. By this time I had run out of Shimmering inks but a good friend of mine gave me a full set of these in sample bottles so I could play with them more. I colored some accents in the rubber stamp image, like the rose, butterfly, postage stamp etc. by using a pentel color water brush to make the image pop out more.
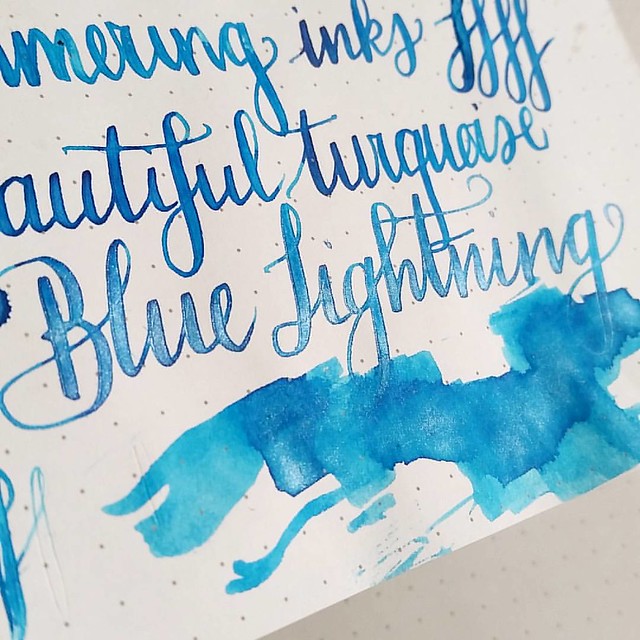
I used blue lightning to accentuate pieces in the rubber stamp, wings of the butterfly, postcard header, cancellation stamps and the postage stamp.
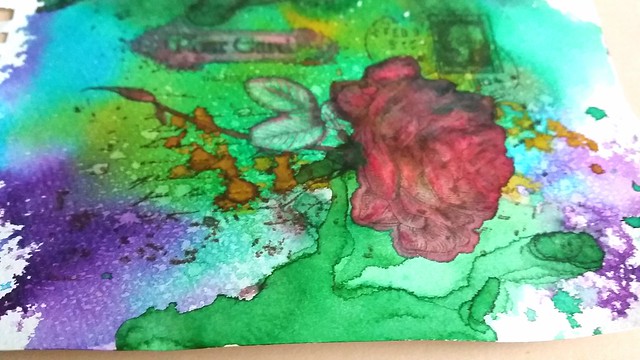
With the rose I used red luster to accentuate the petals of the rose a edges of the leafs and corners of the 'post card' header. I also diluted the Magic Forest color in the leafs to accentuate that part more.
I also used the water color brush to create depth in the Rose petals. Make sure you use a water proof rubber stamp ink, I used memento rich cacao and tuxedo black, because your image can wash away if you don't. You can stamp over the dried image again to give the image its crispness back.
A couple of close ups of the pieces so you can see the shimmering accent better.
The last step was to glue the pages to card stock and I rounded off the corners with a punch.
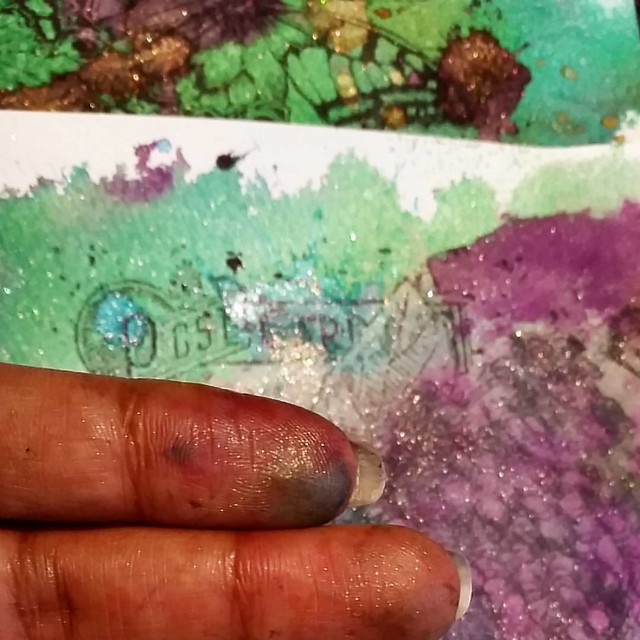
And there you have it! I hope this inspired you to mess around with shimmery inks and rubber stamped images too :) And in the end your fingers will probably look like this
And you will find glitter EVERYWHERE! But that is part of the fun ;)
Thanks for stopping by!
Namaste
