Showing posts with label posthumus. Show all posts

2016/07/18

Mailart Monday - Each day is a new opportunity

mail art - a new oppurtunity

Mail Art 060-2016
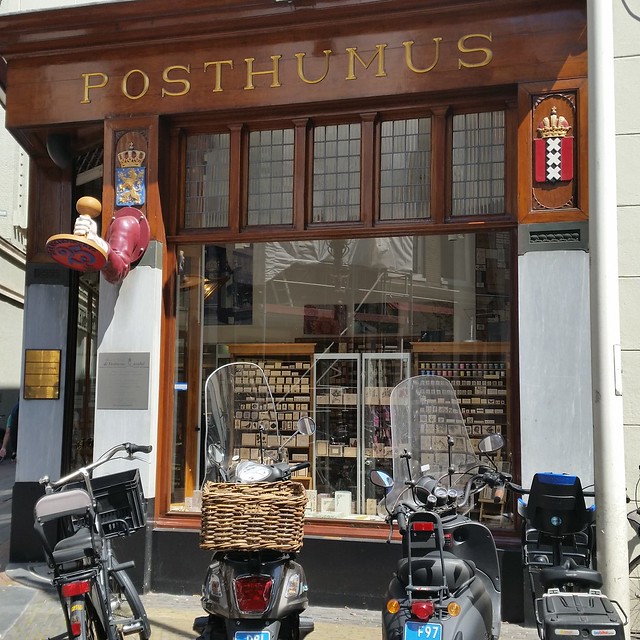
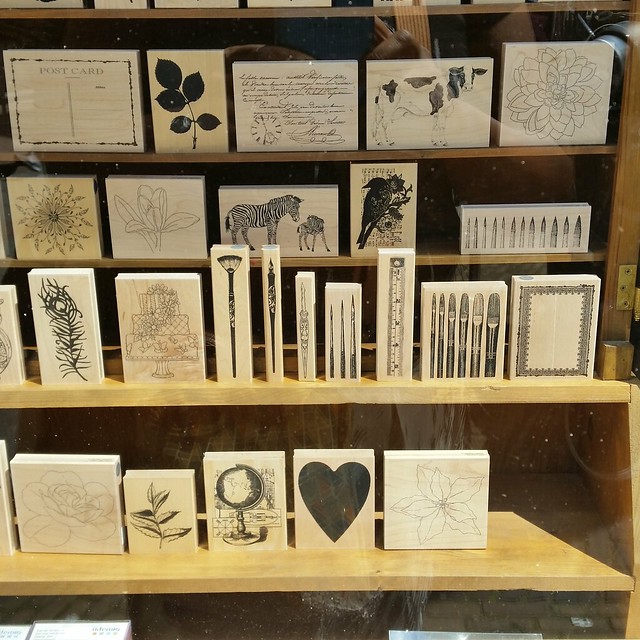
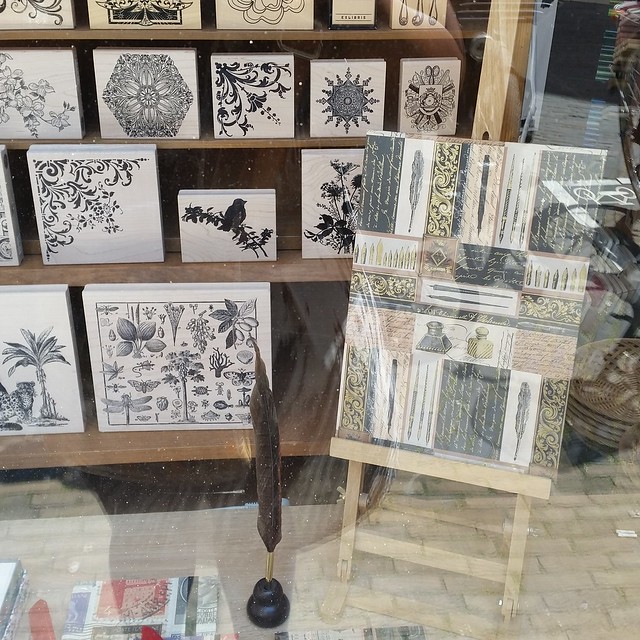
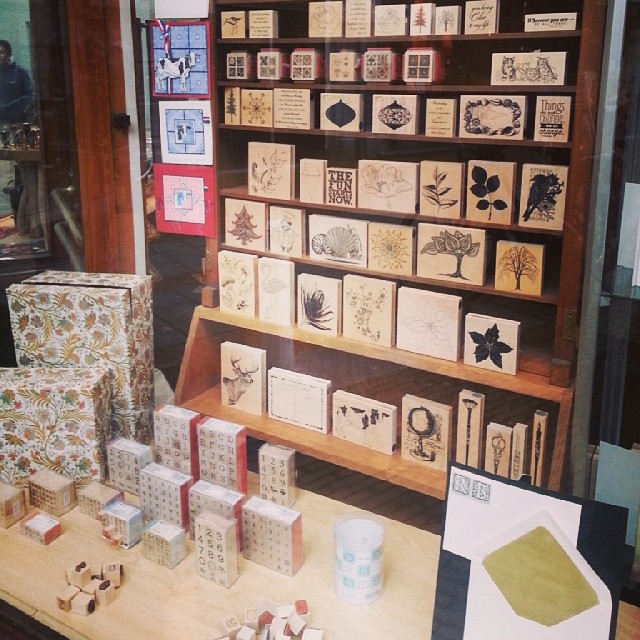
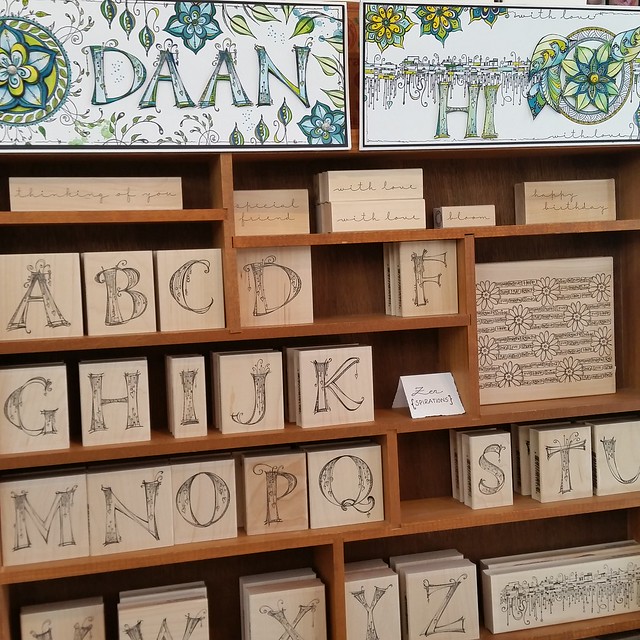
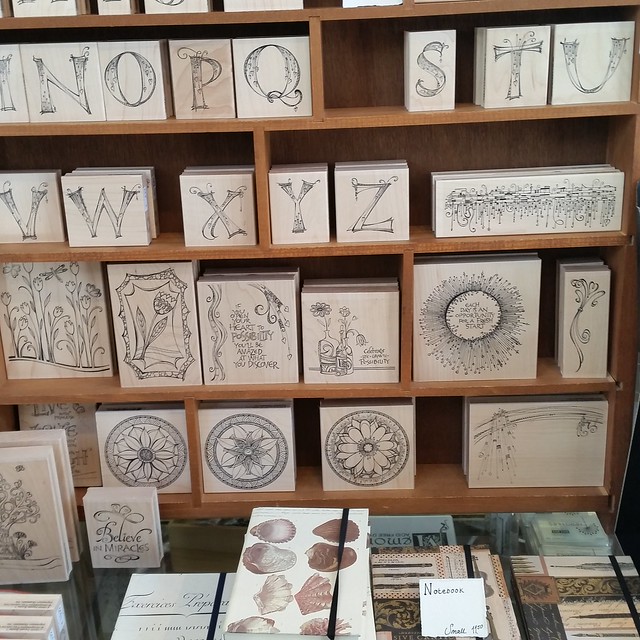
This rubber stamp from Zenspirations designed by Joanne Fink which I found at Posthumus store in Amsterdam have such wonderful positive affirmation that inspire me in making my mail art. The pieces above are a few examples I made for swaps on Swap-Bot
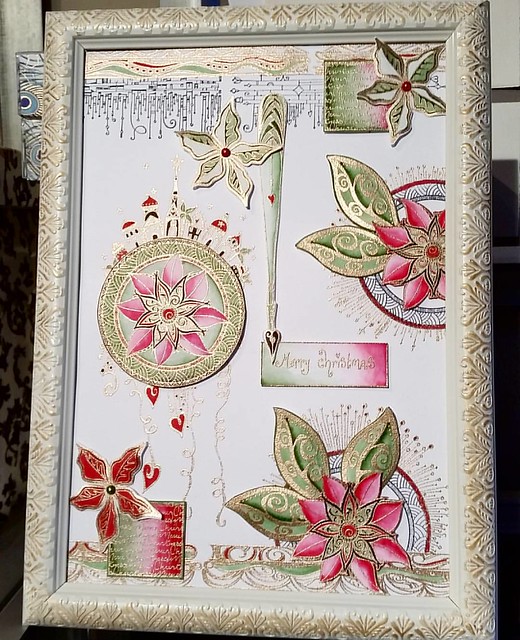
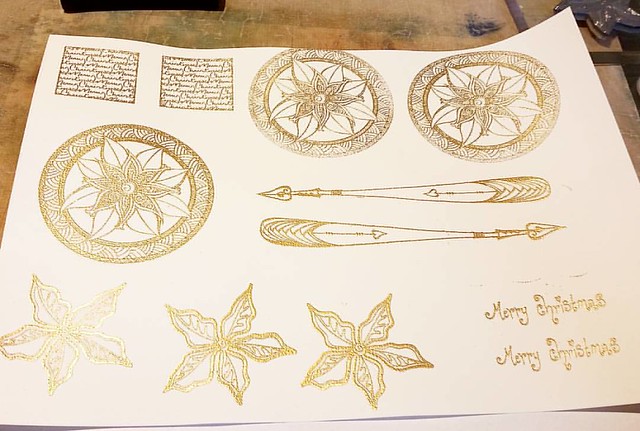
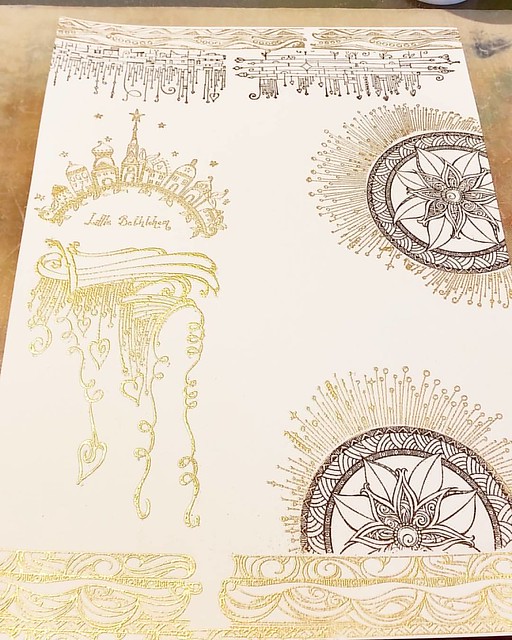
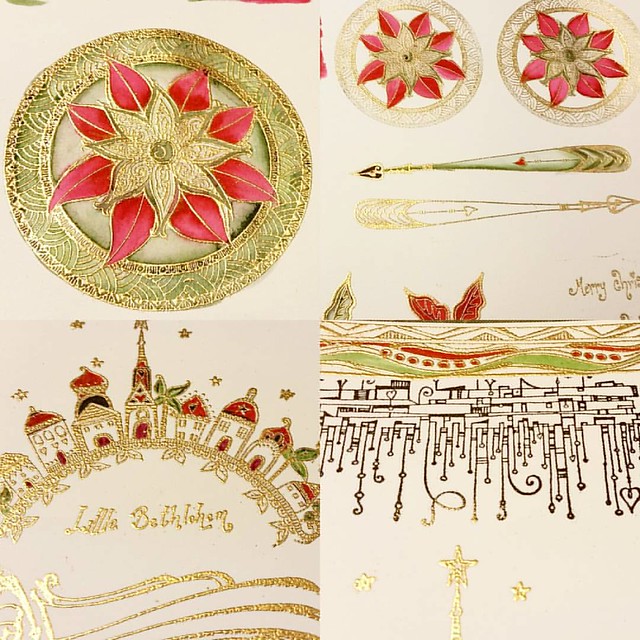
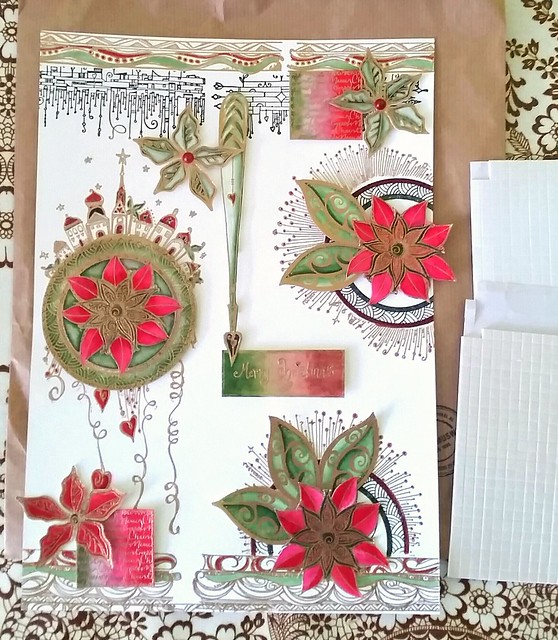
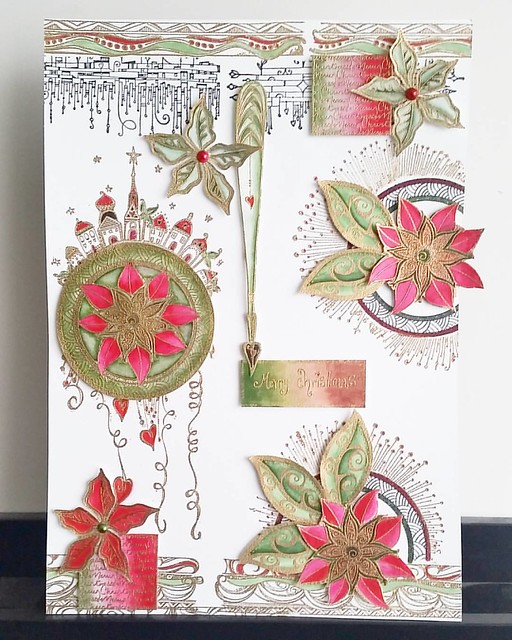
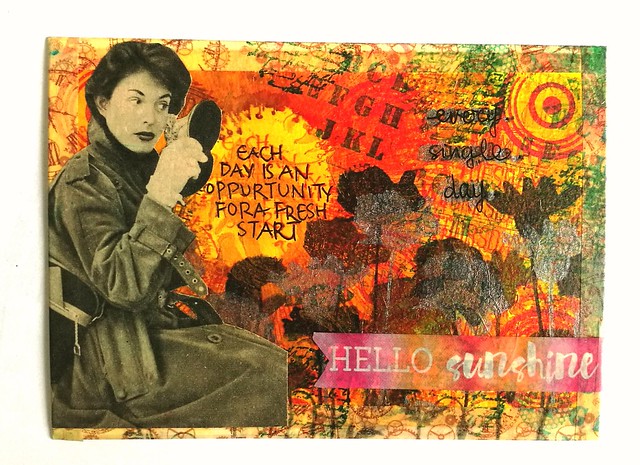
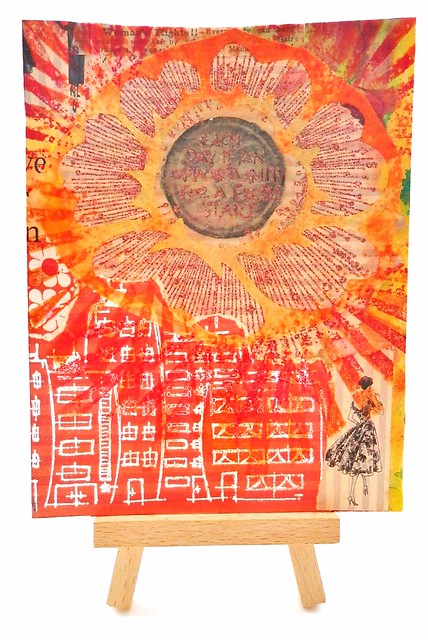
The top piece: The background is made with acrylic paint and stencils. Then added that sentiment rubber stamps from Zenspirations, the silhouette flowers from joy crafts and the circle stamps from indigo blu. I found a great picture in a vintage dutch magazine that fit the mood of the washi tape sentiment "hello shunshine" and the zenspirations stamp. 
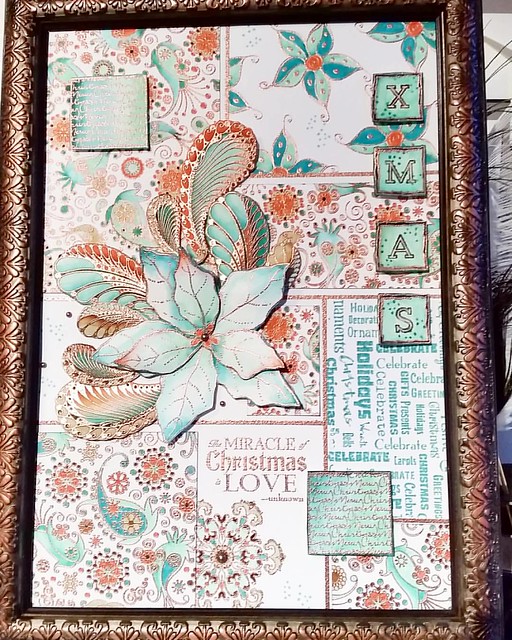
The bottom piece is a collage made with various left over papers from my "junk paper box", stampotique and Tim Holtz stamps, and the flower overlay I made with my Making Memories slice machine. I'm loging for sunshine and this piece sorta depicts that. 
I love how these cards came together. 

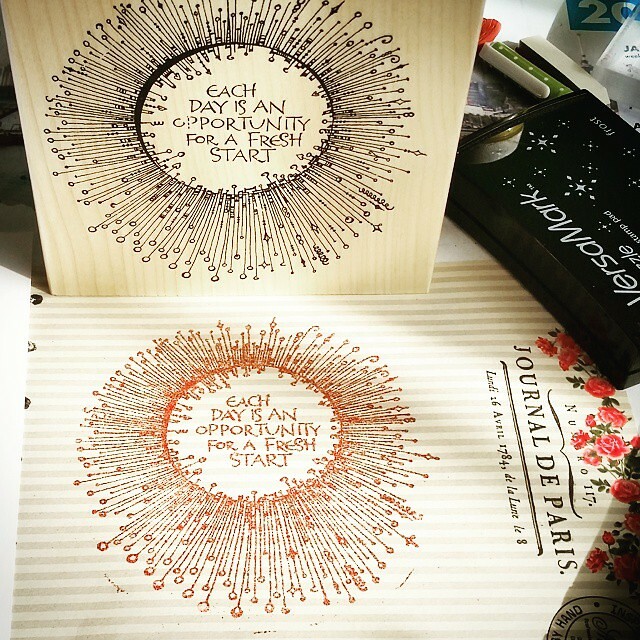
Each day does bring the opportunity for a fresh start, hope you will find yours today :)

Thank you for stopping by and have a great day!

namasté

2016/04/29

A strong case of duality

There are a lot of brush pens out there, but these Tombow dual brush pens have been around for a long time. I had tried them last year december at a workshop given by Miranda Degenaars in Posthumus Store in Amsterdam (where you can also buy them). It was great working with them, esp. since they blend nicely with water. I was trying to find an alternative for coloring to my Letraset and copic markers, which are not water soluble. I finally decided to get a few (ehrm... maybe a "few" is an understatement...) and did a couple projects with them already which wanted to share them with you here.

Working out some ideas for a new project #handlettering #tombowmarkers #tombow #lettering #craftyendeavors #craftiness #posthumus #brushletter #handwriting #writing #tombowlettering

So I have been noticing the hand/brush lettering rage on the social media networks. There are a lot of tutorials on you tube on how to use these tombows for hand lettering projects. I watched a lot of them and found them very useful and illuminating! Thanks to everyone whom has taken the time to do videos and uploading them, they are very helpful! I found the blog ByDawnNicole very useful! Tombow also have their own channel and blog with tips and tricks on how to use the pens. Traditionally they are used to color with and you can create a lot of fun background and lettering effects with the blending tool and some water. By the way, the light bulb brain stamp is from The Stempelwinkel and it's one of my favorites :) 

The following projects I used a resist technique. 

Letting project
On white card stock I stamped the tree image with versamark ink and wrote 'hallo' with the embossing dual pen. I used Wow Bright white embossing powder and heat set it. The embossed parts will resist the inks. You can see the colors I used on top of the card. I used the brush tip to color directly on the paper, used water and a flat brush to create smooth, non streaky layers. Then with the blending brush I blended the transitions in colors, also added some more color and water here and there until I was satisfied with the result. I wiped away any residual ink that was left on the embossed parts with a paper towel. Then I masked the tree and word and stamped the Carmen's Veranda birds in flight stamp on the sky with Staz -on Stone Grey. Beautiful simple and effective result!

Letting project
At Art specially I also bought some Winsor and Newton Masking Fluid which I always wanted to try out. The base is a light blue card stock and I used a dip pen to write down "hartelijke groet" (translated "with kind regards" in English) on it. It dried up clear and then I colored the around and over the words. Spritzed it with water and used a flat brush to blend the colors a bit. I dried it with my heat tool, stamped the star stamp with Brilliance lavender on top and bottom of the words. I rubbed off the masking fluid, and the light blue words are showing clearly through the colored background. It surprised me that it stuck so well to the paper! Such a fun effect! I ripped the edges off and matted it on a black note card which make the colors pop out even more.

My cute little helper 😻 #meeshathecat #meesha #colorcoordination #tombowmarkers #tombow #tombowusa #tombowbrushpen #craftyendeavors #craftmaterials #craftygirl
I am completely loving these brush pens and eventually (after long internal debate) got the full set of 96 colors (found a great deal on the set through Marktplaats otherwise yeah they are pretty costly to get!) with the desk stand. My little Meesha was helping me organize the colors in the numerical range which I then placed in the desk stand. 

Tombow full set dual brush pens
They definitely do look awesome standing all together, don't you think? I'm looking forward to use these in more projects which I'll definitely be sharing with you here.
I have them standing on my desk now, which would, I hope, prompt me to use them often.  

What are favorite pens to color with? 
Have you tried these brush pens? 

Oh and If you don't follow me on instagram yet, you might like to know I am hosting a giveaway for a calligraphy pen

You can still enter until tomorrow :) 
Thanks for stopping by!

Have a wonderful creative weekend.

namasté


2015/11/30

An inspiring workshop at Posthumus Amsterdam

On saturday the 21st of november I was lucky enough to join a very popular workshop at Posthumus stamp store in Amsterdam, the Christmas layout workshop given by Miranda Degenaars. Her workshops are always very popular and sold out within hours. But the day before a message on Posthumus facebook page said that someone had canceled due to illness, and they had a free spot. So I grabbed that chance and got to join in.

Miranda had made four layout designs which we could choose to make in the 3 hours there. The one that really stood out for me was the one with made with all the Zenspirations Impression Obsession rubber and clear stamps (designs by Joanne Fink) What we get to make was this A4 sized stamped work.  It was just beautiful! 

This is what it supposed to look like finished... 3 hours was not enough to finish the piece. I still need to cut all the pieces and arrange them like this on my background. @zenspirations workshop by Miranda Degenaars at Posthumus Amsterdam #zenspiration

This is the design I signed up to make and *gulp* it was a tough one. Miranda did say that we probably would need more time to finish this project than the time was given at the workshop. She was not wrong! But I started on the daunting task anyway. 

The project consists out of a back layer and a bunch of loose cut elements, 15 to be exact, to give the 3D effect. So we started with stamping and embossing the loose elements first. 

The loose embossed elements @zenspirations #workshop #rubberstamping #rubberstamps #embossed #embossing

Because there was so much embossing to do in this project, we needed to get that done first before we could get on to the coloring. After the loose elements were done we did the embossing for the back ground of the piece.

Went to a workshop at posthumus in amsterdam yesterday. Worked with stamps from @zenspirations to make a nice Christmas layout. This is 1/2 way done. #rubberstamps #rubberstamping #zenspiration #posthumus #art #embossing #wowembossingpowder

I love how the 'poinsettia' mandala and 'circle dangle' stamps on the right are superimposed. We used a mask for the mandala and then stamped the circle dangle rays over it. The border stamps on the bottom and top are among my fave of the bunch. The black ink used is versafine black and the gold embossing powder is by WOW embossing. 

At this point all the gold embossed elements were done, so it was time to color stuff in. And this was the most relaxing part of the workshop. Everyone was quiet and highly ZEN on their coloring.
This project has so much detail to color in. The coloring is done with tombow markers and a brush pen. @zenspirations #posthumus #workshop #rubberstamps #rubberstamping #embossed #embossing #zenspiration #zendala #zentangle #zendoodle

We used Tombow Dual brush pens and a kuretake water brush pen for the coloring. Since it's a Christmas theme, a lot of red and green colors were being used to color in the elements. Not everything was colored in, and we left the back ground accents black and white mostly because all the cut elements (remember those were a whopping 15!) were all being colored and that's where the accents of the piece lie.
By this time the allotted time for workshop has nearly come to an end and I did my best to get all the pieces colored there because I didn't have the right colors of Tombow brushes at home. But at home I cut all the pieces (with help from my husband, because there was just too many to cut) and assembled the piece together with a flurry of 3d foam tape squares to give it that raised look.

Christmas workshop at posthumus Amsterdam
And this is the end result. I forgot to color in the 'Merry Christmas' square at the workshop so that's why those colors are a bit off, but with every thing else, I am quite pleased! Now to find a nice frame for it!

My finished Christmas piece from the workshop I did on saturday at Posthumus Amsterdam. Layout design by Miranda Degenaars and stamps used are mostly from @zenspirations Impression Obsession. #rubberstampart #zenspirations #rubberstamping #tombowmarkers #
A few other ladies at the workshop chose to do another layout which was even more daunting than this one and it's the one below.

This was another project you could choose to make at the workshop, but this one is even more time intensive than the other. But so gorgeous! Made by Miranda Degenaars at Posthumus Amsterdam


Look at that amount of detail! Amazing! And I do love that color scheme. But this was a bit too 'busy' or 'crowded'  for my taste. But I do love the paisleys behind the flowers. I have an idea to try something with loose paisleys like that for a LCD /CV layout. 

Thanks for the inspirational day, Miranda and Posthumus gang! 
It was a delight to be there.
Hope this inspired you readers as well to work with embossing powder and tombow markers.

Thanks for stopping by.

namaste

2015/07/15

Shopping Highlight: Posthumus in Amsterdam

Posthumus store displays

To say that this is a dangerous place for a rubberstamp aholic like me, is an understatement. Posthumus store in the centre of Amsterdam is a well known place since 1865. They are in an Ally next to the Amsterdam Museum, a tucked away little gem of a shop. As their blurb on the 'about us' page from the website says:
Set in one of the most historical parts of the city center of Amsterdam is the Royal Posthumuswinkel, a  "winkel" (shop) that has been making and selling custom-made stamps of every kind since 1865. The store is a landmark for lovers of rubber stamps and stationary.You can find not only a seemingly limitless array of stamps, but also beautiful paper, envelopes, inks of all colors and sealingwax. The store is somewhat of a museum too, with antique letters with embossed letterheads an monograms, antique engraving machine, and old photographs of the store.The time-layered ambience gives a lovely sense of nostalgia, but the diverse stock accommodates modern times.
 And true to their word, the store is packed full with gorgeous stamping and stationery materials. A few examples of their stamps on display:

Posthumus store displays
Posthumus what a wonderful store :) can't leave without buying something here!

Gorgeous Zenspirations stamps
Posthumus store displays

And I could not leave without this stamp because of the true statement of this sentiment:
Could not leave this gorgeous #zenspiration #rubberstamp behind at my recent visit at #posthumus A sentiment that resonates its truth.

You can also follow some workshops and make and takes at the store mostly given by Miranda Degenaars. I was lucky to have done a few, which were very inspiring!

Hope this inspired you and when you are in the aria, don't forget to visit this wonderful shop.

Thanks for stopping by!

Namaste