Showing posts with label workshop. Show all posts

2017/11/06

Art Panel: From ugly duckling to ballerina swan

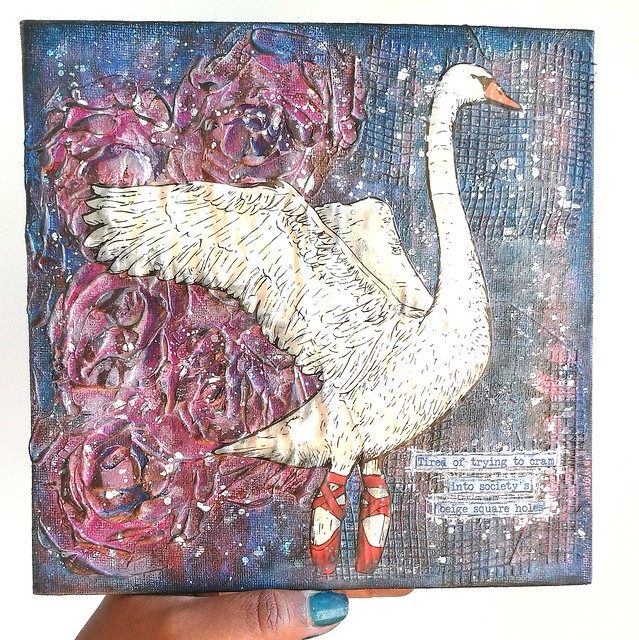
Ballerina swan in roses

In september I had the amazing opportunity to attend a workshop by Nika Rouss (aka Nika in Wonderland)  at ArtChicks Studio. Since the site only updates the newest workshop, I'm sharing the flyer that was posted about it.
Image may contain: 6 people

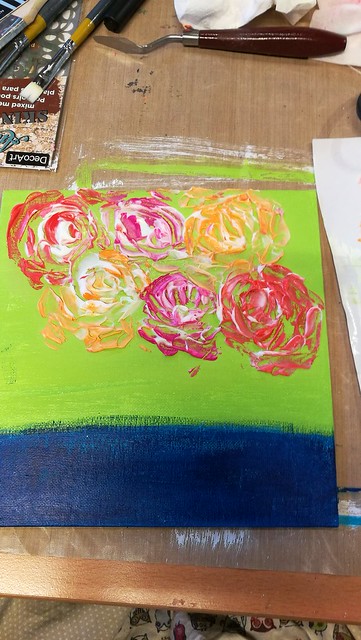
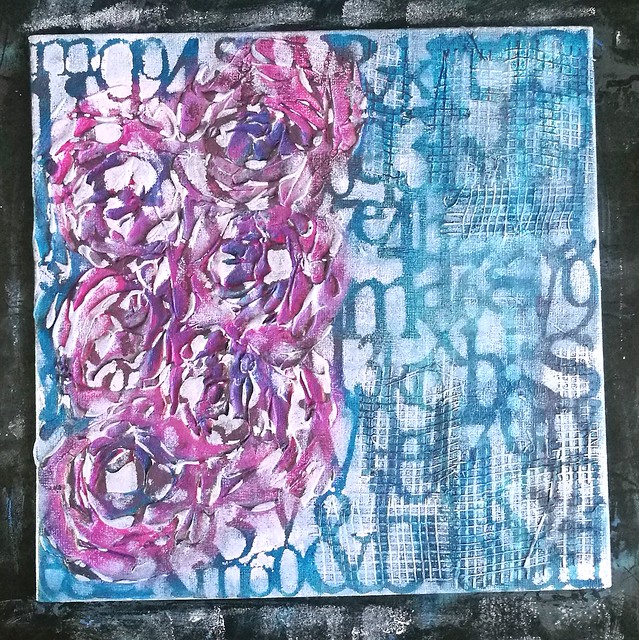
I attended the Saturday midday workshop and I honestly didn't know what to expect, except awesomeness, because Nika is pretty awesome! The workshop was "intuitive painting with roses" (like this video) and this is how I started my canvas
rose experiment
We took some modeling paste mixed with paints and the pallete knife to form the image of a rose bouquet. But there were some well unforeseen circumstances in the day - it was hot and humid and the "peeks" of the roses would not dry.  So it took a chunk of the lesson time to dry which was unfortunate. In the end we had to hurry to finish up the piece and this was what I went home with (next to awesome times with the other workshop participants and Nika, of course!)

rose experiment

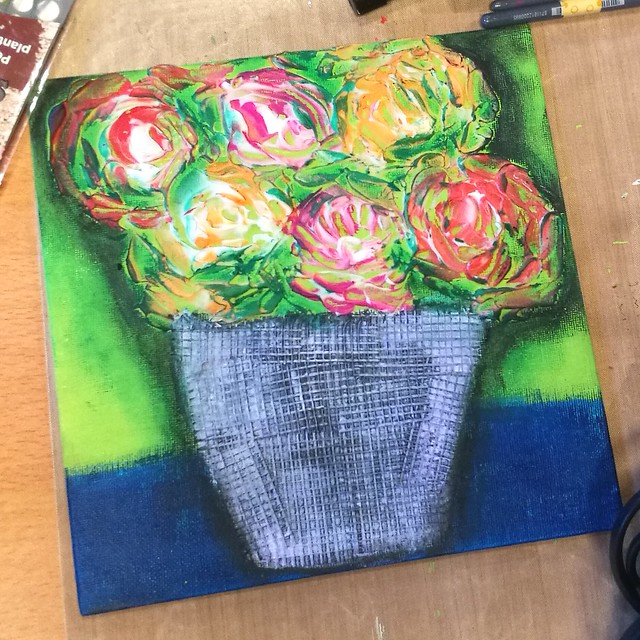
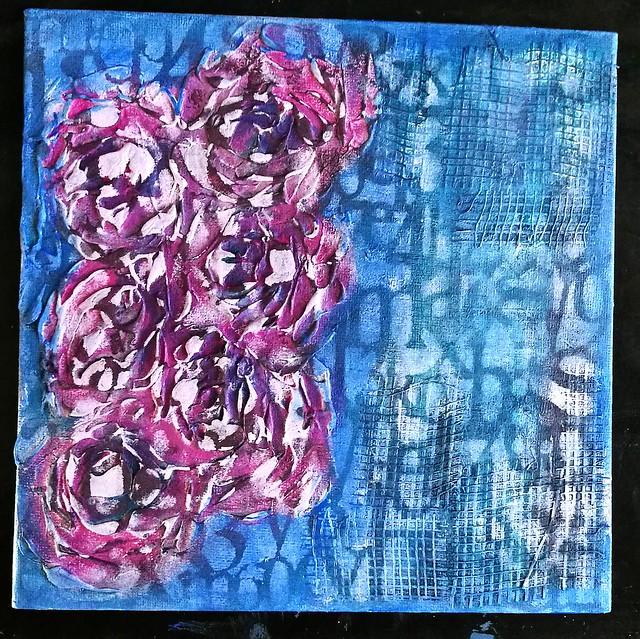
The end result I had made was really not to my liking and I worked on it at home to create something that was more true to my own style and imagination. As Nika said, There are no mistakes! If you don't like it, Gesso over it and try again! So that is what I did at home.

Ballerina swan in roses
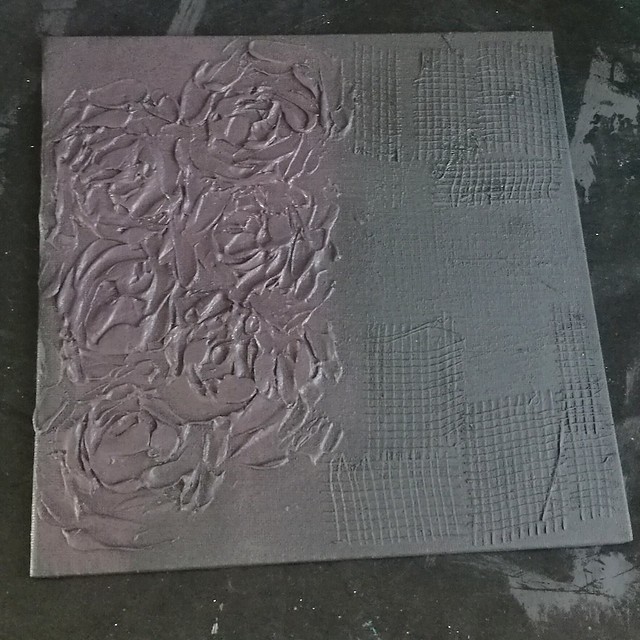
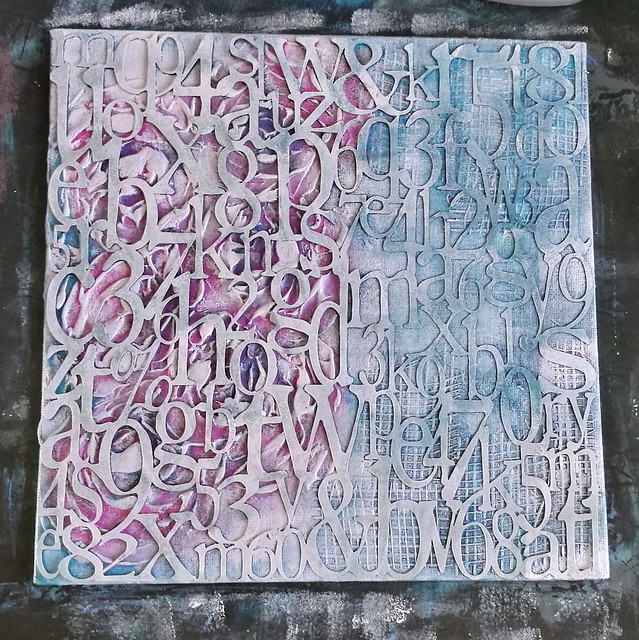
I turned the canvas to the left and took apart the drywall tape and applied some heavy coats of black gesso over it. Then started to add some colors and layers of paints with Deco Art Media and paper Artsy fluid acrylics paints. But alas I forgot to photograph the coloring process (I was in a really good flow!) but I do have images of the next stages when I used the Alpahbet Spagetti stencil from Ady Skunner (decoarts mixed media)

Ballerina swan in roses
I rolled on some lighter paint over the stencil.

Ballerina swan in roses
And this was the colorful result. So much better and happier at this point! I wanted to tone it down just a little bit so I glazed some blue paint over and around the edges.

Ballerina swan in roses
The blue glaze made the roses pop out more and this is where I was fully happy with the background. So then I added my focal point.

Ballerina swan in roses
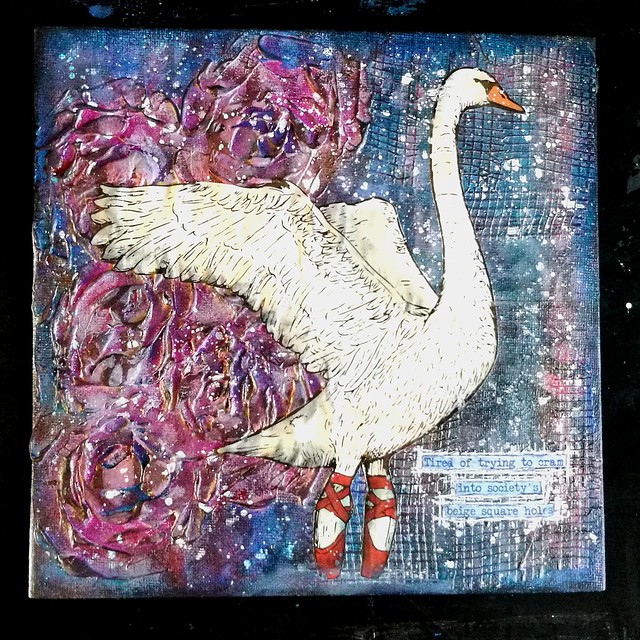
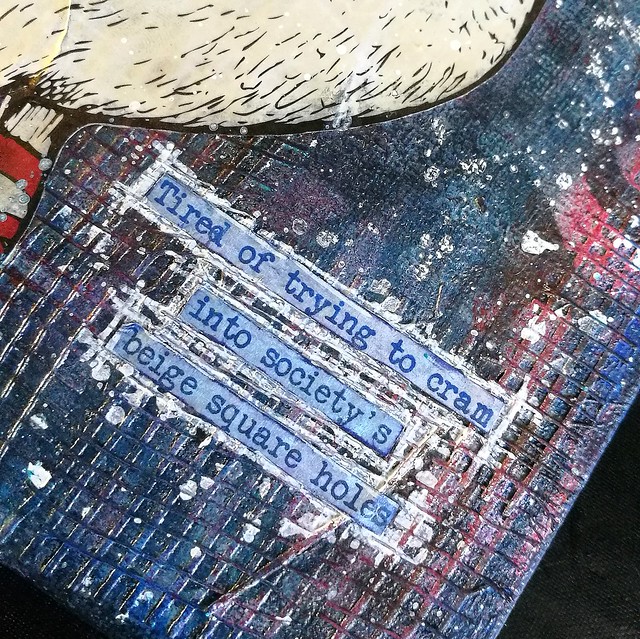
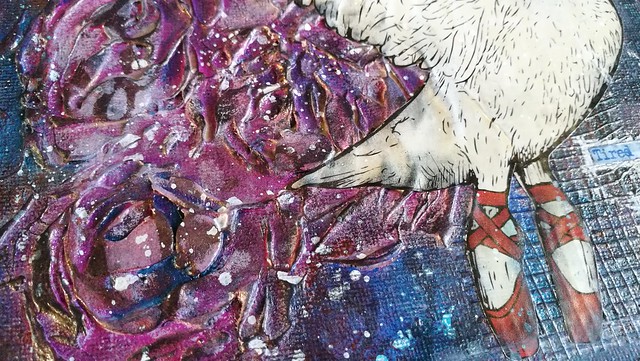
The ballerina swan (a magazine cut out)! I added more depth to the piece with caran dáche neo oil pastels and spatters with a white posca paint pen. The sentiment is a part of a Viva Las VegaStamps! sentiment ...

Ballerina swan in roses
"tired of trying to cram into society's beige square holes" I thought it was powerful to add this piece of text over the square shaped drywall tape. And combined with the swan, it makes the piece complete.

Ballerina swan in roses

Now I am 100% happy with the finished piece! I do want to thank Nika for the inspiration and fun workshop and all her YT tutorials helped with understanding certain techniques. She isn't afraid to share her mistakes and also show how you can correct them, which is the biggest inspiration of all. So that would be my biggest take away from this workshop. 

Hope this got you inspired to work on a piece you gave up on initially and create from that ugly ducking a beautiful swan yourself!

I would like to enter this piece in the following challenge:
Take It, Make It Challenge
Craft Stamper take it make it november 2017

CURRENT CHALLENGE
MMW#30 Anything mixed media goes
Thanks so much for stopping by and have a great day!

2016/06/14

Monthly Planning MTN: May 2016 overview (and some hand lettering)

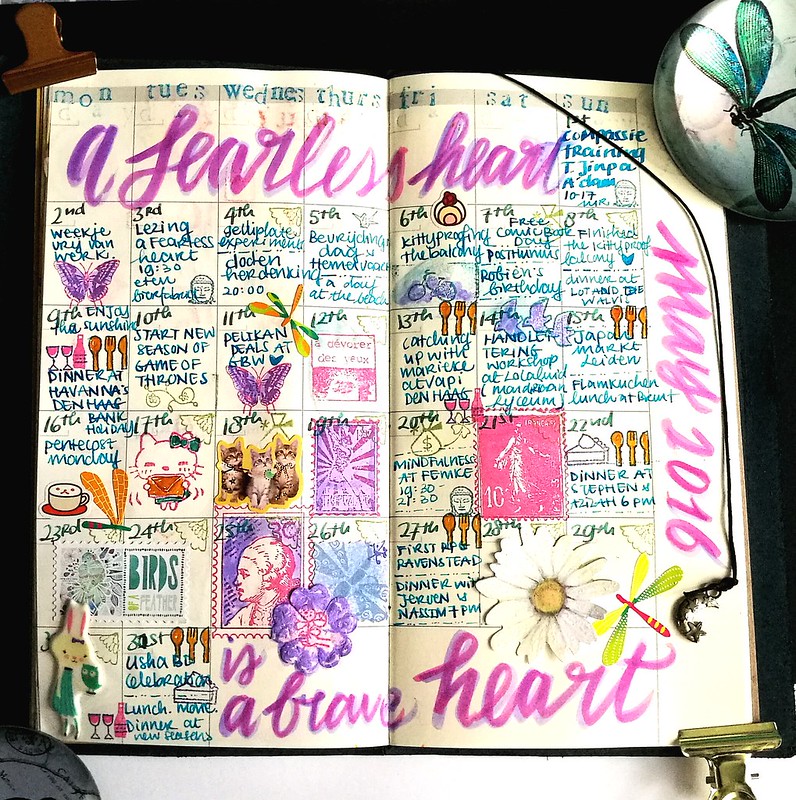
MTN may 2016
The quote "A fearless heart is a brave heart" is from Thupten Jinpa and was uttered at his book reading in the Amstelkerk in Amsterdam last month.  And that actually set the theme, for the month of May was filled with compassion, a few sunny days at the beach and I attempted to see things in another way. With this months' lay out I kept things simple but I actually forgot to take pictures of the process of this month, though I do have a shot of all the materials I used.

MTN may 2016
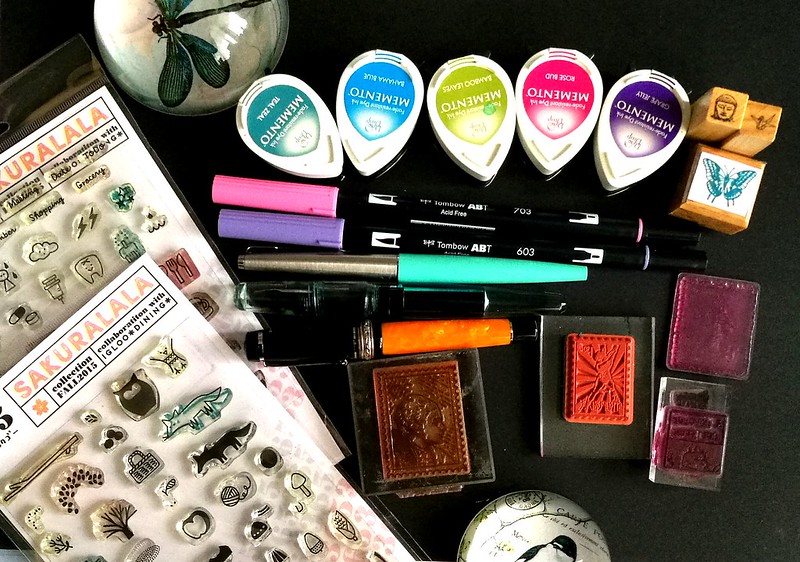
The color scheme of the layout is blue, pink and purple., the colors I used most this month. I used the 365 stamps from sakuralala, memento dew drops, tombow markers, faux postage stamp rubber stamps and a few fountain pens: parker 45 blue with Private Reserve Daphne blue, Franklin Christoph Pocket 66 with Sailir Kingdom Note Pasanius Versicolor (I wrote most of the page with that pen) and the delta dolce vita undersize with a custom orange mix.

Looking at the layout and my activities in My, I see that I forgot to blog about my hand lettering workshop I did at Lola Luid.
Lola Luid handlettering workshop
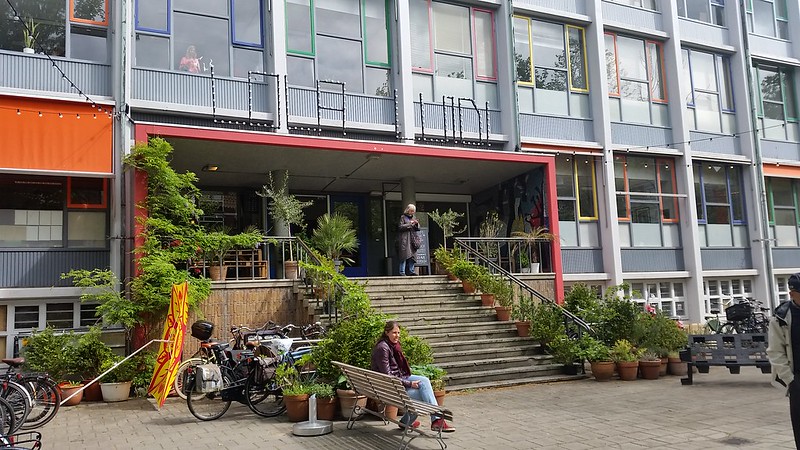
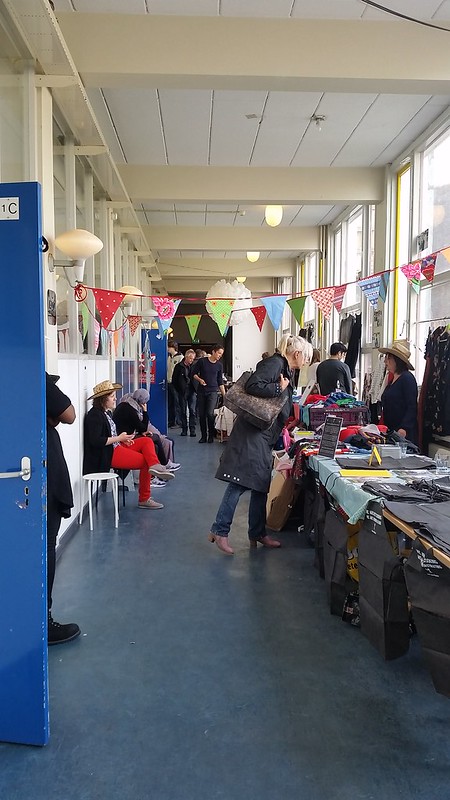
A fun fact: the location is situated at my old high school, the Mondriaan Lyceum. The old school building is now being housed by various artistic people selling their wares, or just using the space (class room) as their work space. So fun! A lot more fun then when I went to school there for sure! Some more fun pictures of that day:

Lola Luid handlettering workshop
The entrance of the old school building. So much green, I like it!

Lola Luid handlettering workshop
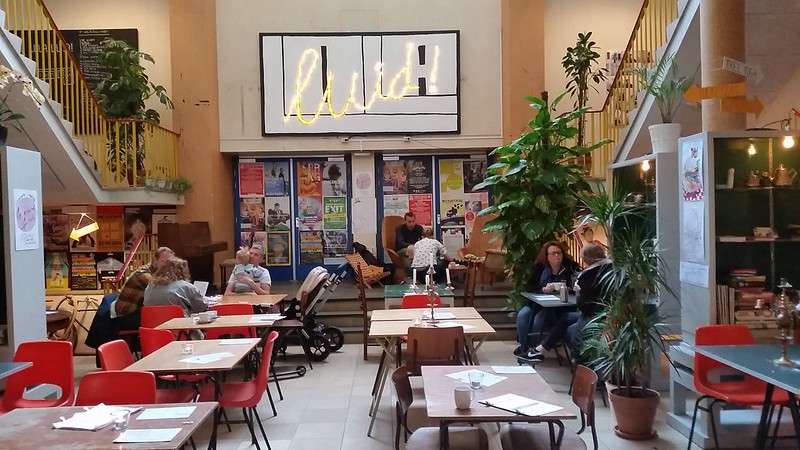
Entrance hall with a lunch/open work space location.

Lola Luid handlettering workshop
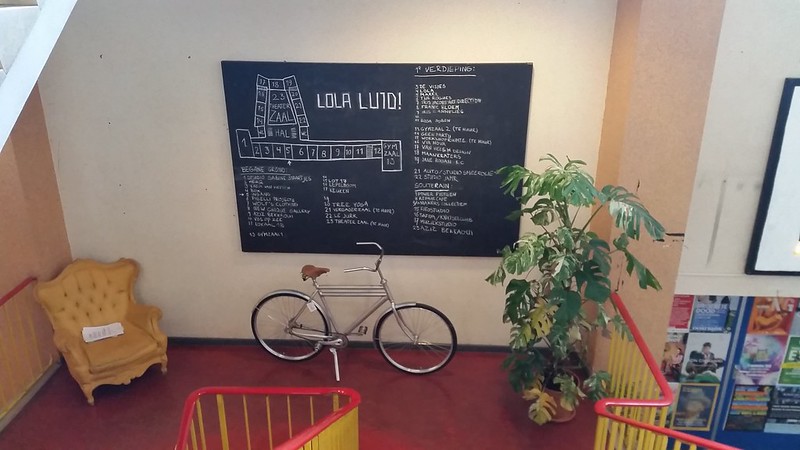
Map of all the classrooms and people/small companies in them.

Lola Luid handlettering workshop
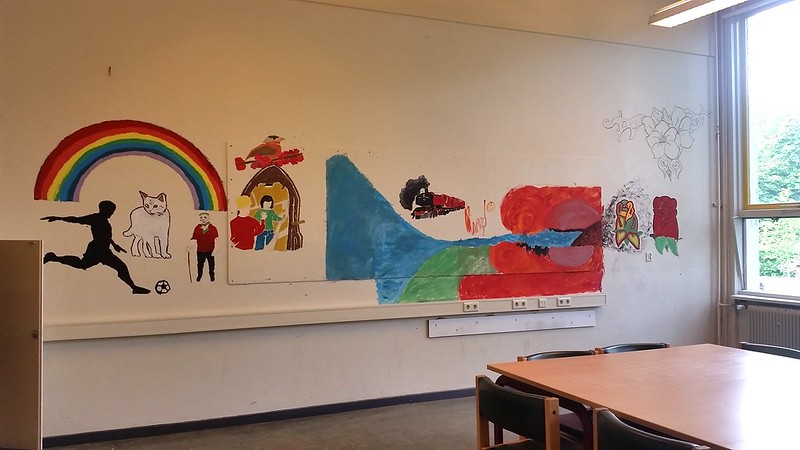
Some fun drawings on a wall in a class room.

Lola Luid handlettering workshop
There was a flea market going on in the hallways when I was there. This saturday the 18th there is going to be another edition.

Lola Luid handlettering workshop
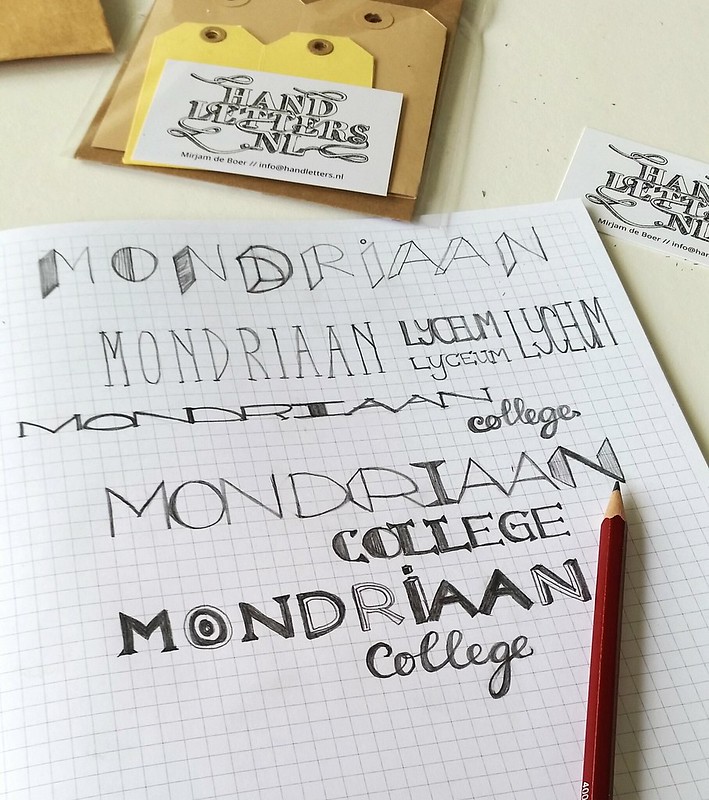
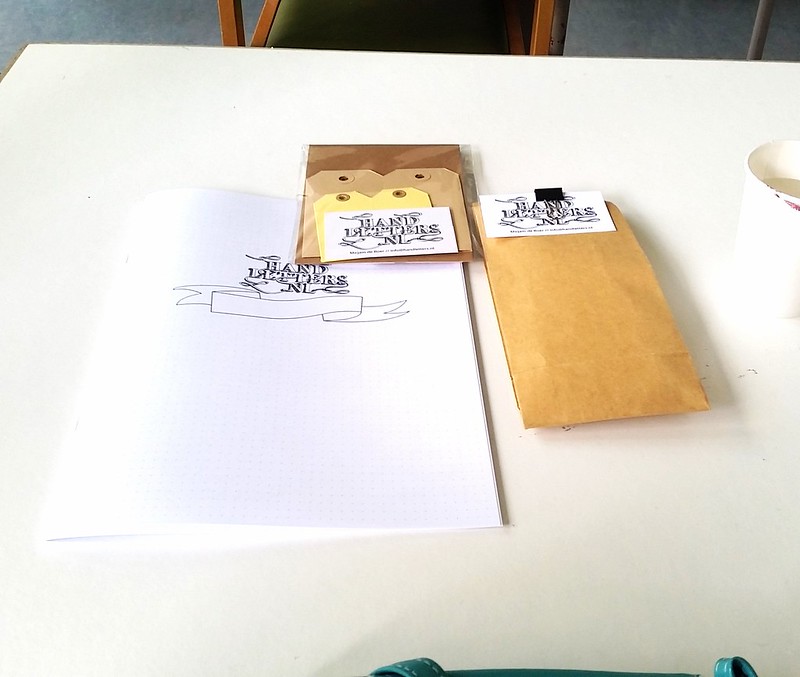
The workshop was given by Handletters.nl and it was held in my old physics class room :)

2016-06-13_11-08-29
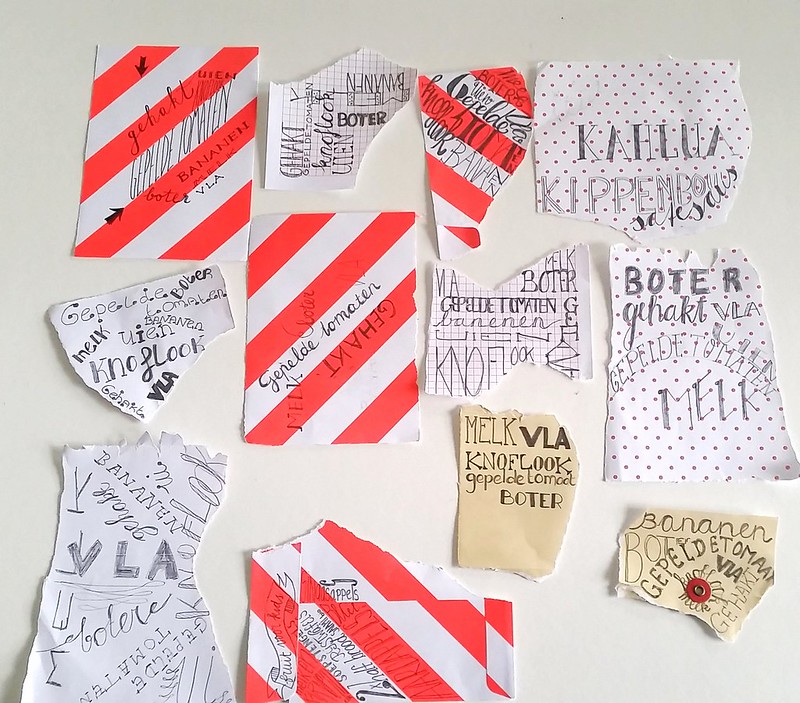
Results of the grocery list hand lettering of the workshop attendees. Mine is the third one from the top, seen from left to right.

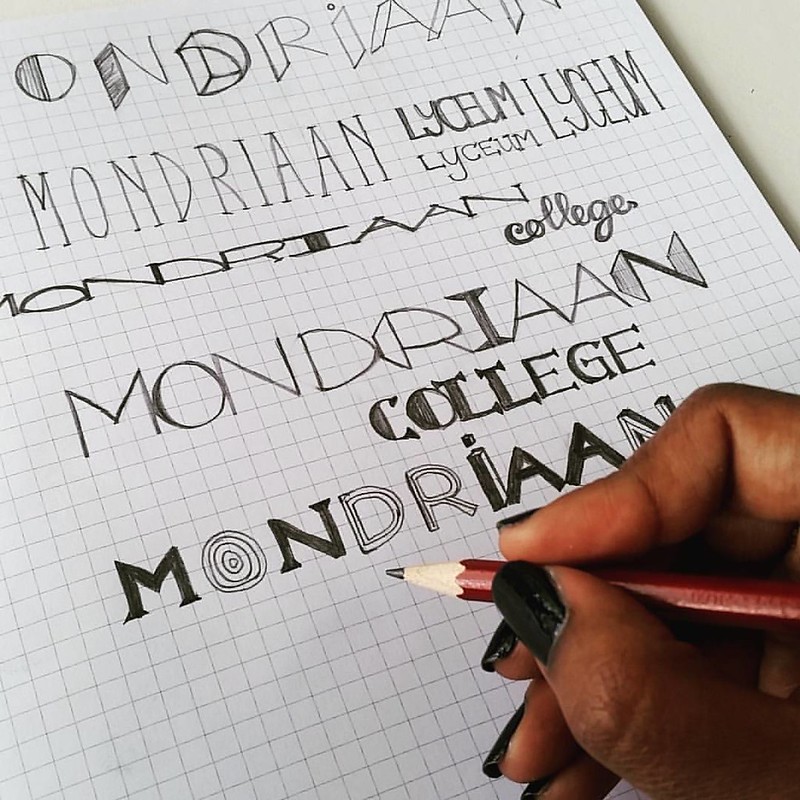
What I did today: followed a super fun #handlettering workshhop by @handletters.nl at my old highschool 😁 It's now a pop up Store and creative workspace @lolaluid :)
And while it was a tad bit weird being in class in my old high school again, it definitely was a super fun day :)

I've done some more hand lettering this month (June) and I will write about that in another post (before the month is over, hopefully). 

Thanks for stopping by and have a great day.

namasté

2015/11/30

An inspiring workshop at Posthumus Amsterdam

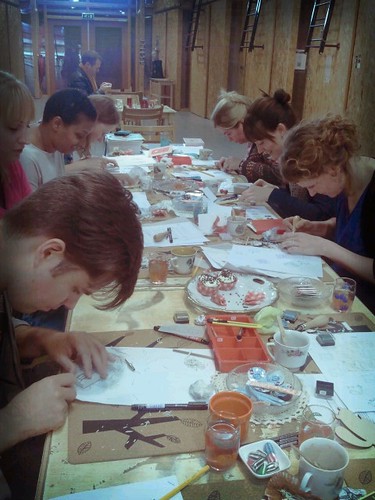
On saturday the 21st of november I was lucky enough to join a very popular workshop at Posthumus stamp store in Amsterdam, the Christmas layout workshop given by Miranda Degenaars. Her workshops are always very popular and sold out within hours. But the day before a message on Posthumus facebook page said that someone had canceled due to illness, and they had a free spot. So I grabbed that chance and got to join in.

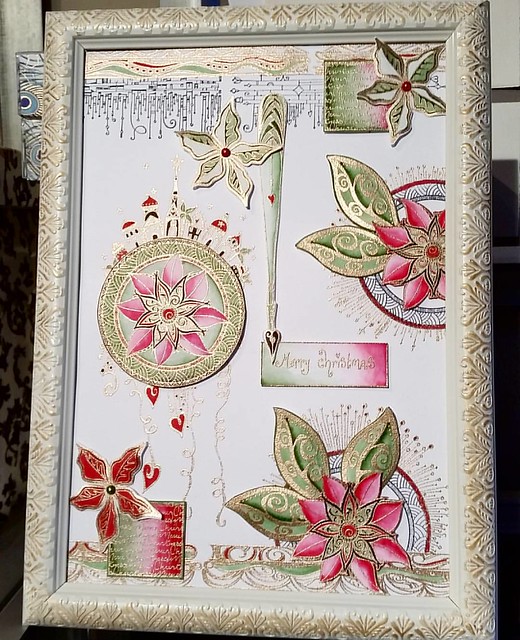
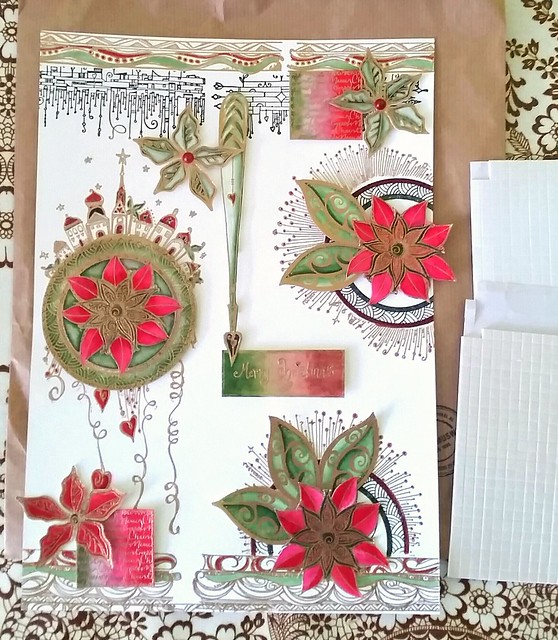
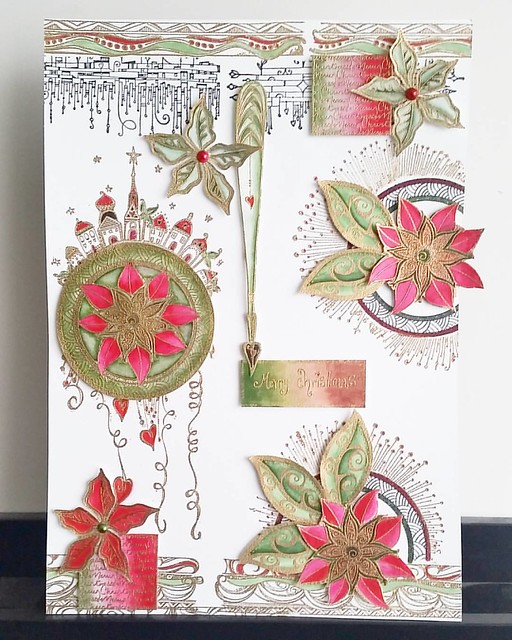
Miranda had made four layout designs which we could choose to make in the 3 hours there. The one that really stood out for me was the one with made with all the Zenspirations Impression Obsession rubber and clear stamps (designs by Joanne Fink) What we get to make was this A4 sized stamped work.  It was just beautiful! 

This is what it supposed to look like finished... 3 hours was not enough to finish the piece. I still need to cut all the pieces and arrange them like this on my background. @zenspirations workshop by Miranda Degenaars at Posthumus Amsterdam #zenspiration

This is the design I signed up to make and *gulp* it was a tough one. Miranda did say that we probably would need more time to finish this project than the time was given at the workshop. She was not wrong! But I started on the daunting task anyway. 

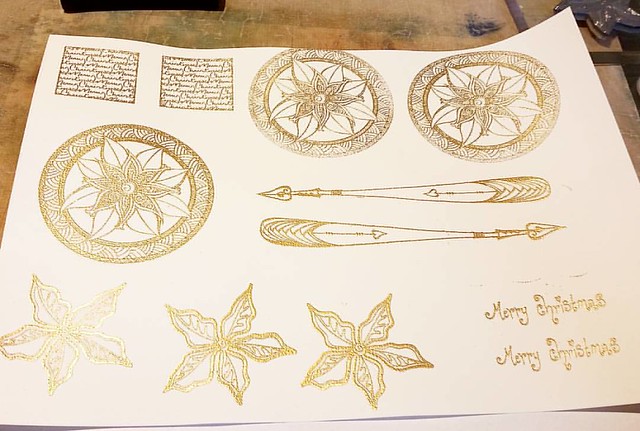
The project consists out of a back layer and a bunch of loose cut elements, 15 to be exact, to give the 3D effect. So we started with stamping and embossing the loose elements first. 

The loose embossed elements @zenspirations #workshop #rubberstamping #rubberstamps #embossed #embossing

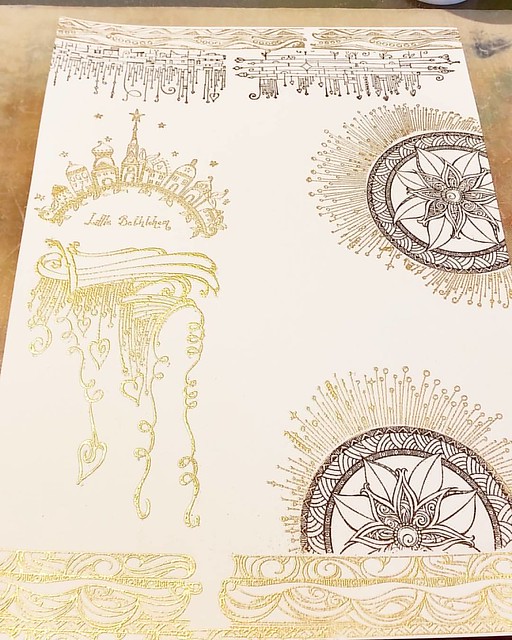
Because there was so much embossing to do in this project, we needed to get that done first before we could get on to the coloring. After the loose elements were done we did the embossing for the back ground of the piece.

Went to a workshop at posthumus in amsterdam yesterday. Worked with stamps from @zenspirations to make a nice Christmas layout. This is 1/2 way done. #rubberstamps #rubberstamping #zenspiration #posthumus #art #embossing #wowembossingpowder

I love how the 'poinsettia' mandala and 'circle dangle' stamps on the right are superimposed. We used a mask for the mandala and then stamped the circle dangle rays over it. The border stamps on the bottom and top are among my fave of the bunch. The black ink used is versafine black and the gold embossing powder is by WOW embossing. 

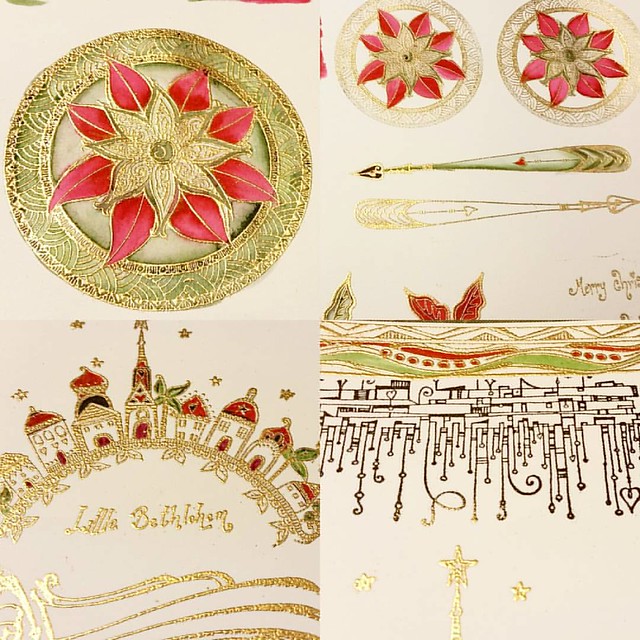
At this point all the gold embossed elements were done, so it was time to color stuff in. And this was the most relaxing part of the workshop. Everyone was quiet and highly ZEN on their coloring.
This project has so much detail to color in. The coloring is done with tombow markers and a brush pen. @zenspirations #posthumus #workshop #rubberstamps #rubberstamping #embossed #embossing #zenspiration #zendala #zentangle #zendoodle

We used Tombow Dual brush pens and a kuretake water brush pen for the coloring. Since it's a Christmas theme, a lot of red and green colors were being used to color in the elements. Not everything was colored in, and we left the back ground accents black and white mostly because all the cut elements (remember those were a whopping 15!) were all being colored and that's where the accents of the piece lie.
By this time the allotted time for workshop has nearly come to an end and I did my best to get all the pieces colored there because I didn't have the right colors of Tombow brushes at home. But at home I cut all the pieces (with help from my husband, because there was just too many to cut) and assembled the piece together with a flurry of 3d foam tape squares to give it that raised look.

Christmas workshop at posthumus Amsterdam
And this is the end result. I forgot to color in the 'Merry Christmas' square at the workshop so that's why those colors are a bit off, but with every thing else, I am quite pleased! Now to find a nice frame for it!

My finished Christmas piece from the workshop I did on saturday at Posthumus Amsterdam. Layout design by Miranda Degenaars and stamps used are mostly from @zenspirations Impression Obsession. #rubberstampart #zenspirations #rubberstamping #tombowmarkers #
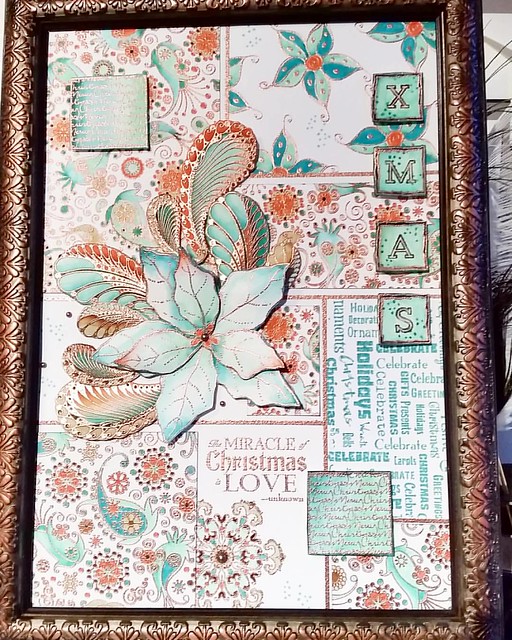
A few other ladies at the workshop chose to do another layout which was even more daunting than this one and it's the one below.

This was another project you could choose to make at the workshop, but this one is even more time intensive than the other. But so gorgeous! Made by Miranda Degenaars at Posthumus Amsterdam


Look at that amount of detail! Amazing! And I do love that color scheme. But this was a bit too 'busy' or 'crowded'  for my taste. But I do love the paisleys behind the flowers. I have an idea to try something with loose paisleys like that for a LCD /CV layout. 

Thanks for the inspirational day, Miranda and Posthumus gang! 
It was a delight to be there.
Hope this inspired you readers as well to work with embossing powder and tombow markers.

Thanks for stopping by.

namaste

2015/08/01

stamp carving workshop

stamp carving class, originally uploaded by Miss Thundercat.

The 5th edition of the stamp carving workshop I taught at Shop Elle Aime on May 13th (mother's day) was another great success & super fun :)
 everyone went home with a nice hand carved stamp.
Thanks for joining in and the 'Gezelligheid' everyone :)

2015/04/23

Seinfestijn and Hand lettering workshop

Last Sunday we went to a great little festival at the Seinfestijn (which was held at the SeinWezen in Haarlem, a very cool old building from the train station now re-purposed for creative and fun stuff like this!) where there was a mini crafty market and the Papier Atelier with mini-workshops organized by Monique from the Happy Makers Blog. Yes everything was mini, but I totally loved it, it had such an intimate and crafty vibe. Was busy as hell though!
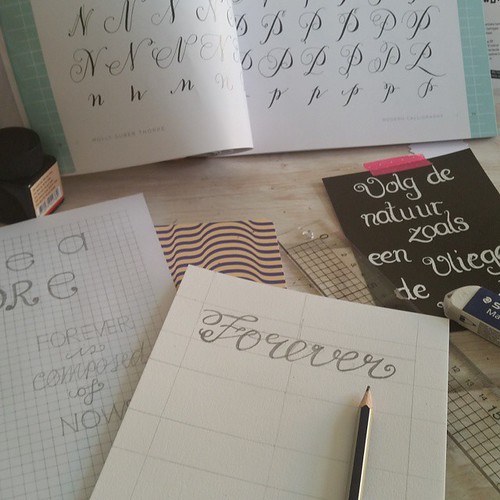
I saw on the HMB she was organizing the papier Atelier with a hand lettering workshop given by Poppy Red Design and to get my creativity flowing again I really wanted to join in. Though the workshop in the afternoon was fully booked, I was really happy they added an extra workshop for 12:30 -13:45 so I jumped right on it and signed both me and my hubs up for the mini workshop. It was sooo much fun! It was great to practice with different fonts and techniques.

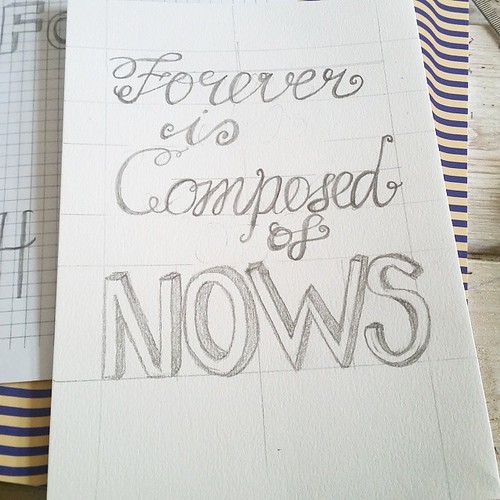
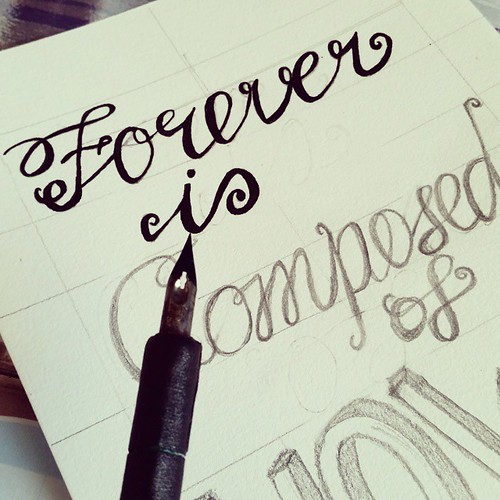
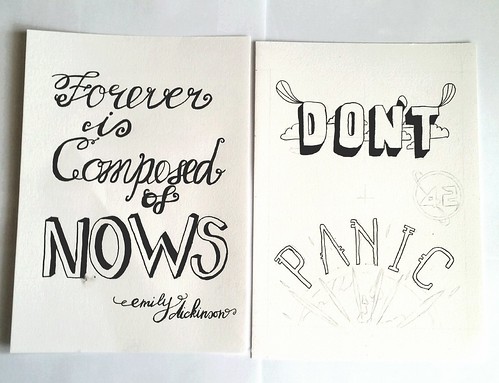
The idea was to write/draw a quote on A5 sturdy water color paper, fist pencil it in and then out-lining, filling out with a dip pen and India ink. My quote is from a part of a poem by Emily Dickinson 'Forever is composed of nows' 
(co-incidentally it's Poetry month this month!)
Well the 1,5 hours just flew by as by the end of the workshop I had only penciled the quote in. Erasing and realigning, I'm such a nit pick when it comes to layout.

Workshop handlettering @seinfestijn @happymakersblog by @poppyred was really fun! Just need to outline everything in black when I get home. #handlettering #workinprogress #workshop #calligraphy
But this was the product I took home. And I finished it off as I fortunately have dip nibs and India Ink at home.

Finishing the quote I made at the handlettering workshop by @poppyredontwerp with india ink and a dipnib. #handlettering #quote #indiaink #drawing #steadyhands #outlining #calligraphy
You really need a steady hand to create such sharp outlines!

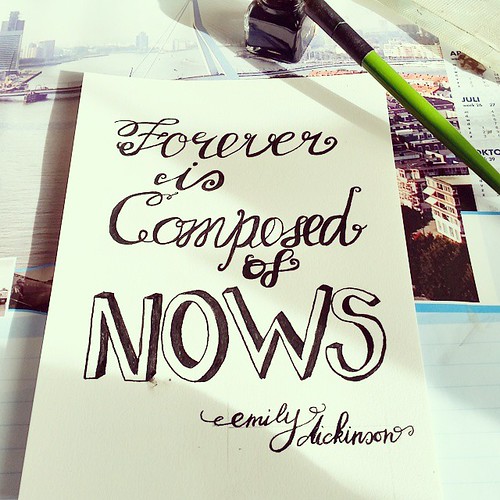
This is the finished product all set in black ink. I added Emily's name on the bottom and then let it dry for a few hours. The scariest thing was to erase all the penciled in lines. But thankfully that went well.


The piece on the right is made by my husband, he used 'Don't panic' from 'The Hitchhiker's Guide to the Galaxy'. He has a few more things he penciled in to outline but I really love how we chose 2 very different styles of lettering. When he is finished with his piece I'll show the end result.

So thanks again Monique and Birgit for the super fun workshop!

Thanks for stopping by!

namaste