Showing posts with label crafty. Show all posts

2016/11/11

WIP: Messing with some Gold Gesso

Gold gesso experiments
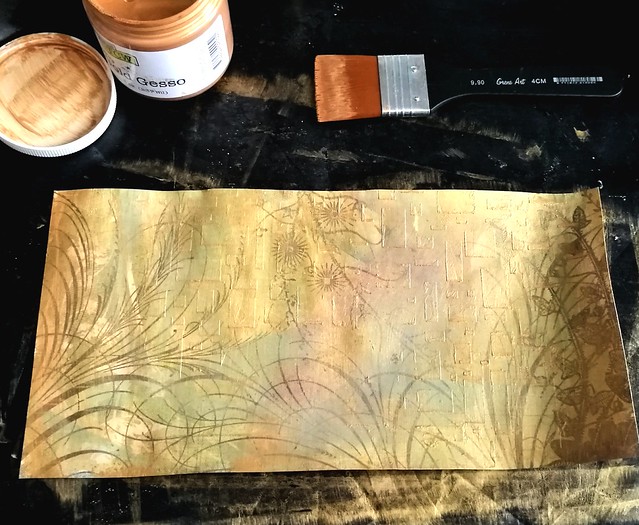
A few months ago I've bought the Gold Gesso from The Crafter's Workshop. When Bianca's Toko had a sale going on, I bought the jar at 50% discount and I experimented with it a bit. I had some scrapbook sheets and print outs I had worked on with some various mediums and wanted to see how the Gold Gesso would react on it.

Gold gesso experiments
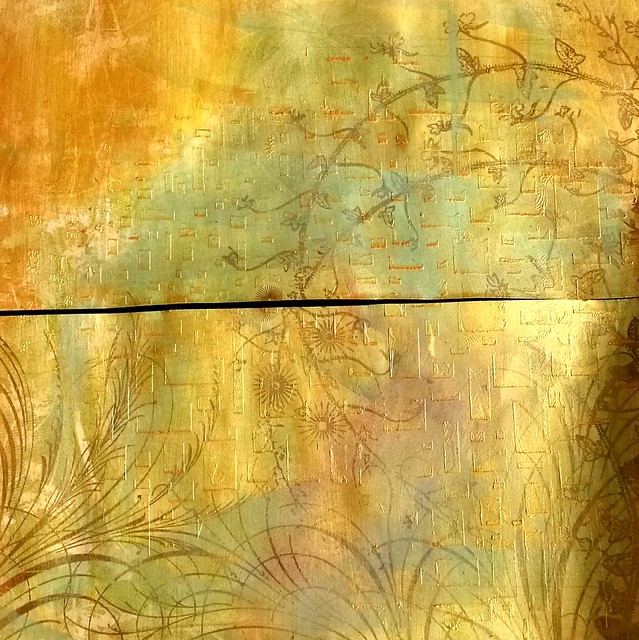
This is a large scrap book page which I cut in 2 pieces to make it more workable on the table.  It has layers of acrylic paint, oil pastels and gel medium through a stencil and I have applied the Golden Gesso over it.

Gold gesso experiments
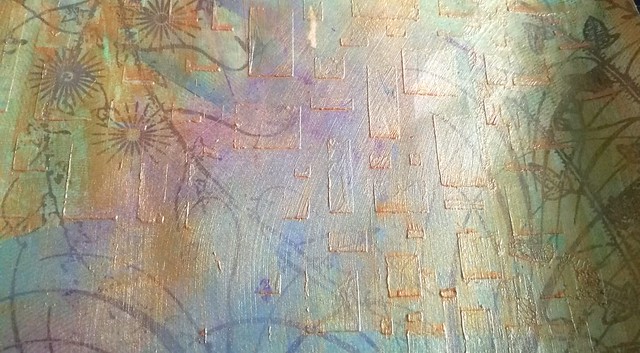
I applied it lightly over the pages and you can see it dried a bit sheer and you can clearly see the colors and layers under it. This looks really fun and exciting. The gesso protects the bottom layer and it won't be effected when adding other layers on top!

Gold gesso experiments
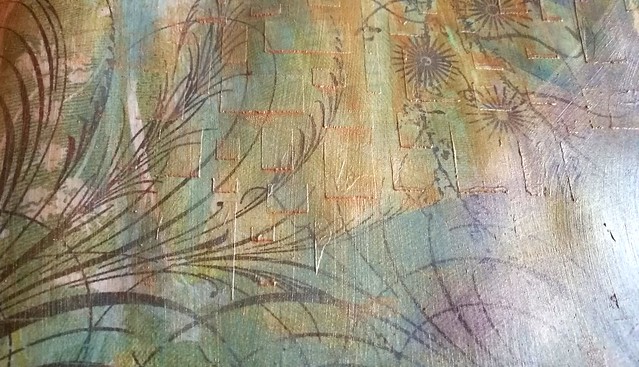
You can see the fun structure the matte gel medium created as well. I'm excited to work with this further!

Gold gesso experiments
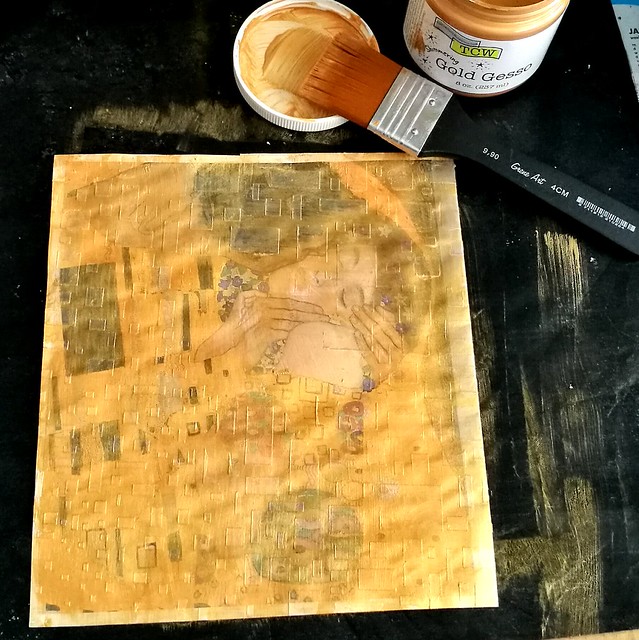
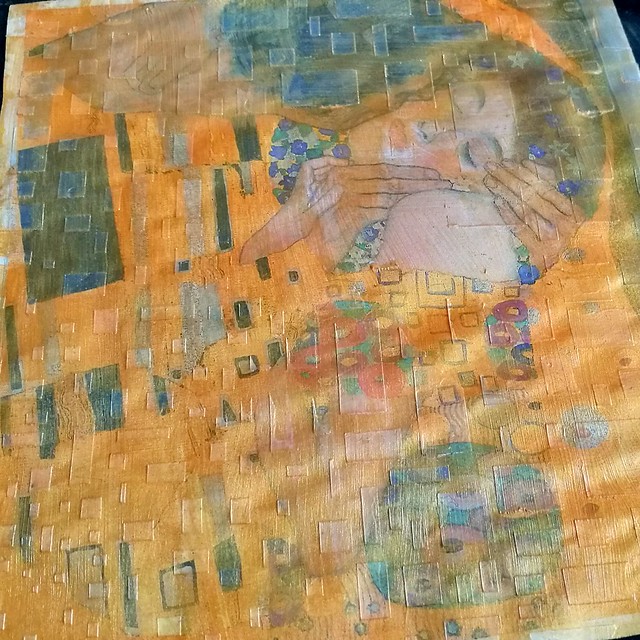
I took the same stencil and applied some gel medium through it on a Klimt print. When it dried I added a thin golden Gesso layer.

Gold gesso experiments
I love the fact that it dries really sheer and you can see the underlying print clearly. It has such a beautiful effect! This weekend I'm going to mess about with these gesso'd up prints some more and hope to show you the results next week!

Thanks for stopping by and have a great weekend!

namasté

2016/01/22

Three times a poppy!

As you can probably tell from my blog back ground, I like poppies. I like them a lot. Ever since I saw the poppy fields in the Wizard of OZ. They are such beautiful flowers and I love the symbolism of them. Recently I found a wonderful clear stamp by Joy Crafts Silhouette Poppies and I was so inspired I created a few cards with them right away.

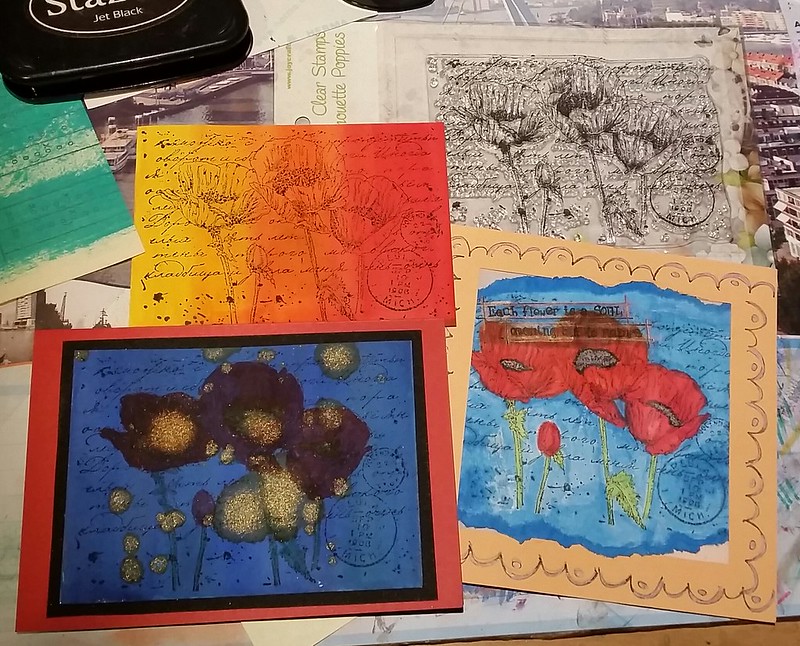
Three times a poppy WIP

The poppies stamp you can see on the top right corner. I stamped it first on a white background (actually on the envelope it came with) to see the details and then on water colored backgrounds I made.A few close ups of the end results.

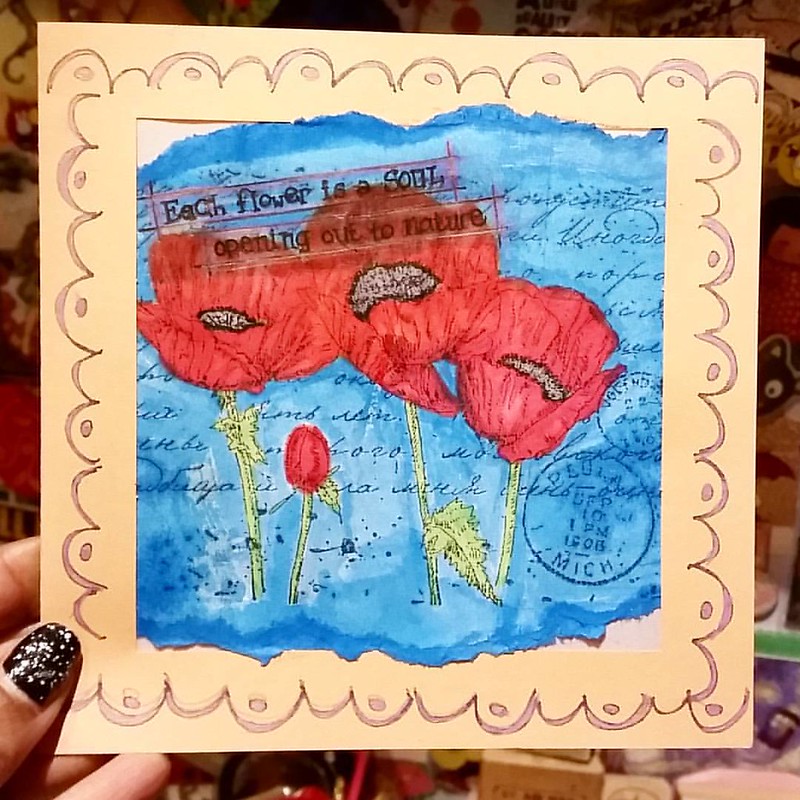
A card I made recently using Joy Crafts Poppies silhouette stamp. #joycrafts #poppies #notecard #handmade #rubberstamped #rubberstampart #cardmaking #promarkers #colorcoordination #poppyred
This was stamped on the envelope to test. I colored the poppies in with pro markers and used blue fountain pen ink to color the background (diluted Iroshizuku Kon Peki ink). The saying 'Each flower is a soul opening up to nature" is from the flower rubber stamp set I got from The Octopode Factory a long while ago. Seemed like a good fit for this card. I had bought a bunch of 'frame note cards' in a sale lot and I just ripped the colored image off the envelope, placed it the way I liked it in the frame and sealed the back of the image with some thicker tracing paper. The border stamp is from Dylusions and I accentuated it with a copper metallic gell pen.

Three times a poppy WIP

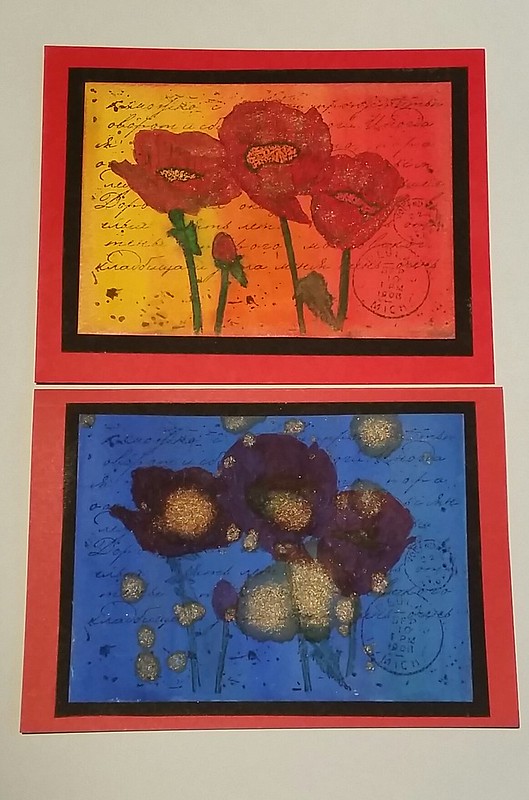
These two are 'day and night' cards. The background is Maruman watercolor paper from Zuan B5 Sketchbook and I used Pelikan aquarell watercolors to paint on them. The paper holds up REALLY well, no bleed through or warping! The 'day' card I used diamine shimmertastic inks to color the flowers with and on the 'night' card I splattered some of that shimmertastic ink after I colored the flowers with promarkers. I like the effect it gives on both cards. I matted the cards on black card stock and then fixed them onto a red double sided note card. 

It's definitely a fun and versatile rubber stamp image to play around with. I used a few other joy craft stamps in my watercolor cards in combination with Diamine shimmertastic inks before. Definitely a fan of that flower/letters series. I will send these cards to people who can use a 'pick me up' .

Hope this inspires you to create some cards this weekend :)
Thanks for stopping by! 

namaste

2016/01/05

Smile and relax - Creative endeavors in 2016

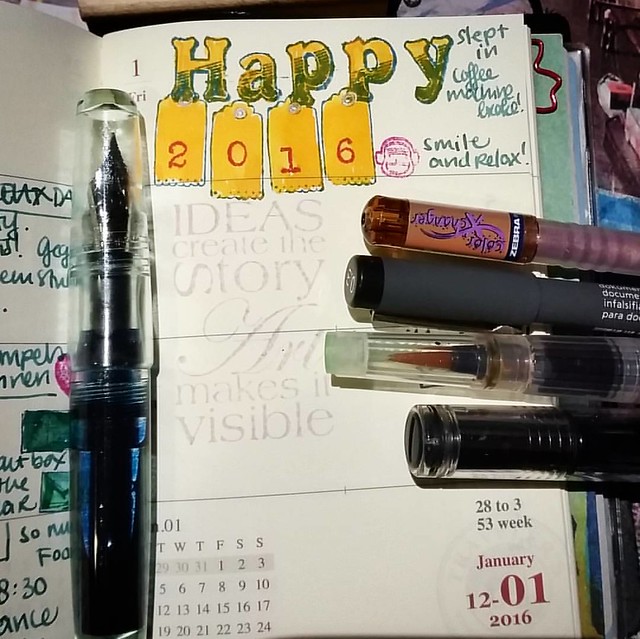
Hopefully everyone has had a great start of the new year. 2016 for me began a bit rough, as the coffee machine decided to break down on january 1st (and oh boy, how I do need coffee in the mornings to be coherent) but things can get only better wish a fresh new coffee machine (which is exactly like the old one, why change a winning formula?) to start off the new year, right? My mantra for the new year will be Smile and Relax. And so far I have been telling that to myself quite often in the start of the new year because things do not always go as planned...

Breaking in my pocket midori weekly planner. 2016 started off with a broken coffee machine. Oh well. Smile and relax 😅  #MTN #midori #travelesnotebook #pocketjournal #happynewyear #creativemess #franklinchristoph #travelersfactory #lamy #fount
First entry of the year in my midori pocket notebook... Also week 53? Did we somehow end up getting an extra week last year? No complaints, it was a relaxed one for sure!
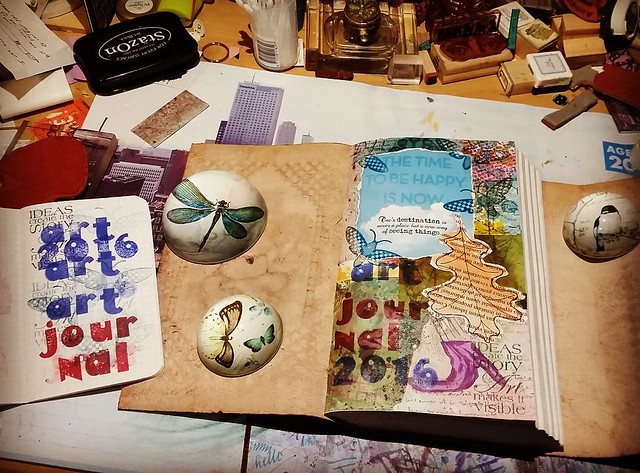
I also was pondering on my creative endeavors for 2016 and I decided to start up an Art Journal, which I have never done before. I was given a sized leather bound blank book by friends for my birthday last year and I decided it would be perfect to use it for this purpose. So in the weekend I crafted about a bit and done a few pages.

New year new crafty endeavors. I started a mixed media art journal. #artjournal #craftiness #mixedmediaartist #mixedmedia #journal #whatsonmydesk #creativemess #creativity #thetimetobehappyisnow #craftyendeavors #rubberstamped #collageart #artjournalMT
The journal is a bit bigger than A5 size and has 100 double spread pages. So I'm not doing a 365 challenge, but more a "when inspiration hits me" kind of thing and I want to do something else than mail art.The field notes booklet is there to 'catch' excessive ink off the rubber stamps.

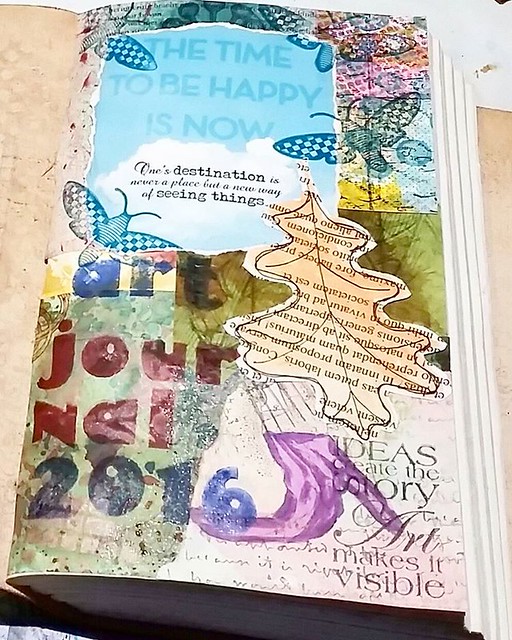
Close up of the art journal I have started for this year.

The first page is a collage piece from my 'junk box' where I keep all excess random papers. It has a few inspiring quotes as you can see. I especially like "the time to be happy is now" - and am trying to be mindful of the fact, that all we have is NOW.

Page in my art journal. I have a lot of these marbled bookpages that I can use for this project.

A while back I made these marbles pages and have a ton of them. I finally have a place to put in the pages which I made and want to keep, like this one.Decorated the edges with masking tape. Great excuse to use more of what I have. Also something I am trying to implement this year.

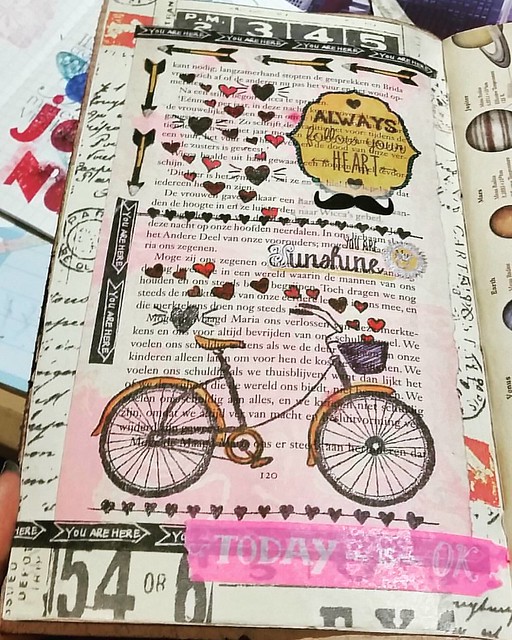
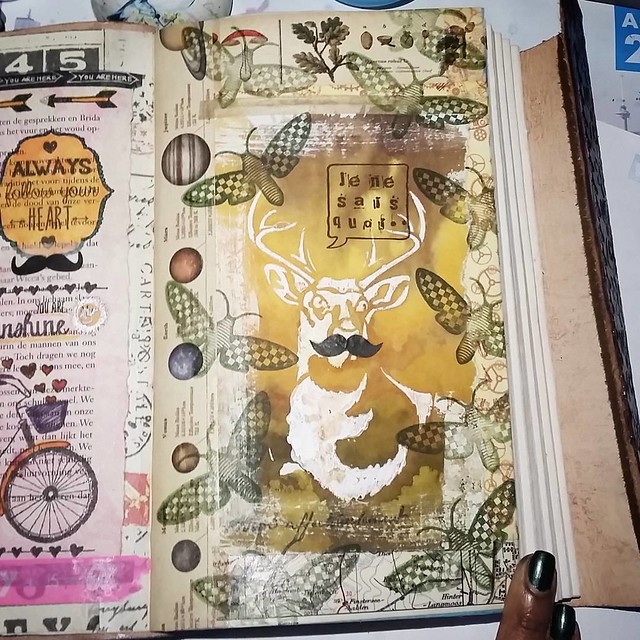
Je ne sais quois. #artjournalmt #artjournal #collageart #stencil #washitape #mttape #rubberstamped #mixedmediaartist #mixedmedia #colorcoordination

When I make mail art sometimes I have a 'high production' as I make random envelopes and pages to set aside and work on them later. A few of those envelopes I found hard to mail away and the ones I have gathered in my to keep folder I will be incorporating in my art journal like I have above. The stag is a stencil I have used before, but the colors on the envelope just came out so nicely I wanted to keep it. Also I added a bit of humor to it :) The mustache is also from a masking tape I have.

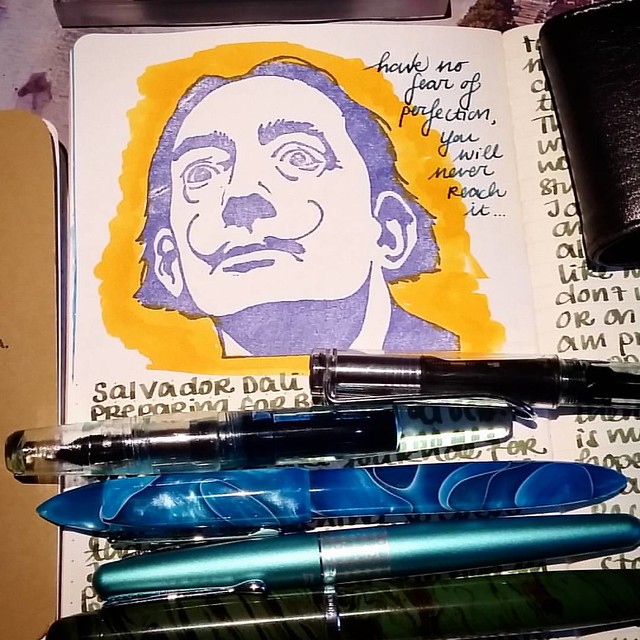
The plan is to work on my art journal when I feel inspired to do so and hopefully it will be full with creative pages by the end of the year. But I want to go about it organically and not fret about it. Found a great quote by Salvador Dali to inspire me, which I have put in my daily writing journal (also something I have started recently)...

A great quote to start the week. #salvadordali #quote #journal #Fpgeeks #FPN #fountainpennetwork #lamy #franklinchristoph #pilotretropop #noodlersneponset #meditativewriting #qotd #dali #writinginstruments #toolsofthetrade #edisonnouveaupremiere

To an ex-perfectionist, this is very comforting and instead of creating something that will be 'perfect' (which it never is) I want to focus on the process of creating itself more. The Dali stamp is from Carmen's Veranda and I have a post coming up on using this stamp and quote for a 'tip in' in my Art Journal.

So there you have it, my creative endeavors for this year. Am curious to know what yours are! Leave a comment if you are going to try something new as well (or continuing something old ;) 

Thanks for stopping by!

namaste
2015/12/04

Craft review- Teresa Collins Stampmaker

I had written this years ago, but I still wanted to post it. It's a craft machine I had wanted for so long, used lovingly and then got discarded. I wanted to take it up and use again and found this review I had written about it from years ago. With a few adjustments, I decided to still post it because it can be helpful to others whom have (or want) this machine. 


A while back (so a few years back actually) my lovely husband gave me a really wonderful birthday present, the Teresa Collins stamp maker by Imagepac/Photcentric. And what this machine can do? Basically turn any image you have into a clear stamp using photocentric UV light technique! So naturally as stamp carvers, we were really excited to get this machine to see if we could turn our stamp making into the next level. After seeing TC reviews on you tube I knew I wanted it! And I can tell you I was so excited to test it out, as it looked so pretty and sleek and so easy to make stamps with! We ordered this off a Dutch website and after several months of waiting, the machine finally arrived. I was in ready to make some stamps…but first had to pass a few hick ups. 

First being, the machine was not made with an EU compatible plug, you have to buy a plug converter for it. Our machine came from the UK so we didn’t have any problems with the voltage the machine uses, as that is basically the same, so we just had to buy a simple plug for the EU-NL socket. But be aware that if you are in Europe and the machine comes from the USA, you need to buy a whole other convertor to make it work with the electrical system. My poor heatgun that I bought from a vacation in the USA comes to mind. I put in just a simple plug, turned on my heatgun and poof the thing broke instantly huffing a cloud of smoke. So my first tip would be, chose to buy a machine compatible to your country’s electric voltage network. We couldn’t actually choose ours, but by a happy coincidence, it was a UK machine… thankfully! NB: Photocentric now offer the machine with a EURO plug, so problem sloved!

So when the correct plug was fitted, instructions read and understood, an image I wanted scanned and printed… and I was ready to rock that machine! But sadly my first few tries, actually my first 5 tries were a total DUD (yes a whole pack of mini A8 gel packs… wasted!) I was so heart broken! They made it looks so easy on the videos, why in the world couldn’t I get my stamps out right?! I was really doubting my ability to work with the machine! My first stamp was a complete solid block, the second one had a little imprint on it but still solid, the 3 stamps after that did have an outline of the stamp I wanted but still very blobby looking and just didn’t stamp right. I really thought I had done everything to the letter of the instructions! So utterly devastated I was thinking ‘well this isn’t for me, I can’t work with this machine, it’s a waste of money!’ so I put it away and didn’t look at it for a whole month. 
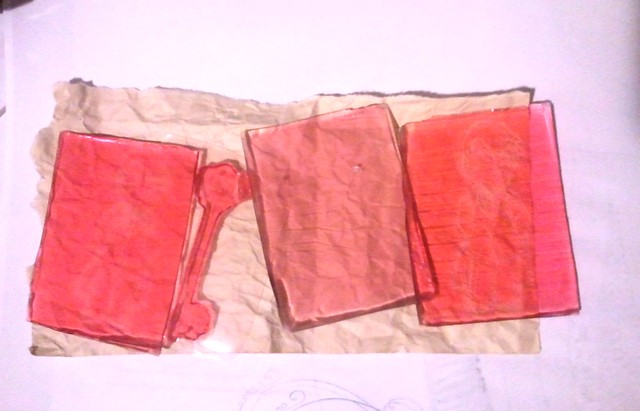
failed stamps
The failed stamps - booo!


My husband, who really encourages me in all my craft endeavors, told me not to give up so quickly, and that it SHOULD work the way it was advertised, so chin up and look for help/support sites to see if you can fix the problem (and I really didn’t like the idea that his gift was starting to collect dust in the closet …). And so I did! I found an excellent support group on yahoo about the TC stamp maker. It was founded by someone who purchased the stampmaker and had some similar issues. There were photocentric/imagepac staff members on that group too for help and advice. And really, if it wasn’t for them, the machine would still be in my closet & not being used!! So extra special thanks to Linda Warholl from photcentric UK who contacted me, helped me with the issues and even sent me replacement gelpacks for the ones I effed up! Top notch customer service!!! 

And now I hear you ask, how did they help me? Well, they made me understand what I did wrong with my first few tries, how I could correct the problem and now I’m using the machine am making kick ass stamps in indeed 15 minutes tops! No no, I assure you, they did not pay me to tell you this ;) So what went wrong with my first few tries? One thing was for certain, that not the whole instruction package was included with my machine. Just one printed sheet with instructions. So that was a bit of a downer to find that out! But I found the whole instructions on the support group, with images to explain. One thing I didn’t do was ‘flash’ the gelpack for 3 counts and you also really have to stick with the timing of it all. The golden tip was that EVERYTHING but the image you wanted to be made a stamp out of needed to be blacked out. So make sure that no light from the sides is filtering through, because that will fill your pack solid. Yes, I had light strips filtering through my first few tries. Also my negative wasn’t printed dark enough (had printer stripes in them) so the UV light shone through and filled the pack solid. 
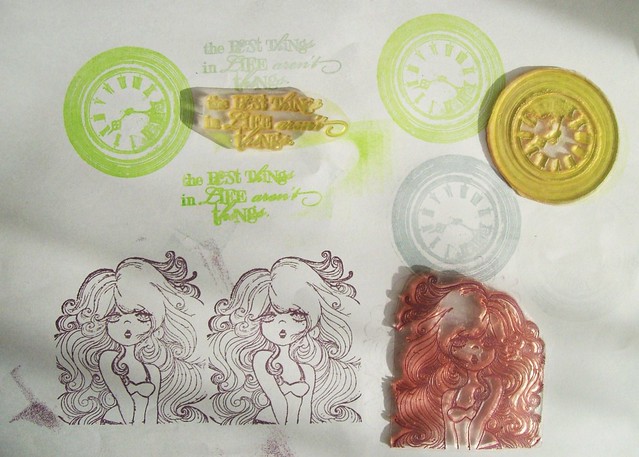
TC stampmaker stamps
The second try went a whole lot better. The time stamps are the negatives provided with the stampmaker itself. The lady is a drawing from a sheet of  stationery I have. It's The Swirly Girly I based my hand carved stamp on. I scrubbed too hard on her hair and that came off, but the tries after that, you have a feel of how hard you need to scrub.

To avoid further problems like this in the future, I made a checklist for myself and maybe you’ll find it useful as well;

  • Leave a dark aria around your image (at least 1cm) if you use photoshop (your canvas size set to 13 cm by 9 cm but the image must be no bigger than 11 by 8 cm) The imagepac negative printing program (which is on the CD that comes with the machine) already provides this for you. I prefer to print the image straight from photoshop, because the imagepac program sometimes deforms the image to a smaller scale, and sometimes it also pixellates the picture. With photoshop you can work on a higher resolution that can avoid pixellation. 
  • Print your stamp negative set on grayscale, setting on photo and paper choice ‘Epson matte’ for a smooth printed out solid black negatives (for Epson inkjet printer SX100 series) 
  • Make sure no light comes through from the sides between your gelpack and negative sandwich inside the clamp. 
  • Flash the pack for 3 COUNTS not 3 seconds
  • Be exact with timing, so 3 minutes exposure exactly (use a stopwatch/timer on your phone)
  • Wash the gel off with a soapy brush in luke warm water, firm but gently with circling motions. I really, really hate the gel! It sticks, it smells and it’s just so hard to get rid of off your hands. Wear gloves! Use enough liquid soap! Keep scrubbing until all the bits patches of gel are out, but not too hard!
  •  Expose the cleaned image in a tray with water for 2 minutes (non exact exposure is okay in this step but never longer than 3-4 minutes) – the longer you expose in this step the less ‘tacky’ the stamp will be.
  • Gently dry your stamp and cut off the excess around the image.
  • Adhere cling mount on the back and the stamp is ready! The kit provides a stamp handle and cling for that handle, but I prefer to just adhere UM cling mount to my stamps so I can use them on other blocks – not a fan of the big handle of the acrylic block provided... The stamp can be a bit too tacky at first, but like every cling stamp, you have to ‘break them in’ a little. You can also use an eraser and rub gently on the surface of the stamp. Dab it clean with a damp cloth and it should be less tacky. 
And there you have it! After initial trial of error and well… terror, I managed to make some pretty awesome stamps from my own carved and edited images! Some of them are so detailed and have quite fine and delicate lines. And I can indeed make them within 15 minutes! See another in depth review by Rachel Johnson of Swap-Bot here


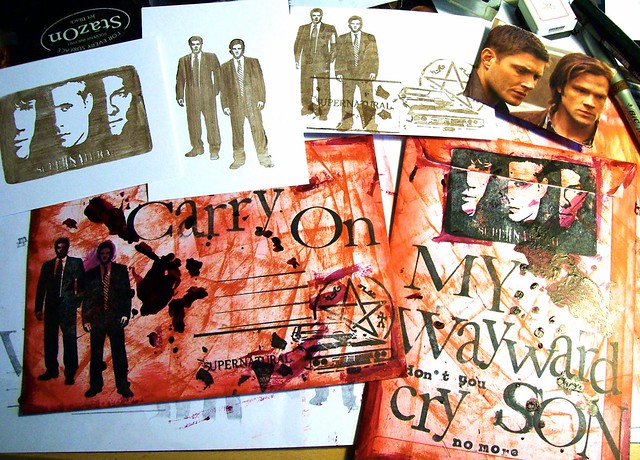
mail art 365-043 + 044 Carry On My Wayward Son
I made these supernatural themed stamps for this specific themed swap.

Hope you found this review useful!

Thanks for stopping by!

2015/03/08

Join the 50 shades of green Bloghop starting March 11th!

 50 shades of green bloghop
 Join the Lost Coast Designs Bloghop and win a 20 $ gift certificate! 
Click the picture to go the blogpost for more info on how you can join in.

2015/03/05

Lost Coast Designs Monthly Challenge - Use Some Red

Some fun news to share with you all. Last month I got contacted by Linda from Lost Coast Designs and Carmen's Varanda, if I wanted to join the Design Team. Even though I am busy as can be with working 2 jobs, I could not refuse this wonderful opportunity to use and get inspired by rubber stamps all over again. So I am proud to announce I am part of the LCD Design Team in company of some great artists :) 

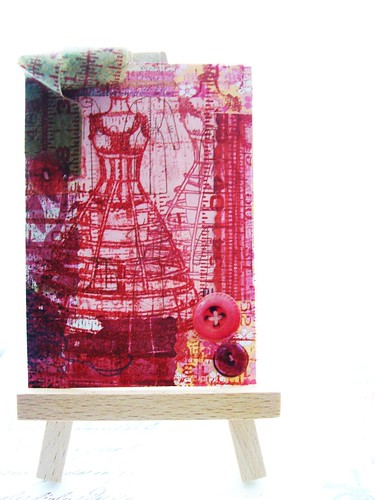
In lieu of this I wanted to share an ATC piece I made a while ago, using the dress form stamps and measuring tape ATC back ground stamp. 
Which also complies with this month's team challenge Use Some Red :)
the dress maker ATC

My work process for this piece: 

I get inspired from images and stuff I collect that sits on my messy desk for a while. Like the pink vintage dress maker print you see on the back, is from an envelope I saved. It's made with ranger stuff mostly, distress ink, embossing powder, perfect pearls. collage papers are from basic grey I think, epoxy buttons sticker I got locally (non brand from blokker).

First I made the back ground, with collage papers, then stamped with red brick distress ink the measurement tape stamp around the sides, without using too much ink. The the Dressmaker stamp with versamark on front, red brick embossing powder and heat tool to set. Then stamped with versamark ink again but on the upper right side & lightly added perfect pearl red rust to give it dimension, The measurement tape on top is made from kraft paper which I distressed and sprayed glimmer mist over in mostly green colors. Then I stamped it with a measurement stamp (with red staz on), cut the desired length and twirled it on the card until it looked satisfying then glued it in place. Then added the epoxy buttons to finish.

I hope this got you inspired to get crafting and Use Some Red for this Month's LCD Challenge :)