Showing posts with label zenspirations. Show all posts

2017/03/28

It's okay, breathe today.

It's ok, breathe today

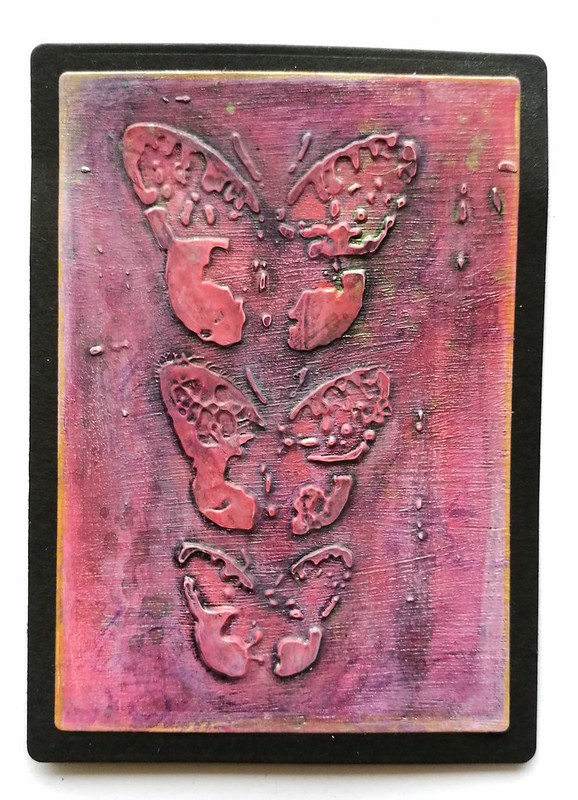
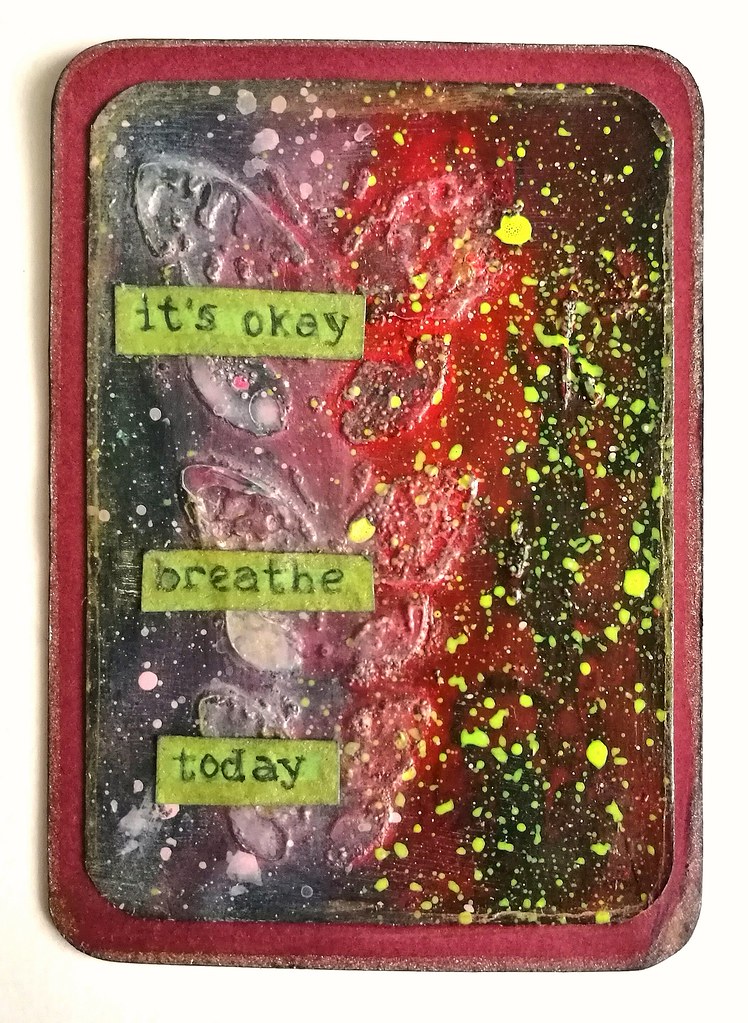
Lately, I've been feeling a bit overwhelmed. Maybe also because another birthday has come and gone (with a great trip to sunny Valencia in Spain, on which a report will be blogged at some point ;)  and faced with this perception of growing older I'm thinking "There so little time and so much I'd like to do!" But I need to keep in perspective that doing, doesn't affect the quality of BEING. I made this ATC/inspiration card to remind me of that. I took the butterfly base of one of my Cascading Butterflies sessions and played with paper Artsy Fresco paints, Liquitex INKS and Golden Fluid Acrylics in fluorescent yellow, which I received in the Artsnacks January Box this year. I love how that the spatters just pops up the whole image. The sentiment is re-mixed from this VLVS! text stamp. "It's Okay, breathe today" is something I say to myself when I feel like I am "wasting time" by not being "productive enough" and need a reminder that every breath has the same value, in doing or being. 

I would like to enter this artwork in the Moo-Mania challenge In Triplicate (so poetic that I made this ATC with this theme without even realizing!) and I love the fact that there is a challenge site that inspires to make some smaller works like Moo and ATC size :)

I also would like to enter this in the following challenge
Simon Says Stamp Monday Challenge - Things with Wings

Thank you for stopping by and have a wonderful day. 
Enjoy it, even though all you did was breathe today :)
  

2017/02/16

Cascading butterflies

Cascading butterflies ATC

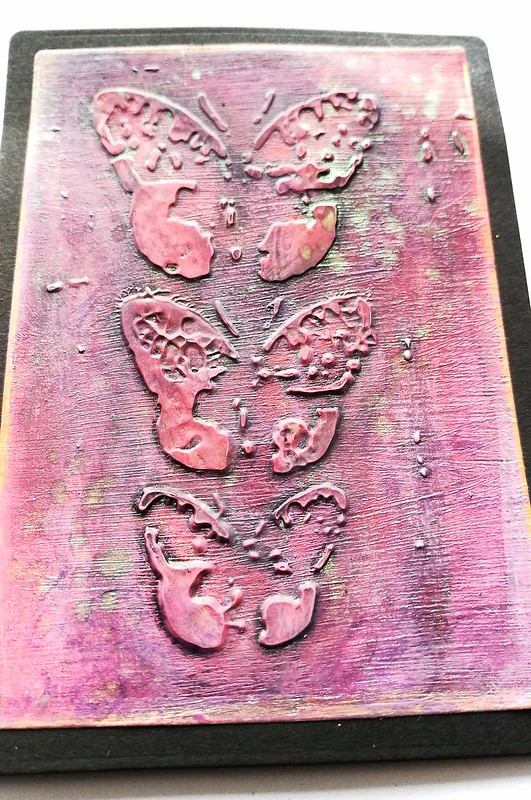
I have been so inspired by the February mood board at Our Mixed Media Moods I created another piece based on the lovely butterfly imagery and color on the top right. I created the ATC you see above.


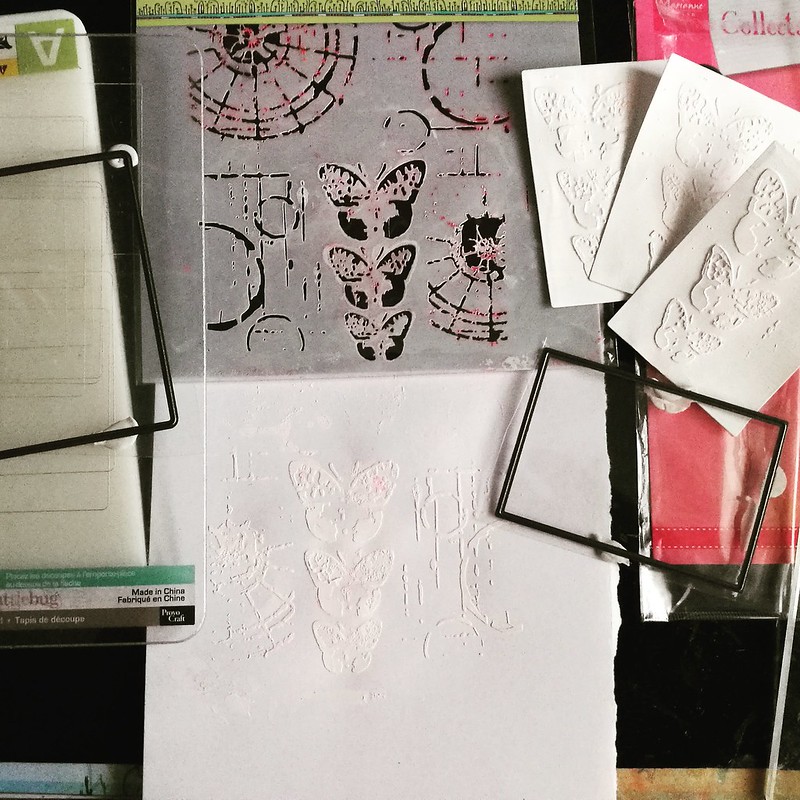
WIP stencils and nesting dies

I created the base of the ATC using gesso and modeling paste from The Crafter's Workshop. The butterflies are from a mixed stencil set created by Joanne Fink (Zenspirations)  for TCW) I used some ATC nesting dies from Marianne's Creations to cut them to size.

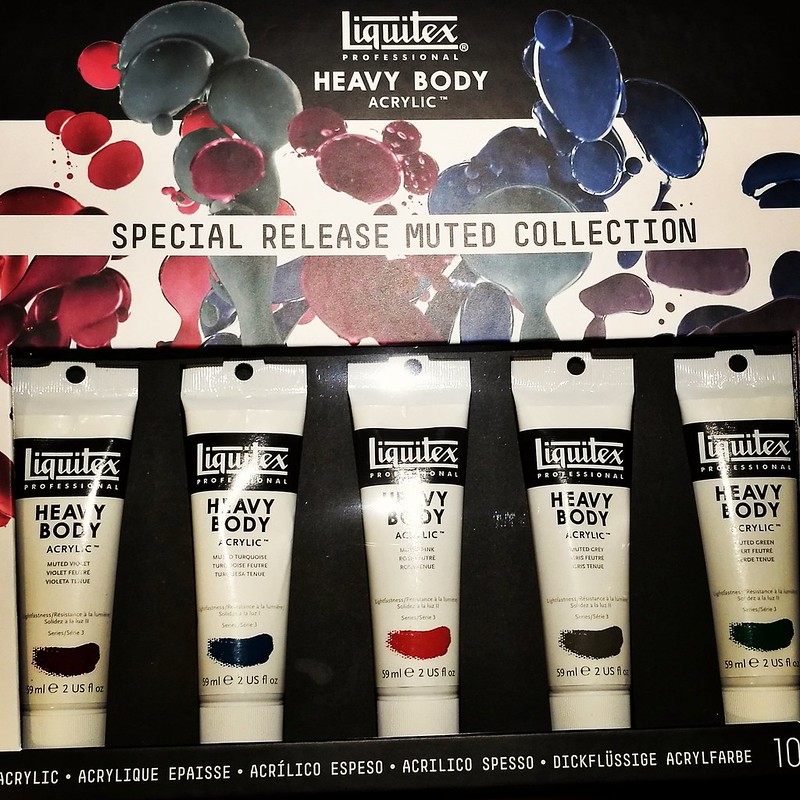
liquitex muted collection heavy body paint

The color on the ATC I created with these gorgeous Liquitex Muted Collection paints. I used the muted grey, rose and violet. And also the corresponding INKS! in the same line.

Cascading butterflies ATC
Added a bit of shimmering spatters on the work with Ranger perfect pearls kiwi and corn poppy and added tarnished brass distress stain on the edges before I matted it on the black card stock. I really love how this turned out and am going to make a few of these in different colors.

I am also entering this in the Simon Says Stamp Monday Challenge - use your fave tool which in the past months have been modeling paste & stencils for sure!

Thanks for stopping by and have a great day!

2016/11/30

Monthly Planning MTN: October 2016 update

MTN october update

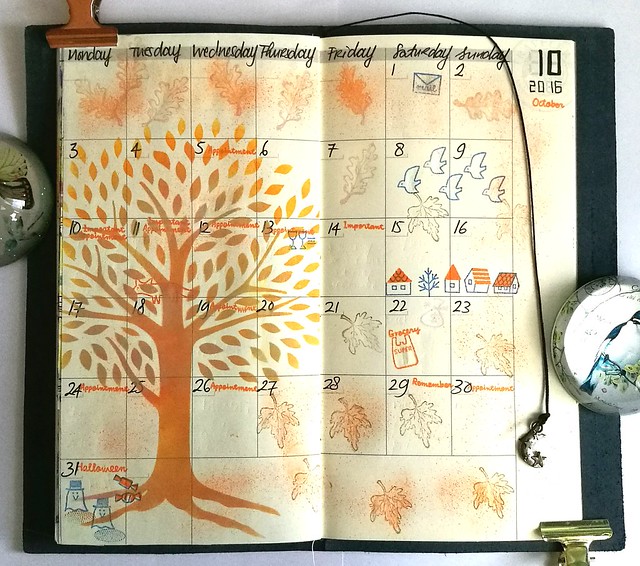
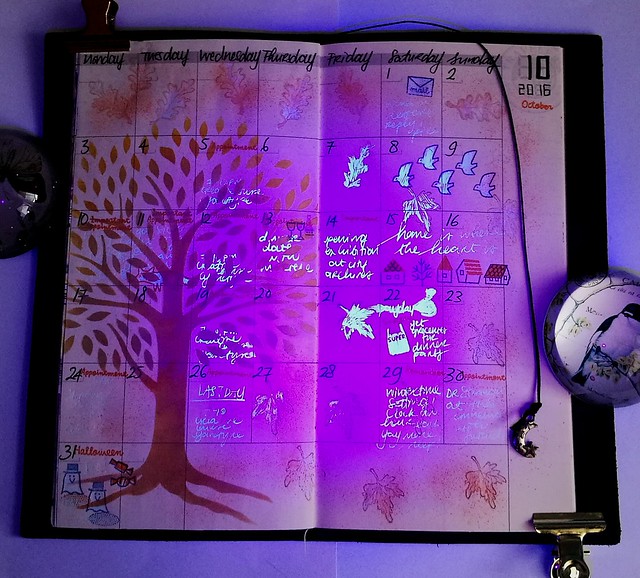
Finally had the chance to work on my October update in my Midori traveler's notebook. It sorta looks like nothing happened, but this month was busy with work commitments and my cyanotype course I participated in at the LAK. I had an idea in mind with some Blue Ghost Ink and experimented with it.

MTN october update
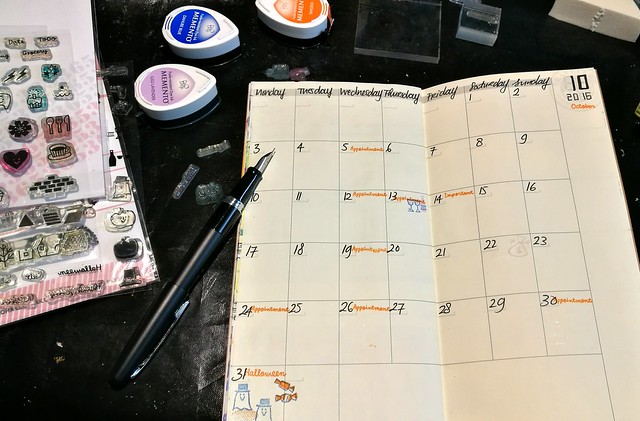
First I started off very simple, just writing down the days and dates with my trusty faber castell pitt pens. Seeing they are filled with india ink, it is water proof and also resilient against other inks.
I had my Pilot MR inked with Noodler's Blue Ghost ink and with that I wrote down the events which happened that month. Combined with stamps from Sakuralala fall collection 2015 line and memento stamp inks, they gave really fun effects!

MTN october update

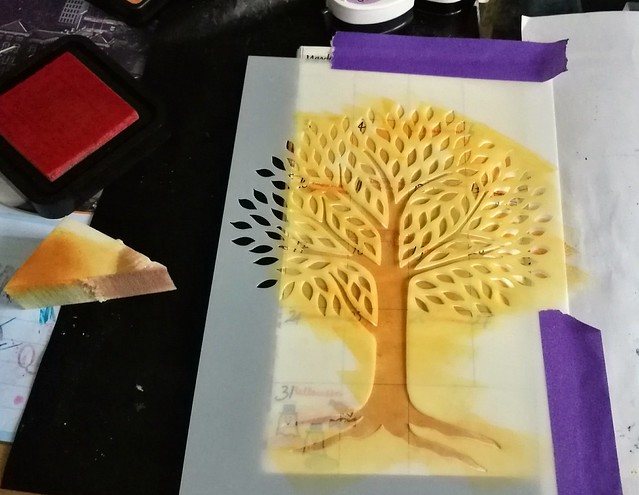
I also wanted to use this gorgeous tree stencil from the Crafter's Workshop designed by Joanne Fink (zenspirations) to convey the change in season. I began to dab some mossy green versamark chalk inks with a foam sponge and topped it off with orange distress ink to create some ombre in the tree.
MTN october update
Then stamped some autumn leaves stamps on the page and colored them in with the blue ghost ink.

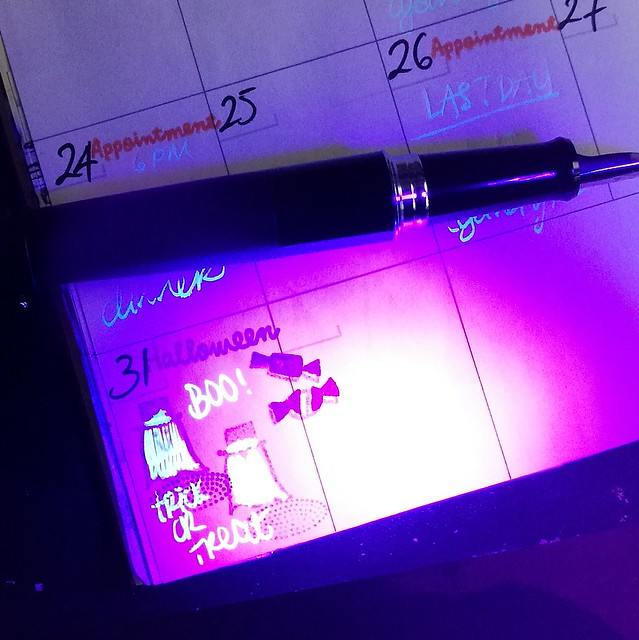
And this is the finished spread. What's super fun is that well there is nothing to read like in the picture on top, but when you turn off the lights and shine a black light on it, it gives some really fun effects!
MTN october update
It's kind of hard to photograph but I hope you get the idea :)

Now to mull over a layout for this month and then my undated monthly planner is full!! How time flies!

Thanks for stopping by and have a great day!

namasté

2016/07/18

Mailart Monday - Each day is a new opportunity

mail art - a new oppurtunity

Mail Art 060-2016
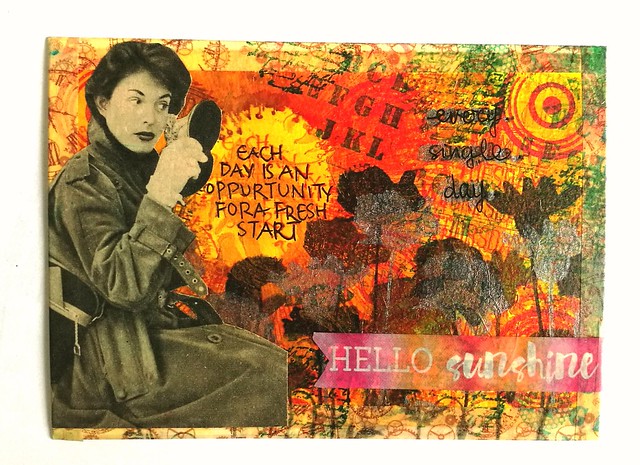
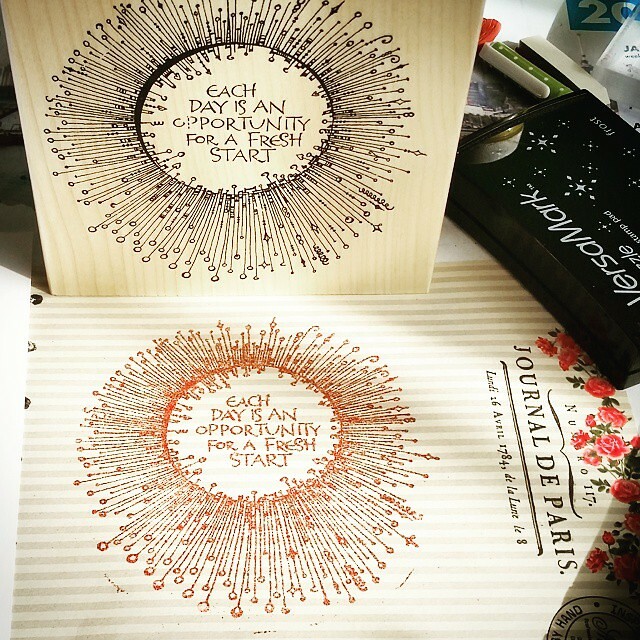
This rubber stamp from Zenspirations designed by Joanne Fink which I found at Posthumus store in Amsterdam have such wonderful positive affirmation that inspire me in making my mail art. The pieces above are a few examples I made for swaps on Swap-Bot
The top piece: The background is made with acrylic paint and stencils. Then added that sentiment rubber stamps from Zenspirations, the silhouette flowers from joy crafts and the circle stamps from indigo blu. I found a great picture in a vintage dutch magazine that fit the mood of the washi tape sentiment "hello shunshine" and the zenspirations stamp. 
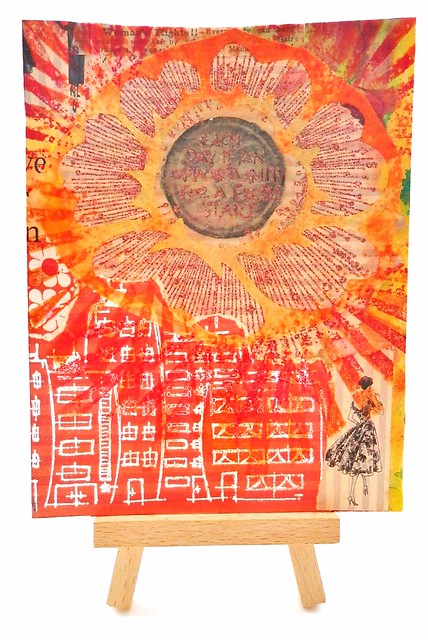
The bottom piece is a collage made with various left over papers from my "junk paper box", stampotique and Tim Holtz stamps, and the flower overlay I made with my Making Memories slice machine. I'm loging for sunshine and this piece sorta depicts that. 
I love how these cards came together. 

Each day does bring the opportunity for a fresh start, hope you will find yours today :)
Thank you for stopping by and have a great day!

namasté

2016/07/03

Craftorij Summer Challenge week 4

June is over and crossed into another month of the CZC index card challenge! High time for another update on my take of the daily prompts of week 4. I did a couple of "double takes" on a couple of these, but I still managed to do all the cards for this week, so yay!


CZC22CZC22
CZC 23 use feathers version 1 and 2

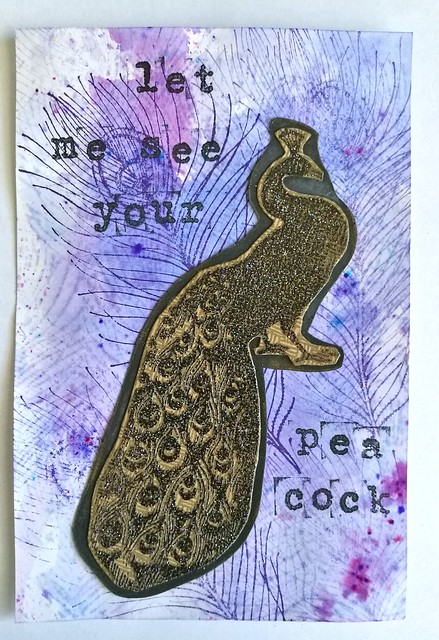
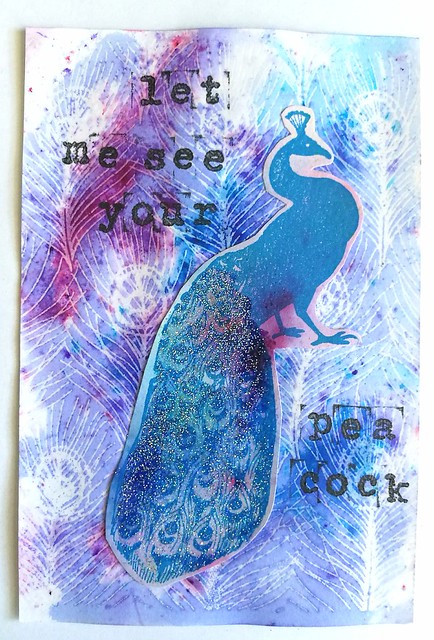
Both are made on a background of Brusho and using Carmen's Veranda peacock stamps. Version one the single peacock feather and version two the back ground feather motive. The peacock is stamped on another piece of paper, embossed and adhered to the index card.

CZC23
CZC 23 use a chevron motive
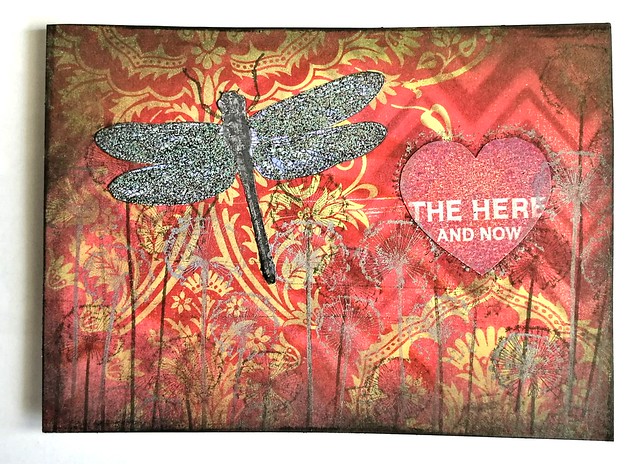
I started on scrap book paper, stencil of the chevron over it and dabbed my ink tool on it with some distress inks. And used the Carabelle "the here and now" stamp set.

CZC24
CZC 24 Use a map
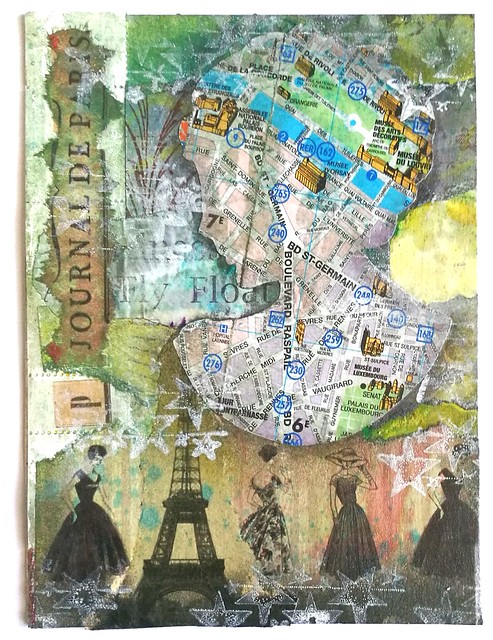
Made a paris themed collage, used a touris map from Paris for the silhouet cutting of the buste and various Paris themed papers. This piece was sent for the CC sender's choice June swap via swapbot.

CZC25
CZC25


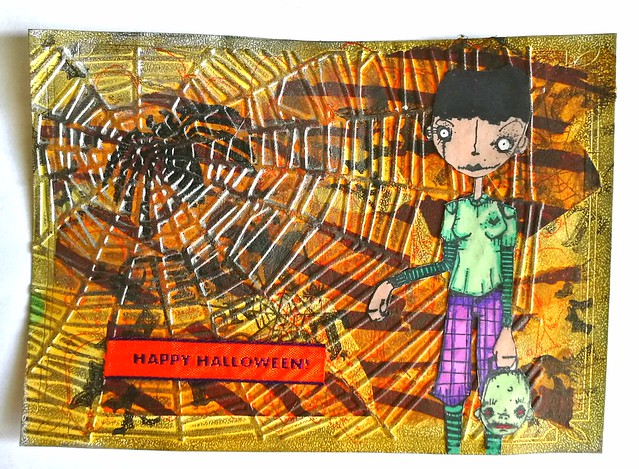
CZC 25 Halloween/Creepy - also made 2 version of this prompt
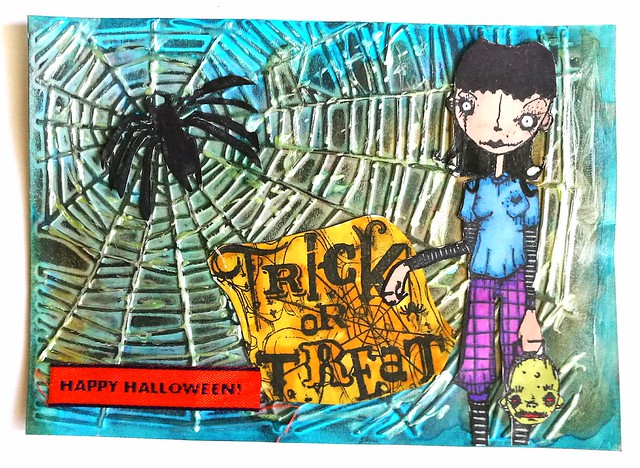
Stamps used from stampotique and inkadinkadoo. The spider is hand carved. It was fun using the cuttlebug for embossing again :)
CZC26
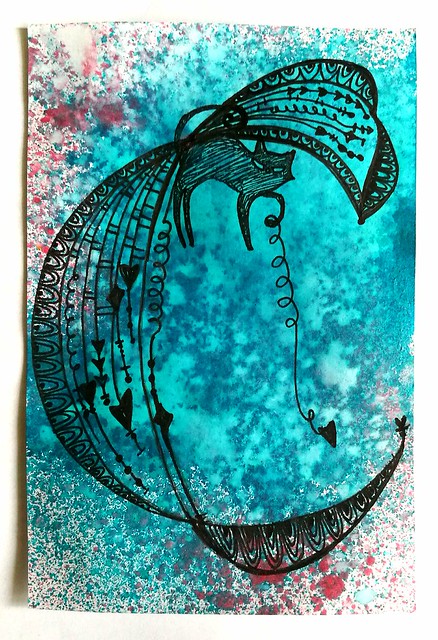
CZC 26 Make 1 majuscule and doodle it from the inside
Doodled a letter Zenspirations style on an ink sprayed card. The cat is a stamp I incorporated in the design.

CZC27
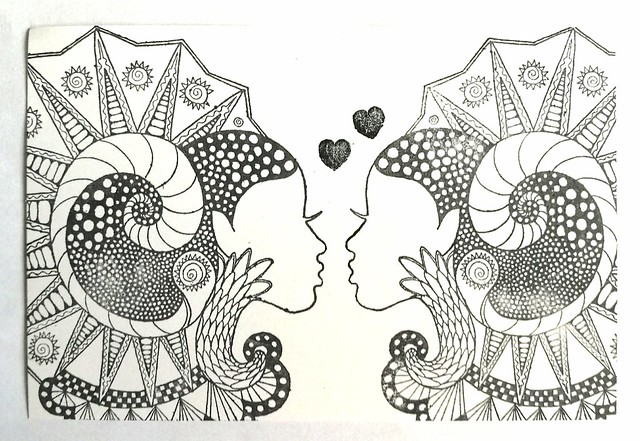
CZC 27 Black and white
I used these gorgeous stamps from Lost Coast Designs, they are mirror images from each other and super cool!

CZC28
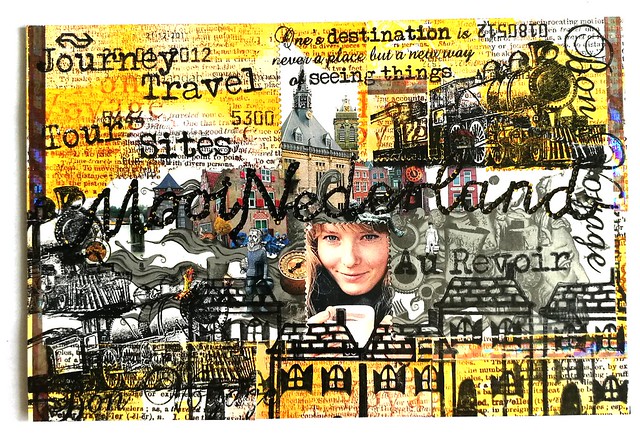
CZC 28 - travel
I made a travelling/commute card collage with ols train tickets, left overs from a coupon and postage stamps, with stamps from technique tuesday and yellow owl workshop.

And that's it for another week! These were some fun prompts and my fave of the bunch was the doodle letter!

Thanks for stopping by and have a great day!

namasté

2015/11/30

An inspiring workshop at Posthumus Amsterdam

On saturday the 21st of november I was lucky enough to join a very popular workshop at Posthumus stamp store in Amsterdam, the Christmas layout workshop given by Miranda Degenaars. Her workshops are always very popular and sold out within hours. But the day before a message on Posthumus facebook page said that someone had canceled due to illness, and they had a free spot. So I grabbed that chance and got to join in.

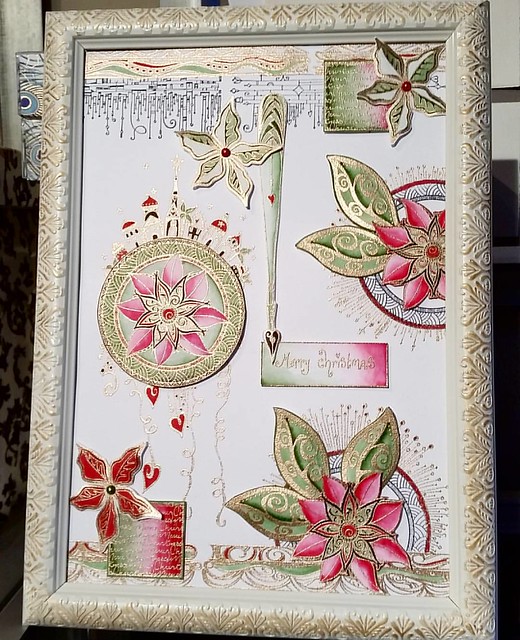
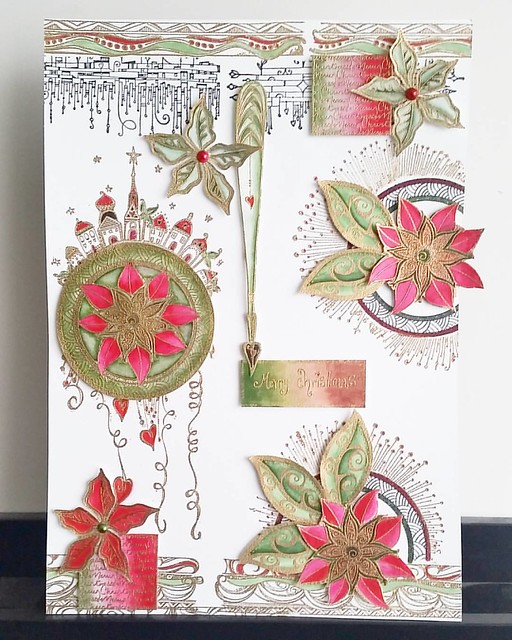
Miranda had made four layout designs which we could choose to make in the 3 hours there. The one that really stood out for me was the one with made with all the Zenspirations Impression Obsession rubber and clear stamps (designs by Joanne Fink) What we get to make was this A4 sized stamped work.  It was just beautiful! 

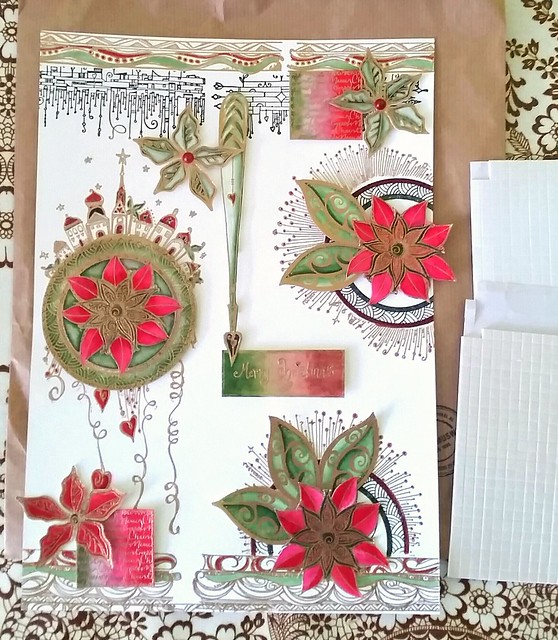
This is what it supposed to look like finished... 3 hours was not enough to finish the piece. I still need to cut all the pieces and arrange them like this on my background. @zenspirations workshop by Miranda Degenaars at Posthumus Amsterdam #zenspiration

This is the design I signed up to make and *gulp* it was a tough one. Miranda did say that we probably would need more time to finish this project than the time was given at the workshop. She was not wrong! But I started on the daunting task anyway. 

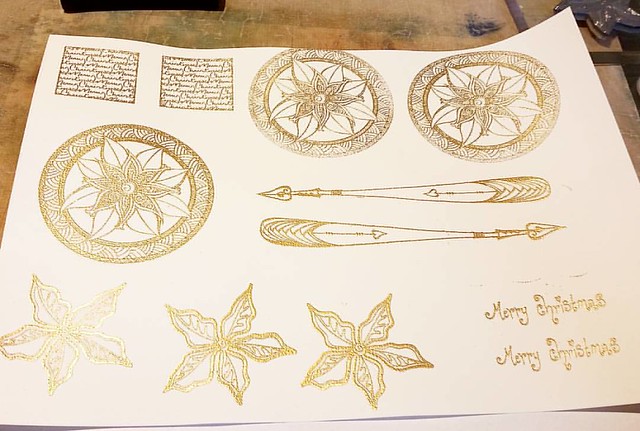
The project consists out of a back layer and a bunch of loose cut elements, 15 to be exact, to give the 3D effect. So we started with stamping and embossing the loose elements first. 

The loose embossed elements @zenspirations #workshop #rubberstamping #rubberstamps #embossed #embossing

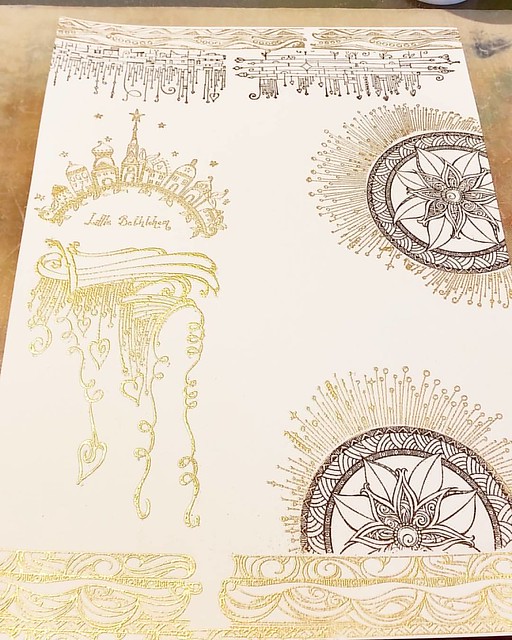
Because there was so much embossing to do in this project, we needed to get that done first before we could get on to the coloring. After the loose elements were done we did the embossing for the back ground of the piece.

Went to a workshop at posthumus in amsterdam yesterday. Worked with stamps from @zenspirations to make a nice Christmas layout. This is 1/2 way done. #rubberstamps #rubberstamping #zenspiration #posthumus #art #embossing #wowembossingpowder

I love how the 'poinsettia' mandala and 'circle dangle' stamps on the right are superimposed. We used a mask for the mandala and then stamped the circle dangle rays over it. The border stamps on the bottom and top are among my fave of the bunch. The black ink used is versafine black and the gold embossing powder is by WOW embossing. 

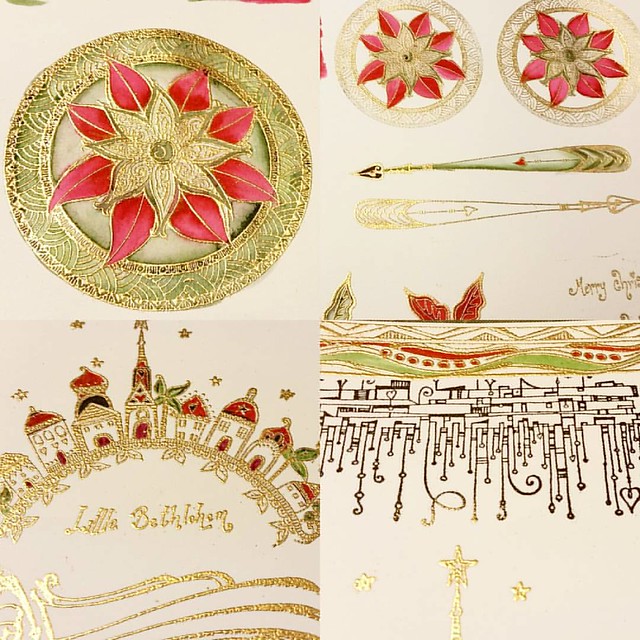
At this point all the gold embossed elements were done, so it was time to color stuff in. And this was the most relaxing part of the workshop. Everyone was quiet and highly ZEN on their coloring.
This project has so much detail to color in. The coloring is done with tombow markers and a brush pen. @zenspirations #posthumus #workshop #rubberstamps #rubberstamping #embossed #embossing #zenspiration #zendala #zentangle #zendoodle

We used Tombow Dual brush pens and a kuretake water brush pen for the coloring. Since it's a Christmas theme, a lot of red and green colors were being used to color in the elements. Not everything was colored in, and we left the back ground accents black and white mostly because all the cut elements (remember those were a whopping 15!) were all being colored and that's where the accents of the piece lie.
By this time the allotted time for workshop has nearly come to an end and I did my best to get all the pieces colored there because I didn't have the right colors of Tombow brushes at home. But at home I cut all the pieces (with help from my husband, because there was just too many to cut) and assembled the piece together with a flurry of 3d foam tape squares to give it that raised look.

Christmas workshop at posthumus Amsterdam
And this is the end result. I forgot to color in the 'Merry Christmas' square at the workshop so that's why those colors are a bit off, but with every thing else, I am quite pleased! Now to find a nice frame for it!

My finished Christmas piece from the workshop I did on saturday at Posthumus Amsterdam. Layout design by Miranda Degenaars and stamps used are mostly from @zenspirations Impression Obsession. #rubberstampart #zenspirations #rubberstamping #tombowmarkers #
A few other ladies at the workshop chose to do another layout which was even more daunting than this one and it's the one below.

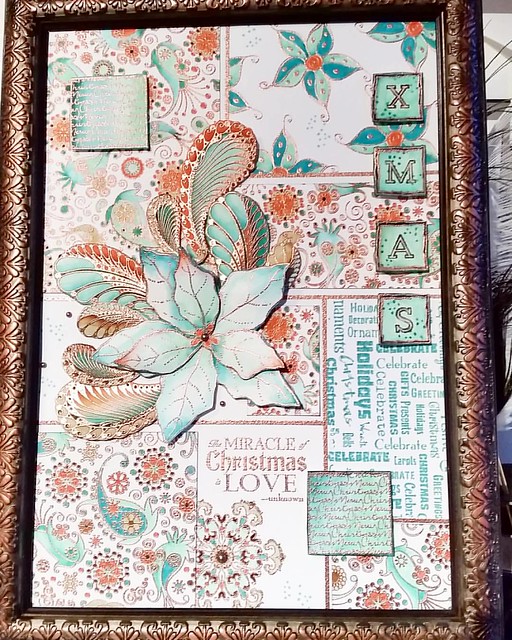
This was another project you could choose to make at the workshop, but this one is even more time intensive than the other. But so gorgeous! Made by Miranda Degenaars at Posthumus Amsterdam


Look at that amount of detail! Amazing! And I do love that color scheme. But this was a bit too 'busy' or 'crowded'  for my taste. But I do love the paisleys behind the flowers. I have an idea to try something with loose paisleys like that for a LCD /CV layout. 

Thanks for the inspirational day, Miranda and Posthumus gang! 
It was a delight to be there.
Hope this inspired you readers as well to work with embossing powder and tombow markers.

Thanks for stopping by.

namaste

2015/07/15

Shopping Highlight: Posthumus in Amsterdam

Posthumus store displays

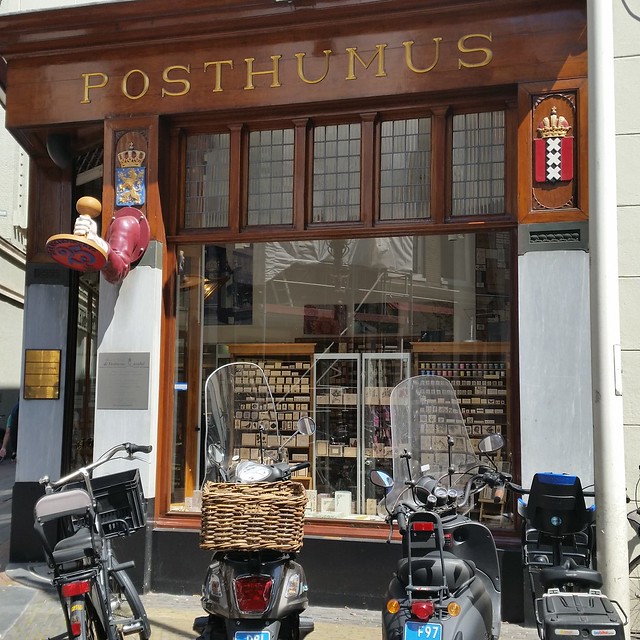
To say that this is a dangerous place for a rubberstamp aholic like me, is an understatement. Posthumus store in the centre of Amsterdam is a well known place since 1865. They are in an Ally next to the Amsterdam Museum, a tucked away little gem of a shop. As their blurb on the 'about us' page from the website says:
Set in one of the most historical parts of the city center of Amsterdam is the Royal Posthumuswinkel, a  "winkel" (shop) that has been making and selling custom-made stamps of every kind since 1865. The store is a landmark for lovers of rubber stamps and stationary.You can find not only a seemingly limitless array of stamps, but also beautiful paper, envelopes, inks of all colors and sealingwax. The store is somewhat of a museum too, with antique letters with embossed letterheads an monograms, antique engraving machine, and old photographs of the store.The time-layered ambience gives a lovely sense of nostalgia, but the diverse stock accommodates modern times.
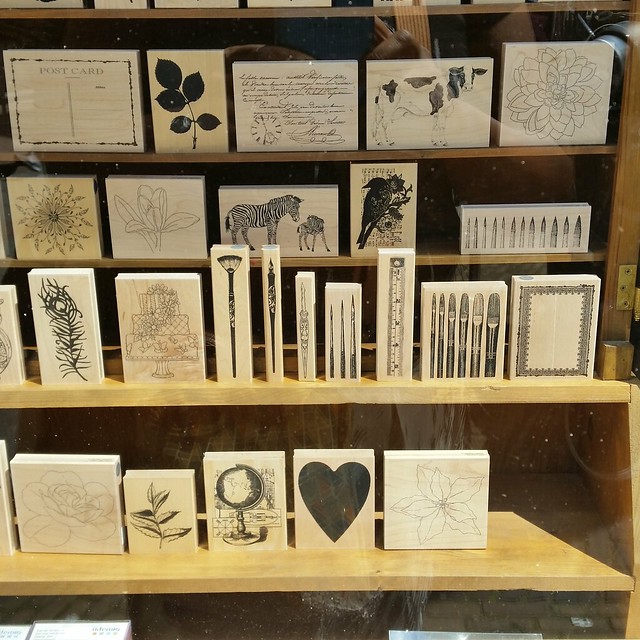
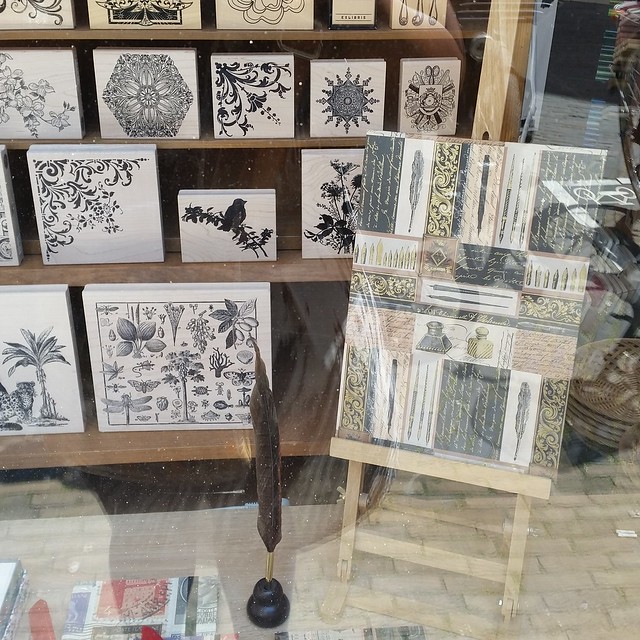
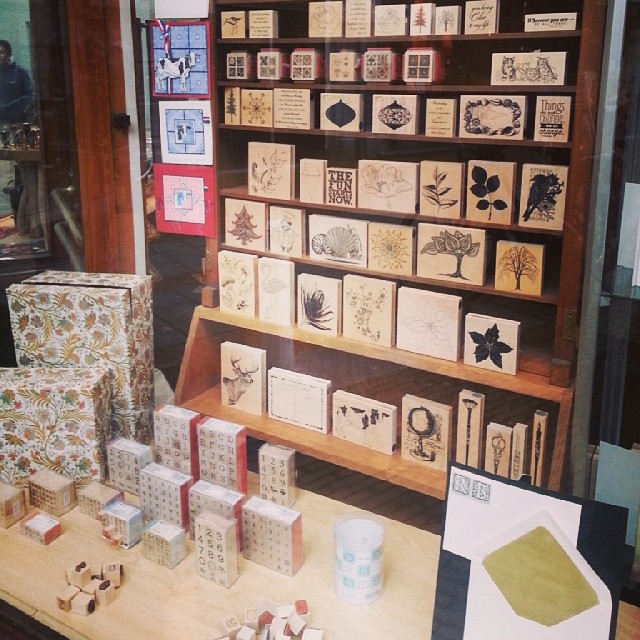
 And true to their word, the store is packed full with gorgeous stamping and stationery materials. A few examples of their stamps on display:

Posthumus store displays
Posthumus what a wonderful store :) can't leave without buying something here!

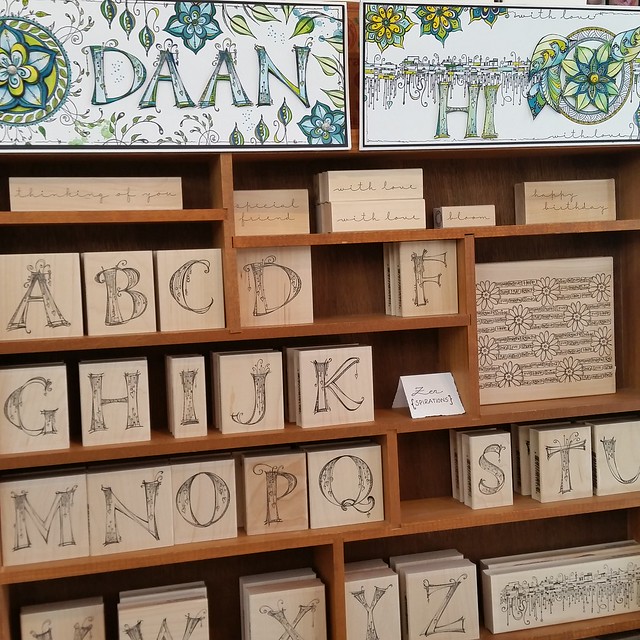
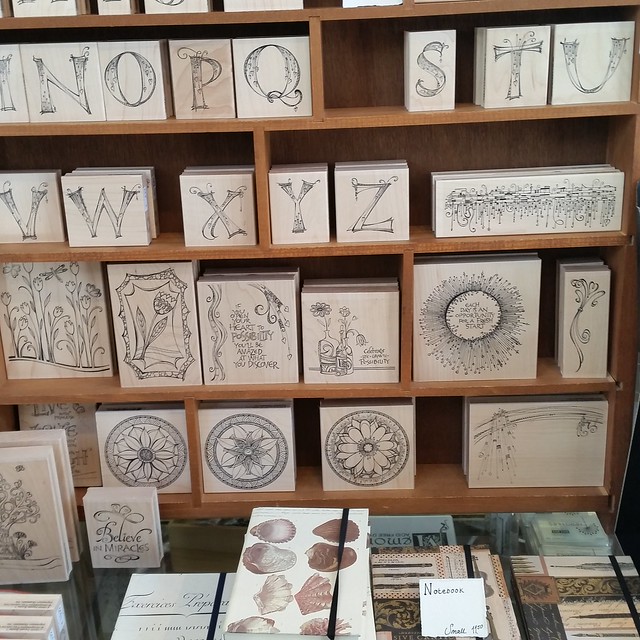
Gorgeous Zenspirations stamps
Posthumus store displays

And I could not leave without this stamp because of the true statement of this sentiment:
Could not leave this gorgeous #zenspiration #rubberstamp behind at my recent visit at #posthumus A sentiment that resonates its truth.

You can also follow some workshops and make and takes at the store mostly given by Miranda Degenaars. I was lucky to have done a few, which were very inspiring!

Hope this inspired you and when you are in the aria, don't forget to visit this wonderful shop.

Thanks for stopping by!

Namaste

2015/06/24

Zenspirational doodles inspired by Joanne Fink

A while back I received this wonderful care package from my friend Mel and her son Jakob. And at a weekend away a little while ago, I got to try my hand this wonderful activity book "Zenspirations Dangle Designs; expanded workbook edition".

Plans for the afternoon #zentangle #zenspiration #joannefink #tangle #drawing #aquarelle #steadtler #sakura #fountainpen #midori #activitybook #writinginstruments #drawingtools #writingtools #pencils #pigmentliner
I wanted to make a dangle border/top design as you see on the workbook cover.

As pictures say more than words, I will show you my zenspiration creation process step by step:

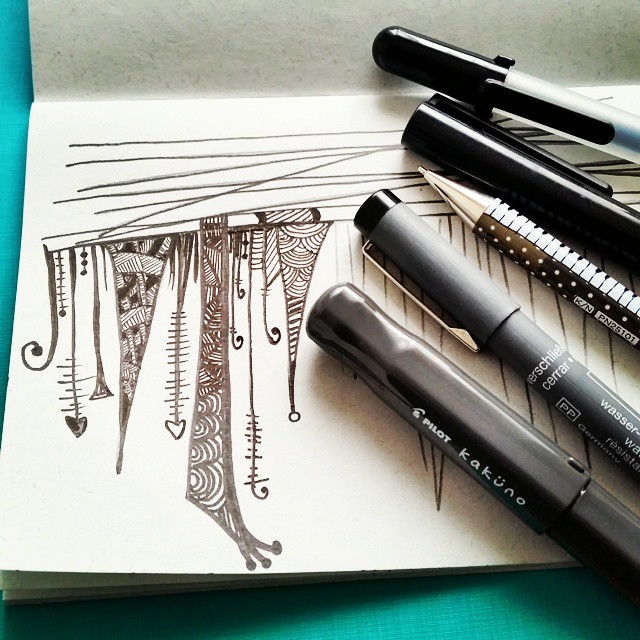
#zendangling is very fun and easy to do. My top 5 tools for #zentangle activities are 1) mechanic pencil 0.5 point 2) steadtler micron liners 3) pilot kaküno fountainpen M nib with namiki black cartdridge 4) sakura pigment liners 5) sakura black gelly rol
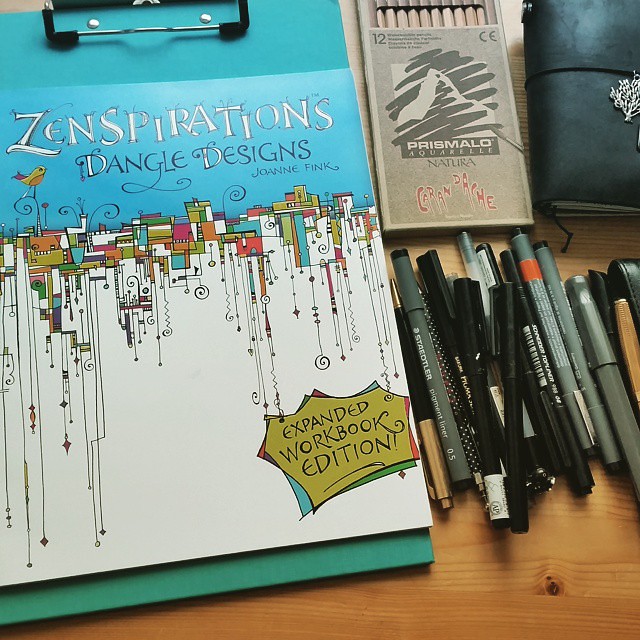
My top 5 tools for #zentangle activities are 1) mechanic pencil 0.5 point 2) steadtler micron liners 3) pilot kaküno fountainpen M nib with namiki black cartdridge 4) sakura pigment liners 5) sakura black gelly rol. I made a few rough sketches with pencil and then just started doodling away with the fineliners. 

zenspirations 2
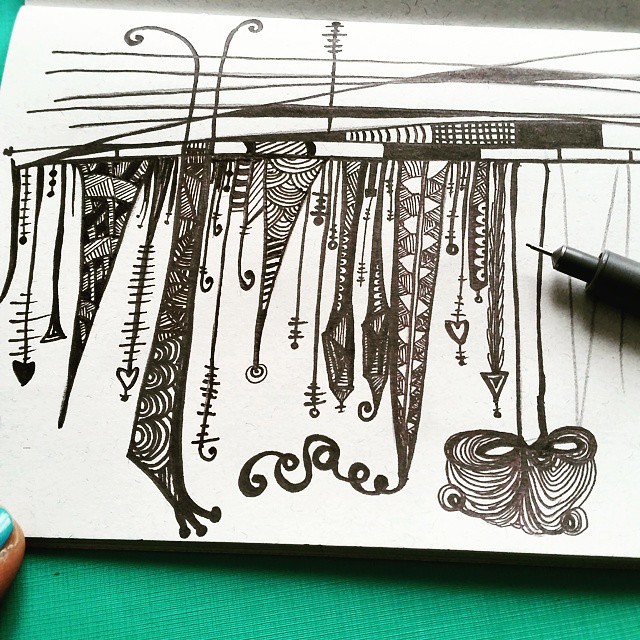
You can make some basic shapes and tangle/doodle in the downward pillars/sock dangles. I used a really fine 0.05 micron steadtler fine liner for the really detailed doodles.

zenspirations 3
I got inspiration from the book to do the 'tops' and 'ends' but thinking up some fun patterns/designs yourself is all part of the wonderful creative process.

zenspirations 4
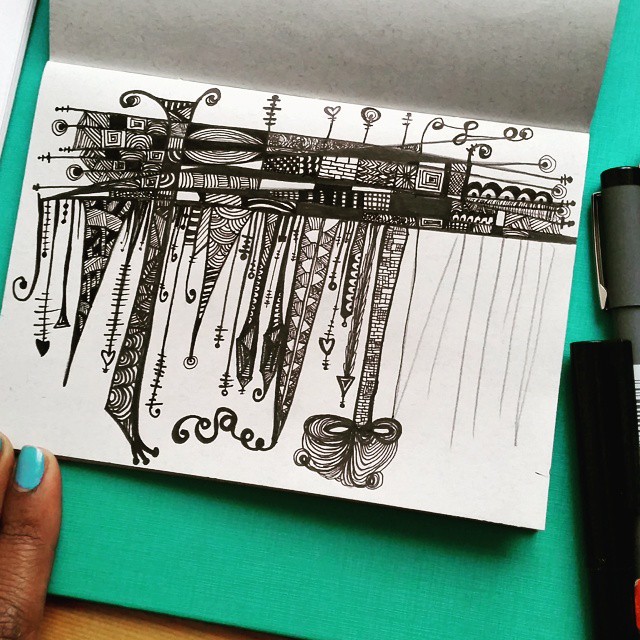
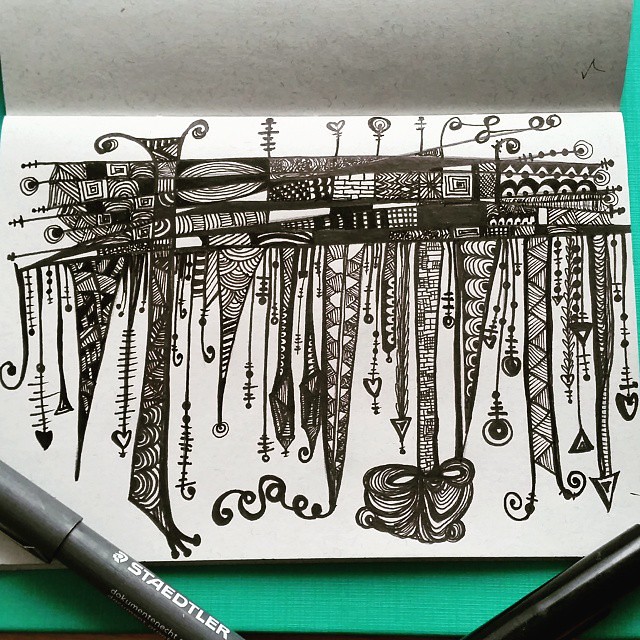
Got the line work done! And the fun thing is I had no idea it would turn out like this when I started. It all happened gradually without having to think too much about it. Though I like the black and white version, I did want to see what it would look like with some color. Before I used the water colors, I erased all the pencil lining with a soft eraser so the graphite would not mix with the colors. 

zenspirations 5
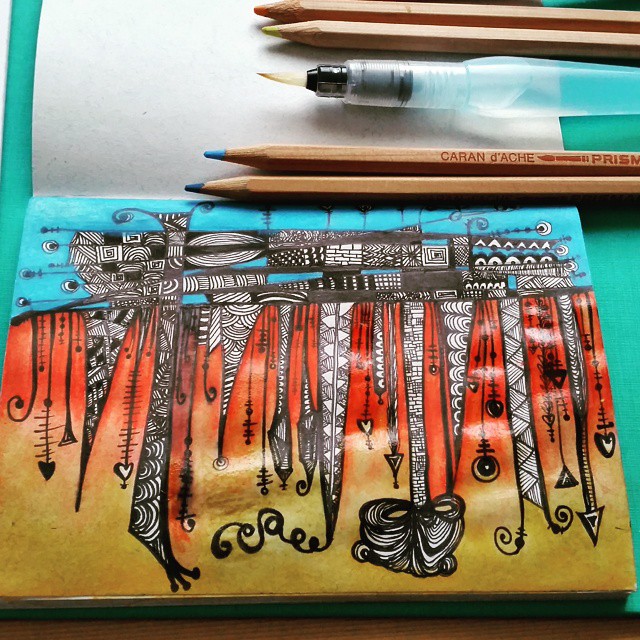
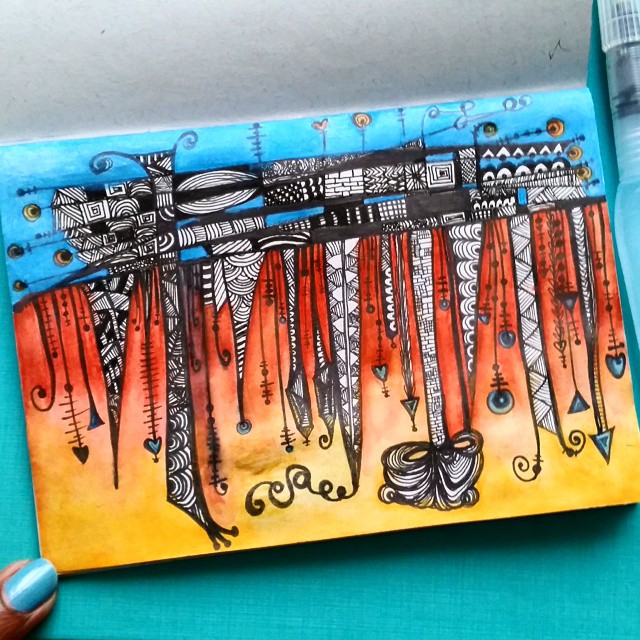
I used my caran d'ache prismalo aquarelle pencils and a pentel water brush to color it in. I decided to leave the insides of the doodles and columns white and keep a simple color contrast on top while having a nice color gradient on the bottom. Red in between the columns and yellow on the bottom. Used the water brush to make them blend and it became orange where the two colors meet. 

zenspirations 6
The finished piece. I ended up using the contrasting colors in the smaller dangle 'endings' to make it 'complete'. I'm quite pleased with the end result. I love how the colors make the dangles pop out more. 

NB I did find out though that the black cartridge in my Pilot kaküno fountain pen was not entirely water proof. But when dried and mixed with the colors, it looks like shading so the piece wasn't completely ruined. So a fair warning; if you do end up using watercolors, make sure you work with completely water proof liners/ink if you don't want the bleed/blend through happening.  

Inspired and enthused? See Joanne Fink's blog for more inspiration! Also the book is being translated to a few different languages! As she would love to hear from people all over the world, who tried the book or their hand at zenspirations, so be sure to leave a comment on her The Global Connection blogpost :) 

Thanks for stopping by.
namaste.