Showing posts with label tutorial. Show all posts

2018/07/18

WCW: Mermaid Hair practice (with video tutorial)

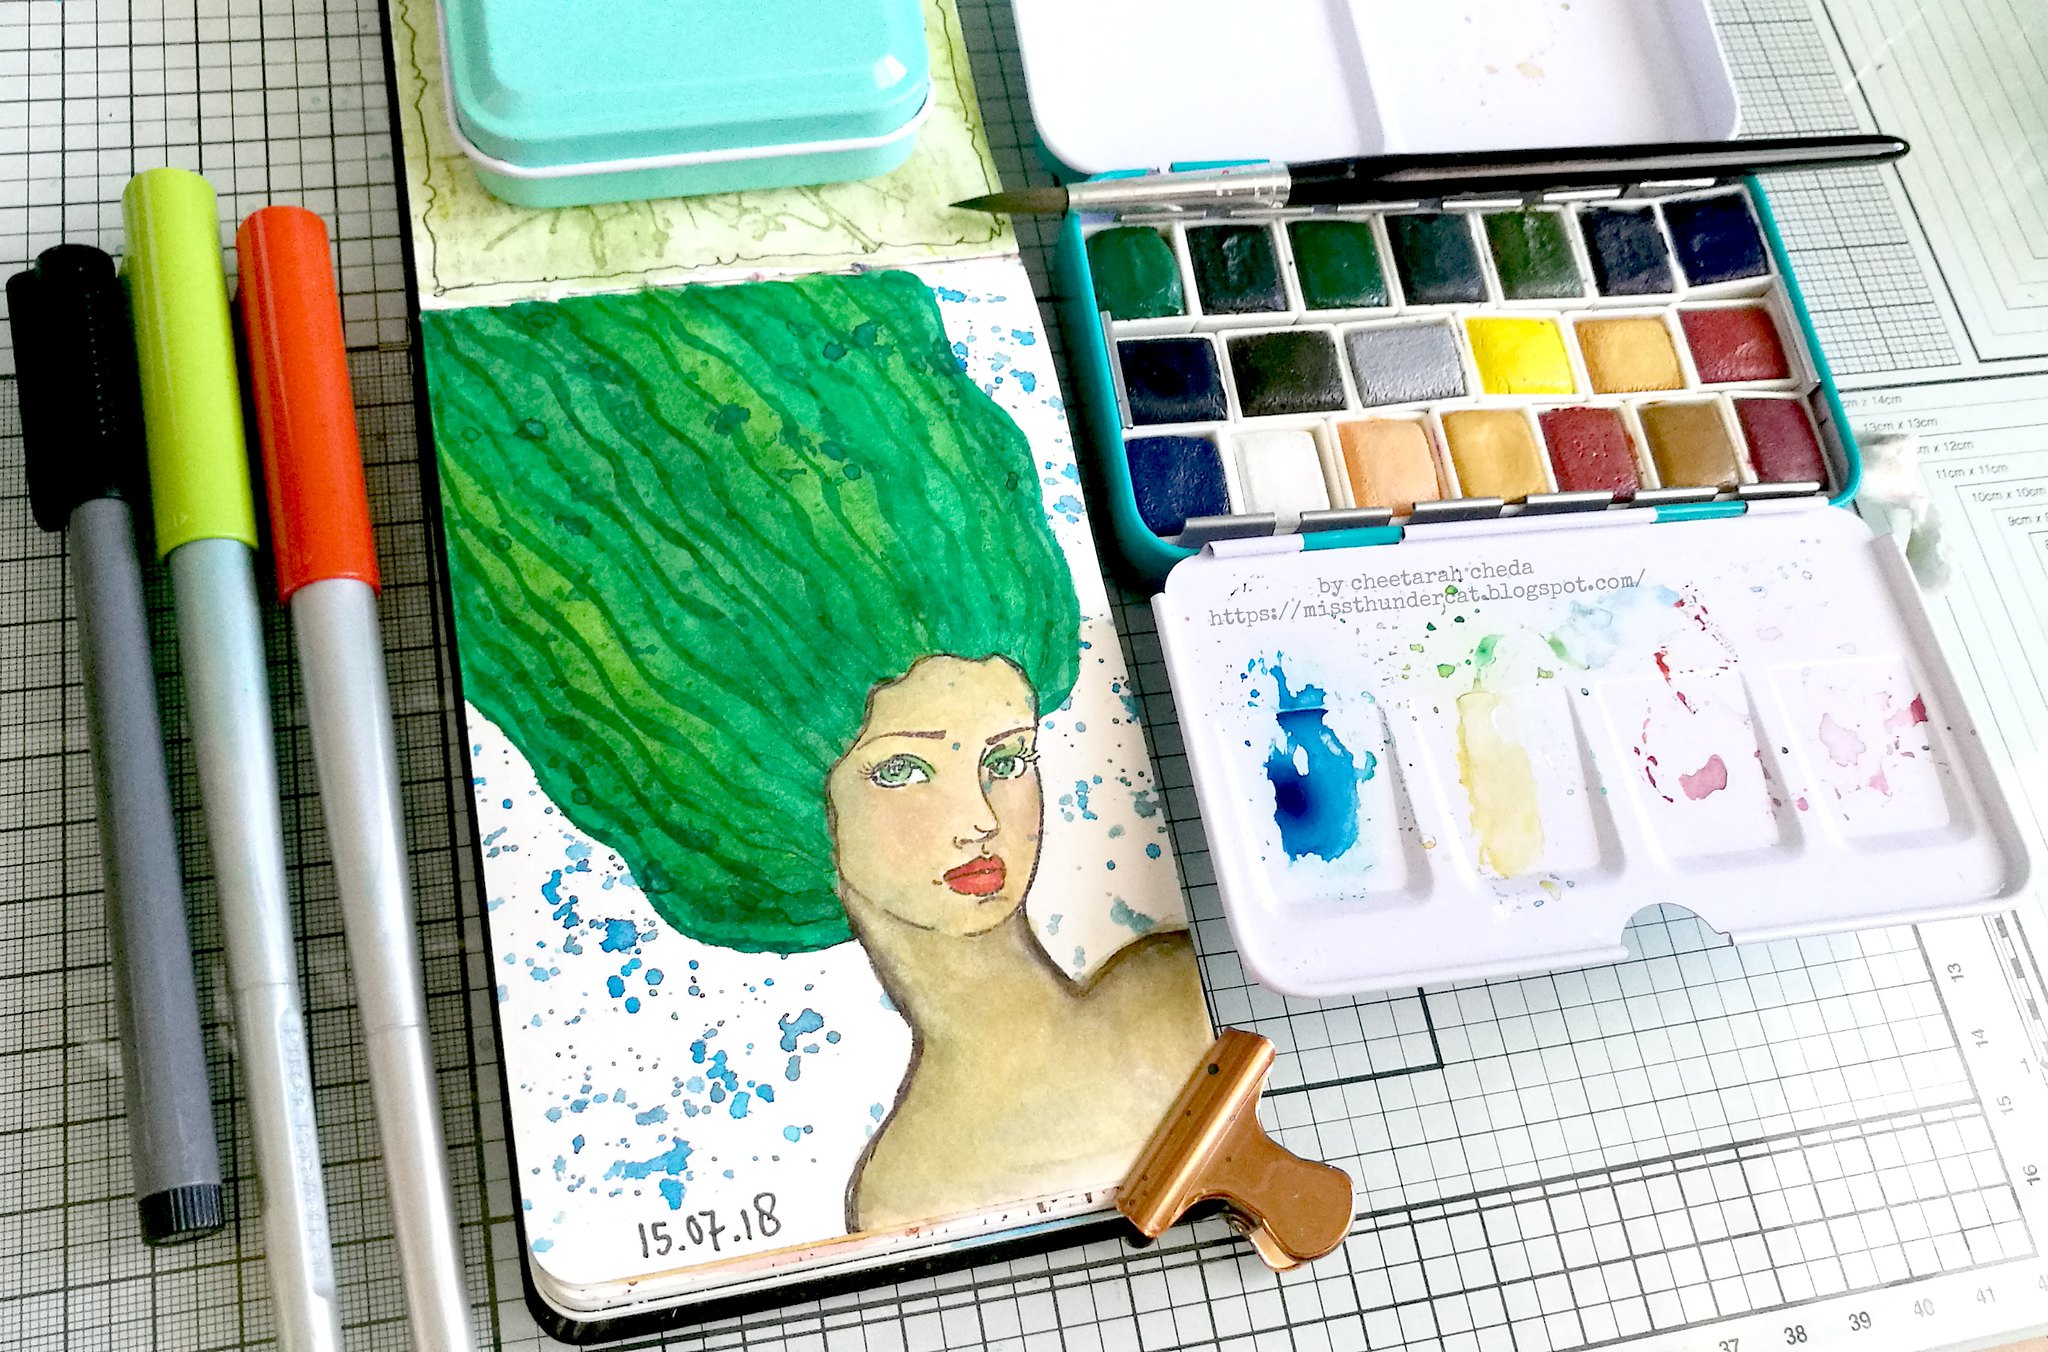
Mermaid Hair with Jane Davenport products

Its been a little quiet on my blog, I know. Summer is here, and with the wonderful weather, I rather be outside than inside on my days off. So it means less PC time = not many blog posts. I am sorry about that, though if you are curious what I am making be sure to check out my Instagram page as I share there almost daily. Mostly they are watercolor related as I've decided to practice my watercolor techniques in my moleskine pocket book for world watercolor month. 
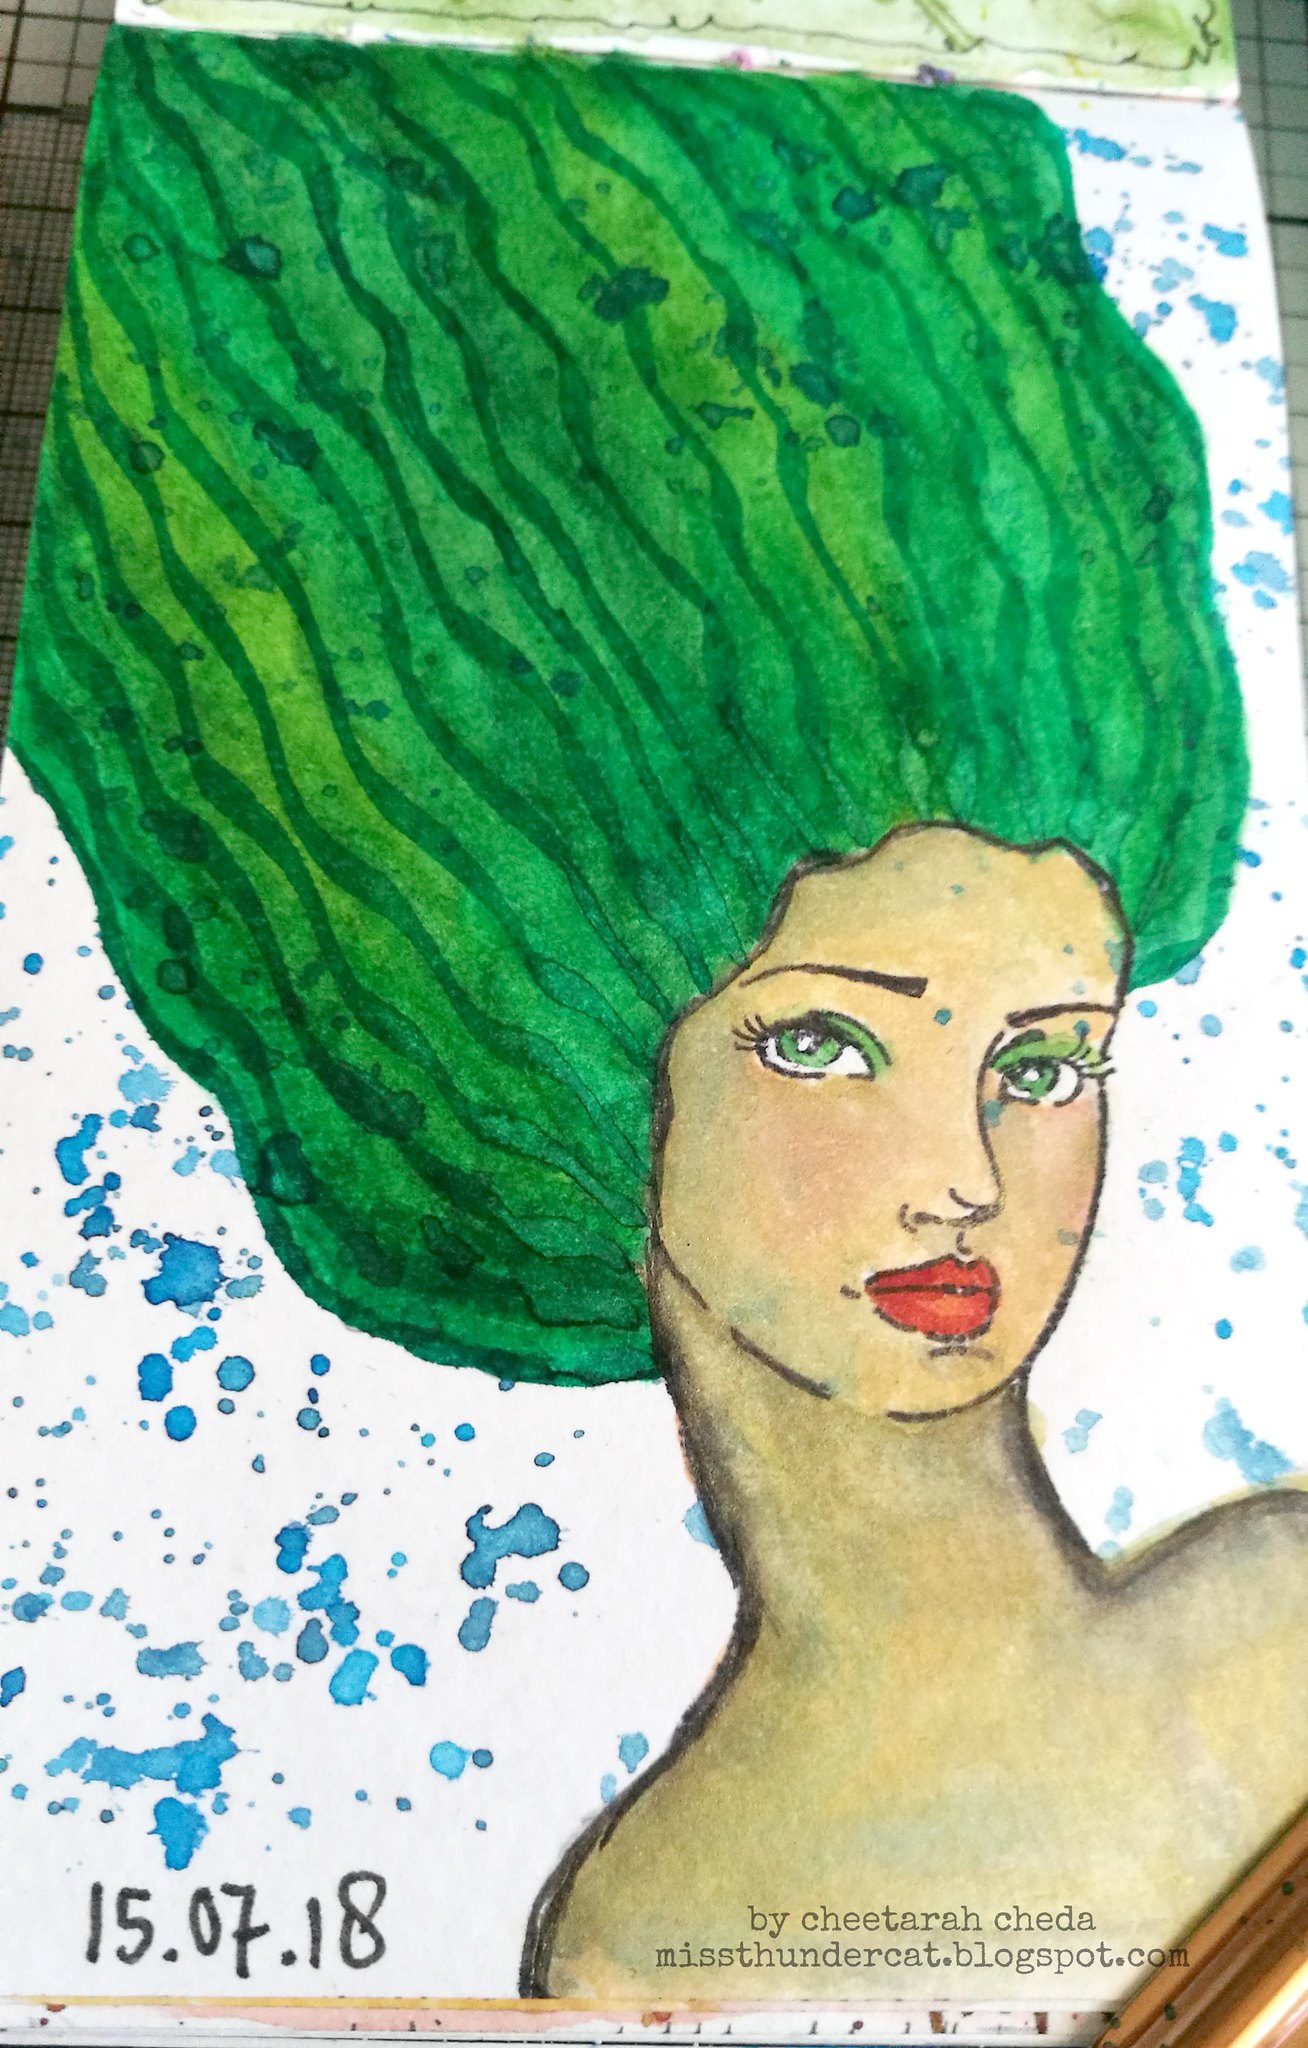
Mermaid Hair with Jane Davenport products
Here I used Jane Davenport face stamp and Glitz Sea watercolors (with added in colors from the neutrals set) and Pilot Parallel pens filled with Rohrer and Klingner Sketch ink. 

Also instagram came out with a new feature, like last month (yeah I'm always so slow with updates on phone apps) which is called IGTV and I just decided, you know what, let's jump right in! So I've added some video tutorials there, one specifically shot  vertically for IGTV (they only accept vertical video's) and then altered for my YT channel.

So I'll be linking the YT version below, but since the angle is different, if you prefer the original IGTV vertical angle, you can watch it HERE. 


If you have watch the process video, I'm curious because I kinda like the angle of the IGTV better for this type of tutorial. The lager art journals definitely have to be shot from a birds eye view to get everything in the film. So I'm still figuring out if I should upload to both channels (means extra work!) or just choose the right type of video host and then just link. You can't embed the video link from IGTV yet, so watching directly from the blog is also difficult. So there are pro's and cons for both formats... 

Oh so many new things to try out! Have you tried out IGTV for your tutorials? If so let me know what you think :) 

Linking this to Art Journal Journey - Art for Art's sake July theme - great theme and art can be always a practice to get better at certain skills, right? Messing around with new materials and see what you can create with them, is also just part of the fun :)

Thanks so much for stopping by and have an awesome week!

2018/05/11

Craft Stamper TIMI - May Challenge Inspiration

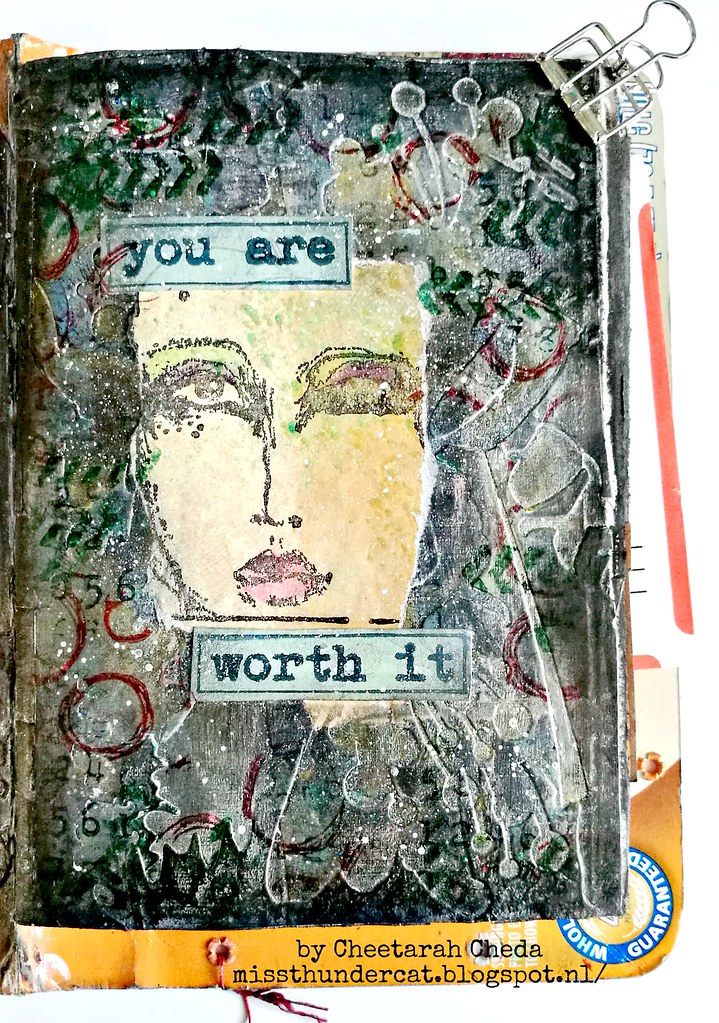
CSTIMI You are worth it

Today I wanted to share some inspiration with you for the Craft Stamper Take It Make It May Challenge. I've created this page in my junk mail art journal and the idea of this journal is to use up my trims and excess craft waste and turn it into something new. On this page I glued down a lot of excess die cut waste in a nature and flower theme. Then used some black gesso over it and got to work with DecoArt Media metallic Lustre to highlight and shine some aria's. I also used a white posca pen to accentuate some inner lines. Stamped it up with some lush mixed media stamps from VLVS! and Stamplorations. The face stamp is a boxed lady from Dina Wakley which I colored with promarkers and paired with words from the Boxed Sentiments stamp set from Stamplorations. Lastly some white spatters to bring it all together. 

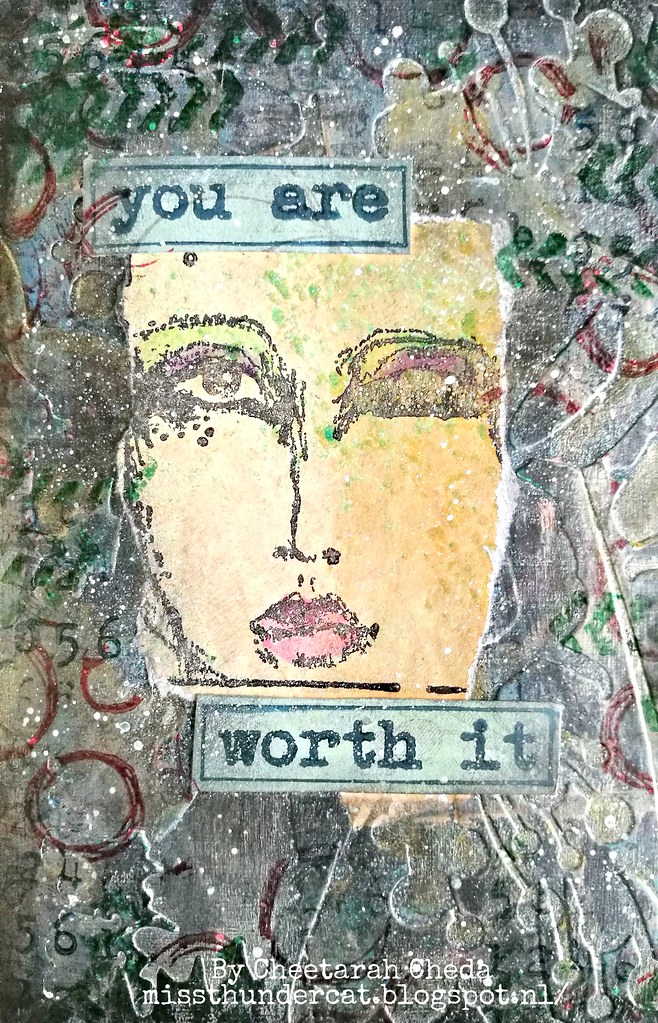
CSTIMI You are worth it

Close up shot of the page. I really enjoy this technique, it's fun and simple to do!

I've made a little video on it how you can achieve the back ground look with the DecoArt Metallic Lustre which you can view here:
Hope you found that little technique video useful. Let me know by hitting that like button :)

Thank you kindly for sending me these Metallic Lustre products to play around with
DecoArt Media crew!

Hope this also inspired you to join the challenge at the Craft Stamper blog where you can be in the running for fabulous prizes from this month's sponsor and have a chance to get your work featured in the magazine! But you must be it it to win it, so link up your projects here :)

Thanks for stopping by and have a great weekend!

2018/02/06

The magic of writing (+ Process Video)

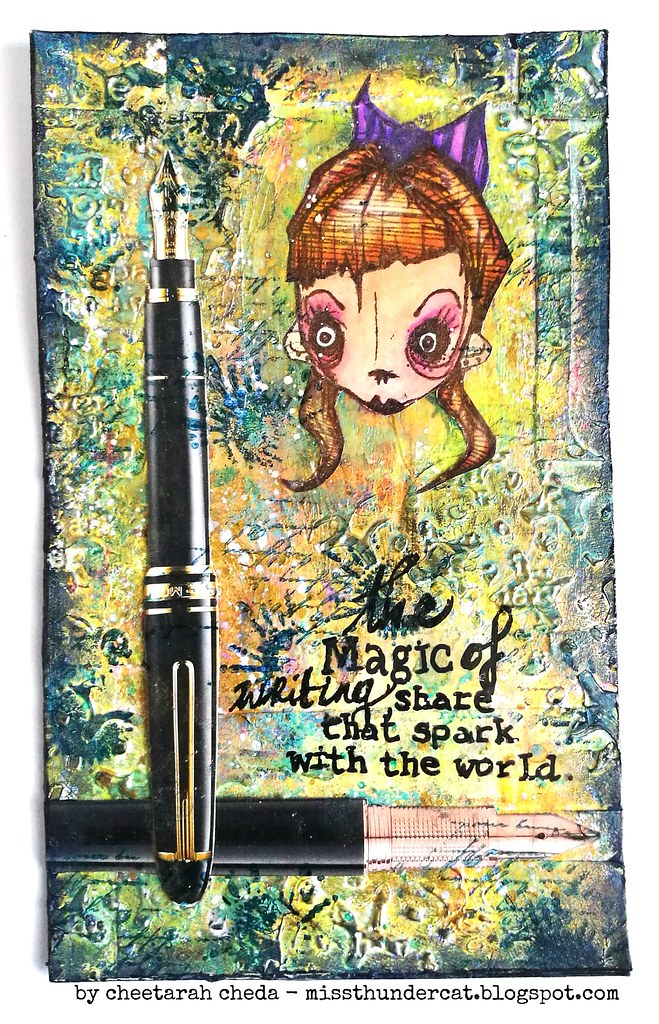
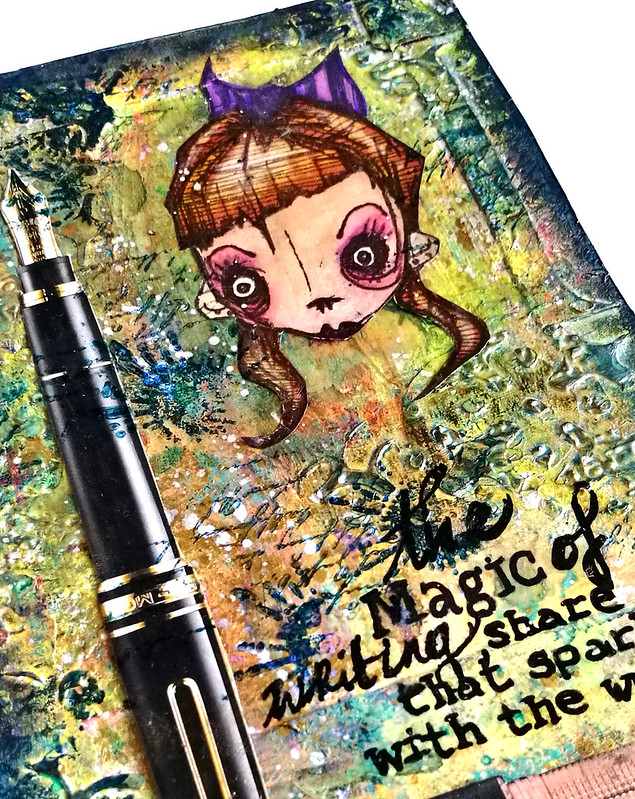
Art Journal: the magic of writing

Hey everyone, I've got a fun mixed media art journal tip in page to share with you. This Mixed Media piece shows my love for art journaling and writing. It's INCOWRIMO (international Correspondence Month) and it absolutely fits with that theme.  
Art Journal: the magic of writing

I love how colorful and textured this piece turned out!

I've also filmed the process so you can see exactly how I made the texture and added color in the background here:


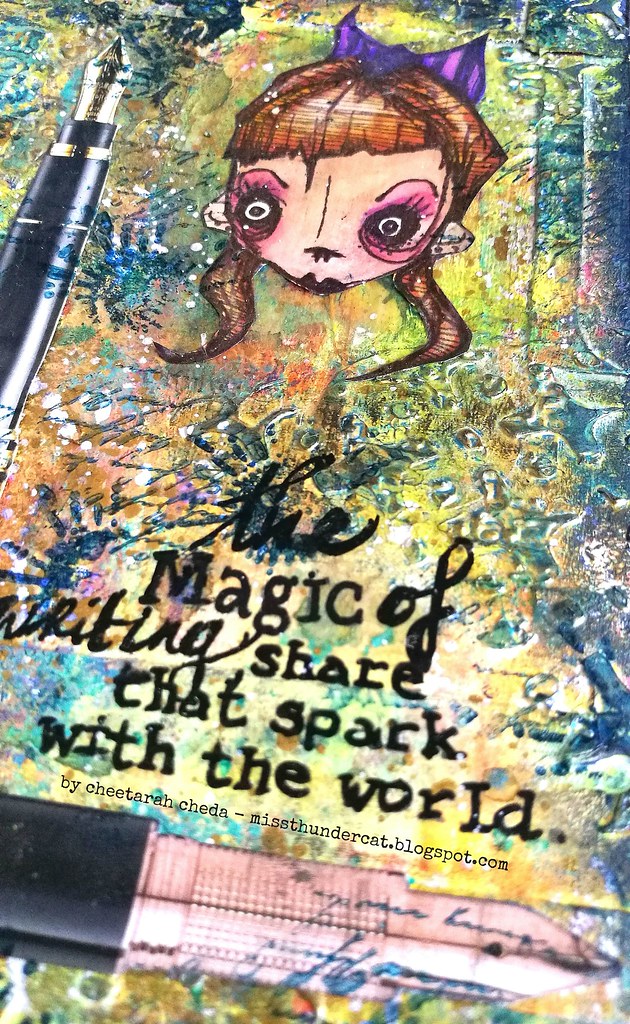
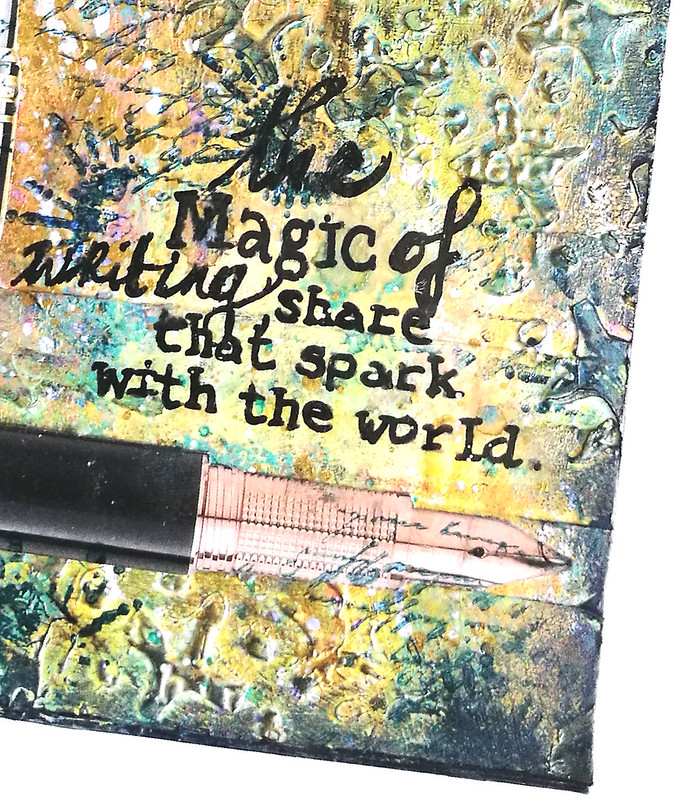
A few close up shots:
Art Journal: the magic of writing


Art Journal: the magic of writing


Materials Used:
Stamps from Stampotique Originals Miss Snottie and Texture Cube; PaperArtsy Script Stamp, Share that spark quote stamp from Magenta, Distress paints, DecoArt Media interference and gold paint, Liquitex flexible Modeling paste, Artplorations Stencil,  Derwent graphix black writer, Spray ink, distress crayons, Liquitex INK, PenWorld cut outs, Modge Podge shimmer gold sealer glue.

Hope you enjoyed the process video. Please let me know what you think and if you would like to stay updated on my YT tutorials, please subscribe to my channel HERE.

Entering this piece in the following challenges:
Creative Artiste Mixed Media #35 
More Mixed Media challenge February
Stamps and Stencils: Off to collage

Thanks so much for stopping by and have a wonderful day!

2018/01/29

Art Journal Page: In Neutral (+ Process Video)

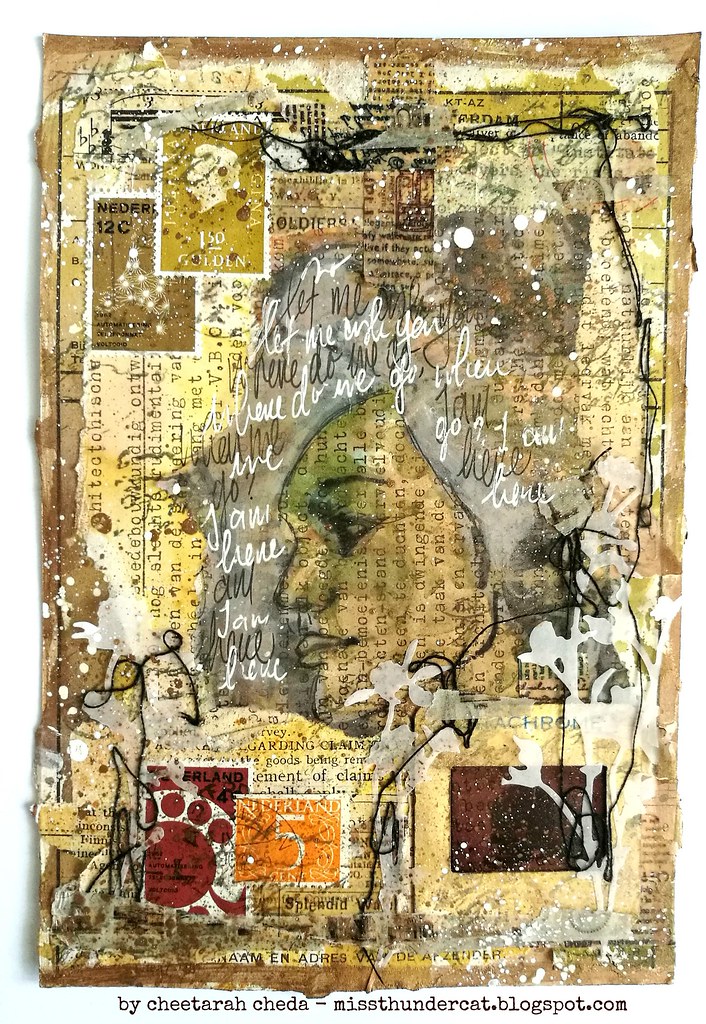
In Neutral

This weekend I finally had the urge to make a collage work again and I also filmed the process. This piece is made with vintage ephemera and neutral colors, as inspired by Our Mixed Media Moods mood board of January 2018, put together by DeeDee Catron and Jenn Engle.

Isn't this mood board just amazing?! I absolutely love the color scheme and I have collected a lot of vintage ephemera over the years that fits wonderfully in this theme. I also love all the layering and adding transparencies into the piece. I was mostly inspired by the bottom two right images with layering and color tone, so that is what I used as a inspiration start up point for my project.

In Neutral
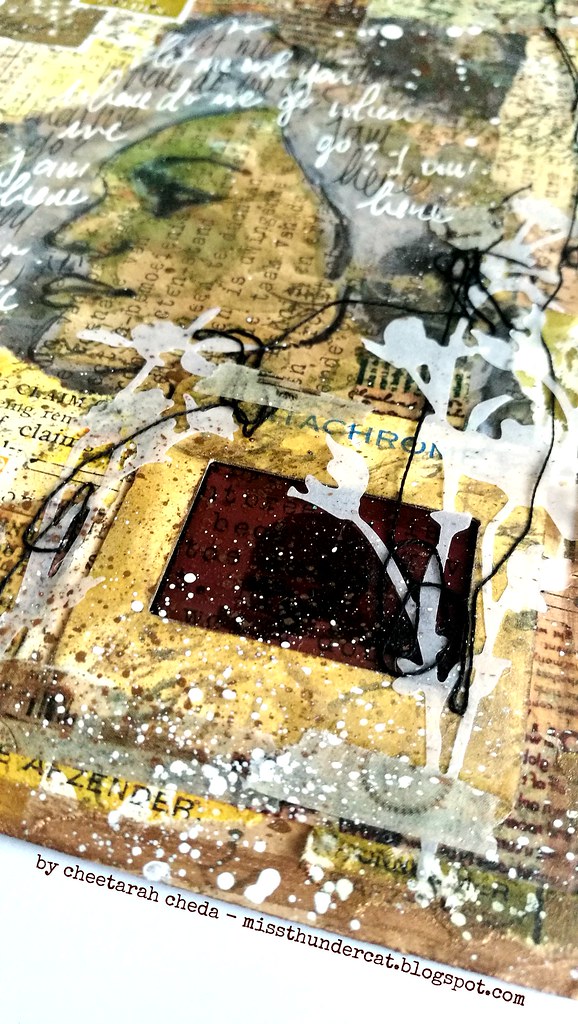
At a thrift market I also found an envelope full with slides and negatives and I used one of them in this project. I've sandwiched a piece of type written paper in it so that you can see that through the negative. I also used Tim Holtz silhouette flower dies cut in tracing paper to add some interest.

In Neutral

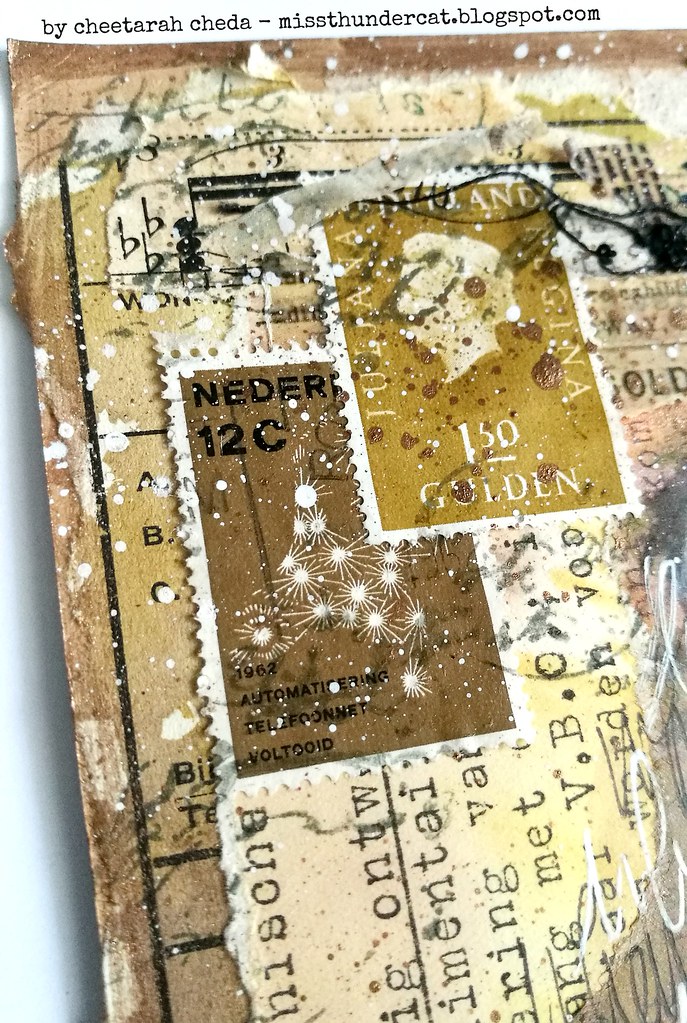
Of course I also had to add some vintage postage stamps to the piece! You can see the whole process below in the video.

By the way the lyrics I scribbled down are from a song from the new album of PINK, which I am continuously listening to these days. 

Items used: 
distress stains in colors: vintage photo, tea dye, wild honey, antique linen, 
Metallic copper and brass. 
Script stamp from Joy Crafts
face stamp from Carabelle Studio's
Staz-on Stone Grey ink
Memento mocha 
Silhouette flowers die cut 
matte medium 
uhu glue stick 
black embroidery floss 
crafter's companion tape roller 
LOTS of vintage emphemera

I'm also entering this piece in the Simon Says Stamp Wednesday Challenge Layer it up

Thanks so much for stopping by and watching the video. As always your support is hugely appreciated, so if you liked the video, please let me know by pressing like on YT and perhaps subscribe to my channel if you want to stay updated on my process video's. 

Thanks again and have a wonderful day!

2017/12/27

WIP: You Tube channel overhaul!


Hey all, hope you have had a wonderful holiday celebration with your loved ones filled with laughter and joy! I certainly had a wonderful relaxing time and took a little time off to enjoy the festivities. Now I'm doing a bunch of work behind the scenes and did a little overhaul on my YT channel. I have also uploaded a couple of video's which I have made for VLVS! earlier this year, so if you have missed them, feel free to check them out. My goal for next year is to make and upload more process video's of my work. The tricky part is to find the time to do the editing because I rather be in my art room creating than behind the computer in my spare time, you know? The goal is to have bi weekly video's on my channel and thankfully I have a few lined up. Hopefully I can get a better sort of handle on editing time that as I go on with it. If you have any tips on that it would be much appreciated!  Anyhow, I've also tried to make the thumbnails more unified and personally like the look of it. Would love feedback on it and if you are interested in seeing more of my process video's in the future, please make sure to subscribe to my channel. 
As always thanks so much for stopping by and your continued support!


2017/08/14

Mail Art Monday: Summer Hiatus (+process video)

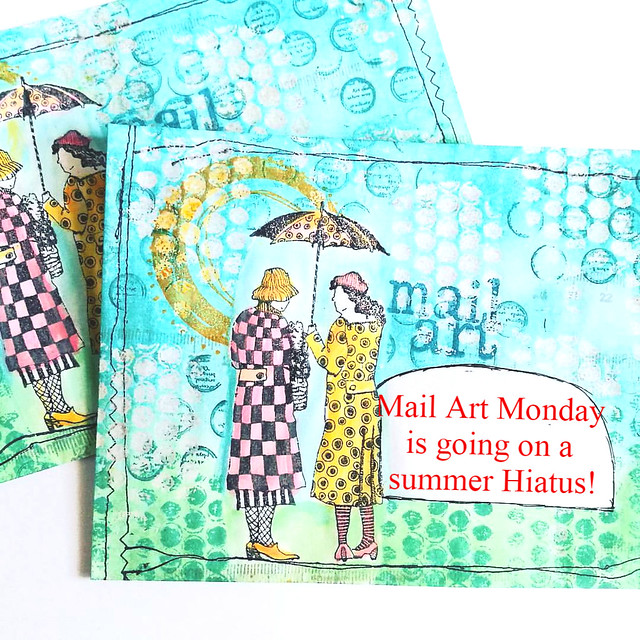
MAM summer Hiatus

Hello my dear friends! With the summer holidays here I am slowing down my productivity and having a little hiatus from the weekly Mail Art Monday posts for august/september. This time is to relax, replenish and regroup to come back with more creativity in the fall. I plan on making some more Mail Art tutorials on my You Tube Channel like I did for the one above for Viva Las VegaStamps! A few months ago :)


Hope you enjoyed watching the process video and if you do I would appreciate a 'like' in the video and if you would like to follow my channel then you'd be notified when I have more process video's up (there are a bunch waiting in the editing line....) 

Thanks so much for stopping by, your support means a lot! Have a wonderful summer and do drop by for my DT and art journal posts in the coming time :) 


2017/08/04

Always remember you are beautiful - VLVS! (+ process video!)


It's my turn on the VLVS! inspiration blog and I'm sharing how I made the above piece with you.

The really fun Whimsical Jester stamp and You are Beautiful phrase are my focal points. I have used some pigment powders, modeling paste, gelli printed deli papers and home made stencil for this piece. A full list of the stamps and materials used are listed below. I also have recorded the process video for this which you can see here on our Time2Stamp channel:

Stamps used: 

Others:
Staz-On jet black, midnight blue, vibrant violet, black cherry, royal purple 
Color Bursts mustard, merlot, indigo 
Lindy'magical shaker oompah loompah pink 
Liquitex modeling paste and INKS! in white and gold
Art medium glue 
Tissue papers 
Random collage papers and gelli printed deli papers 
Tim Holtz Sizzix mixed media die cut for my stencil 
Black pearl rub on
Black soot distress crayon.

Also don't forget our August Challenge is up and running :) I will be back mid month for some inspiration for it :) 

Hope you enjoyed this :) Thanks for stopping by and have an awesome weekend!

2017/07/18

Wish You were Here - VLVS! July challenge Inspiration

Hi everyone! I have a post over at Viva Las VegaStamps! blog as a bit of inspiration for our July challenge. I have made the above ICAD (index card a day is a challenge that runs every summer in June and July) and while I am not participating this year, our challenge inspiration prompt is summer and the ICAD is always a summer activity so I thought it would be fitting to make one :) 


I have also filmed the process, so be sure to check out that video as well to see how I created this piece. 
Thanks so much for stopping by and hope you have an awesome day!


2017/07/10

Mail Art Monday: Sewn with love and happiness

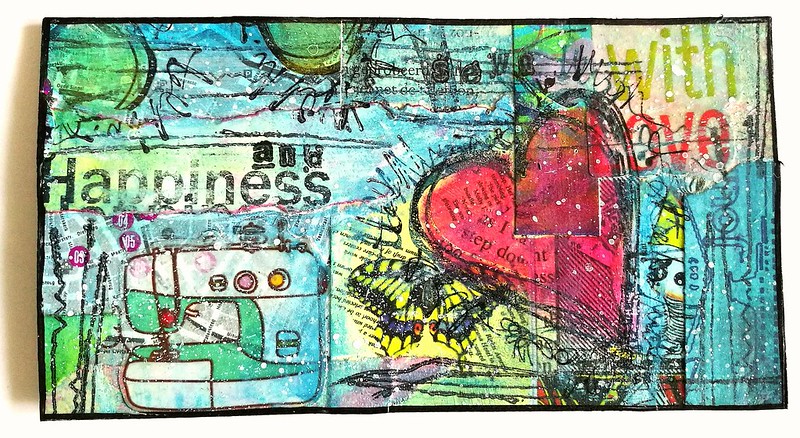
Happiness

On today's Mail Art Monday I am sharing another piece from the Masterboard cut out series. I think I have only 4-5 pieces left to work on from that large cut on. This part of the collage had the sewing machine stickers on it and I have chosen to go with that theme. I used some great stitching lines from VLVS!; Sawtooth stitching lines and Stitching lines The squiggle heart suited this imagery well so I used that as well on random places and in the middle. I gave the center of the heart a pop of red color. I've used water soluble crayons over this piece and a fixative spray to water proof it a bit. 

I would like to enter this card in the following challenge;

Thanks so much for stopping by and have a wonderful day :)


2017/06/05

MailART Monday: May Showers - VLVS! (+published in MixedUP Mag!)

Hey everyone! A little something special for this weeks Mail Art Monday! I'm over at Viva las VegaStamps! blog with a tutorial on these mail art envies I made.


And it's not just a tutorial, it's a video tutorial where you can see exactly how I created these envies :) So hop on over my VLVS! blogpost to check it out and to read which lush VLVS! rubber stamps I used.

In other good news, I've got a 4 page article in the new "musings" section on my Mail Art published in the June/July issue of MixedUpMag, which I am super excited about! It's a digital magazine and available for you to read on any multimedia format via pocketmags. I've showcased some work, talked about how i got started and also listed some tips on how you van get started in Mail Art as well, so be sure to check that out :) Here's a little sneaky for you what is in issue 7:


If you've read my article/seen the video, let me know what you think :) 
Thanks again for stopping by and your support means a lot to me!

Have a wonderful day!


2017/03/13

MailART Monday: From the desk of Cheetarah


Last week on the VLVS! blog I shared a little tutorial for you to personalize your store bought postcards and I am sharing that with you here today. I love buying and sending postcards and have a stack of them to send out, but what really irks me a lot about postcards, sometimes there is no address placement lines or message box on the back.

As you can see with the Monet Art postcard here, the back is totally blank and boring. So what I did to help brighten these up is to decorate sheets of blank sticker paper that are already cut into 4 A5 (postcard) size in a mail art theme.

I used all these wonderful mail art related stamps from Viva LasVegaStamps! and Memento rubber stamp inks. I invite you to go to my blogpost over at VLVS! to see the whole tutorial.

There are more MailART Monday makes and tutorials every monday from my fellow DT members there!

Also our march challenge is up, so don't forget to link your makes inspired by the gorgeous inspiration board and words.

Thanks for stopping by and have a wonderful day!

2017/02/06

MailART Monday: Banksy Mailart Inspiration

I'm very excited to share this week's MailART Monday with you as it's made for VLVS! blog MailART Monday section. 

Please hop on over to the Viva Las VegaStamps! inspiration blog to see the whole image and a step by step tutorial as to how I made it. In my blogpost there is a complete list of which stamps and materials I used as well.

This month we have a wonderful mail art swap going on in the VLVS! Groupies page, please check it out :) The theme is Banksy, so use any of the wonderful Banksy stamps VLVS! has to offer. Go on and join and perhaps you will be one of the recipients of these envies I made  :)

Thanks for stopping by and have a great day!


2016/10/24

Mailart Monday: Trick or Treat?

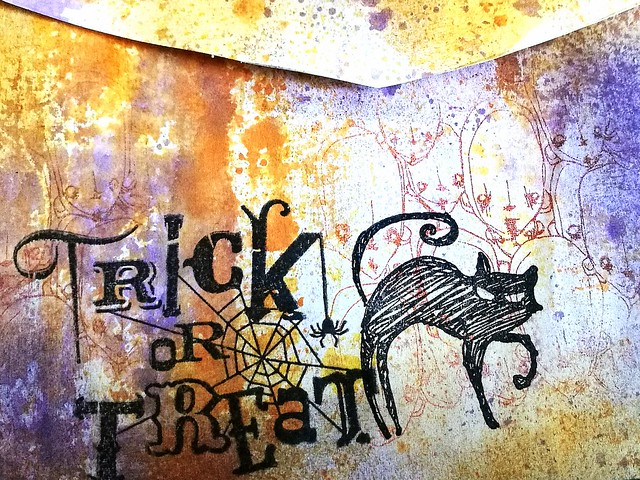
trick or treat

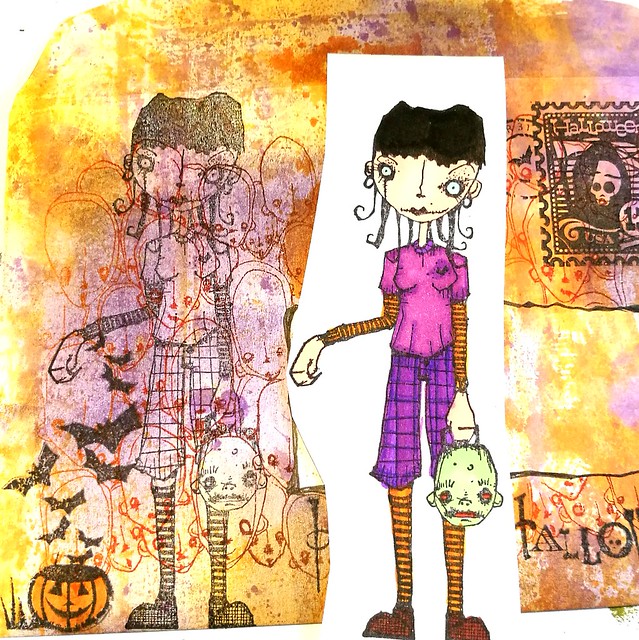
Seeing the time is nearly there, I thought it would be fun to do a little Halloween Mail Art tutorial for this week's Mailart Monday.

trick or treat
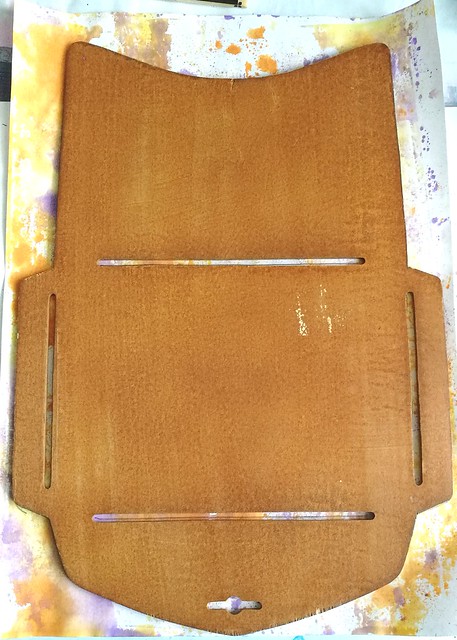
I started off by using a piece of 100gms white A4 paper and used it to blot off some excess orange and violet ink for another project I was working on. Purple and orange are in my eyes the best color combo for this time of year! I have a few envelope templates and I used this wooden one from a Japanese brand which makes the 6x4 inch envelop when folded.

trick or treat
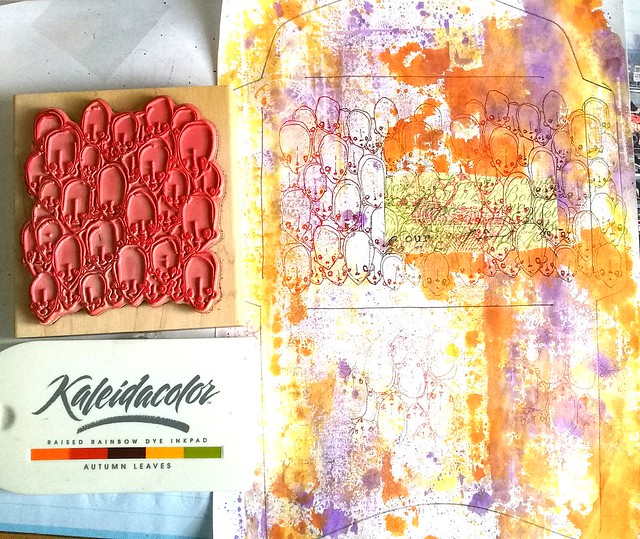
After I traced the template with a pencil, I took the heads stamp from Stampotique Originals and stamped it on the page a few times inked with Kaleidacolor Autumn Leaves. I made sure I stamped the reverse on the lower part seeing that is going to be the back side folded up. Oh and I used a bit of post it tape to mask the part where the address is going to be before I went stamping :)

trick or treat
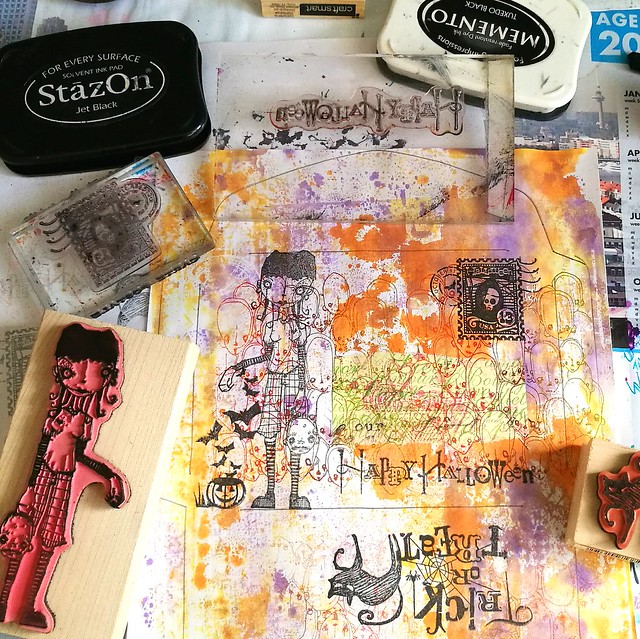
The I took a couple of more stamps which fit the theme, from Inkadinkadoo and the focal point was going to be Linda by Daniel Torrente.  She is naturally spooky and fit well with the Trick or Treat theme.

trick or treat
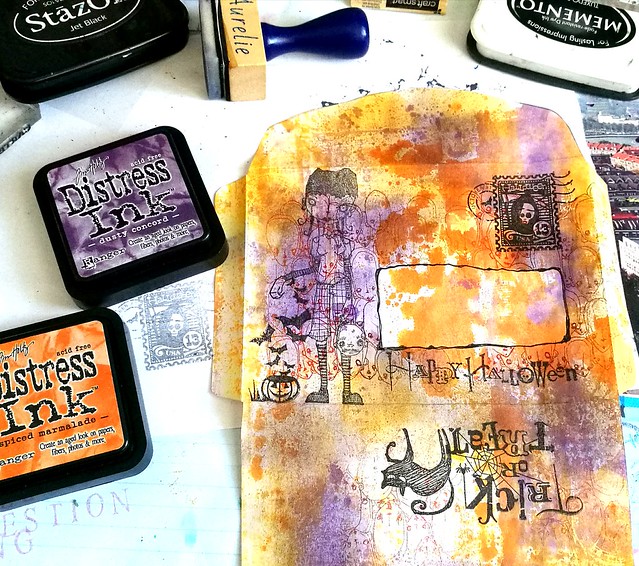
I then cut out the envelope and added more color to it by using the blending tool and dusty concord and spiced marmalade distress inks. Took away the mask and doodled around the space to mark off that address border.

trick or treat
The I stamped Linda again on a piece of sticker paper, colored her in with complementary colors in Letraset Promarkers and adhered her to her spot on the envelope after cutting her out. Then folded the envelope and glued the flaps in place and called it done!.

trick or treat
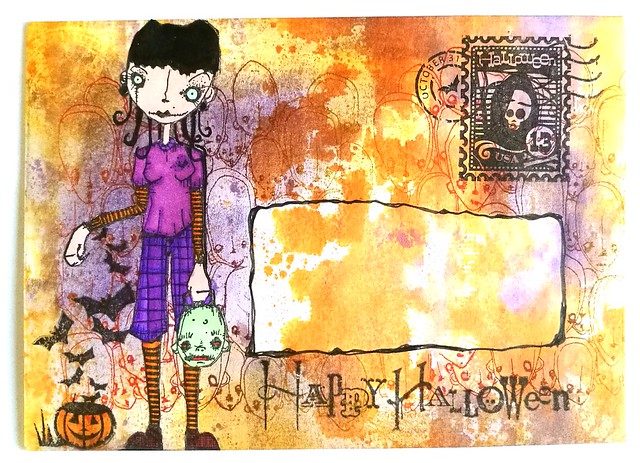
The end result: this is the front. Linda pops out and the address block is definitely light enough for writing but also distinct with that splash of color in it.

trick or treat
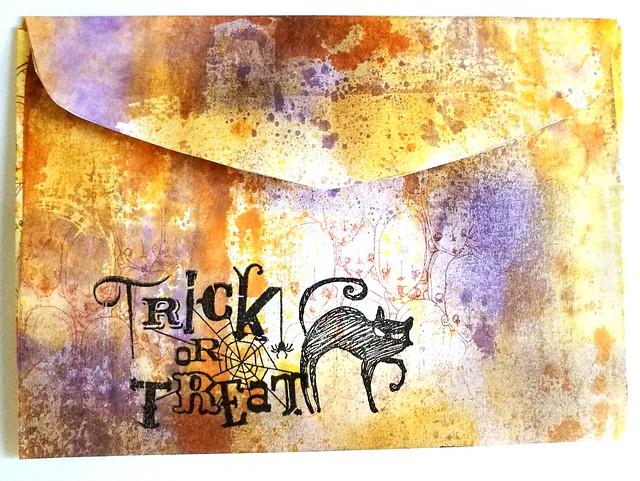
And the back; I kept it simple and mysterious by just adding a few stamps and making sure the heads were visible through the lighter spots. When the address is written on I am planning on applying some varnish to seal it so it travels safely to its destination. 

The creative people at the Stampotique Desigener's Challenge have a lot more examples for fun Halloween mail projects and I am entering this for their fun Halloween fortnight challenge.

Also entering this one for the Mixed Media Monthly Challenge for October with the Halloween theme

Next week monday it is actually Halloween, do you have anything special planned? Either way, hope you have a fantastic week and thanks for stopping by!

Namasté