Showing posts with label deco arts. Show all posts

2018/12/08

Art Journal: Blossom - AALL & Create


It's saturday and that means I have another project to share with you using wonderful AALL & Create products. This time I made this art journal page using a lot of texture and elements to create a deep rich mixed media page. let me tell you how I made it. 


I started off by stamping this gorgeous girl image from set 127 by Katy Paltridge on a piece of book paper that had excess paint on. I gessoed the text part & stamped with Versafine black to get a crisp imprint. 

Here I have stamped the flower multiple times from set 123 by Tracy Evans on a piece of gelli printed paper and cut then out to include in the art journal at a later point. First I had to incorporate the stamped image into the art journal. 

I have glued the book page and several text and music clippings to my art journal page to create more texture and layers. 

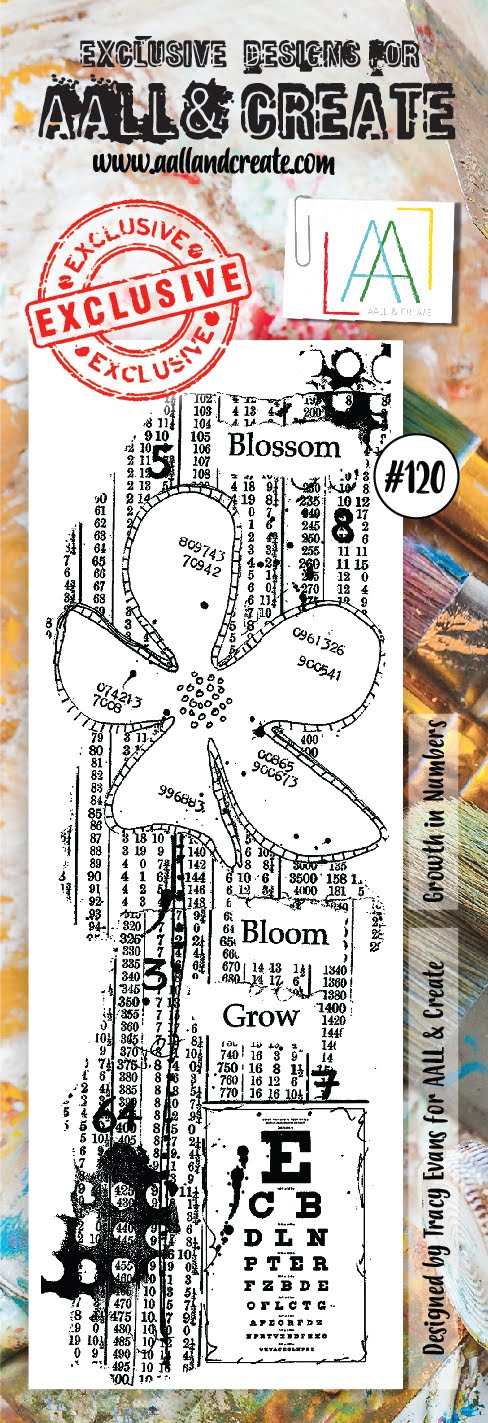
Then I added gesso, white and gold over the collaged elements and stamped bits of set 120 with Staz on stone gray over the page for some cohesion. 

To add more interest to the page I took stencil 41 Mickle Muckle and added white crackle paste through it. Under the layers I also glued on some different fiber fabrics to add to the deverse texture. I had let this dry really well before applying color on it. 

So the next step was applying color and I used a variety of mediums for that: Lindy's Sprays, finnabair metallic paints, perfect pearl metallics for the "Frame" and the girl's face is accentuated with watercolors. 

Because the book page was treated with gesso, it took the watercolor really well. I just applied bits of color to the face for accents and shadows, and made sure you could see the book text shine through it still. I really love how dreamy she looks here. 

And now onto adding the flower elements that covers the open spot on the side. Glued them in the middle onto the page so the stand out a little. The color in the flowers also come back in the background of the page. I also stamped a bit of texture and text in the background to have more interest. And decided the bottom part needed to stand out a bit more too. 

So stamped and cut out the word bloom from set 120 and another flower to "ground" it. 
As a last step I added some white splatters all over the page and created a scribble border with acrylic paint marker. 

I absolutely LOVE how this journal page turned out and glad the idea I had in my head worked out like it did :) This page reminds me a lot of sping and it's my second fave season, or well it's a tie actually with autumn. I'm linking this to my friends's challenge Art Journal Journey with the theme of My fave season.  

The products I used: 
41.jpg 
Stamps-Insert-10.jpg


You can find the stockists at their Boutique.

Thank you so much for stopping by and have a wonderful weekend!


2018/10/26

Art Journal: Rooted Strong - StencilGirl®


This month at StencilGirl® Talk we share what we feel grateful for. I've made an art journal spread about my home town, Amsterdam. I'm feeling grateful for the roots I have there, the city I've spent the better part of my life in and in connection to my remaining family whom still live there. It's quite a personal spread, but it has so much meaning that I decided I wanted to share this with you here as it helped me worked through processing loss.


2018/05/25

Art Journal: Share the Adventure

Art Journal: Share the adventure

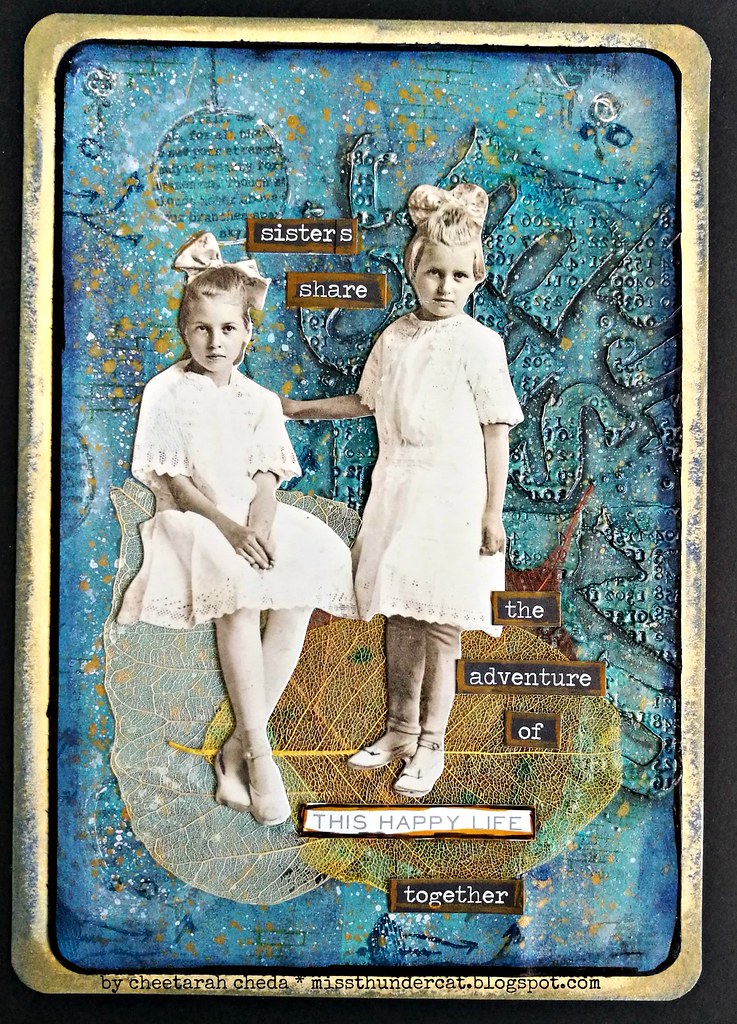
You might have seen the texture play post from earlier this week and today I wanted to show you the art journal page I made with that background. As you can see above, I used the half of the background image I created for my a5 size journal. I created a border with distress crayons and matted onto a lighter card stock then onto the journal. I've rounded the corners with a paper punch because I like the look it gives.

Art Journal: Share the adventure

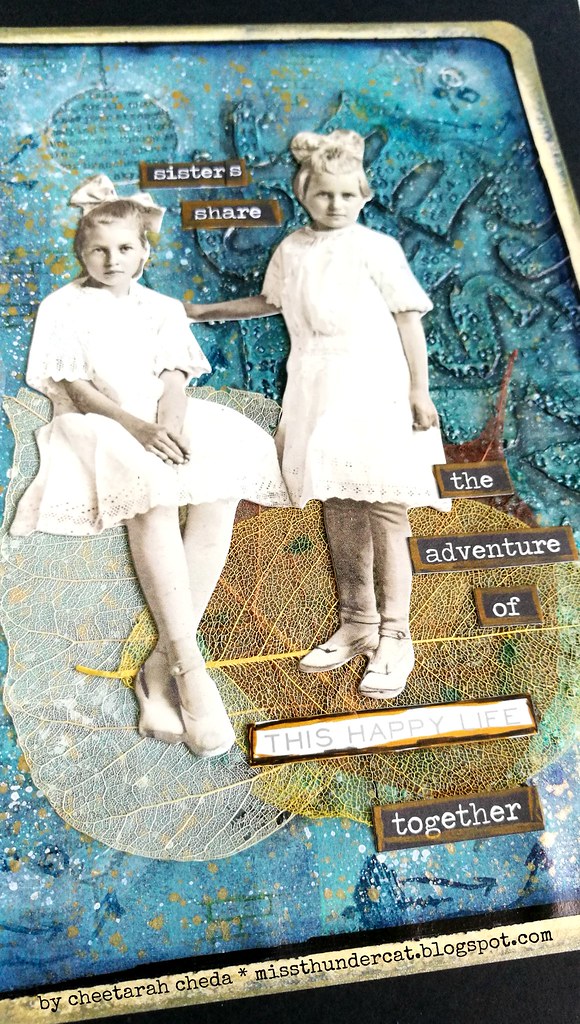
I have found some older leaf embellishments and adhered with double sided tape, it's really fragile stuff so I had to be careful not to break them. but once they are stuck on to the paper it's no problem, The girls are from Tim Holtz paper dolls set and so is the sentiment I formed. 

"Sisters share the adventure of this happy life together" 

I really love how this page came together esp. how the muted colors of the imagery pops against that boldly colored background! 

Sharing this art journal page to Art Journal Journey's May Flora and Fauna theme. 

Thanks so much for stopping by and have an awesome day!


2018/05/11

Craft Stamper TIMI - May Challenge Inspiration

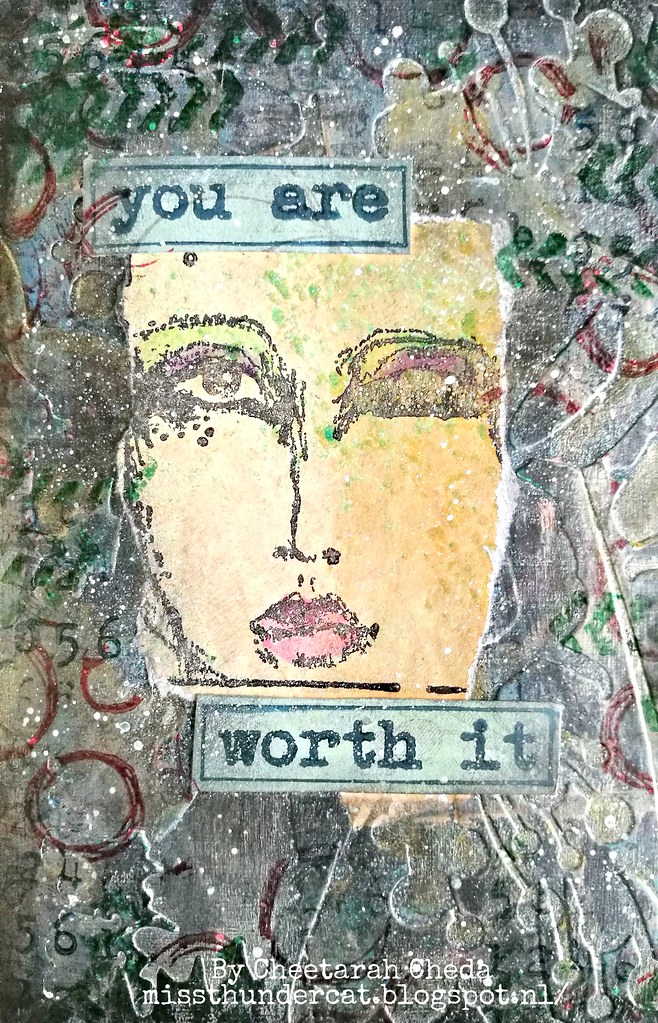
CSTIMI You are worth it

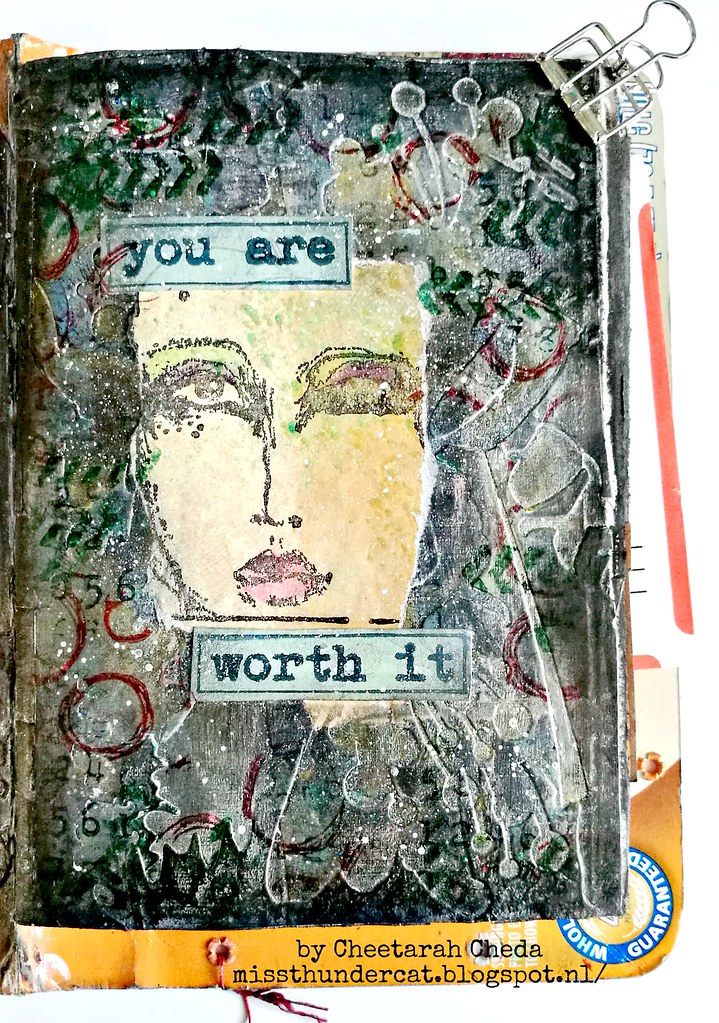
Today I wanted to share some inspiration with you for the Craft Stamper Take It Make It May Challenge. I've created this page in my junk mail art journal and the idea of this journal is to use up my trims and excess craft waste and turn it into something new. On this page I glued down a lot of excess die cut waste in a nature and flower theme. Then used some black gesso over it and got to work with DecoArt Media metallic Lustre to highlight and shine some aria's. I also used a white posca pen to accentuate some inner lines. Stamped it up with some lush mixed media stamps from VLVS! and Stamplorations. The face stamp is a boxed lady from Dina Wakley which I colored with promarkers and paired with words from the Boxed Sentiments stamp set from Stamplorations. Lastly some white spatters to bring it all together. 

CSTIMI You are worth it

Close up shot of the page. I really enjoy this technique, it's fun and simple to do!

I've made a little video on it how you can achieve the back ground look with the DecoArt Metallic Lustre which you can view here:
Hope you found that little technique video useful. Let me know by hitting that like button :)

Thank you kindly for sending me these Metallic Lustre products to play around with
DecoArt Media crew!

Hope this also inspired you to join the challenge at the Craft Stamper blog where you can be in the running for fabulous prizes from this month's sponsor and have a chance to get your work featured in the magazine! But you must be it it to win it, so link up your projects here :)

Thanks for stopping by and have a great weekend!
2018/04/20

Art Journal: Summer Night Sky

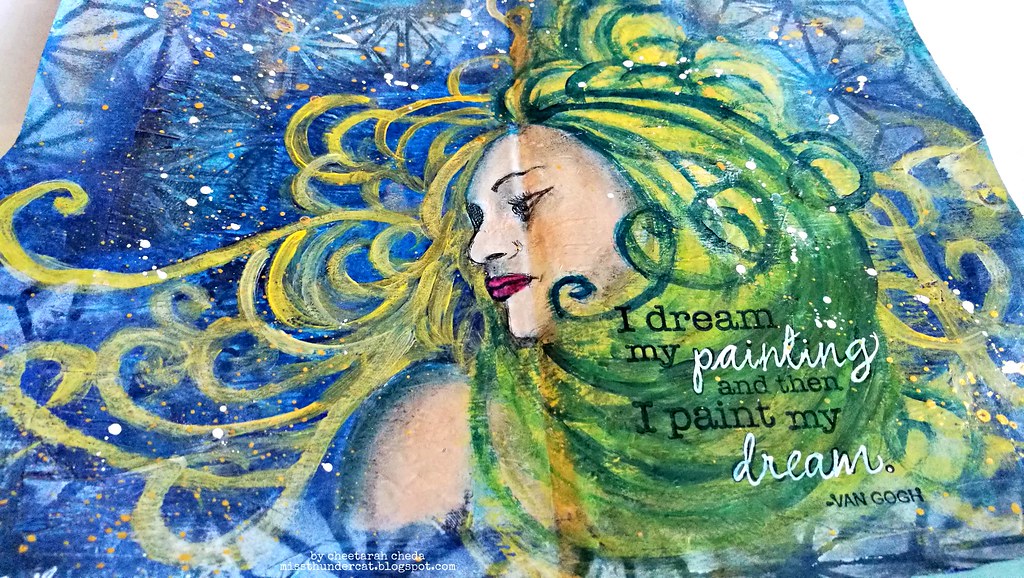
summer night sky

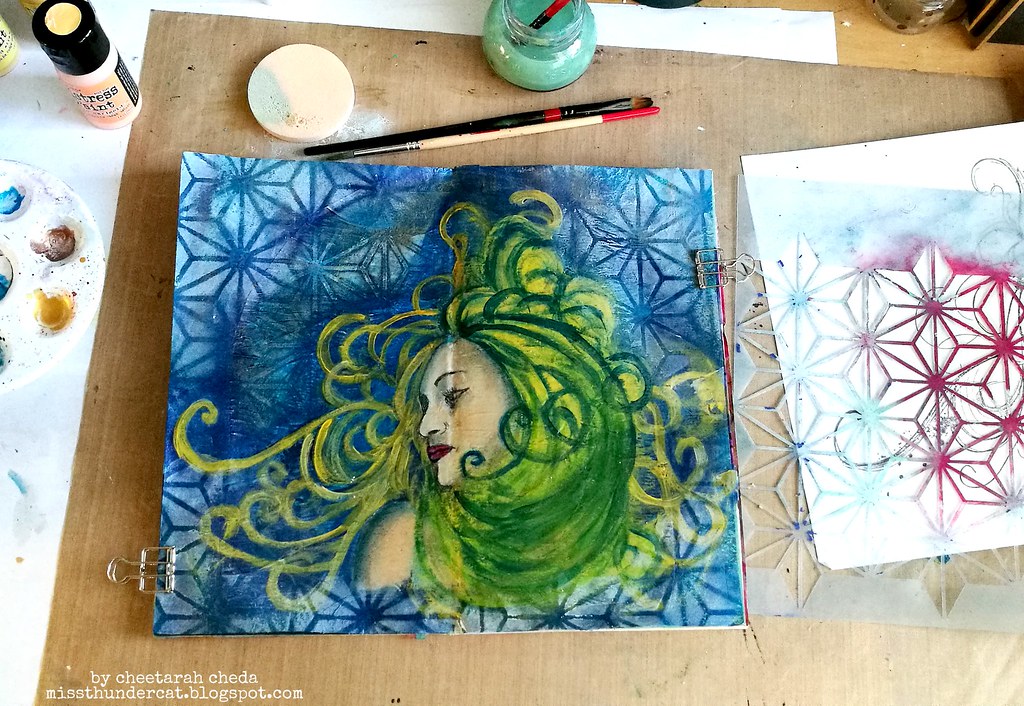
In between everything that was happening last month, I made sure I spent some time in my art studio to help me lift the heavy stuff I was going through. This is an art journal page I created during that time and it definitely was a breath of fresh air and let me release some tension I was carrying.

summer night sky
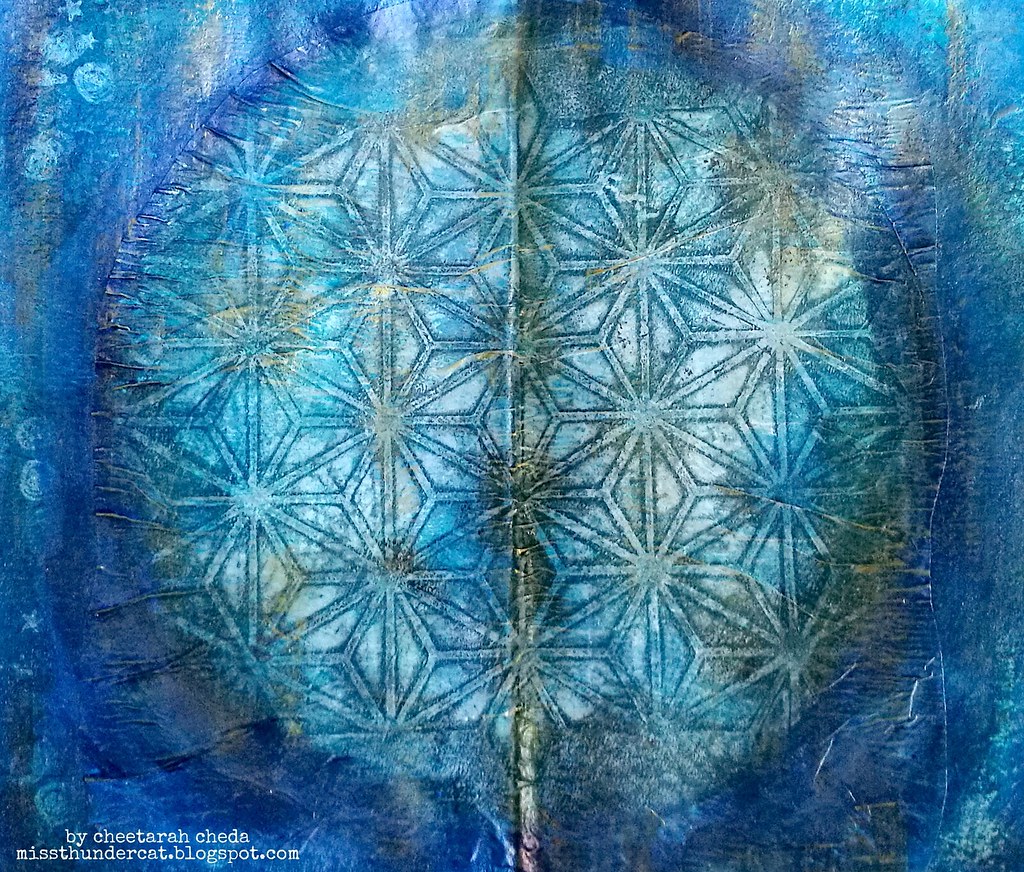
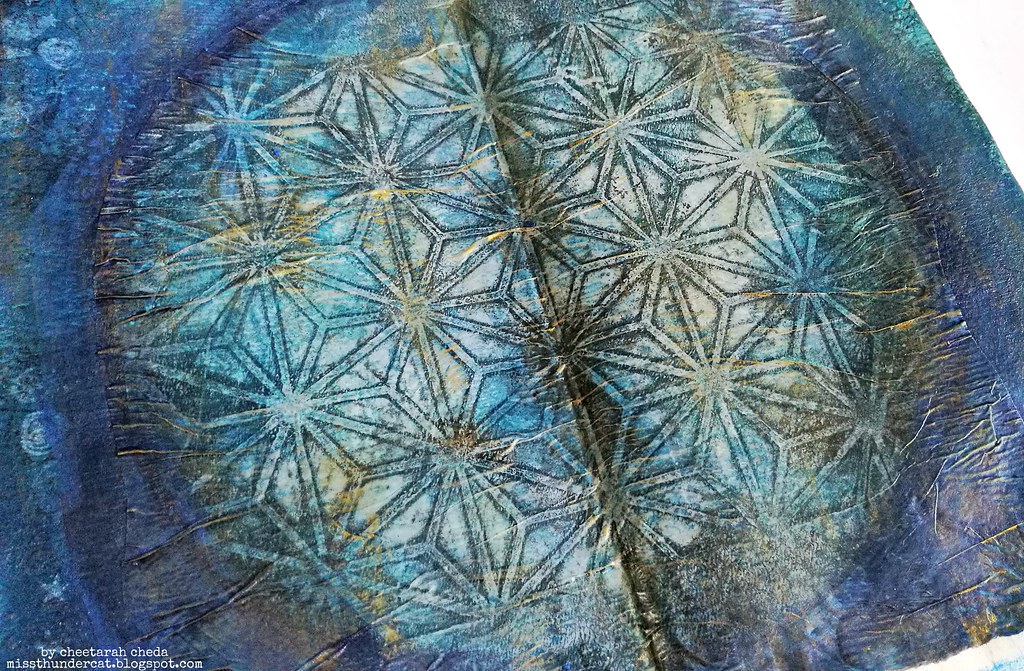
I started off on a double spread in my art journal which already had some paint on and I glued on (with deco arts decoupage glue) a gelli print made on deli paper. It is made with a gorgeous star stencil from 101 stencils. After it was glued down I blended the edges in with finnabair blue metallic and highlighted it with spark paints.

summer night sky
Close up shot of the highlights.

summer night sky
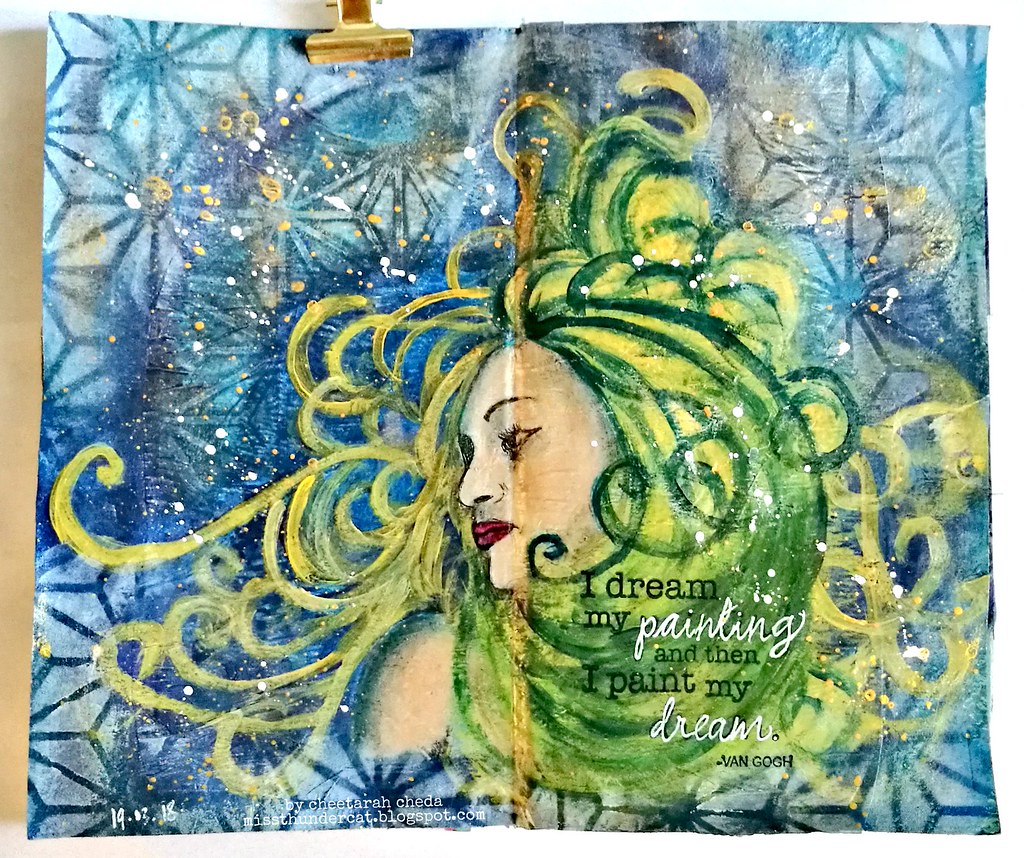
Then I went to work on the main image, which is Hera from Carabelle Studio. I stamped her on tissue paper and adhered with Decoart Decoupage napkin glue. The glue also works as a sealant so I could work over the image with my paints. It was a labor of love using acrylics (I used distress paints) but with some help of technique tricks and tutorials on You Tube By Karen Cambell, I managed to get the color and sharing in the face and hair done. The bright yellow swirls in the hair is inspired by Van Gogh's Starry night. And I added more stars on the pages with the same stencil and a pale light blue paint for more contrast.

summer night sky
To finish off the page I added some white and gold paint splatters and the quote of Van Gogh :
"I dream my painting and then I paint my dream"

I absolutely loved making this page and was very cathartic to do.  And these past few days we have been having gorgeous summer like nights... may the be plentiful and hope you will enjoy them as well.

I would like to enter this art journal page in the following challenges: 

Had fun doodling the swirly hair!

Image may contain: text

I absolutely love the sky, day or night, it is one of nature's exquisite beauty


Thanks so much for stopping by and have a wonderful day.

2018/02/13

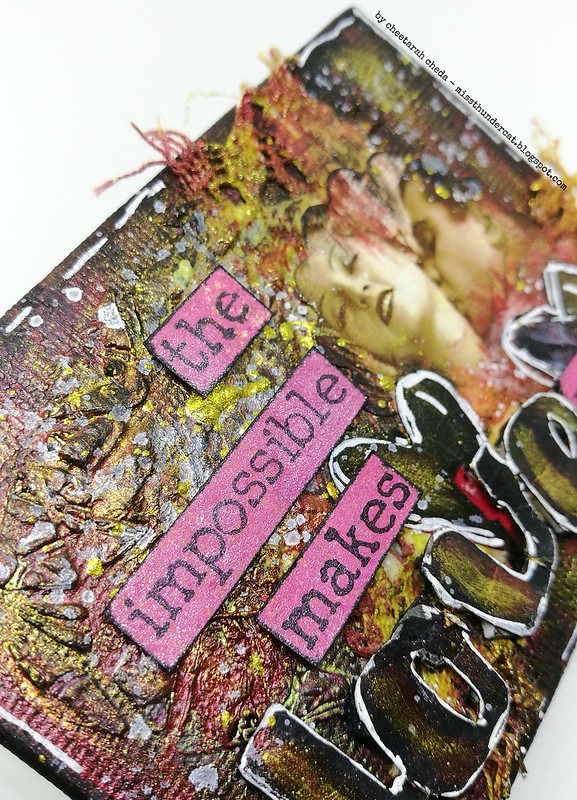
The impossible makes love possible

Impossible love

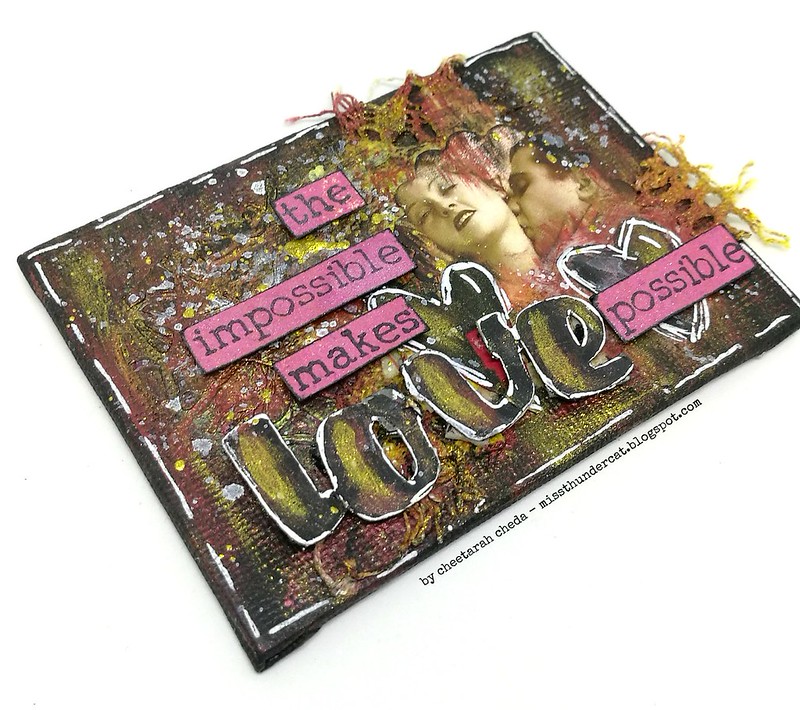
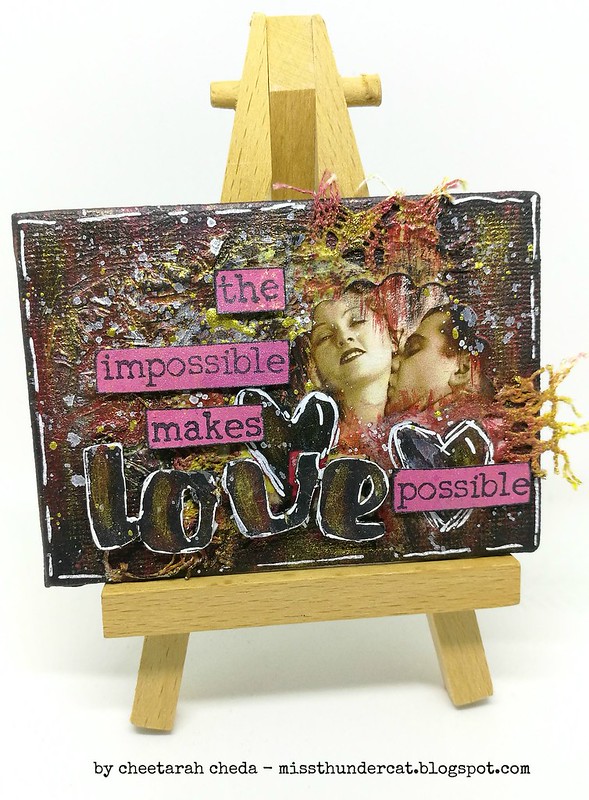
It's almost Valentine's day and I have been inspired to create some works in the theme of love this weekend. A while back I bought a bunch of mini ATC size canvases and finally used one of them for the above mixed media piece. I used a lot of layers of wonderful paints, modeling paste, pieces of vintage lace and vintage images.

Impossible love

The hearts and letters are die cut and the stamped text is from Dina Wakley "Love Rocks"  stamp set. It was challenging to create a mixed media piece on this smaller scale but definitely loved the process.

Impossible love

A close up of the yummy texture and layers paint. I've used a shattered heart stencil and modeling paste to create the background. DecoArt Media Shimmer sprays for the glittery effects.

Entering this piece in the following challenges:


Thanks so much for stopping by and have a wonderful day. 


2017/12/05

Exciting news- Published + Design team update


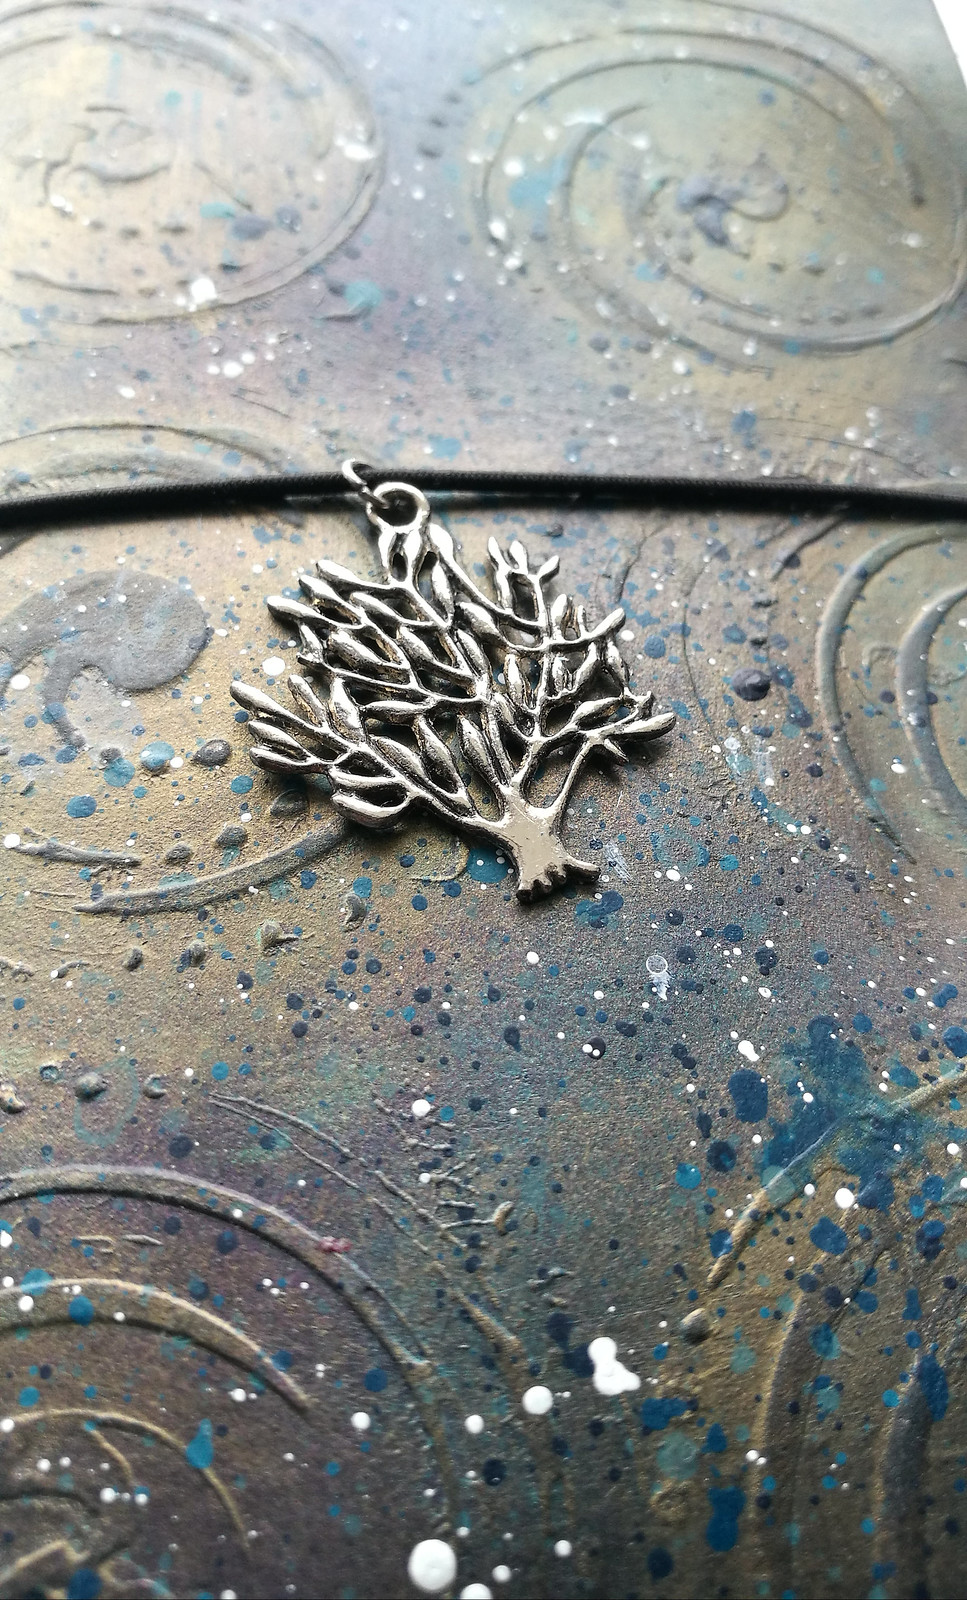
Hi friends, I've got some exciting news to share! First off, did you know that the latest issue of MixedUp Magazine is out already? Well it is and it had a bunch of wonderful tutorials including a video tutorial of yours truly :) I've altered my Traveler's notebook midori cover and show you how you can do that yourself as well! Below a little sneak peek of how it looks now

Upcycle your midori

It's got a wonderful galaxy swirl now to it and I have used all sorts of DecoArts Media products to achieve this look. So head out an buy the latest copy to see this tutorial among 100 pages of other inspirational projects and galleries!

And another fun thing I would like to share on the Design Team front; I'm super happy to announce that I'm part of the Craft Stamper Magazine Take it Make it Blog Design team :) 

So very excited about this because I always love to join their challenges and see the wonderful inspirational posts the DT makes. Now it's such an honor to be a part of it :) 
Next year I'll be sharing some projects for the monthly challenges to hopefully provide you with inspiration to join in :) 

Thanks so much for stopping by and hope you all are having a wonderful day!


2017/11/06

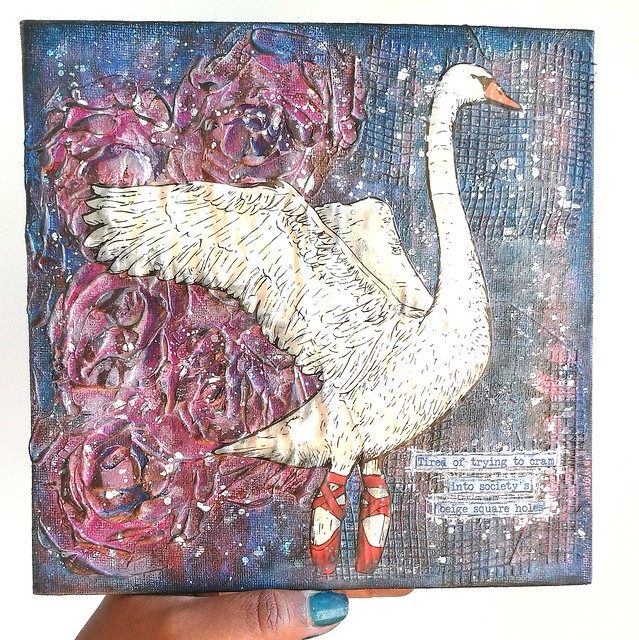
Art Panel: From ugly duckling to ballerina swan

Ballerina swan in roses

In september I had the amazing opportunity to attend a workshop by Nika Rouss (aka Nika in Wonderland)  at ArtChicks Studio. Since the site only updates the newest workshop, I'm sharing the flyer that was posted about it.
Image may contain: 6 people

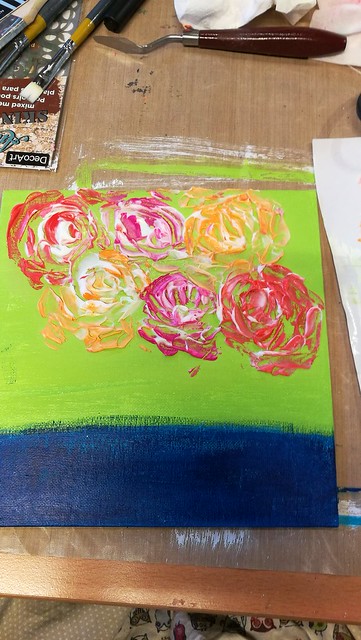
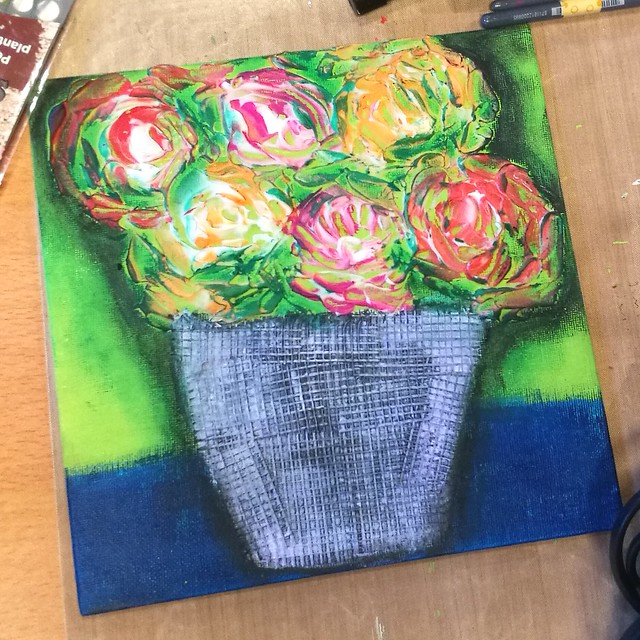
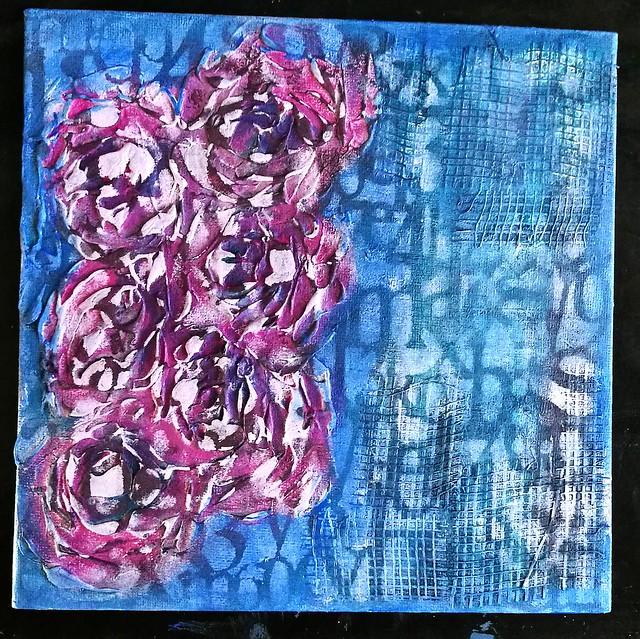
I attended the Saturday midday workshop and I honestly didn't know what to expect, except awesomeness, because Nika is pretty awesome! The workshop was "intuitive painting with roses" (like this video) and this is how I started my canvas
rose experiment
We took some modeling paste mixed with paints and the pallete knife to form the image of a rose bouquet. But there were some well unforeseen circumstances in the day - it was hot and humid and the "peeks" of the roses would not dry.  So it took a chunk of the lesson time to dry which was unfortunate. In the end we had to hurry to finish up the piece and this was what I went home with (next to awesome times with the other workshop participants and Nika, of course!)

rose experiment

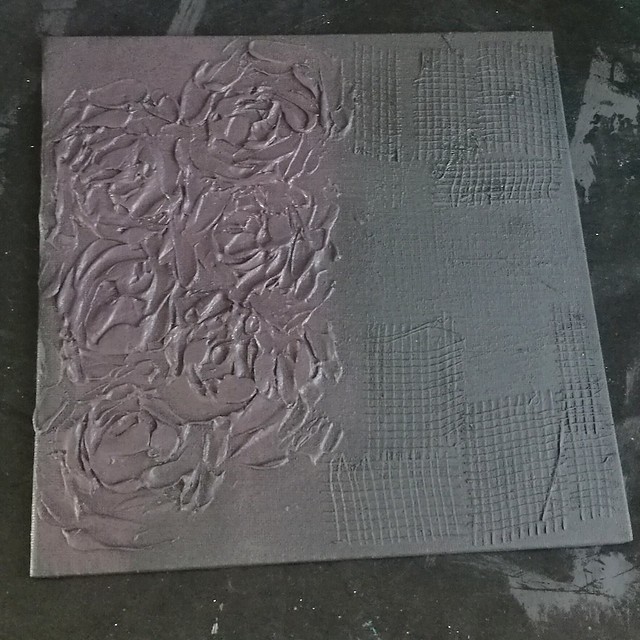
The end result I had made was really not to my liking and I worked on it at home to create something that was more true to my own style and imagination. As Nika said, There are no mistakes! If you don't like it, Gesso over it and try again! So that is what I did at home.

Ballerina swan in roses
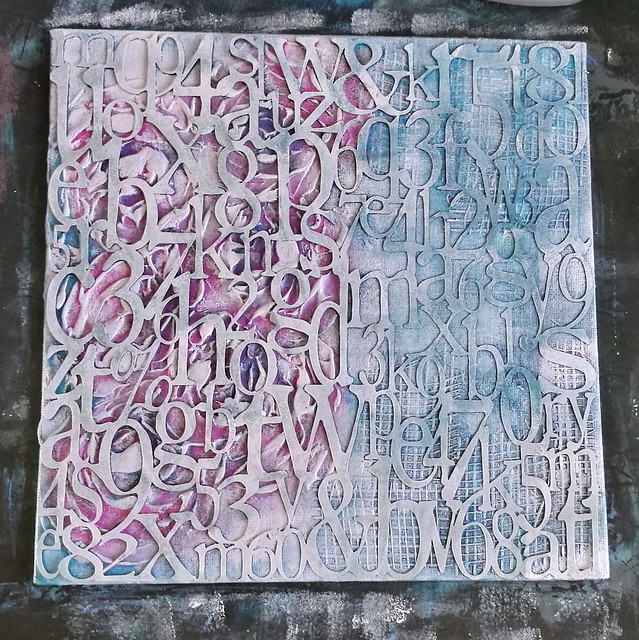
I turned the canvas to the left and took apart the drywall tape and applied some heavy coats of black gesso over it. Then started to add some colors and layers of paints with Deco Art Media and paper Artsy fluid acrylics paints. But alas I forgot to photograph the coloring process (I was in a really good flow!) but I do have images of the next stages when I used the Alpahbet Spagetti stencil from Ady Skunner (decoarts mixed media)

Ballerina swan in roses
I rolled on some lighter paint over the stencil.

Ballerina swan in roses
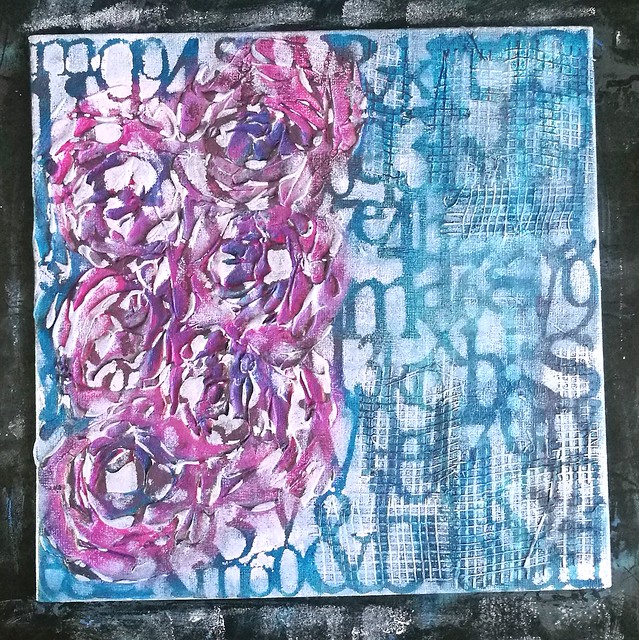
And this was the colorful result. So much better and happier at this point! I wanted to tone it down just a little bit so I glazed some blue paint over and around the edges.

Ballerina swan in roses
The blue glaze made the roses pop out more and this is where I was fully happy with the background. So then I added my focal point.

Ballerina swan in roses
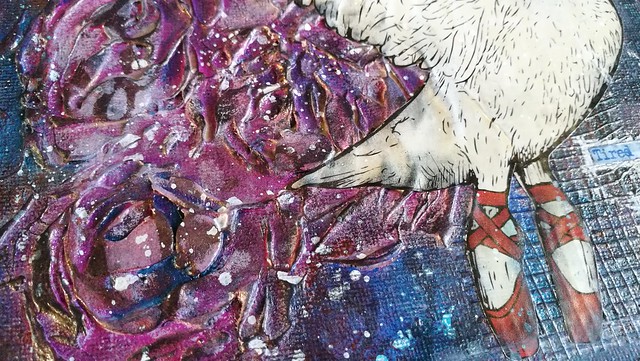
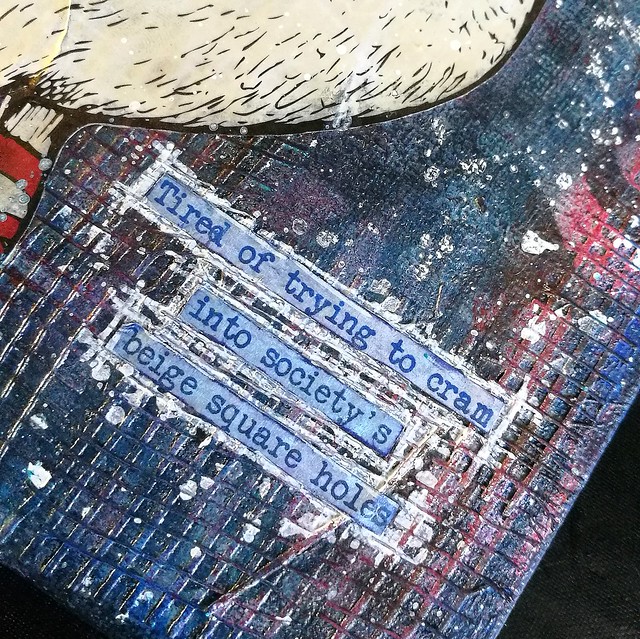
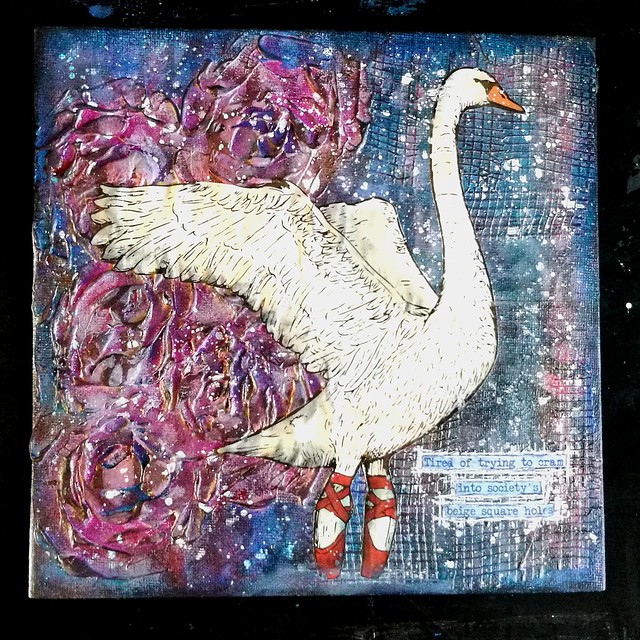
The ballerina swan (a magazine cut out)! I added more depth to the piece with caran dáche neo oil pastels and spatters with a white posca paint pen. The sentiment is a part of a Viva Las VegaStamps! sentiment ...

Ballerina swan in roses
"tired of trying to cram into society's beige square holes" I thought it was powerful to add this piece of text over the square shaped drywall tape. And combined with the swan, it makes the piece complete.

Ballerina swan in roses

Now I am 100% happy with the finished piece! I do want to thank Nika for the inspiration and fun workshop and all her YT tutorials helped with understanding certain techniques. She isn't afraid to share her mistakes and also show how you can correct them, which is the biggest inspiration of all. So that would be my biggest take away from this workshop. 

Hope this got you inspired to work on a piece you gave up on initially and create from that ugly ducking a beautiful swan yourself!

I would like to enter this piece in the following challenge:
Take It, Make It Challenge
Craft Stamper take it make it november 2017

CURRENT CHALLENGE
MMW#30 Anything mixed media goes
Thanks so much for stopping by and have a great day!