Showing posts with label embossing. Show all posts

2017/08/28

#MTepicgiveaway (CLOSED!)

MT epic giveaway

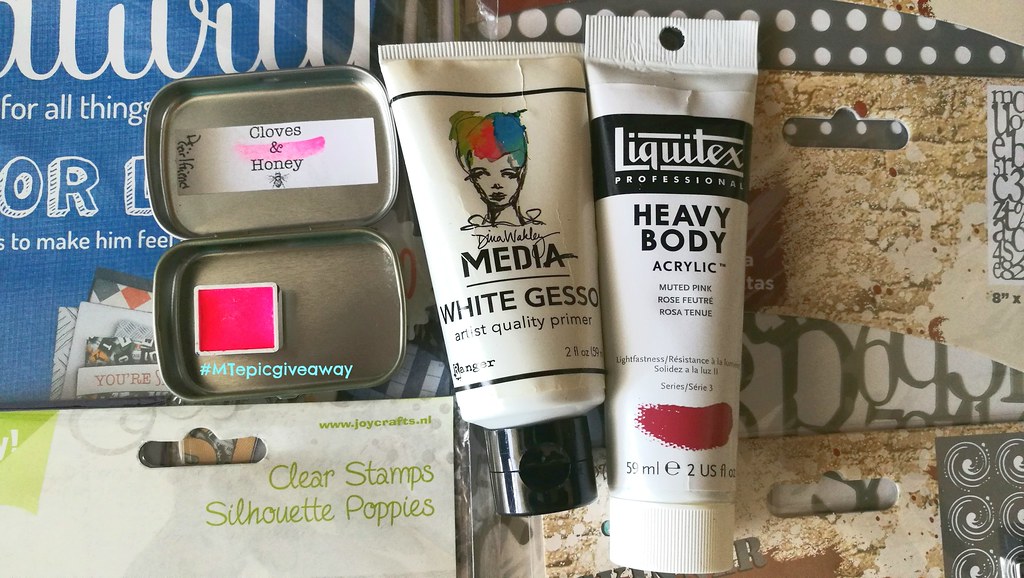
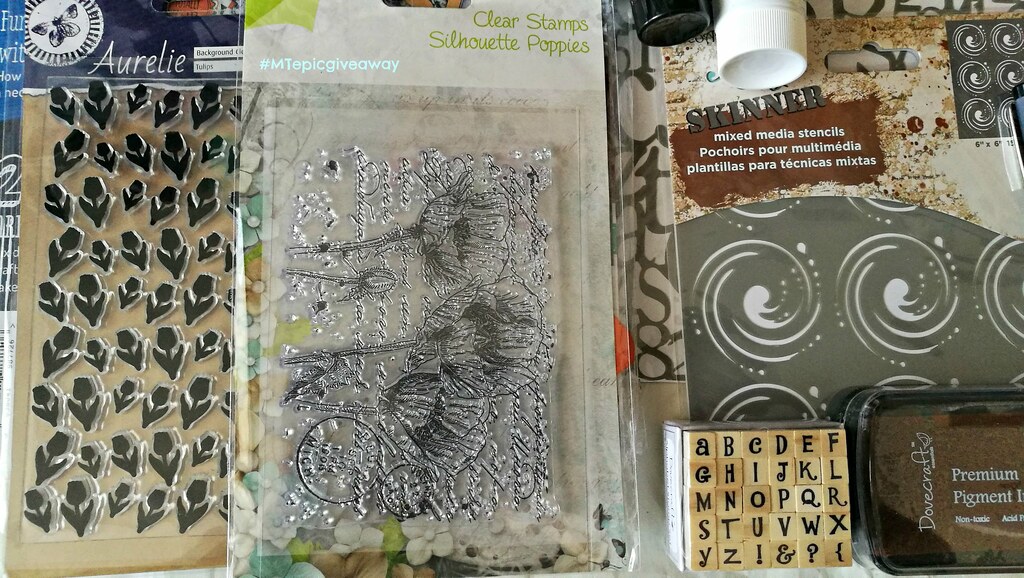
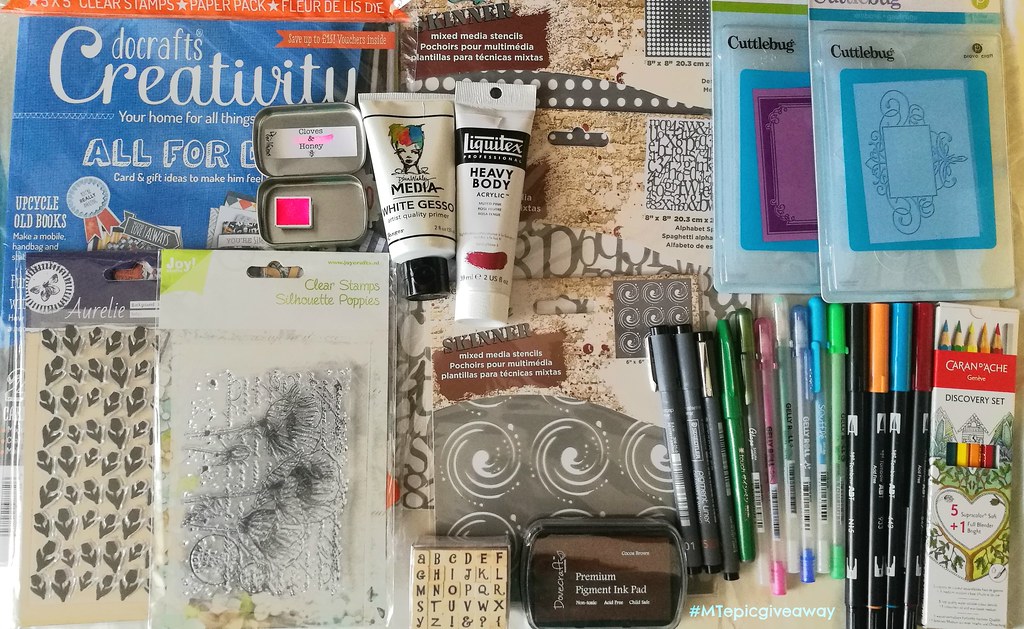
Hey everyone! Like I have announced over on my social hang outs, I have been working on an epic giveaway for you guys as gratitude for your support in my creative journey. I have gathered so many wonderful goodies for you which includes a TON of my favorite products which you can see below.
MT epic giveaway
This giveaway package will include:

Dina Wakley white Gesso
Liquitex Muted collection heavy body paint in Rose
Cloves and Honey LE Dr. Girlfriend shimmering watercolor
Cuttlebug embossing folders
3 Andy Skinner Mixed Media Stencils
Dovecraft rubbertamp pigment ink cacao
Dovecraft alphabet stamp set
Aurelie tulip clear stamp set
Joy crafts poppy clear stamp
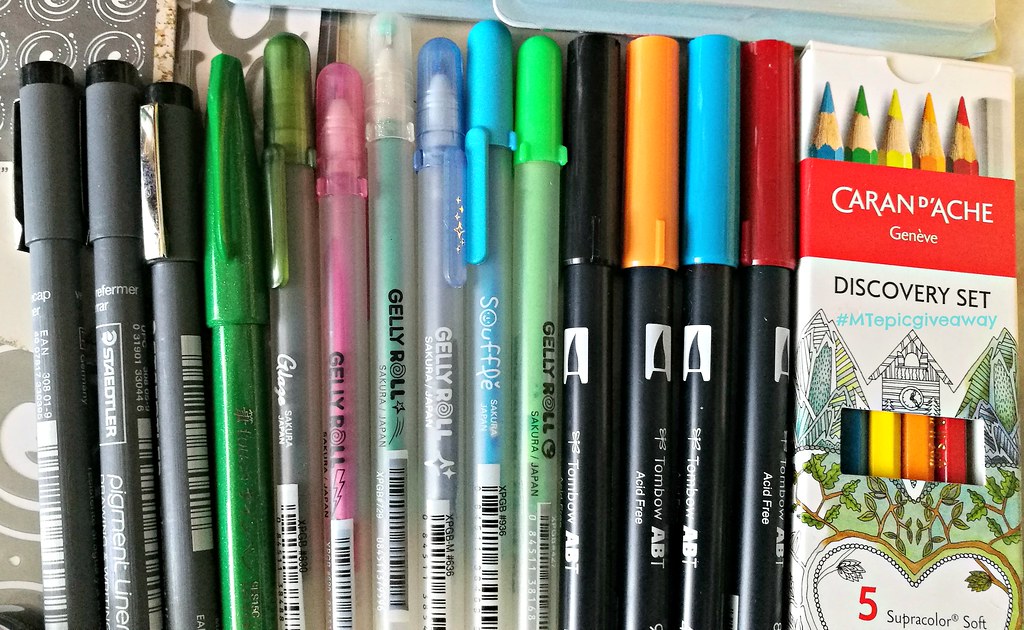
Steadtler micron drawing pens
Sakura Gelly roll sampler pack
Tombow Dual Brush Pens sampler
Caran 'd ache Suracolor Discovery set
and more...
Some close up pictures
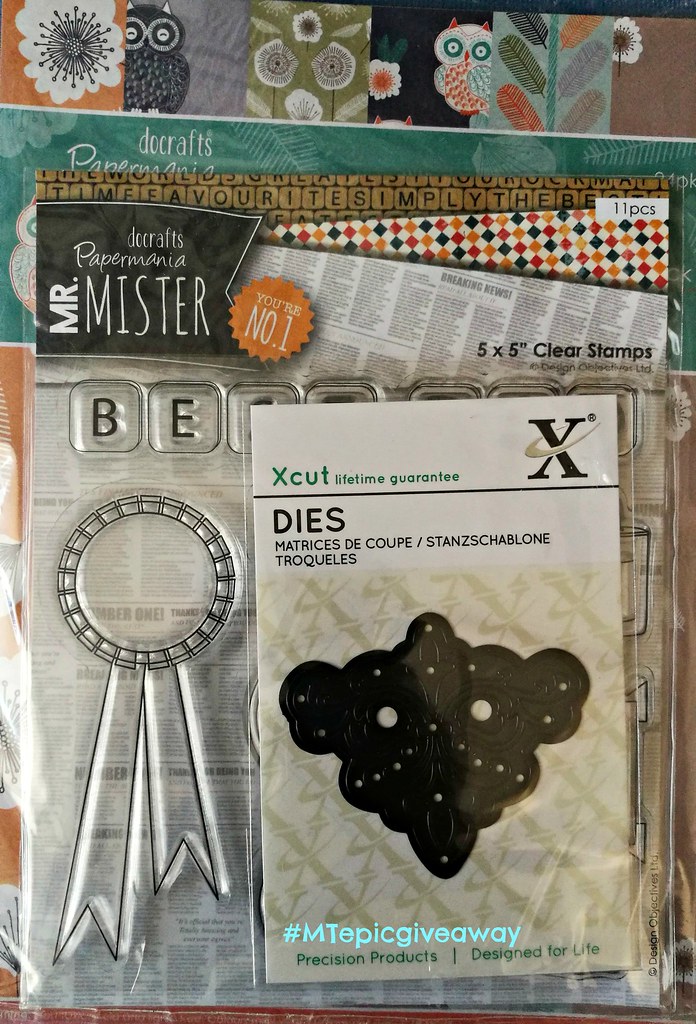
MT epic giveaway

MT epic giveaway

MT epic giveaway

MT epic giveaway

YES! ONE lucky person will receive all of this yummy goodness!

What do you need to do to enter this giveaway?

2) Repost the giveaway picture
3) Make sure to use hashtag #MTepicgiveaway AND have an open account but no giveaway accounts! (yes it is open Internationally!)
Steps 4 and 5 are for additional entries
4) Follow my Facebook page and my blog and comment on both giveaway posts
5) Repost the giveaway picture on Facebook/Twitter and comment here with the link to the repost (tagging me on twitter is also an option)

The giveaway is open until September 8th midnight CET and the winner will be chosen at random via Random.org, will be announced in the weekend after the giveaway is closed 
The winnings will be shipped shortly after. 

Disclaimer: This giveaway is in no way sponsored or administrated by blogger/instagram/facebook or twitter. These are items I have purchased myself and are new or only used for review purposes.

Good luck Thank you all again for your support in my creative journey! 


2017/06/23

Art Journal: Enlighten we are on a spiritual journey

Art journal: spiritual journey

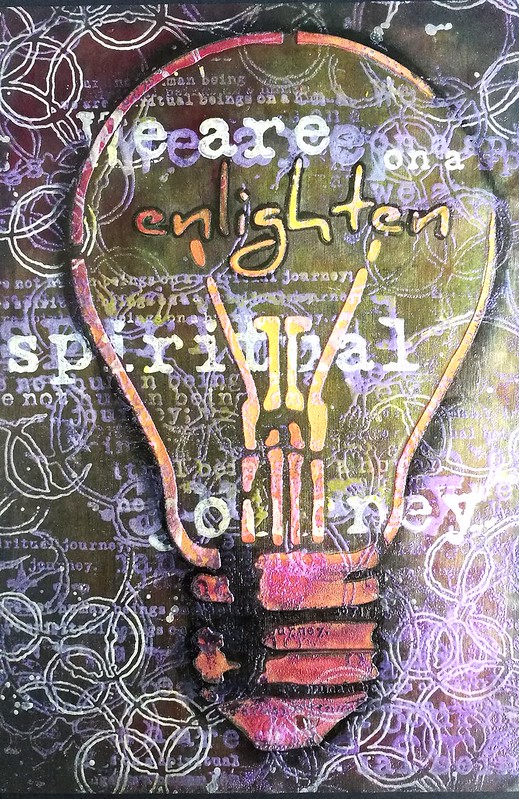
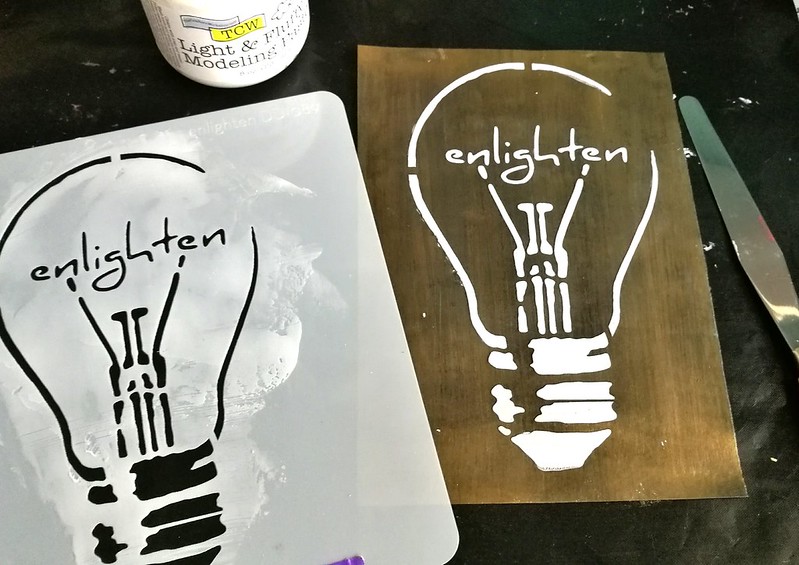
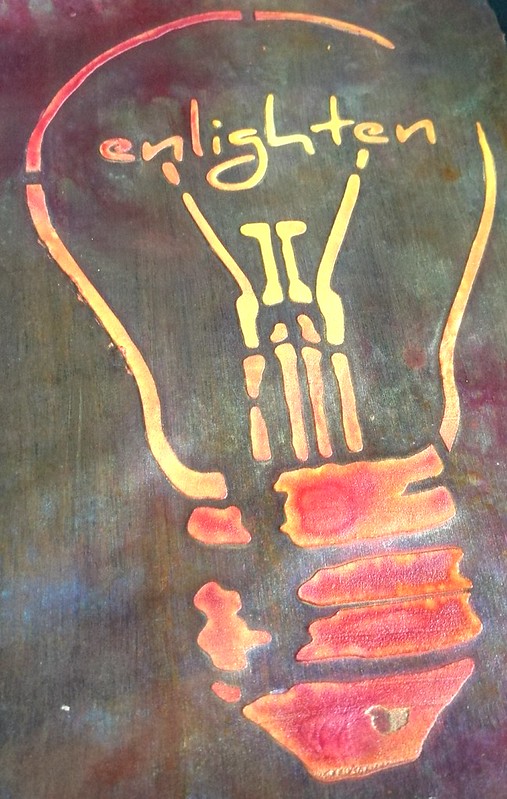
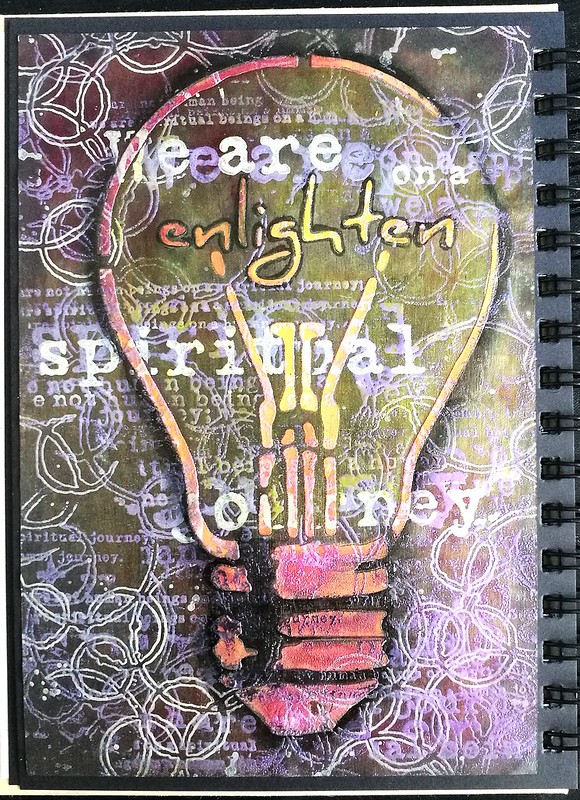
Today I would like to show you an experiment in my art journal using heat embossing over modeling paste. I've used the enlighten stencil from Donna Downey Studio's as my focal point in combination with this amazing Journey Collage stamp from Stampotique Originals.

Enlighten

I started off by prepping an A5 page with black and gold gesso from The Crafter's Workshop. Then I took my pallet knife and scraped some light and fluffy modeling paste (also from TCW)  through the stencil. I let this dry really well.

Enlighten
To add some color I sprayed some Dylusions sprays in yellow and red over it and some perfect pearl glimmer mist too. It gives the gesso's background also a really beautiful shimmery shine.

Art journal: spiritual journey
Sadly I don't have a in between photo of the embossed parts, because I had to work quickly but patiently not to over heat anything. I first stamped Carabelle Studio effervescence stamp and the Journey Collage stamp by Stampotique Originals with versamark and interference violet  WOW embossing powder over it. I heat set everything with my heating tool in parts making sure things didn't bubble up.  Then I took the effervescence stamp and stamped with versamark again on the corners and embossed with Opaque white embossing powder. I did the same thing with the words "we are on a spiritual journey" to emphasize that sentiment. When everything was heat set I spayed more sunshine yellow dylusions spray on the bulb and added neocolor in back for outline and shading. The word enlighten is outlines with a black posca marker. It's a gorgeous shimmery page in real life and I just love this mindful art journal page. 

I would love to enter this art journal page in the following challenges: 


Combining #32 and #36 of this past year's challenges


Thanks so much for stopping by and have a wonderful weekend!


2017/06/05

MailART Monday: May Showers - VLVS! (+published in MixedUP Mag!)

Hey everyone! A little something special for this weeks Mail Art Monday! I'm over at Viva las VegaStamps! blog with a tutorial on these mail art envies I made.


And it's not just a tutorial, it's a video tutorial where you can see exactly how I created these envies :) So hop on over my VLVS! blogpost to check it out and to read which lush VLVS! rubber stamps I used.

In other good news, I've got a 4 page article in the new "musings" section on my Mail Art published in the June/July issue of MixedUpMag, which I am super excited about! It's a digital magazine and available for you to read on any multimedia format via pocketmags. I've showcased some work, talked about how i got started and also listed some tips on how you van get started in Mail Art as well, so be sure to check that out :) Here's a little sneaky for you what is in issue 7:


If you've read my article/seen the video, let me know what you think :) 
Thanks again for stopping by and your support means a lot to me!

Have a wonderful day!


2016/05/27

Craftorij Summer Challenge 2016

It's almost June and that means the Craftorij Summer Challenge is nearly starting! What is the Craftorij summer challenge you ask? Well this year there is also an English FQA and I'll post it here:


"What is the Craftorij Zomer Challenge ( Craftorij Summer Challenge) or #CZC
The Craftorij is an art supply shop in the Netherlands owned bij Lia Sauer.
With a group of ladies who all got to know each other over there we started the Summer Challenge in 2014 for the first time.
For 2 months you will get a daily prompt, it is posted every night around 20.00 European time. The post will be pinned on top of the page with an example ( for your inspiration) made by one of the hosts. At the files section there will also be a list with all prompts available, so if you miss one you can always check the list.
You can make the prompt on an index card (10x15 cm in size so roughly 4x6 inches) and you can use techniques and materials you like most or which you have available. It's a Dutch group but we will also post the prompt in English for you. A
Joining us is completely FREE and there are no obligations. If you want to make all prompts (that’s what we like most of course) that’s great but if you miss a few that’s no problem too. You can always make them later.
The only thing is that it would be nice if you show us your piece of art so we can all inspire each other. If you go to the albums section you will see that for each day, we will create a new album. You can add your images to the album and post a comment immediately. This makes your image pop up in the newsfeed of the group. So no need to post it 2 times.
For reference please always use the #CZC and the number of the prompt you are making."


Last year I also did an attempt for the CZC 2015 challenge and went relaxed about it. I didn't finish the whole ride, at some point other obligations took over. But it's always fun to see what the prompts inspires you to make. Some prompts I had a strong idea on and others not so much and that is ok. The 1st warm up was "your favorite color" and even after all that glorious Posie Pink on my pens and ink post past wednesday, I assure you my fave color is still sea blue/turquoise ;) 
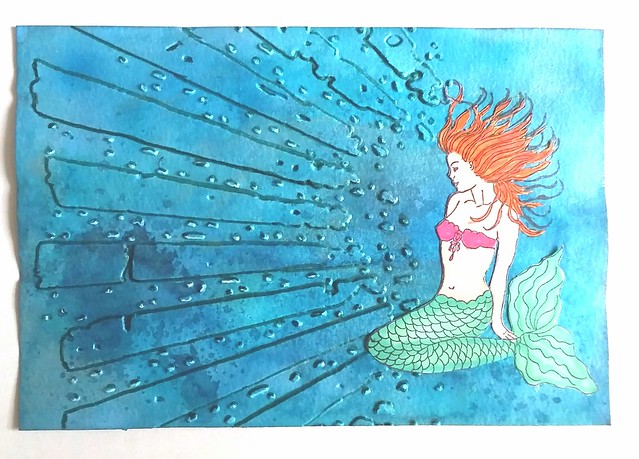
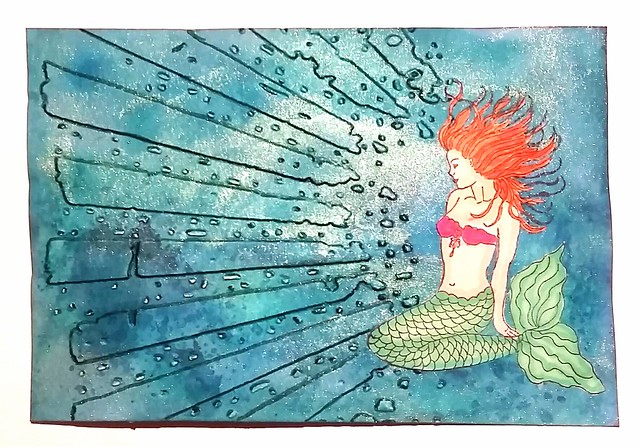
I have 2 books of maruman watercolor paper and a bunch of photo paper (from last year) on that 10x15 size so I will use that. The little mermaid was my fave movie while growing up and inspired me to make this piece for the first warm up challenge. 
CZC warm up 1 - your fave color
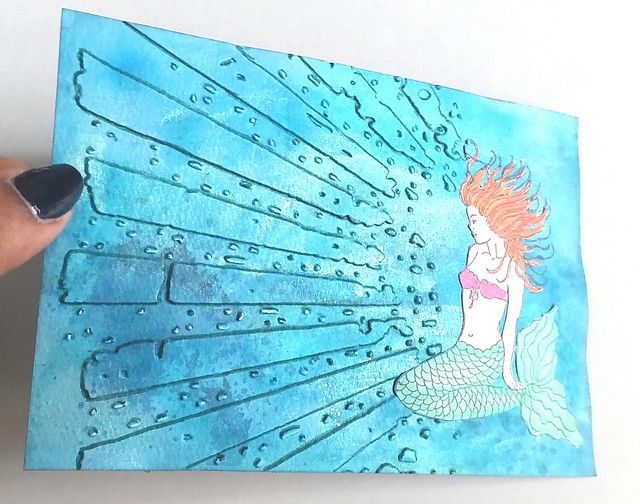
The background I made with a combination  of ecoline, winsor and newton and fountain pen inks in various sea blues on maruman watercolor paper. I mixed a bit with perfect pearl green for the shimmer. Then I ran it  through my cuttlebug with the distress rays emboss template, which I also used for the "knowledge is enlightenment piece" from last week. For depth I traced the embossed outer lines with tombow sea green dual brush pen. The mermaid I stamped and colored with promarkers on sticker paper and cut her out and adhered to the piece. I did lightly stamp her on the piece with archival black for the hair placing. And I definitely love how this looks!  
CZC warm up 1 - your fave color
I scanned the piece and while the colors look darker, she shimmer shows quite nicely! 

If you are planning on playing along with us, to see the prompts and other creations you have to join the facebook group. You don't have to make all of it, just see what the prompts your creativity inspires to make. That's is how I'm entering this summer's challenge :) 

Thanks for stopping by and have a wonderful creative weekend!

Namasté 

2016/04/29

A strong case of duality

There are a lot of brush pens out there, but these Tombow dual brush pens have been around for a long time. I had tried them last year december at a workshop given by Miranda Degenaars in Posthumus Store in Amsterdam (where you can also buy them). It was great working with them, esp. since they blend nicely with water. I was trying to find an alternative for coloring to my Letraset and copic markers, which are not water soluble. I finally decided to get a few (ehrm... maybe a "few" is an understatement...) and did a couple projects with them already which wanted to share them with you here.

Working out some ideas for a new project #handlettering #tombowmarkers #tombow #lettering #craftyendeavors #craftiness #posthumus #brushletter #handwriting #writing #tombowlettering

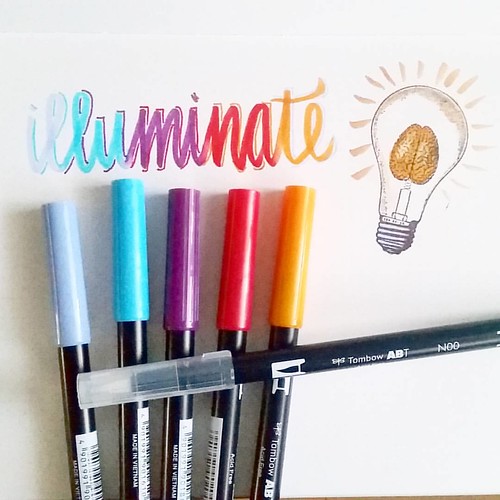
So I have been noticing the hand/brush lettering rage on the social media networks. There are a lot of tutorials on you tube on how to use these tombows for hand lettering projects. I watched a lot of them and found them very useful and illuminating! Thanks to everyone whom has taken the time to do videos and uploading them, they are very helpful! I found the blog ByDawnNicole very useful! Tombow also have their own channel and blog with tips and tricks on how to use the pens. Traditionally they are used to color with and you can create a lot of fun background and lettering effects with the blending tool and some water. By the way, the light bulb brain stamp is from The Stempelwinkel and it's one of my favorites :) 

The following projects I used a resist technique. 

Letting project
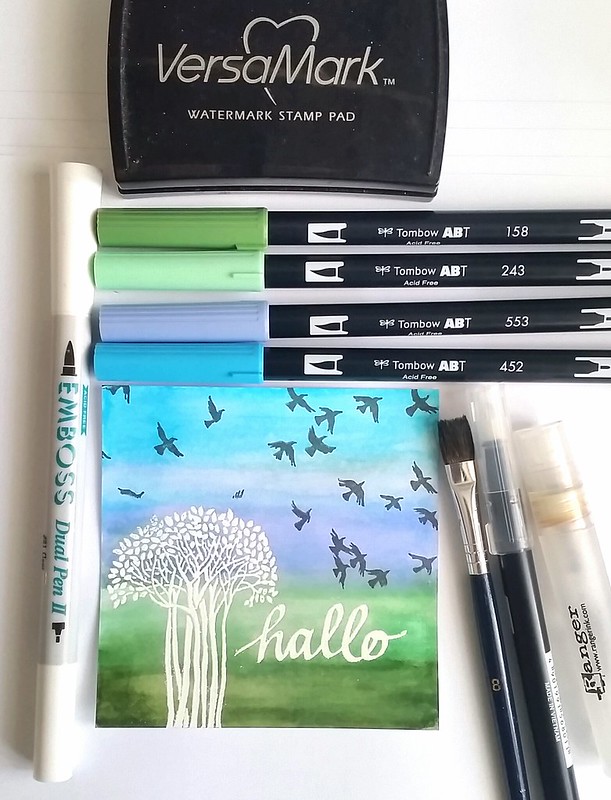
On white card stock I stamped the tree image with versamark ink and wrote 'hallo' with the embossing dual pen. I used Wow Bright white embossing powder and heat set it. The embossed parts will resist the inks. You can see the colors I used on top of the card. I used the brush tip to color directly on the paper, used water and a flat brush to create smooth, non streaky layers. Then with the blending brush I blended the transitions in colors, also added some more color and water here and there until I was satisfied with the result. I wiped away any residual ink that was left on the embossed parts with a paper towel. Then I masked the tree and word and stamped the Carmen's Veranda birds in flight stamp on the sky with Staz -on Stone Grey. Beautiful simple and effective result!

Letting project
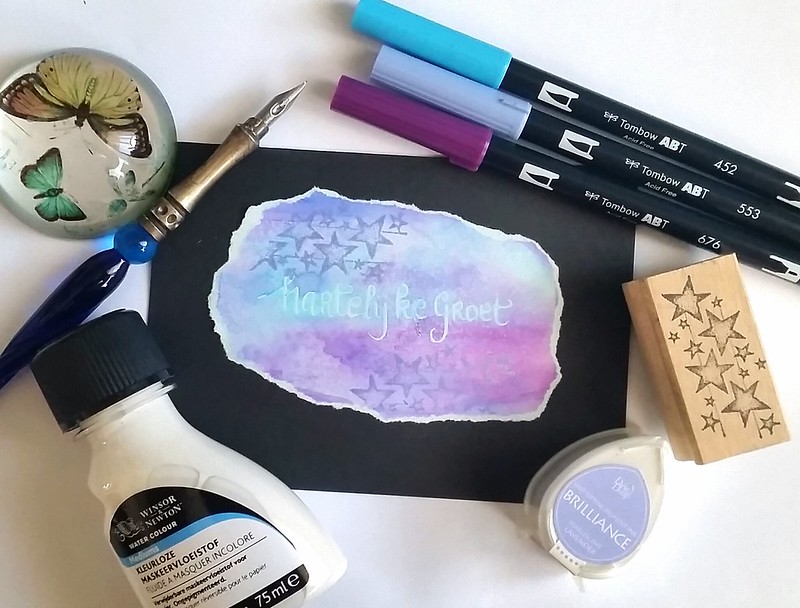
At Art specially I also bought some Winsor and Newton Masking Fluid which I always wanted to try out. The base is a light blue card stock and I used a dip pen to write down "hartelijke groet" (translated "with kind regards" in English) on it. It dried up clear and then I colored the around and over the words. Spritzed it with water and used a flat brush to blend the colors a bit. I dried it with my heat tool, stamped the star stamp with Brilliance lavender on top and bottom of the words. I rubbed off the masking fluid, and the light blue words are showing clearly through the colored background. It surprised me that it stuck so well to the paper! Such a fun effect! I ripped the edges off and matted it on a black note card which make the colors pop out even more.

My cute little helper 😻 #meeshathecat #meesha #colorcoordination #tombowmarkers #tombow #tombowusa #tombowbrushpen #craftyendeavors #craftmaterials #craftygirl
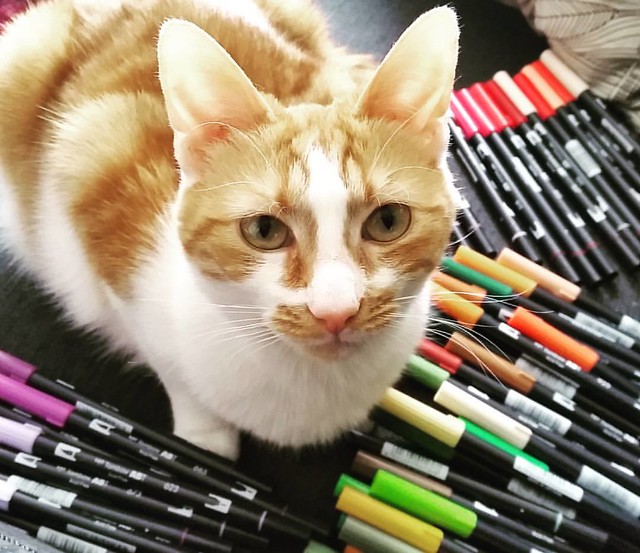
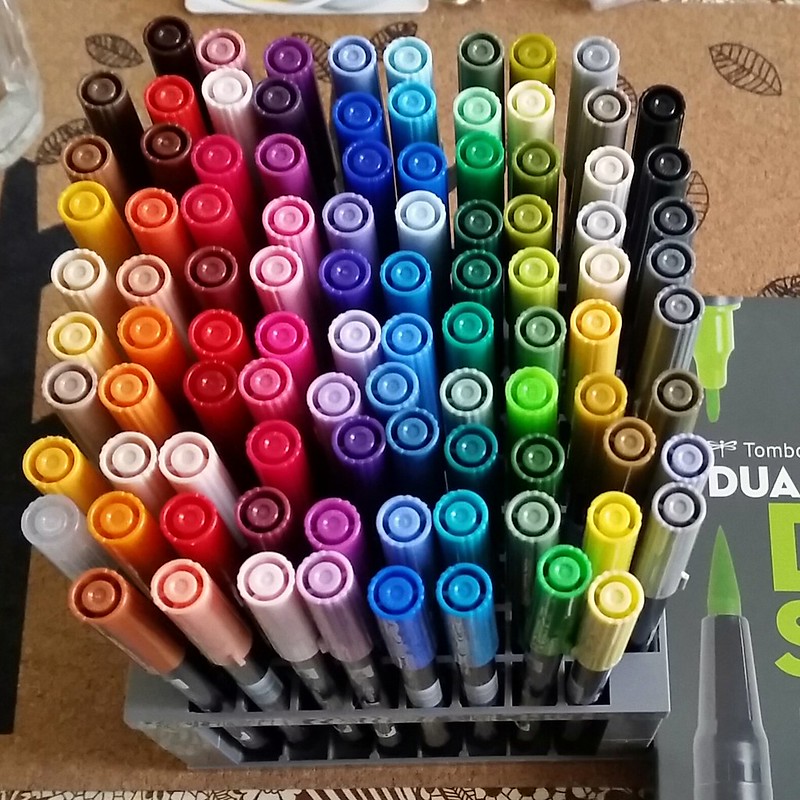
I am completely loving these brush pens and eventually (after long internal debate) got the full set of 96 colors (found a great deal on the set through Marktplaats otherwise yeah they are pretty costly to get!) with the desk stand. My little Meesha was helping me organize the colors in the numerical range which I then placed in the desk stand. 

Tombow full set dual brush pens
They definitely do look awesome standing all together, don't you think? I'm looking forward to use these in more projects which I'll definitely be sharing with you here.
I have them standing on my desk now, which would, I hope, prompt me to use them often.  

What are favorite pens to color with? 
Have you tried these brush pens? 

Oh and If you don't follow me on instagram yet, you might like to know I am hosting a giveaway for a calligraphy pen

You can still enter until tomorrow :) 
Thanks for stopping by!

Have a wonderful creative weekend.

namasté