Showing posts with label halloween. Show all posts

2017/10/13

TGIF! the 13th - VLVS!


Hi all, it's my turn over at the VLVS! blog and I made this fun card for Friday the 13th- TGIF! it's happy hour for Nosferatu and he's looking for brains - a detour from his usual diet :) Hope on over to see more pictures and see what materials and stamps I used.

I would like to enter this piece in the following challenge:
Try it on Tuesday Halloween theme 
Pop this on your blog to find us fast!

Wishing you all a wonderful creepy and happy Friday the 13th!

2016/11/30

Monthly Planning MTN: October 2016 update

MTN october update

Finally had the chance to work on my October update in my Midori traveler's notebook. It sorta looks like nothing happened, but this month was busy with work commitments and my cyanotype course I participated in at the LAK. I had an idea in mind with some Blue Ghost Ink and experimented with it.

MTN october update
First I started off very simple, just writing down the days and dates with my trusty faber castell pitt pens. Seeing they are filled with india ink, it is water proof and also resilient against other inks.
I had my Pilot MR inked with Noodler's Blue Ghost ink and with that I wrote down the events which happened that month. Combined with stamps from Sakuralala fall collection 2015 line and memento stamp inks, they gave really fun effects!

MTN october update

I also wanted to use this gorgeous tree stencil from the Crafter's Workshop designed by Joanne Fink (zenspirations) to convey the change in season. I began to dab some mossy green versamark chalk inks with a foam sponge and topped it off with orange distress ink to create some ombre in the tree.
MTN october update
Then stamped some autumn leaves stamps on the page and colored them in with the blue ghost ink.

And this is the finished spread. What's super fun is that well there is nothing to read like in the picture on top, but when you turn off the lights and shine a black light on it, it gives some really fun effects!
MTN october update
It's kind of hard to photograph but I hope you get the idea :)

Now to mull over a layout for this month and then my undated monthly planner is full!! How time flies!

Thanks for stopping by and have a great day!

namasté

2016/10/31

Mailart Monday: a ghostly halloween

Happy Halloween

It's october 31st and that means it's finally Halloween. I made the above postcard for a fun swap, the blue ghost postcard exchange hosted by my friend Amanda at Letter Letter. The objective is to send and receive a handful of postcards to your assigned group of penpals with the message written with blue ghost ink (see a great review of the ink here by S.J Mills). So it's readable with UV light only! It's super fun and I have participated in the last couple of years too.

I chose Edgar Allen Poe as focus and made the card with stamps from Lost Coast Designs, Carmen's Veranda and the Stempelwinkel. The background is made with the large grunge border stamps, stamped with opaque white and versamark. I only embossed the middle part and left the rest white. I then got some distress stains in orange and purple on my craft sheet and blotted the ink with the stamped paper.

Happy Halloween
It came out looking like this! I cut the page to size and added the rest of the elements to it and made accents with grey and black distress markers.

Making postcards for the #blueghostexchangenumbathree :) #blueghostexchange #halloween #edgarallanpoe #rubberstamping @letterletter
I blotted the rest of the ink off a separate paper and made the postcards above. I sprayed the a bit of red brusho mix and together with the drops from Designs by Ryn they look awesome ghostly (the double print also does the trick of a ghostly image!) I hope my partners will enjoy these postcards and I can't wait to receive mine!

I am entering these cards for the mixed media monthly challenge for october with the Halloween theme
 

Have a wonderful Halloween everyone!

Thanks for stopping by!

2016/10/24

Mailart Monday: Trick or Treat?

trick or treat

Seeing the time is nearly there, I thought it would be fun to do a little Halloween Mail Art tutorial for this week's Mailart Monday.

trick or treat
I started off by using a piece of 100gms white A4 paper and used it to blot off some excess orange and violet ink for another project I was working on. Purple and orange are in my eyes the best color combo for this time of year! I have a few envelope templates and I used this wooden one from a Japanese brand which makes the 6x4 inch envelop when folded.

trick or treat
After I traced the template with a pencil, I took the heads stamp from Stampotique Originals and stamped it on the page a few times inked with Kaleidacolor Autumn Leaves. I made sure I stamped the reverse on the lower part seeing that is going to be the back side folded up. Oh and I used a bit of post it tape to mask the part where the address is going to be before I went stamping :)

trick or treat
The I took a couple of more stamps which fit the theme, from Inkadinkadoo and the focal point was going to be Linda by Daniel Torrente.  She is naturally spooky and fit well with the Trick or Treat theme.

trick or treat
I then cut out the envelope and added more color to it by using the blending tool and dusty concord and spiced marmalade distress inks. Took away the mask and doodled around the space to mark off that address border.

trick or treat
The I stamped Linda again on a piece of sticker paper, colored her in with complementary colors in Letraset Promarkers and adhered her to her spot on the envelope after cutting her out. Then folded the envelope and glued the flaps in place and called it done!.

trick or treat
The end result: this is the front. Linda pops out and the address block is definitely light enough for writing but also distinct with that splash of color in it.

trick or treat
And the back; I kept it simple and mysterious by just adding a few stamps and making sure the heads were visible through the lighter spots. When the address is written on I am planning on applying some varnish to seal it so it travels safely to its destination. 

The creative people at the Stampotique Desigener's Challenge have a lot more examples for fun Halloween mail projects and I am entering this for their fun Halloween fortnight challenge.

Also entering this one for the Mixed Media Monthly Challenge for October with the Halloween theme

Next week monday it is actually Halloween, do you have anything special planned? Either way, hope you have a fantastic week and thanks for stopping by!

Namasté

2016/09/27

The Bride on Halloween

Halloween Atc and Card
Over at Viva Las Vegastamps blog they are getting us ready for Halloween with their september challenge. They have some awesome Halloween stamps and I recently got plate 1476 of which I used a few stamps for the ATC and card I made above. The Bride of Frankenstein is the focal point on both the ATC and note card.

Halloween Atc and Card
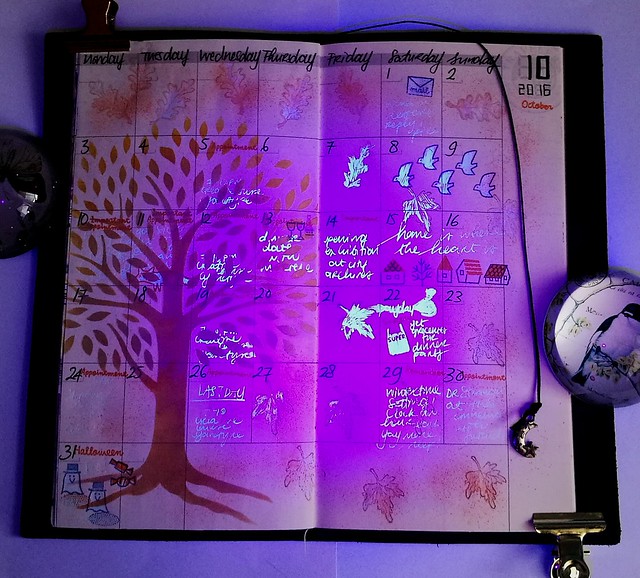
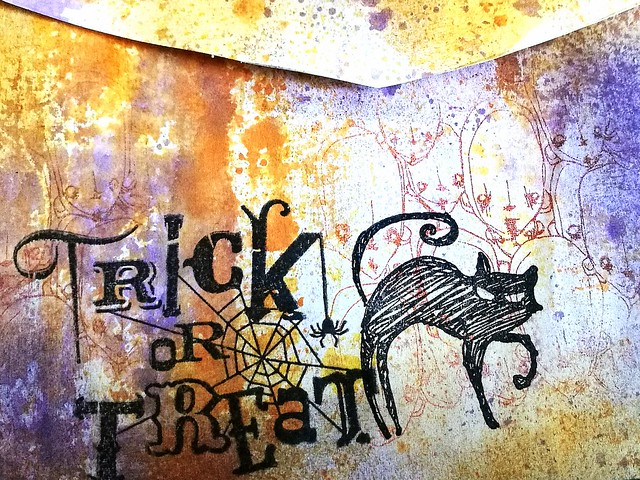
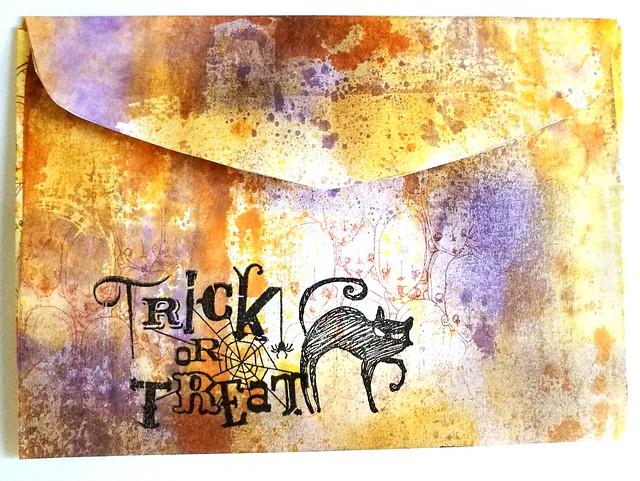
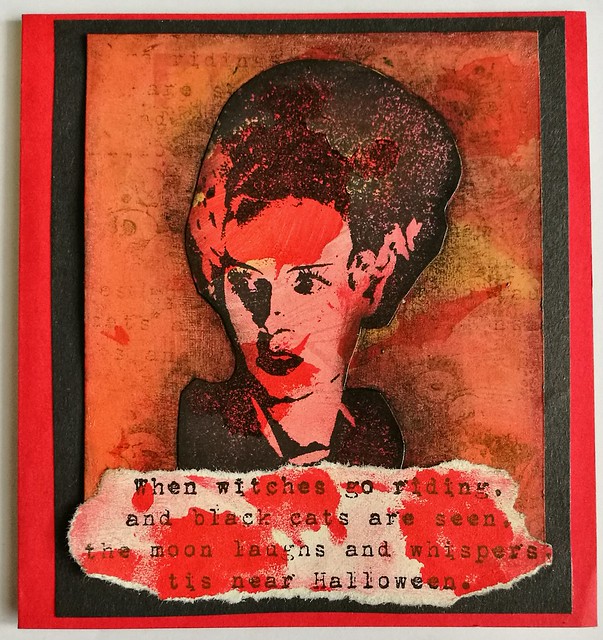
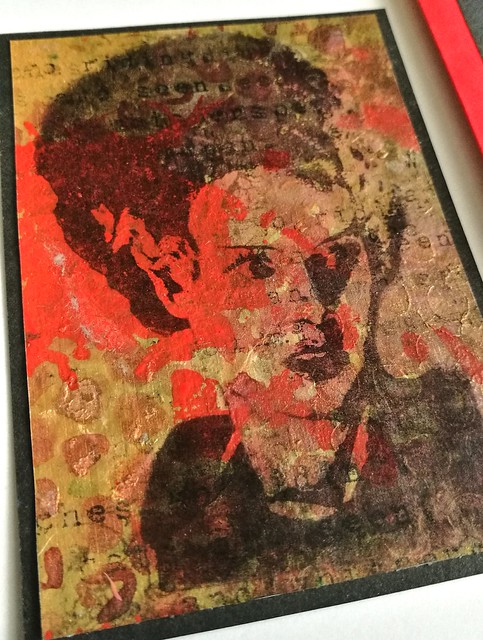
I also used the Skull and Bones stamps from this plate for the background with the "when witches go riding" text stamp. The background is made with paints, stencils, golden sheer modge podge and pearl lusters. I matted that onto black cardstock and then adhered to the red note card. 

Halloween Atc and Card
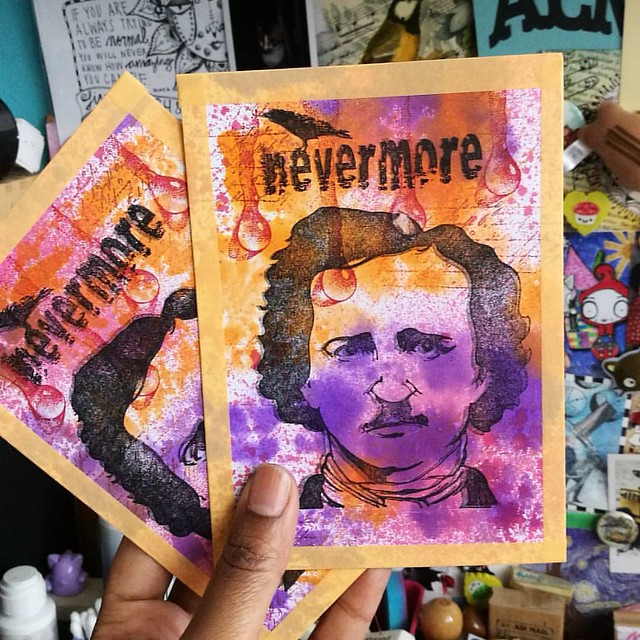
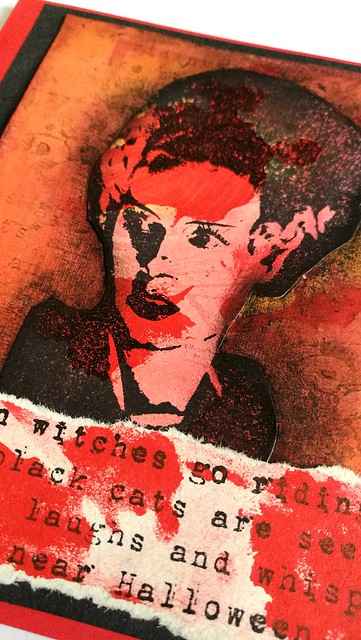
Shading around the Bride is made with a black distress crayon. Red spatter effect on the text was made with a stencil and acrylic paint. 

Halloween Atc and Card
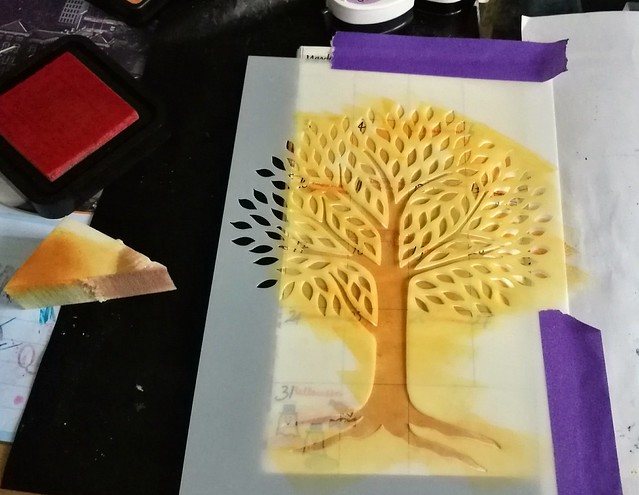
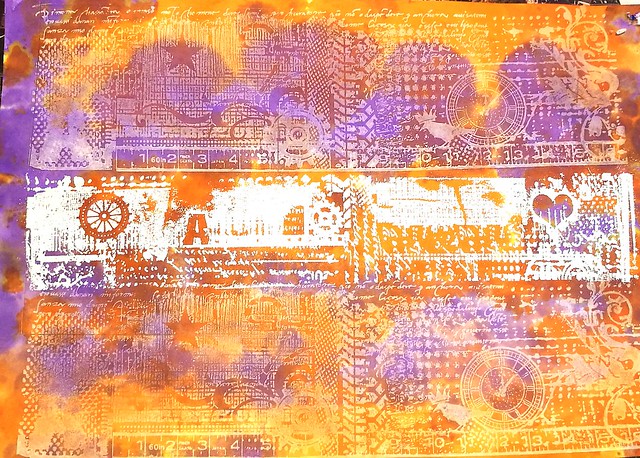
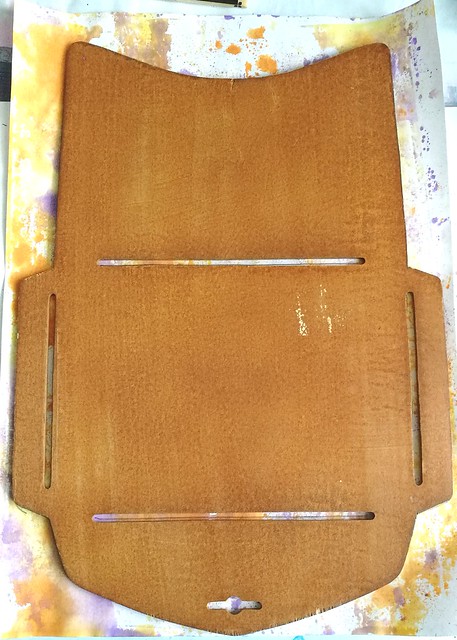
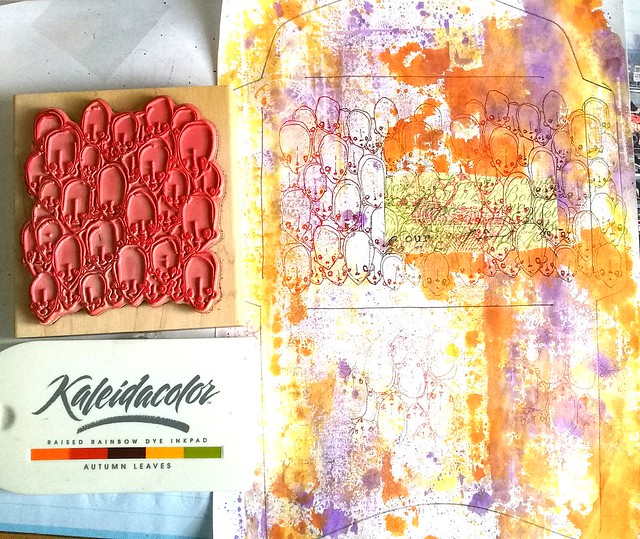
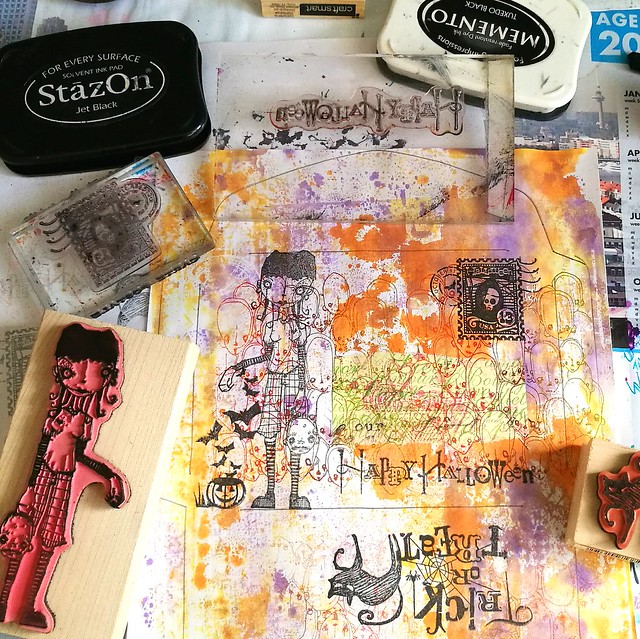
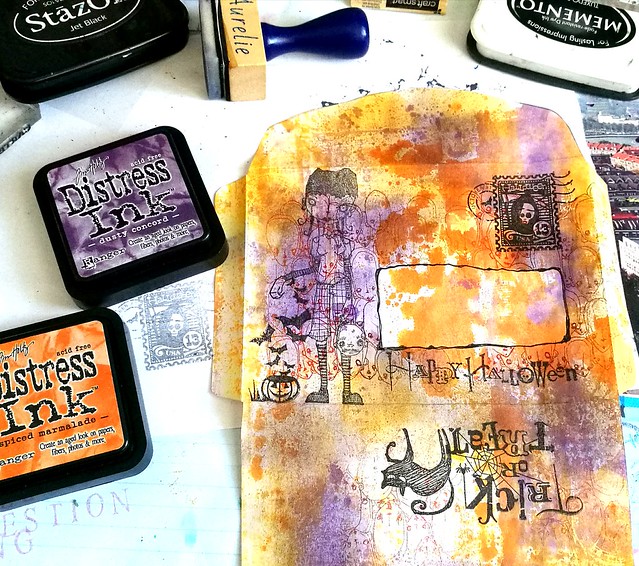
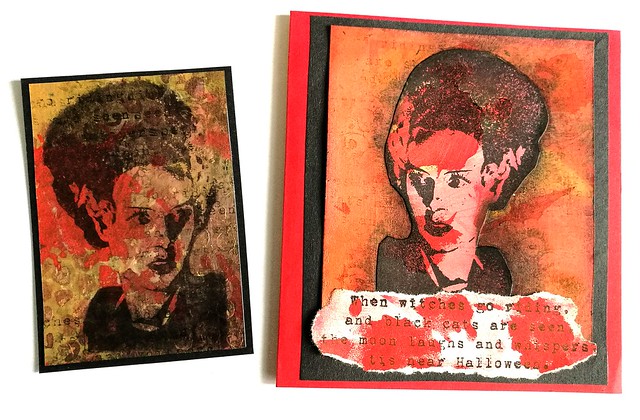
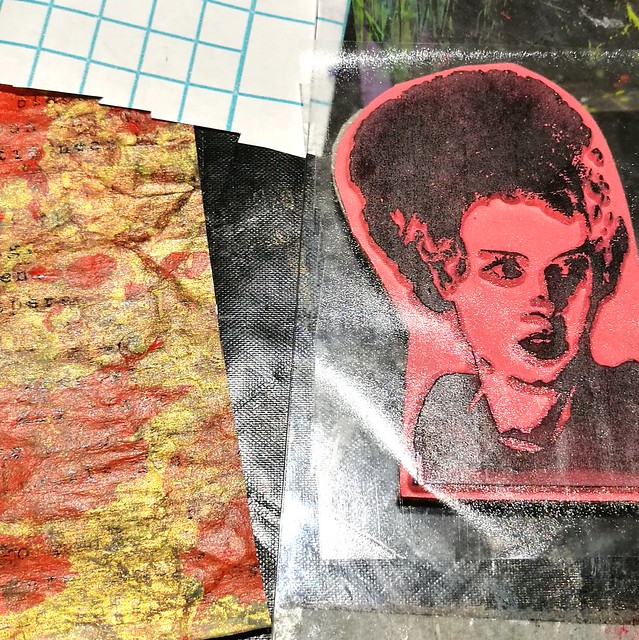
For the ATC I used a mixed media background, made on kraft paper. I used stencils, modelling paste, brusho, CW gold gesso and red paint. I stamped over it using the same stamps for the background as with the card. Then I made a tape transfer from the stamp to get the reverse image.

Halloween Atc and Card
It's very easy to make a tape transfer! I used clear laminating foil which I cut in the right size and pressed it down on the stamp. First I have stamped the image with staz-on several times on a piece of paper so that the ink on the rubber is dry. Then used the back of my scissor handle to run the tape well over the image and pulled the print off.

Halloween Atc and Card
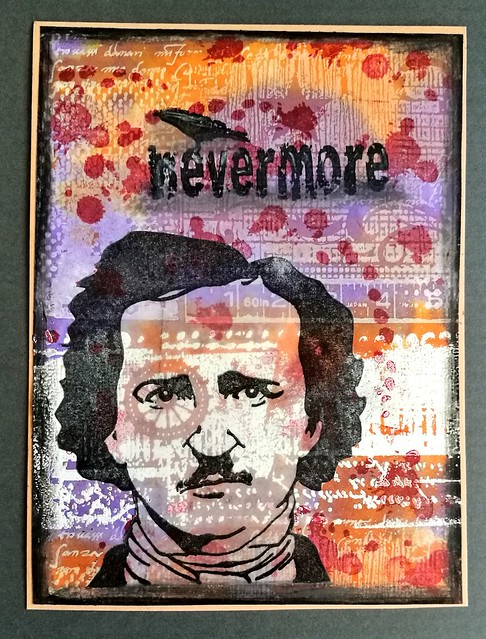
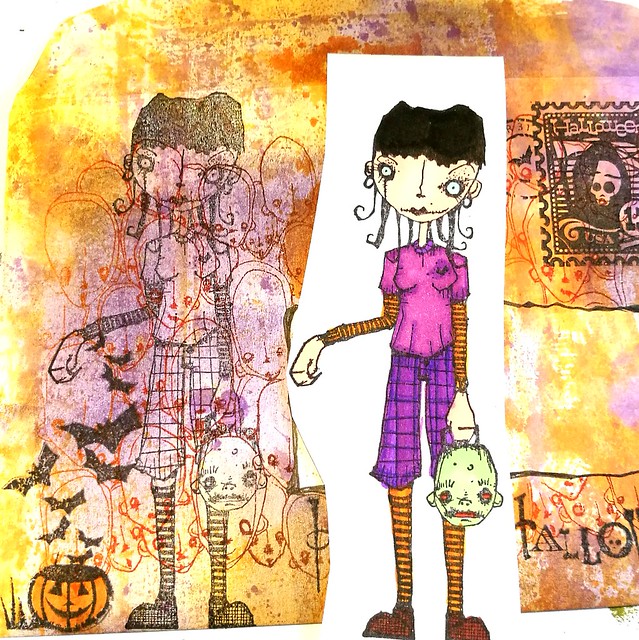
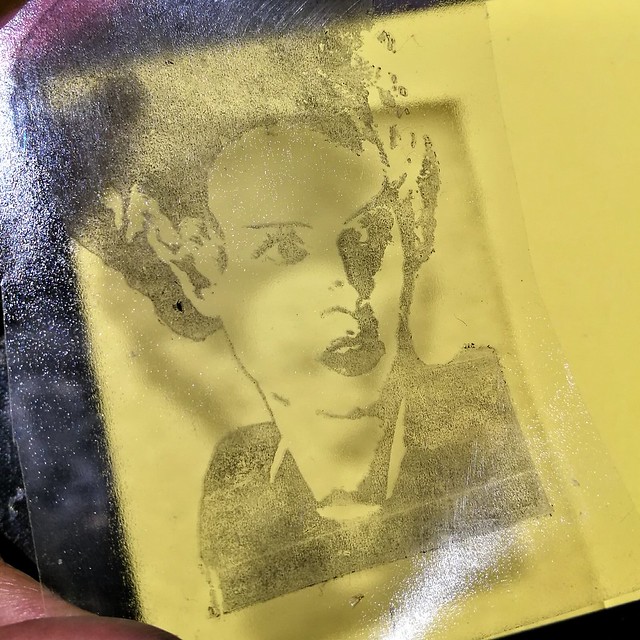
As you can see it's a light transfer, which means the image is transparent. That is what I was looking for so the multilayered background shows through this image.

Halloween Atc and Card
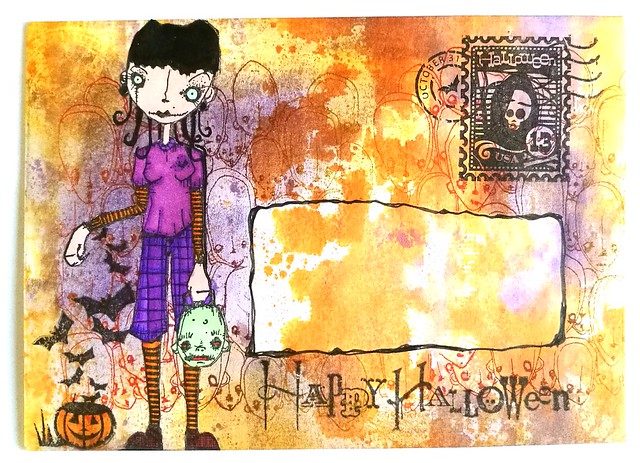
She is dark enough to stand out but light enough to have the background show through. I matted the ATC on black card stock and called it done. I really love this stamp and made more Halloween ATC's which I will share in another post. 

Have a great day and thanks for stopping by.

namasté