Showing posts with label mono print. Show all posts

2017/05/10

WIP: Libélula (dragonfly) Stamp Carving

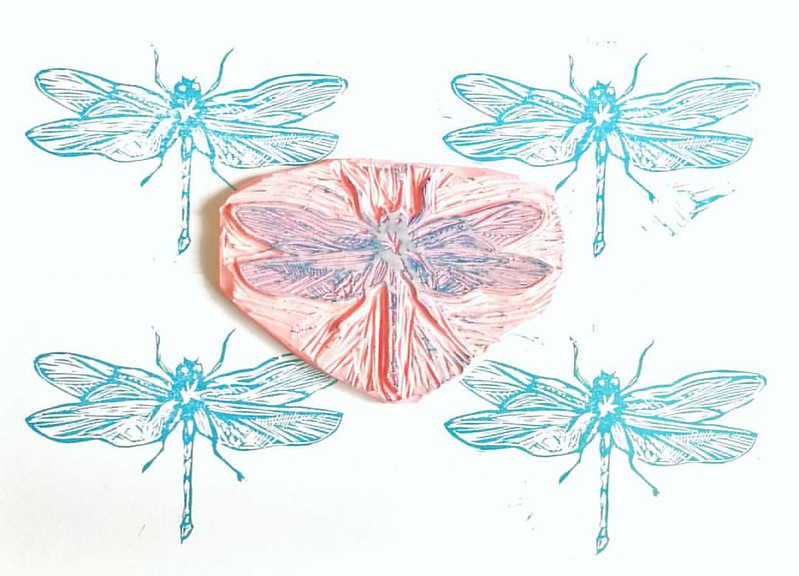
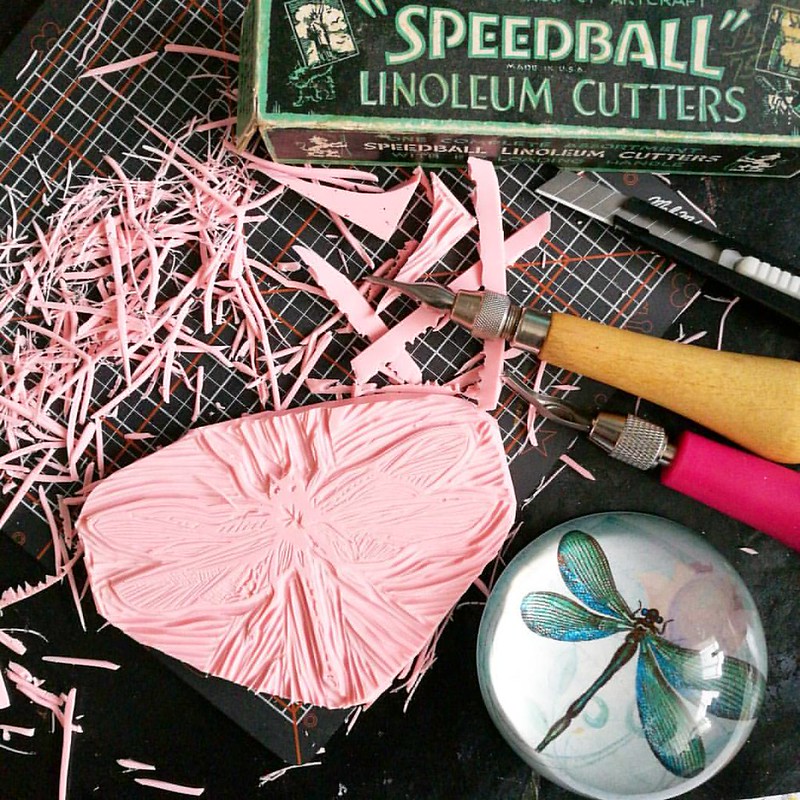
You might have noticed that one of my fave creatures with wings is a dragonfly. It was ages ago when I used my carving tools last and they were calling to me again. So last week I finally sat down and did this carving.

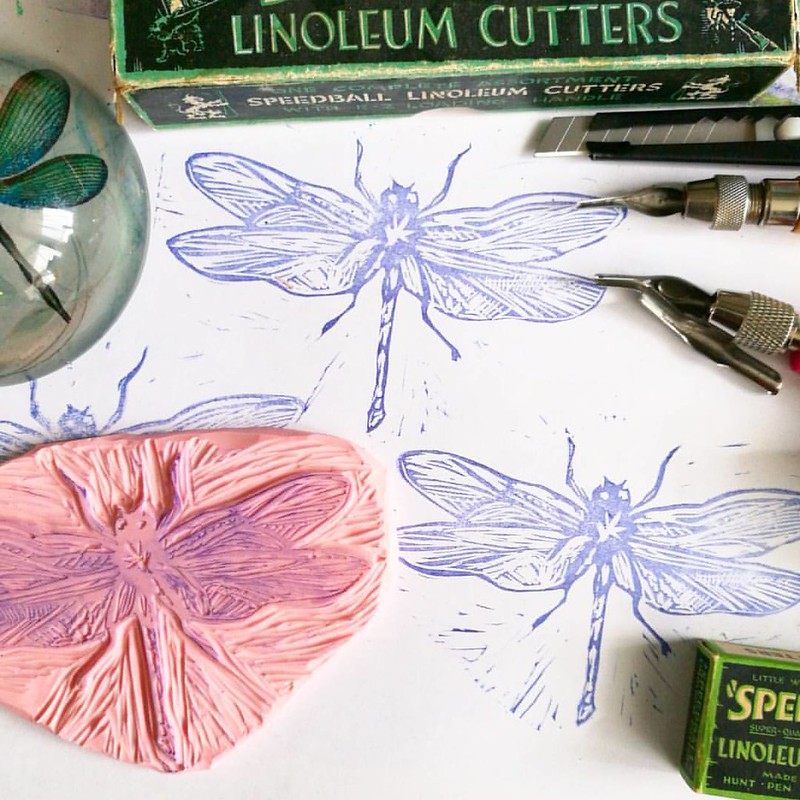
I'm about to pull the first print of my hand carved dragonfly stamp. It's an echo carving and I haven't done one of these in years! Excited to see what it will look like :) #stampcarving #linocarving #print #speedball #handmade #carving #echocarving #drag
And let me tell you it felt SO GOOD to get those tools out again! I worked at this one for about an hour and a half (I think) and it was really fun and relaxing. The stamp size is about 8x6 cm and I purposely wanted a larger dragonfly to use for a mono printing idea I had.

Not too shabby! Only needed to do some clean up around the image and it's a whimsical Dragonfly  Also it felt soooooo goood to take out my carving supplies for a spin again 😊 Think I'll be making more bugs in the near future!  
This is the first set of prints I made and I was really happy with the design at the first go! All I had to do was clean up the edges around the image and the stamp/ soft lino block carving was done.

Dragonfly carving on a soft pink Speedycarve block. Very happy with how this one turned out! Now to name her... any suggestions?
And here she is, Libélula (is Spanish for Dragonfly for which I have my IG friend Ana to thank ) I'm super happy with the result and it's such a great feeling to finally make something you had in your head a while! I already am using this one for some art journal pages and postcards swaps.

Carving this has inspired me to do a "bug series" so I hope to share more carvings with you in the near future :)

Thanks so much for stopping by and have a great day!


2017/05/03

WIP: Gelli Printing on Tomoe River Paper + process video!

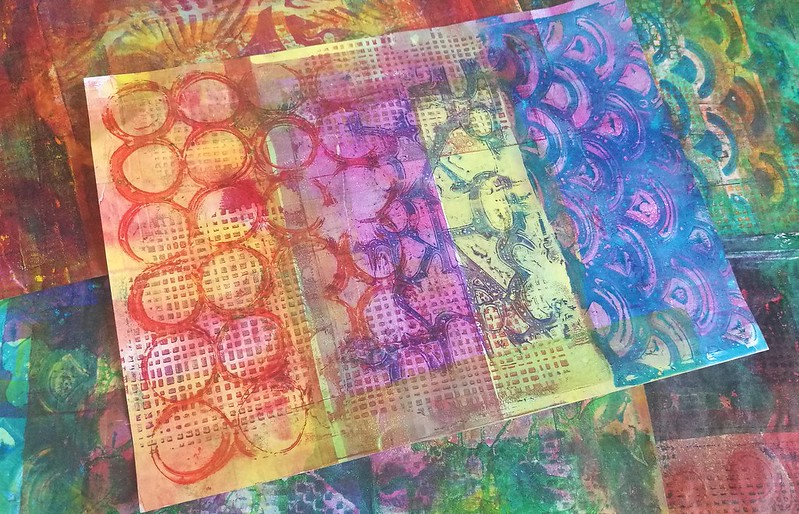
Gelli printinh session on tomoe river paper

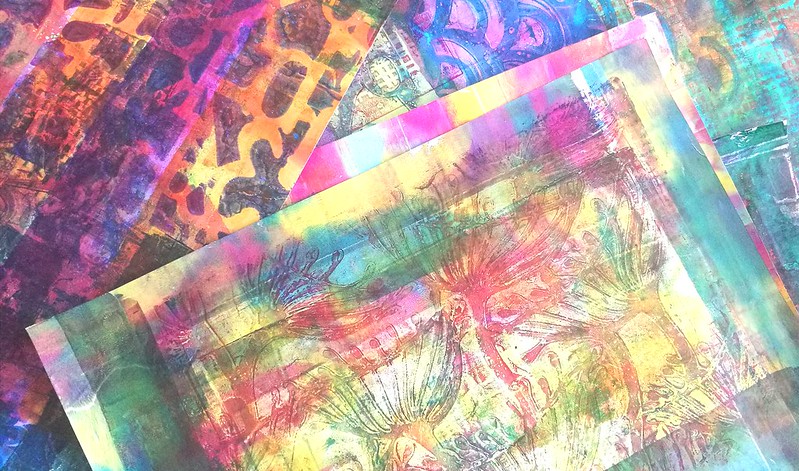
Today I'm sharing a fun experiment I did recently, which is gelli printing on Tomoe River paper. It's a very lightweight paper, 52gms and in the fountain pen community famous for its great workings with fountain pen (and other) inks. I was wondering if it could hold up to fluid acrylic paints so I experimented a little with DecoART media Fluid Acrylics which I recently received from the decoarts media team as part of the blogger out reach program.

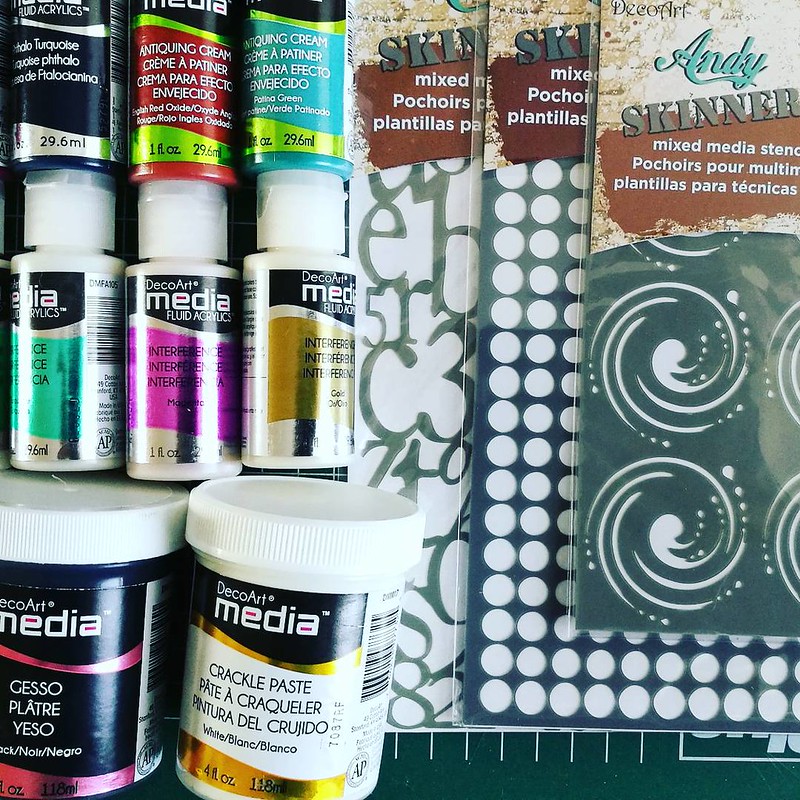
decoart mixed media materials
Gorgeous little bottles with fluid acrylics from Deco Art Media. I also used the bottom stencil by Andy Skinner for a couple of prints among other stencils.
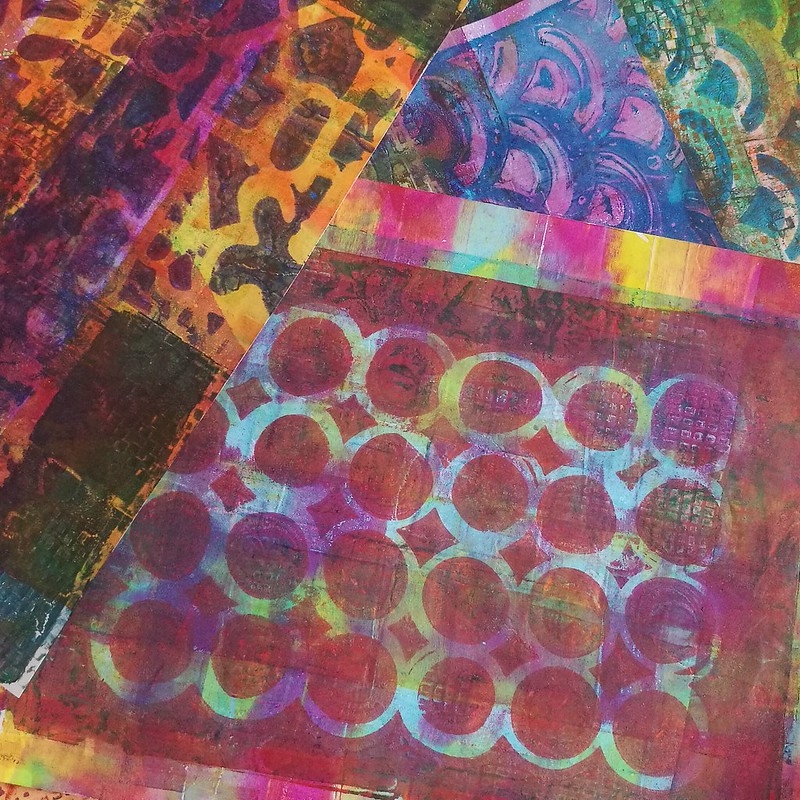
Gelli printinh session on tomoe river paper Gelli printinh session on tomoe river paper

The paper holds up the fluid acrylics really well and the drying time wasn't bad at all. I've filmed this process video and you can watch the whole process here

Not bad work for an half an hour on a monday night, right? The video is sped up to around 9 minutes total, so no worries, LOL :) I really had fun with this and am looking forward to use the prints in a few upcoming projects. If you like the video, please hit like and subscribe to my channel to see more. I have been working on a few other process video's and hope to upload on a bi-weekly basis. Still very new to this, so if you have any tips/suggestions they are welcome. 

As always, thanks ever so much for stopping by and hope you are having a wonderful day!


2017/02/08

WIP: Love is all around

valentine gelliprints

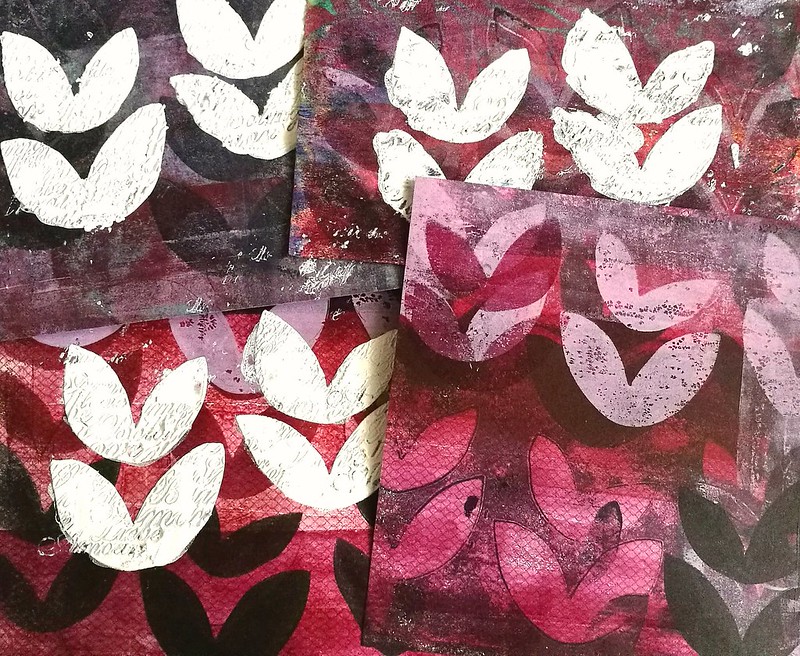
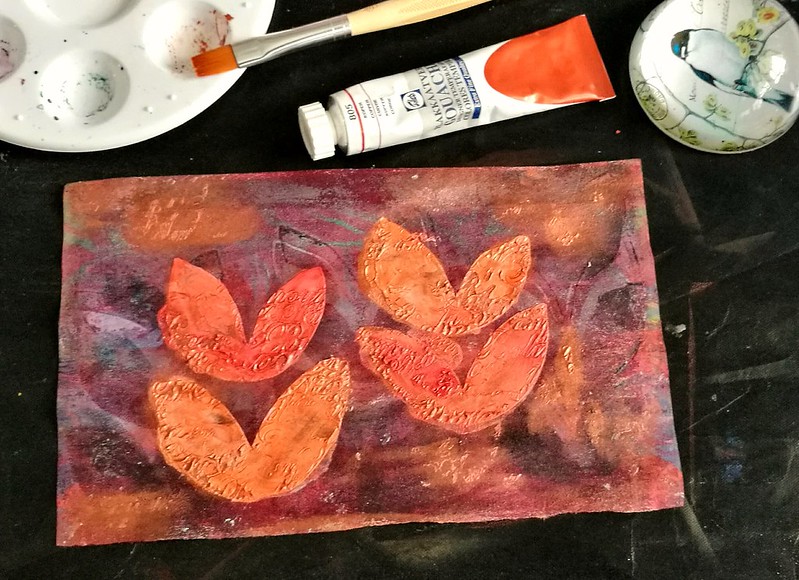
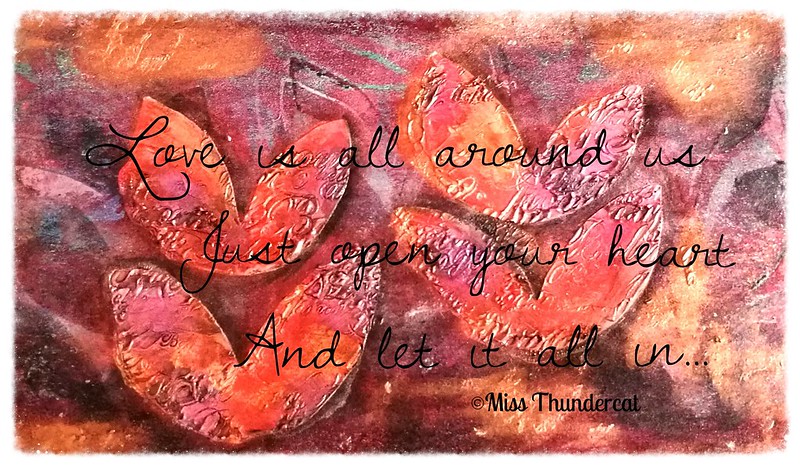
This weekend I have played with my gelli plate and new liquitex muted paint supplies together with a fun heart/flower shaped stencil. This simple and elegant heart/flower shaped stencil design is made by Lotta Jansdotter. I have printed on 6x6 inch scrapbook paper and some book pages. The white hearts are done with modeling paste and then stamped in with a rubber stamp with words about love. Stamping in modeling paste is so fun to do!

valentine mixed media
The heart theme is obvious for this season. Usually I don't really do valentine related cards/layouts but this year I really felt like it :) I took one of the prints and worked on it more for my pocket art journal.

valentine mixed media

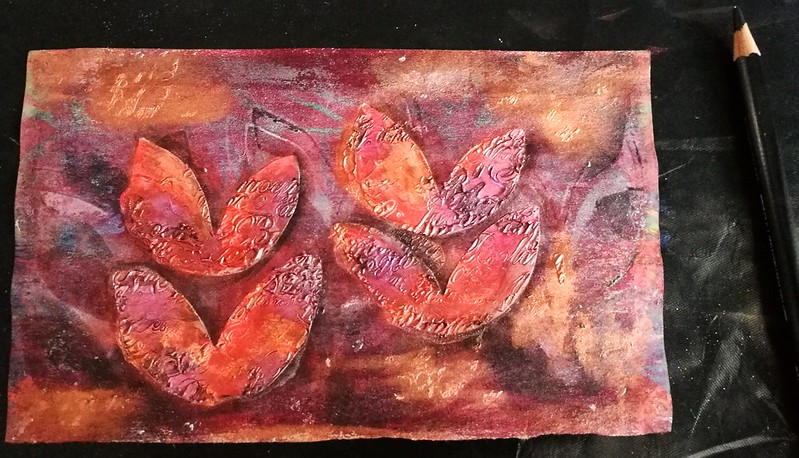
I finally got a few Stabilo marks All water color pencils and gave the hearts more shading and dimension. A definite must have for mixed media artists!

mixed media valentine
Before I adhered the page in my journal I scanned it and wrote an inspiring message about love on it. I'm still dabbing in creating digital altered work based on scans but I definitely like the idea.

I'm entering this digitally altered piece in the Stamplorations Mixed Media Stencil Sunday challenge


The journal spread I've made from the gelli print will be posted later this week. 

Thanks for stopping by and have a great day!


2016/11/20

Creative sessions: Cyanotypes

Cyanotype class
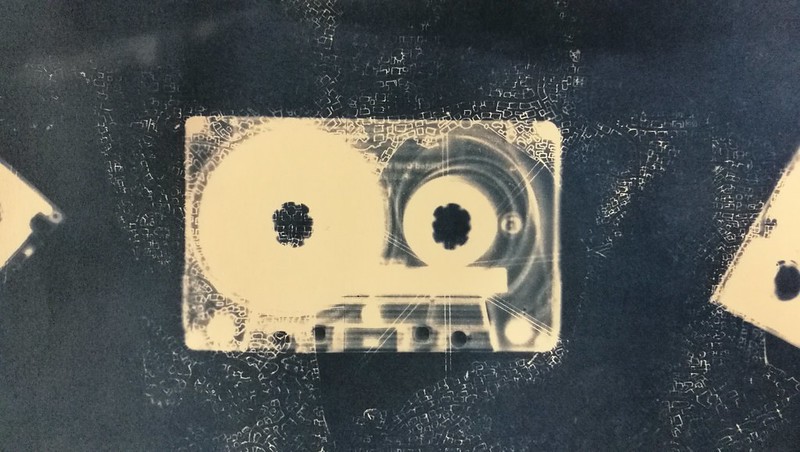
(Cyanotype with cassette tape and technical drawing)

When I was browsing through my local university's creative workshop course (LAK) for the fall, I had noticed something they had not offered before a "cyanotype" workshop. Below a blurb from the course website:

"Cyanotype (making blue prints) is one of the first photographic techniques and was discovered in 1842. By the use of two photographic chemicals you'll learn to make watercolor paper photo sensitive. In fact, we transform watercolor paper into old-fashioned paper, which results in beautiful Prussian blue prints. (EDIT: to know more about the cyanotype history and technique see here)
During the course you will learn about the chemical background of the process and you get started with all its features. It's surprisingly approachable; blueprints can be made of objects, pictures, drawings and photo's.

After you've tried all options during the course and have learned all the tips and tricks, you can continue at home, because you don't need darkroom!"

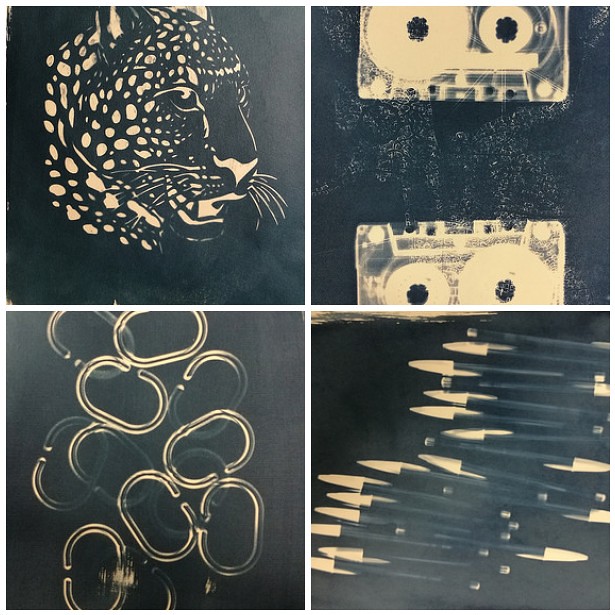
Well, I was very intrigued by it and signed up for the 6 week course and it was so incredibly fun! There was a group of 10 people and the course was given by Janet Keukelaar, owner of PAR, who was very encouraging and had a fun way in teaching us the technique. All whom attended were very prolific in what they made and I've got some super fun prints out of it.

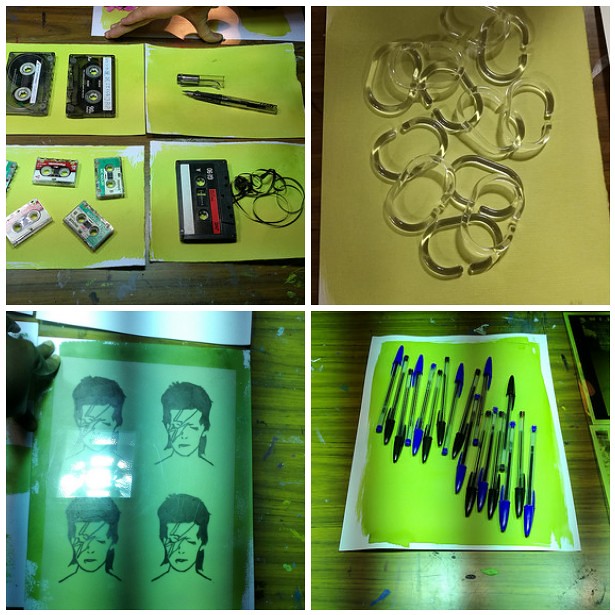
A visual impression:
cyanotype process
First off you coat your watercolor paper (any kind of paper could work but watercolor paper is proven to be best for this technique) with the chemical solution and let it dry well. We used different kinds of foam rollers and brushes for the application and blow-dryers to speed up the drying process.
As you can see, the chemical coating is a bright yellow one. None of that lush blue in this part of the process! Then we placed the coated paper with the object/drawing/photo negative we wanted to have a cyanotype of under a sunbed (UV light exposure) for 7 minutes (give or take). During the exposure your print will turn into a darker brownish color. As you can see you can experiment with a lot of fun 3D objects as well! And don't worry, my beloved Lamy Vista fountain pen is totally ok after the UV-light exposure.

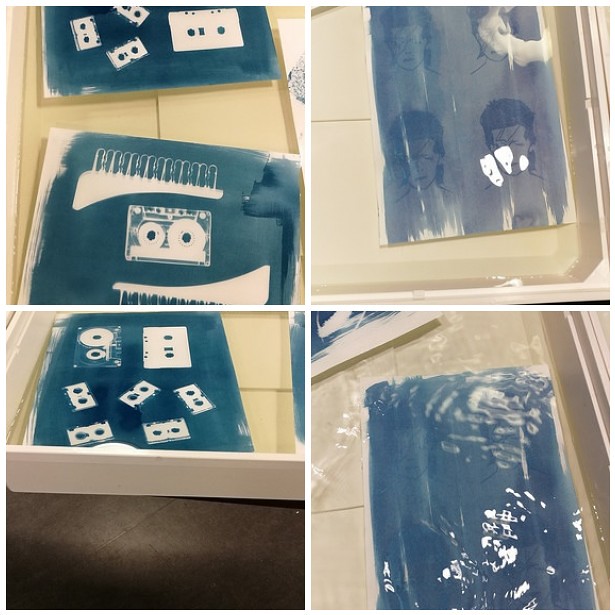
cyanotype process 2
After the exposure you let your print soak in a tub of cold water for 15 minutes. Here is where the magic happens, the brown washes away, the unexposed parts turn white while the exposed parts turn blue! The longer you soak, the more detail will appear. Like true analogue photography! Also the water turned into a pee yellow color as the evening went on... a fun fact I wanted to share ;) Now comes the drying time...

cyanotype process 3
The longer you let your print dry, the darker the blue gets. It's good to experiment with the amount of coating, because the more of the solution you let soak in, the darker it gets. If you want a lighter print, experiment with using less solution and/or a longer soaking time. I love the deep dark blue these prints have. Also it takes a bit of trial and error to get the prints crisp but that is all part of the experimentation.

Cyanotype class
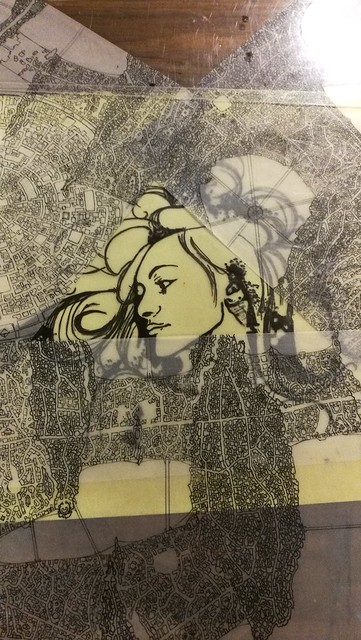
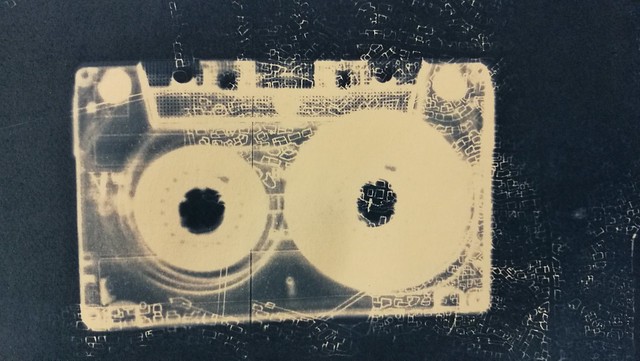
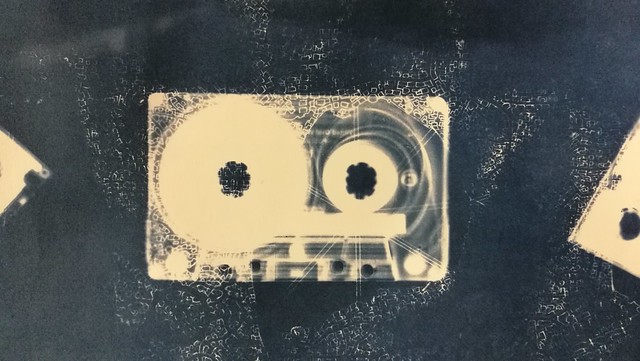
You can also experiment with layering images and objects on top of each other during the exposure process, like I did with the Hera print above and cassette tape below with the addition of technical drawings my husband made.

Cyanotype class
I just completely LOVE how these cassette tape prints turned out! Look at the fine detail of the drawing that came through!

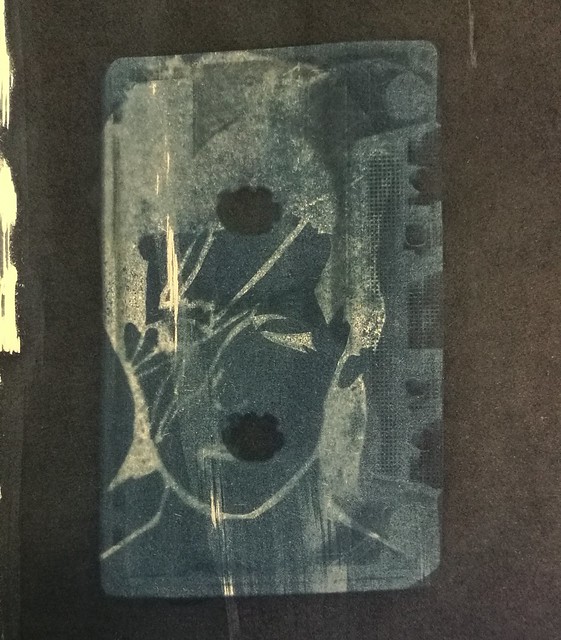
And also a fun thing to experiment with is double exposure:
Cyanotype class
I coated my Bowie print again and placed a cassette tape on it. In the 1980-1990s this would have been a fun mixed tape cover, don't you think?

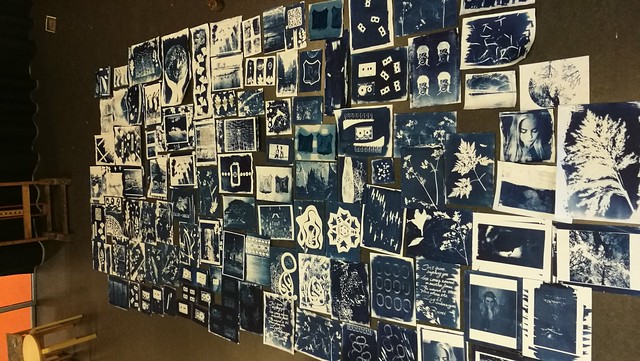
We all made such cool prints! On the last day we spread them on the floor to make an overview picture
Cyanotype class
And this is like only 1/2 of the whole production the class made!

If you get the chance to try a cyanotype workshop I would highly recommend it!  For people in the Leiden aria, Janet does offer these workshop at her gallery/studio PAR and also offer the sepia variant called Van Dyke. I definitely am going to try that next year! And you can also experiment at home by buying one of these DIY kits she has curated. Oh and look at how awesome that kaleidoscope kit is?!

If you're interested in seeing more of the prints I made, it's in my flickr album below:

Cyanotype class

And I am looking forward to work more with these prints, either in mail art or in my art journal. So to be continued...

Thanks for stopping by and have a great day!

namasté
2016/09/23

Stencil Me Gelli Prints

Recently I had the time to play with my 8 inch round gelli plate again. I used a lot of stencils I bought at the Art Specially event earlier this year and sharing a few prints I made here. The stencil I used below, I needed to have because I knew it would make an awesome print!

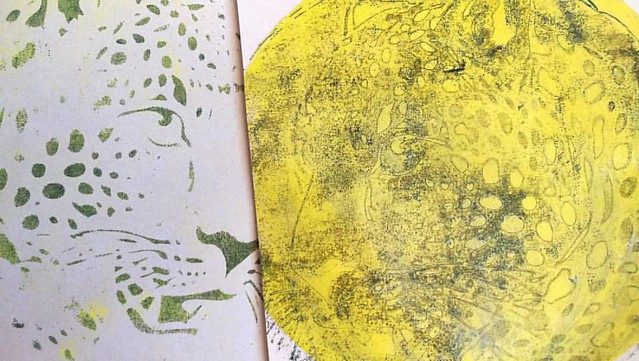
Gelli prints with Viva Decor Jaguar stencil. The right one has a laminated overlay using the tape transfer technique. @gelliarts #gelliplate #gelliprinting #monoprint #jaguar #cheetah #handpulledprint #handprinted #mixedmedia #mixedmediaartist
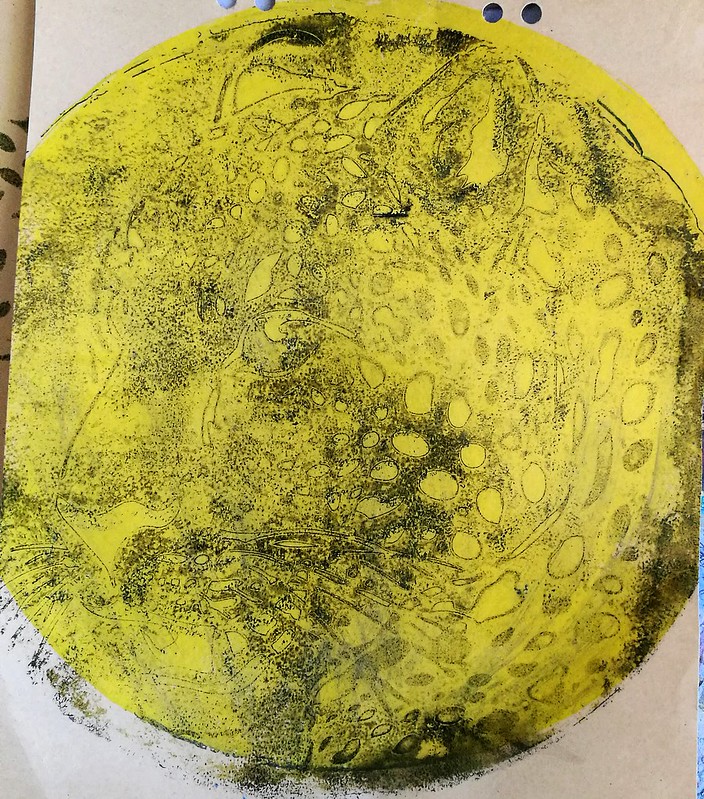
Gelli prints with black and yellow paints and Viva Decor Jaguar stencil. The right one has a laminated overlay using the Gelliplate tape transfer technique.

gelli plate printing session
A closer look on the one on the right. First I pulled a mototone yellow circle and then added black to the mix. Then pulled the print through the stencil you see on the left side of top picture. Then I took a large laminating sheet which I cut to fit the round gelli plate and pulled the tape transfer (slowly and rubbing the aria's with paint all the way). I overlayed it on the yellow base print and I am pleased with the first try of this technique! Next time I might add more black to the mix to see if I can get the transfer a bit darker.

gelli plate printing session
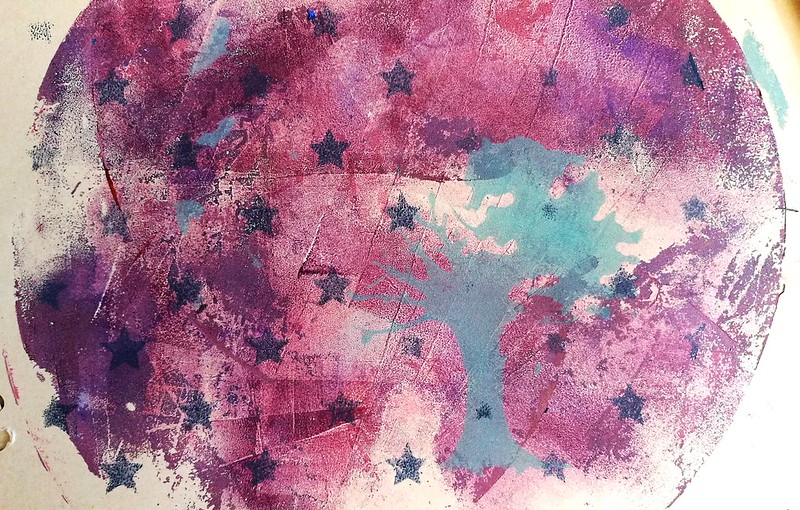
I made more prints with the tree and stars stencils I used in Nature's Beauty mail art piece from last monday. This time I pulled a mix  of purple and pinks on the background first. I also added a bit of iridescent medium to the mix to give it a bit of shimmer.

gelli plate printing session
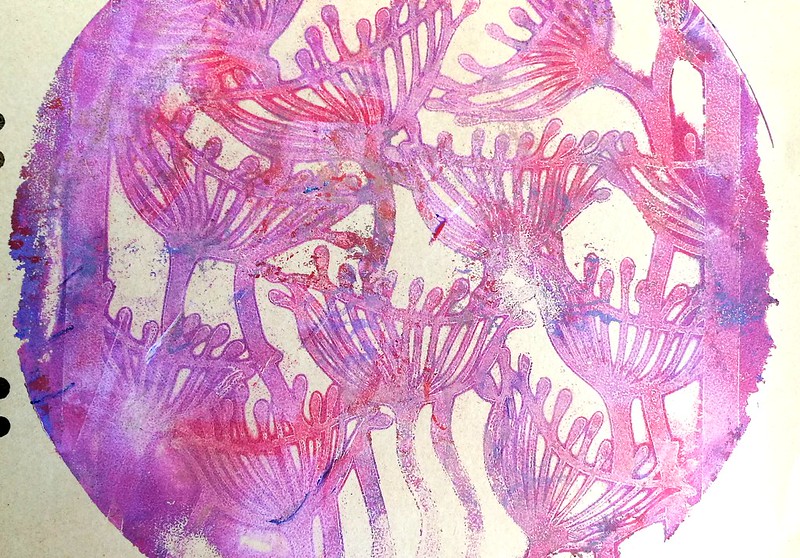
I liked that mix so much I also used it for this print. Another stencil from Clarity, the Seed Heads, was used for this print.

gelli plate printing session
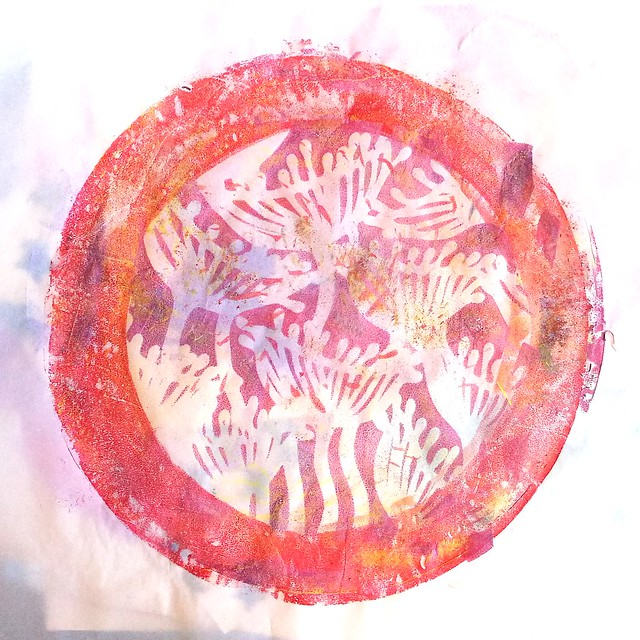
This is a "clean up" dirty print - I used this paper to take away excess paint from printing sessions and you can create some fun prints this way as well!

gelli plate printing session
I also printed on tracing paper and this definitely is one of my faves prints I pulled from that day. I'm going to add these prints to my art journal and mail art which I am setting some time aside to do this weekend :) Hope to show you those results soon.

Hope this inspired you to get your Gelli plate out and start printing with stencils as well. It's super fun to do! 
Thanks for stopping by and have a great weekend!

namasté

2016/09/19

Mailart Monday: Nature's Beauty

gelli plate printing session
For a swap on Swap-Bot I got out my Gelli Plate and stencils to play around with. This swap hosted was by Gina Visione at The Print Shop group and called "Nature's Beauty".  The goal was to "Send a Gelli-printed, hand-stenciled (or nature-stenciled :D!), hand carved Rubber stamp or Linocut mail art postcard representing something beautiful in nature." 

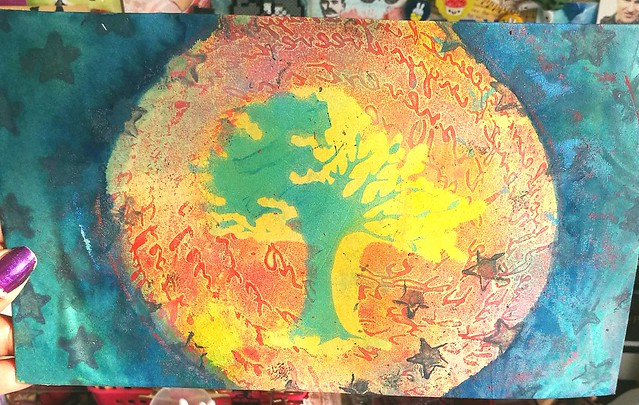
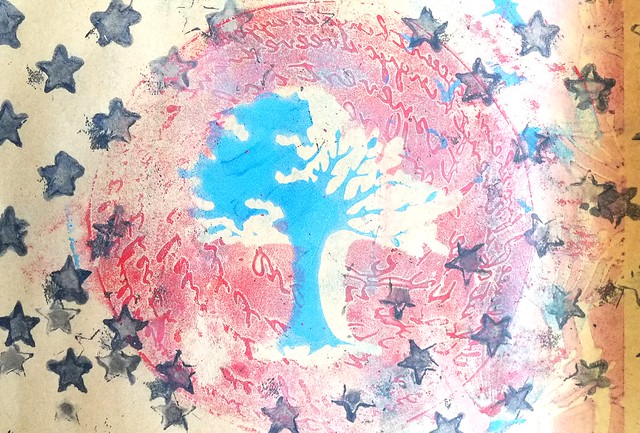
So I took one of my new nature themed stencils, Birds and tree by Clarity combined with encouraging scribbles from Stencilgirl Products and Stars from the 101 stencils by Ed Roth and made the above print with help of my Gelli plate. I printed it on vintage index paper which has a beige undertone and it's a great way to reuse some old papers I saved from the trash at work! It needed some more colors so I took out some fountain pen inks and added more color to the print.
TPS expressions of nature
I used some contrasting colors: yellow for the inner circle (Toucan Gold) and a teal/twilight color (Iroshizuku Tsuki-yo) for the outer edge of the print to give it a night sky feeling. I love how the tree just pops out from the print. I love how it turned out and am glad that my partner liked this print as well,

Looking forward to use more of my gelli printed pages in mail art and in my art journal :)

Thanks for stopping by and have a great day!

namasté
2016/09/05

Mailart Monday: Affectionate Seahorses

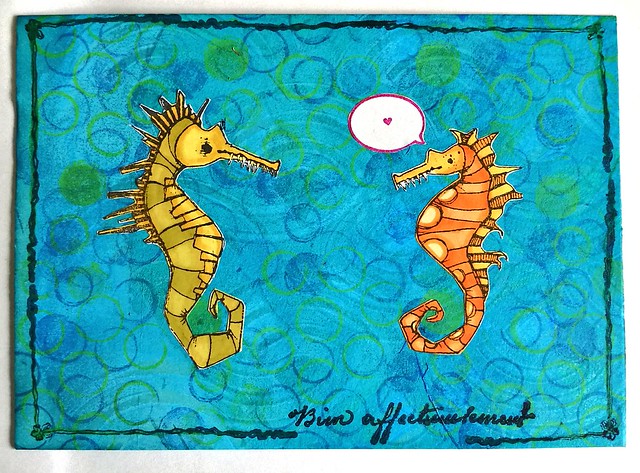
After a slight intermission of Mailart Monday's I am back with some new work to show you. Over at Stampotique challenge blog, this fortnight the theme is mailart, so of course I decided it would be fun to make something for that. I chose to make a fun sea themed postcard.

stampotique mail art

I've had these fun seahorses stamps by Stampotique Originals, Rudy and Roger, for a while now and finally decided to use it. I have stamped them on sticker paper and colored them in with letraset pro-markers. The background is made with a gelli plate stencil print which I then dabbed over with Distress ink Broken China and Memento Danube Blue with a blending tool. I stamped the circles from Katzelkraft on with Staz-on Midnight blue and Opaque green. I cut out the seahorses and adhered them to the card. That little speech bubble with heart is a stamp from Mini Punkt which I also stamped on sticker paper and adhered to the card. I found a fun border stamp which I used on the edges and stamped the phrase in French "bien affectueusement" which means "very affectionately" in English to finish off. I also covered the back of the PC this time.

stampotique mail art

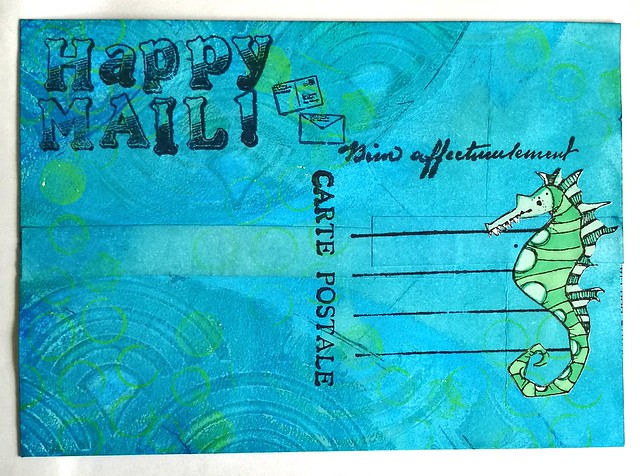
I folded over the gelli print on the sturdy cardboard base I used for the PC. It didn't cover the back completely so I added a strip of sticker paper in the middle. Those sticker papers are just so handy! Then used the same techniques as on the front of the card and added some more mail art related stamps from Artemio, font from Technique Tuesday and mini envelopes from Craft and Things. I usually never cover the back like this, so this was a fun experiment to do. I'm happy how it turned out :) 

You can still join in the Stampotique August Challenge until tomorrow. Hope this inspired you to grab your stamps and tools and make some mail art :) 

Thanks for stopping by and have a great day.

namasté

2016/06/27

Mailart Monday: Hera's Texture

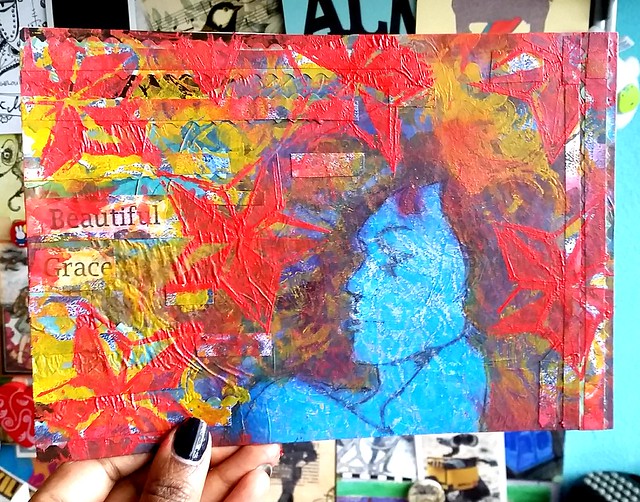
In follow up on this past Friday's post on my studies of Hera, I'm sharing a mailart piece I made with one of the gelli plate prints combining that large stamp.

Made with one of last night's print. I call her Mystique #gelliprint #monoprinting #mixedmediaartist #mixedmedia #paint #oilpastels #ecoline #xmen #mystique #comicbookinspired #creativeexpression #creativitytakescourage

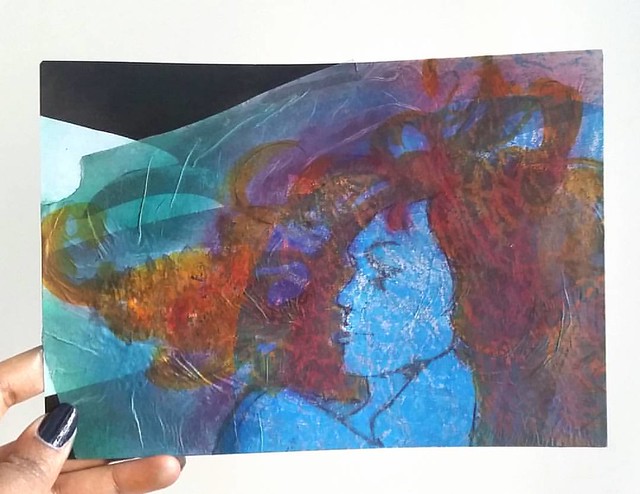
I took one of the prints made on tracing paper and did a ghost print of Hera (printed with staz-on cleaner & ink residue) on the monoprint. I adhered the piece onto a large art postcard which I used as background. Then went to color the hair with red and orange ecoline ink. I also used some metallic purple and green pearl rub ons for color on the edges. With a black fine liner I drew in the silhouette of the face a bit sharper. And even though I liked how she looked this way, I wanted to add more texture to it.

texture mail art
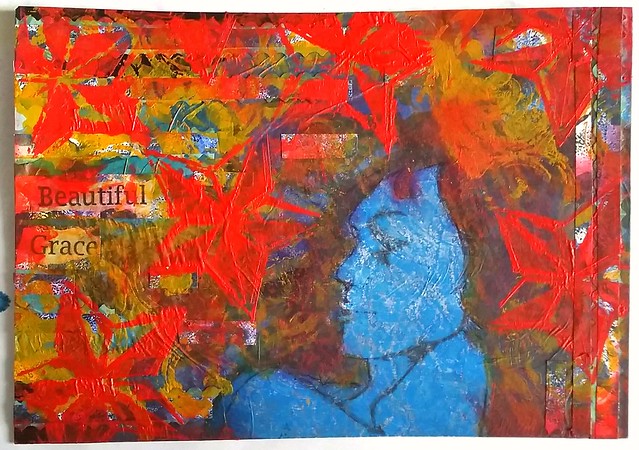
So I added more left over gelli printed paper which I cut into strips and added to the side, took some orange and red paint and stencils to overlap the piece in swirls and stars. The words "beautiful grace" come from this great large Misc. Words rubber stamp from Lost Coast Designs. I sealed the piece with a layer of artists gel medium to finish it. I just love how this piece feels, literally! So much texture! And I think Hera's transformation made her look a lot like X-men's mystique here, don't you agree?

hera texture
The colors also look a lot more vibrant in daylight!

This piece was sent for the TPS (the printing shop) mail art swap via swap bot. In this group we swap items made using your gelli prints in some way. It's a great way to use the mono print "left over's" into something else, like mail art.

Thanks for stopping by and have a wonderful day.

namasté

2016/06/24

Art Journal: A study of Hera part 3

The Studies of Hera continues. This week experimenting with some gelli printed/mono printed left overs and Staz-on ghost printing.
hera studies
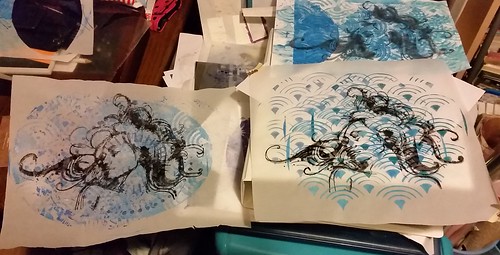
I used one of my print experiment pages from my first session of gelli print madness. The blue print on these pages are all gelli print. I stamped Hera a few times on various papers (some gelli printed) and let it out to dry. I took the print on the top right for this experiment.

hera texture
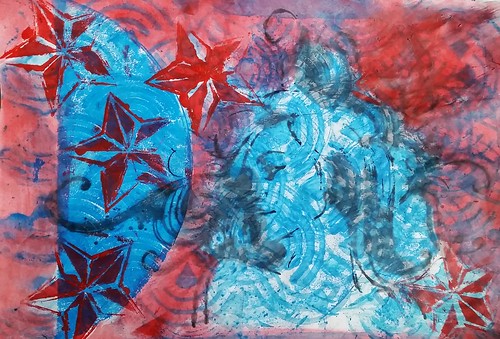
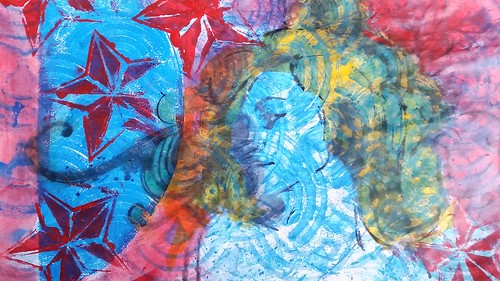
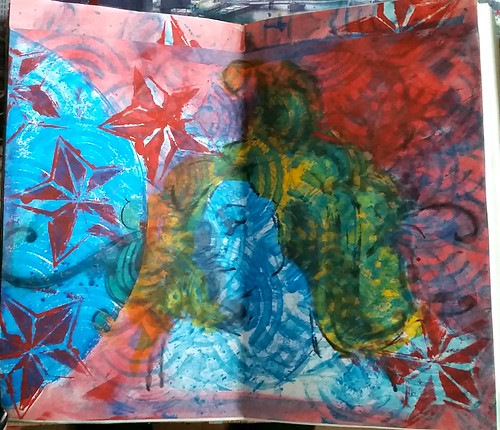
My Hera stamp was all covered with black Staz-On ink residue from all the stamping and I took my Staz-On cleaning dauber to clean the stamp. A lot of ink then came loose and didn't want to waste it. I made an imprint of the mixture of stamp cleaner and ink residue on the gelli printed paper. I like how the mixture reacted to the paper, It gave a nice blotchy effect, but also surprisingly sharp lines as well. I added the stars with a foam piece and acrylic red paint through a stencil to give it some more texture. I then dabbed my foam piece into a bit of water and started coloring the page with the red diluted ink. I left Hera, the half circle and the insides of the stars blue.

hera texture
I wanted to add another color to create more distinction, so I took some yellow ecoline and a brush and colored her hair. The yellow is really bright and gives it a nice contrast with the blue and red. And I called this page done and adhered it to my art journal.

hera texture
I needed to trim the sides to it fitted in the journal. With the trip I covered the top white space up. Another completely different look of Hera this way. And I love the combination of this stamp with the gelli printed back ground. More of this to come in another studies I'm sure!

Thanks for stopping by and hope this inspires you to experiment with ink residue/ghost printing on your gelli prints.

Have a great weekend.

namasté

2016/06/10

Art Journal: A study of Hera part one

At the Art Specially event earlier this year, I got a whole bunch of stamps and among them was this huge XXL Héra Stamp from Carabelle ( I got it at the Leuke Stempels booth) Well, to correct myself, my husband got me this stamp as a present :) When I saw it I knew it has so many possibilities esp. for my art journal. I am doing a series called "the study of Héra" in my art journal and I'm going to share them with you in parts.

Art journal page on vintage index paper, carabelle XL stamp, distress stains and crayons - #art #rubberstamped #rubberstampart #carabelle #distresscrayons #distressstains #artjournalmt #artjournal #mixedmediaartist #mixedmediaart #mixedmedia

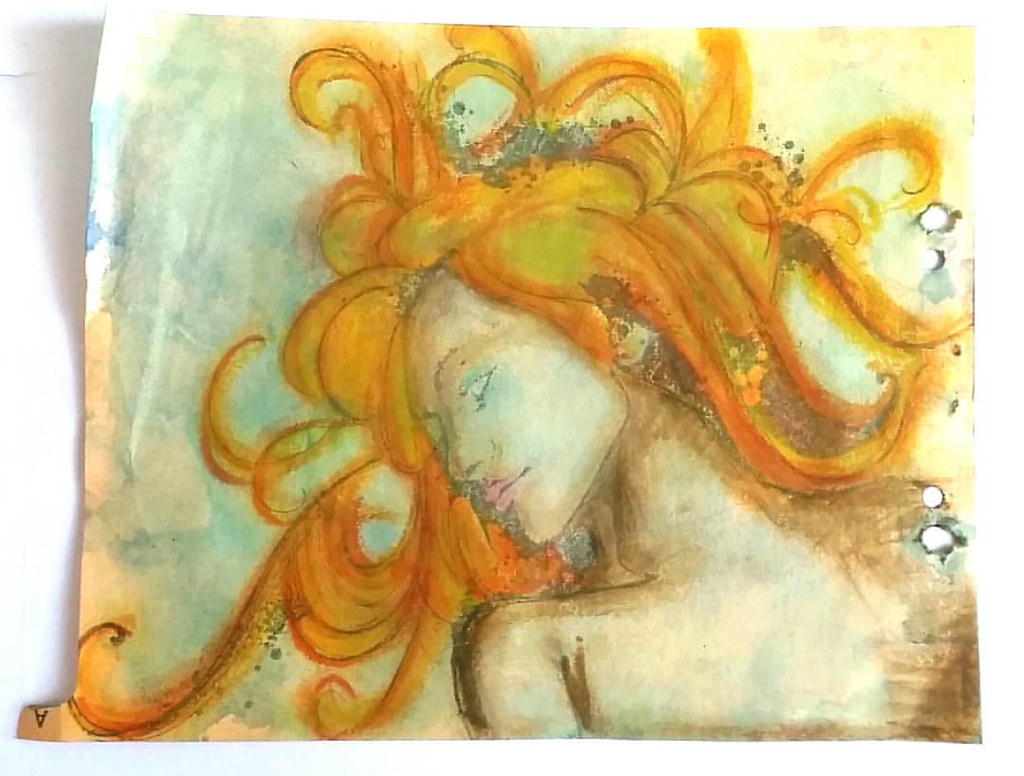
I have all these vintage A-Z brown colored papaer index tabs (which I saved from being thrown in the trash can at work!) and I used one of them for this project. First I gave the page some color with blue distress stains. I wiped some on my craft sheet and sprayed water on it. Then put my page in the puddle. It gave a nice blue back ground wash effect. After that I stamped Héra with Staz-on Stone Grey (I had to reposition her to get her hair fully on the paper) and then colored her with Distress Crayons.

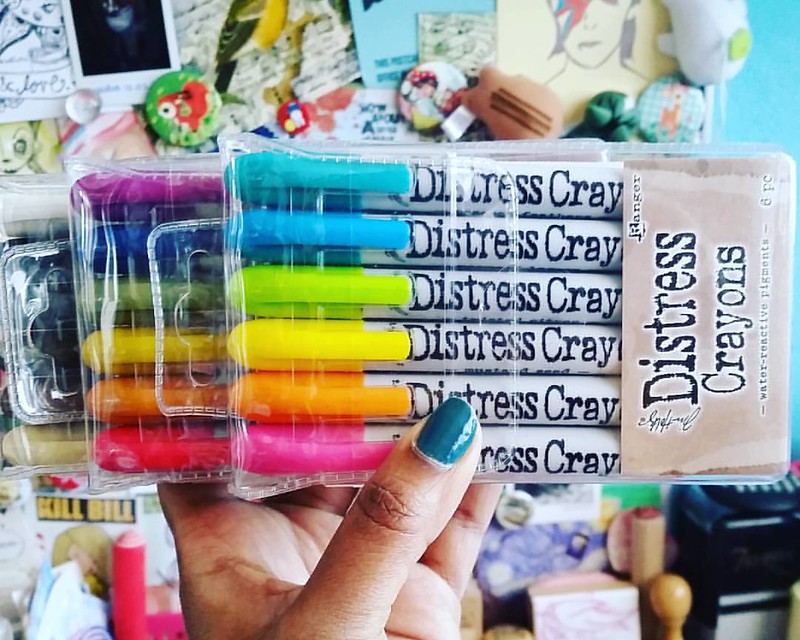
So I went a bit of Cray Cray yesterday at the #artspecially2016 event yesterday. This is part of the loot. And yes had to get the full set. #distresscrayons #timholtz #artsupplies #craftygoodness #colorful #craftygirl #craftyendeavors
I really love these! I love how soft and creamy they are and you can blend them nicely!

hera studies
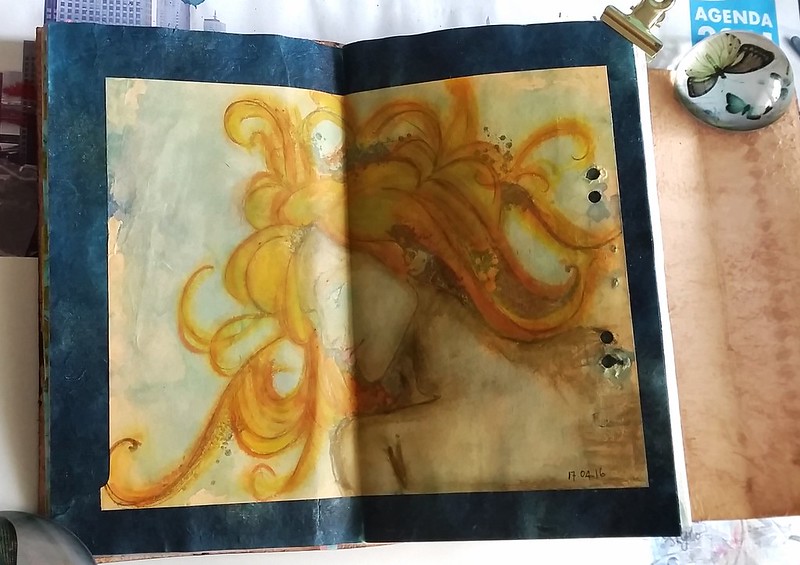
I created a dark blue border with distress stains straight on the paper, sprayed some glimmer mist over, added some texture stamps in dark blue and lavender brilliance ink and then adhered the colored page to it. That's basically it for the first studies, it's simple and effective!

hera studies

hera studies

hera studies
The dark border really makes the image pop out!

Next time will show you another page I created with this stamp. 

Thanks for stopping by and have a great weekend!
namasté
2016/06/03

A Circle of Stories (Let the gelliplate printing madness begin!)

The week began with a square, let's end it with a circle :) 
I held off as long as I could, but when I saw an 8" inch round gelli plate being offered on Marktplaats for 1/2 the retail price a few weeks ago, I just could not resist and got it! And the gelli plate printing madness begun!

My first monoprint pull from a gelli plate. Got a round one at marktplaats for cheap and decided it's time I had one for experimentation. #monoprinting #stencil #paint #gelliplate #gelliprint #printing #printmaking #mixedmediaartist #mixedmediaart #mixedm
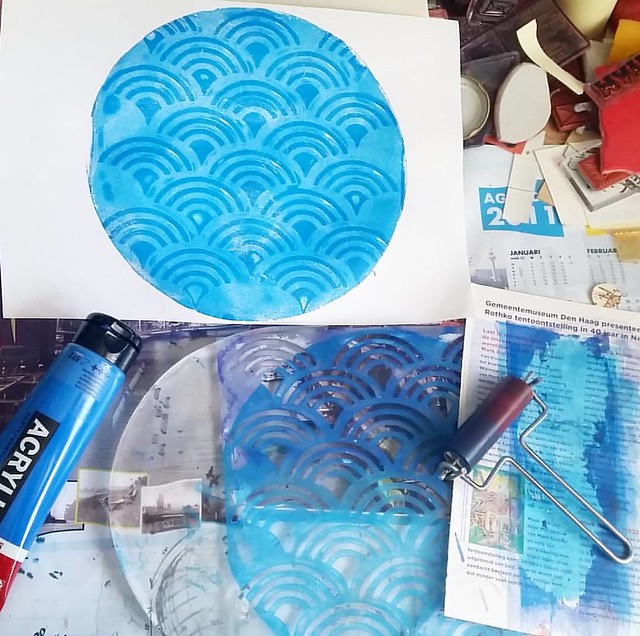
After you-tubing tutorials some fun tutorials, I just got out my Amsterdam Acrylic paints and got to work. This is the first print I pulled with a stencil from my Ed Roth 201 book. This book has some amazing stencils and the concentric circles work really well with the round plate. And it's really true what they say, once you get to printing, you just cannot stop!

So it's true what they said, once you start you can't stop it's that much fun #gelliplate #gelliprint #monoprinting #printmaking #printed #handprinted #mixedmediaartist #mixedmediaart #art #craftyendeavors #makesomething
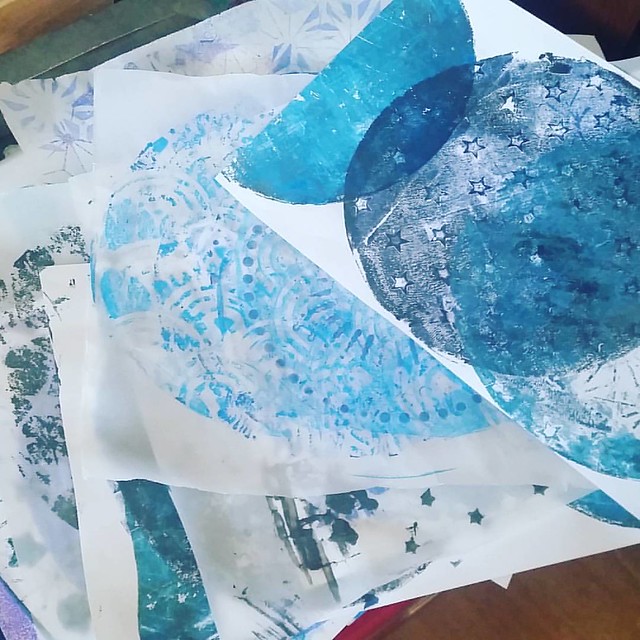
I played around with a lot of different stencils and paints. I printed most of them on smooth 80gms double A premium printing paper and I used Canson Tracing paper to rub over stencils to take some paint away. I still had a giant roll of this paper from my days working at an office supply store in college.It's just as smooth as deli paper but of a much better quality.

A circle of stories
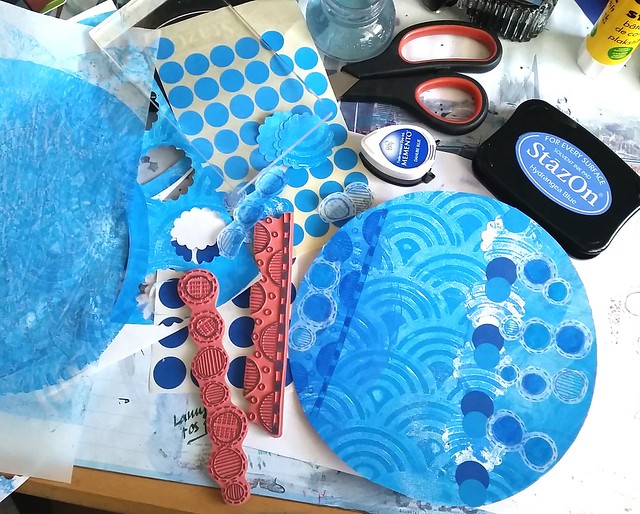
Then I noticed on the group Creative Collage on Swap Bot, a swap "Gimme a circle" hosted by Artsynerdgirl which would be the perfect swap to use one of my mono prints as base for. The swap requirements were to add all circle elements to your collage and include 3 different other media to your work. I picked out some great stamps from Dyan Reaveley Dylusions Around the Edge set, some round office supply stickers, my tombow markers, my scalloped 1"inch paper punch, some staz-on and memento inks and got to work.

A circle of stories
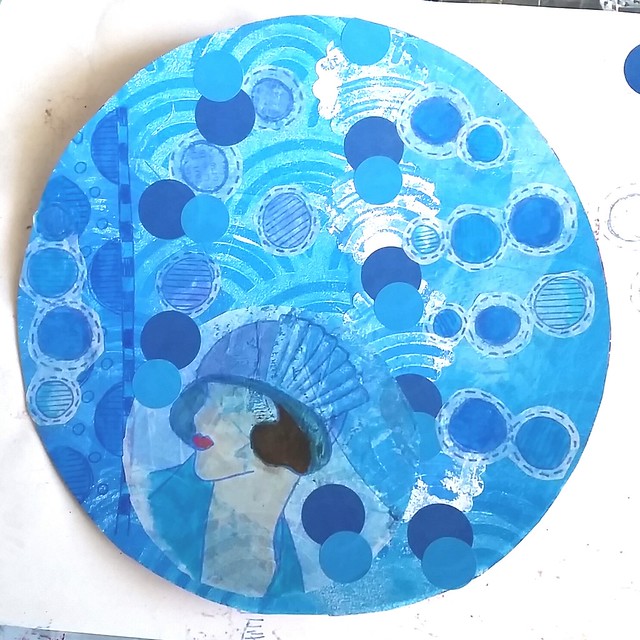
I stamped one of the ladies from the Couture Collection With The right Hat on a piece of the tracing paper, colored her in with tombow markers, cut her out in circle form and added to the collage.I felt like this needed a quote and added the following to the piece:

A circle of stories
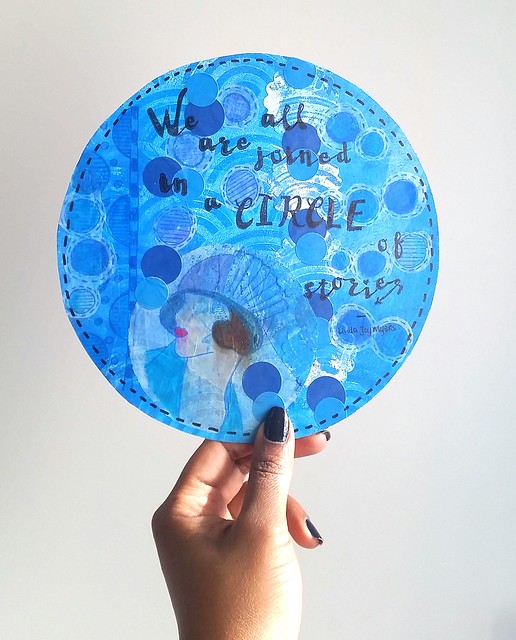
"We are all joined in a circle of stories" stamped with the Handlettering script alphabet stamps I also used in my midori April overview. I doodled around the edges with a sharpie, sealed with artist medium and that is all she wrote! My partner still has to receive this piece but hopefully she will enjoy it. I definitely enjoyed making this! I love the gelli print and recently joined the mixed media artists and The Printing Shop groups on swapbot to make more use of mono prints in my swaps. I also did a number of journal pages with my prints and will show you those in a next post. 

Do you have a gelli plate? Share a link to a work you have made with it, I would love to see it! At some point I definitely want to try this image transfer technique Bridget Koopsen showed on the gelliarts blog. I don't print a lot of photo's anymore, and only have an inkjet printer, but I have a bunch of older art pictures I "dumpster dived" lying somewhere which can be used for use! All in good time...

Thanks for stopping by and have a great weekend!

namasté