Showing posts with label paper artsy. Show all posts

2018/12/21

Art Journal: SisStars Do small things with great love - AALL & Create


Hi and happy winter Solstice! With the holidays and new year nearly upon us, it's time to spend with friends and family to deepen the bond we have with them during this time of festivities and renewal. I have an art journal page to share with you which I have dedicated to my sisters, or as I like to call them, my SisSTARS because they definitely have a bright shining spot in my heart. I've used AALL & Create products for this and I'll share the process of making the journal spread with you now. 

 
So in my project last week I showed you how I used the numerical circles from set #110 to make a season themed card. Since I only used a portion of the stamp, I also cut out circles and leafs with punches to use in this project. I also cut out the fern, but alas that didn't fit into the journal spread this time. Good to have for another project :) 

I started with gluing the circular and leaf pattern down randomly on the pages in my junk journal with matte medium. Some aria's have been embossed with copper embossing powder so that will have some extra texture. 

I applied some gesso over it and then raked the edge of a plastic knife through the gesso for some interesting texture. When that dried I applied modeling paste through the Lotz of Dotz stencil #39 over some empty spots. The teeny tiny dot pattern also remind me of stars. Now to add some color. 

I took my small foam brayer and a few cool blue colors, ranging from light to dark to add depth and contrast on the pages. Then to add color under the stenciled aria's I used some home made shimmer sprays from Cosmic Shimmer and Lindy's Gang.
 
I used some darker grey colors like pewter (cosmic shimmer) and black forest (Lindy's gang) and made sure that the most of the white was saturated with color. To get more of the contrast back I traced the patterns with a blue Stabilo all pencil & activated them with water to get the shading going. I also stamped the grungy flower of set 123 randomly over the page. I left it to rest and took

The next day I added a deeper layer of color over the page and some scribbles & sayings like Pinky Swear, Keep your promises always, stay grounded in gratitude and a few others to signify the sisterly bond. The word stars is a die cut from DieNamics and cut out of starry scrap book paper. I used black forest ink to darken the background and white to highlight the word. The image of the sisters are from Tim Holtz vintage people pack. To ground them I added hemp twine and a skelleton leaf. The text stamp is from set 123 as well and I stamped it on a contrasting color to make it pop out more. 

I definitely love how this turned out as an hommage to my lovely SisStars. 

These are the products I used: 


This is also my last project as Guest Designer for AALL& Create. Thanks to Autour de Mwa for inviting  me on board these past months, I really appreciate it and enjoyed working with the products. You can find the stockist HERE and be sure to check out the newly released collection of December for another array of great designs :)

Thank you all for stopping by today. I really appreciate the support you all have given me here and over at my other social channels over the year. Thank you, you're all STARS for sure! Wishing you all a wonderful holiday season and transition to the new year. May you spend it with the people you hold dear.

See you in the new year!

2018/03/16

Art Journal: A Rainbow in Writing

rainbow writing

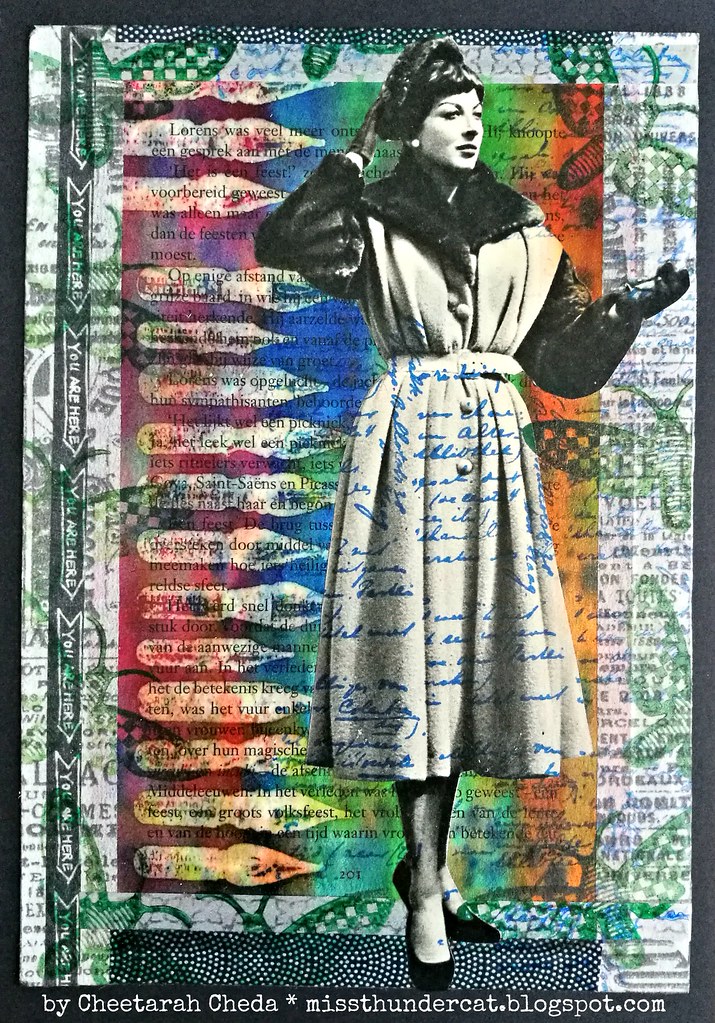
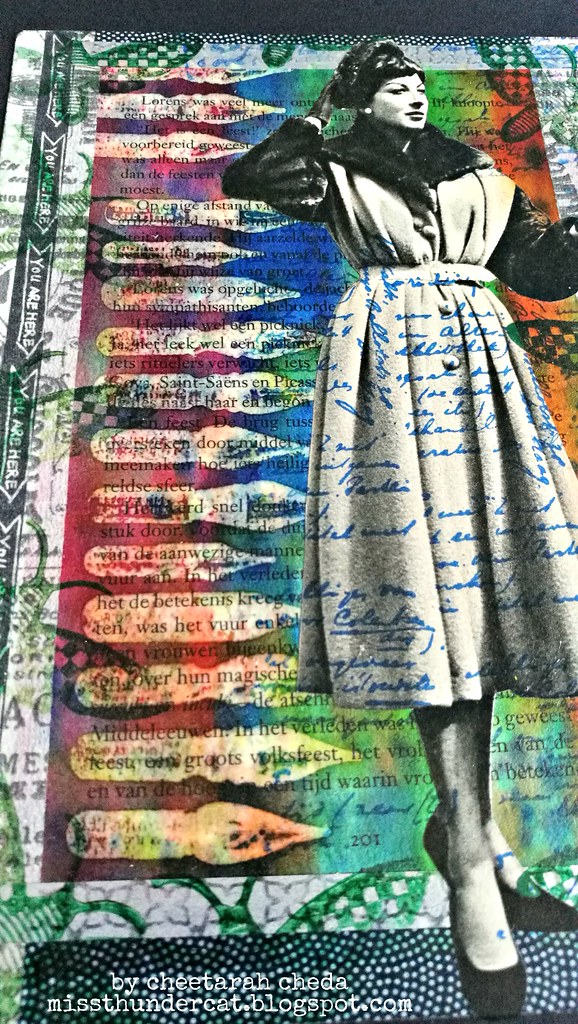
It's already halfway through March and I'm really longing for spring to finally arrive! But it's still a bit cold in my hemisphere and wanted to share a colorful art journal page to share some warmth. I've stamped the dip nibs (by darkroom door) on a book page with versamark ink and heat embossed it with transparent embossing powder. Then I dripped some various fountain pen ink over the page and diluted it with water to make a rainbow effect. The embossed parts worked as a resist. The lady is from a vintage magazine and handwriting stamp and moth are from Paper Artsy and stamped with Staz-on.

rainbow writing

I used washi tape for the edges and sealed it off with a thin layer of modge podge matte medium. Love how the resist effect worked here and how bright these beautiful colors are. Such a happy page to look at! 

Would love to enter this in the following challenges: 

Thanks so much for stopping by and have a wonderful weekend!


2017/11/06

Art Panel: From ugly duckling to ballerina swan

Ballerina swan in roses

In september I had the amazing opportunity to attend a workshop by Nika Rouss (aka Nika in Wonderland)  at ArtChicks Studio. Since the site only updates the newest workshop, I'm sharing the flyer that was posted about it.
Image may contain: 6 people

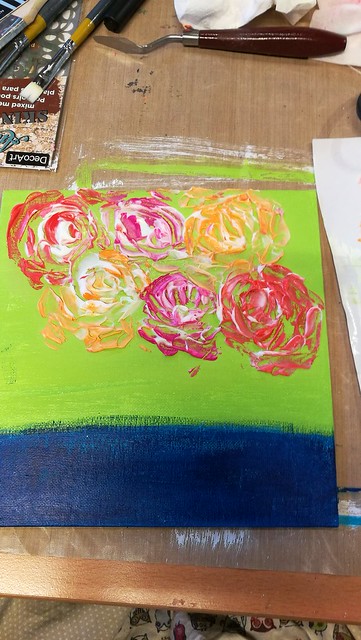
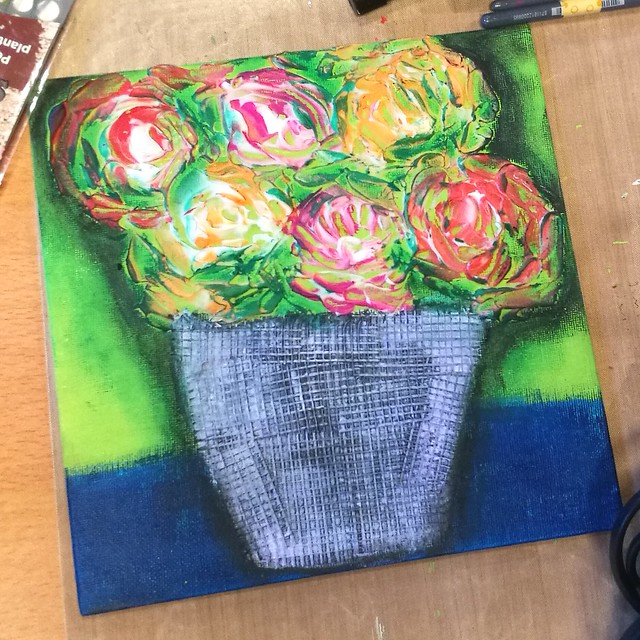
I attended the Saturday midday workshop and I honestly didn't know what to expect, except awesomeness, because Nika is pretty awesome! The workshop was "intuitive painting with roses" (like this video) and this is how I started my canvas
rose experiment
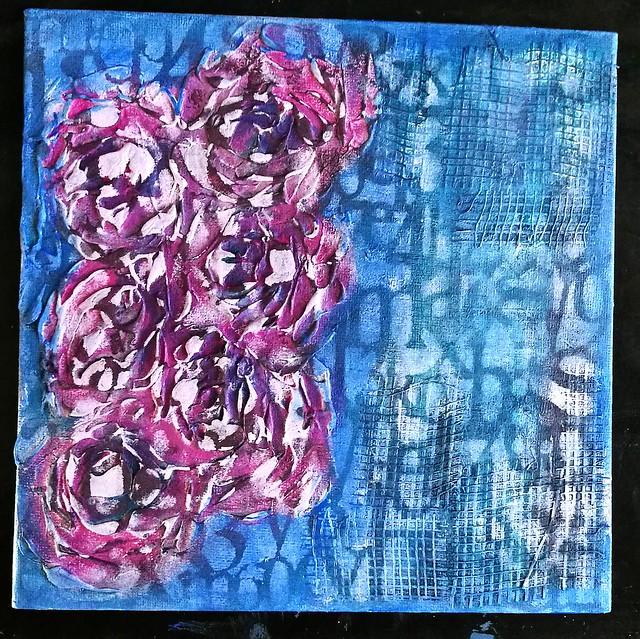
We took some modeling paste mixed with paints and the pallete knife to form the image of a rose bouquet. But there were some well unforeseen circumstances in the day - it was hot and humid and the "peeks" of the roses would not dry.  So it took a chunk of the lesson time to dry which was unfortunate. In the end we had to hurry to finish up the piece and this was what I went home with (next to awesome times with the other workshop participants and Nika, of course!)

rose experiment

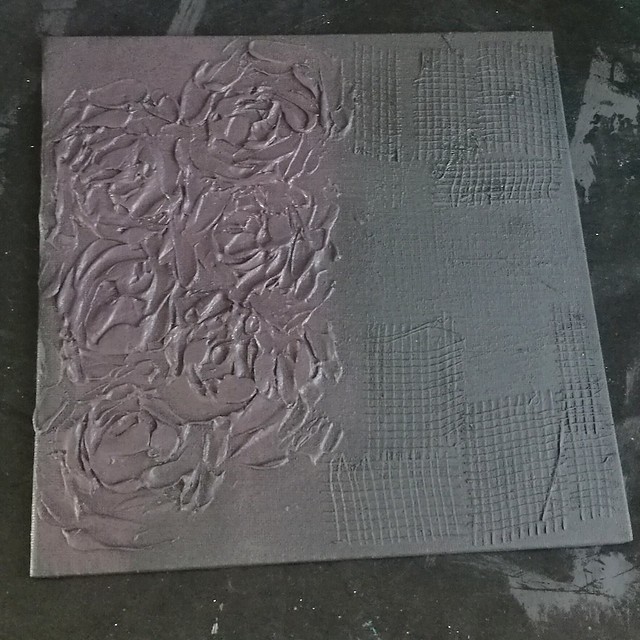
The end result I had made was really not to my liking and I worked on it at home to create something that was more true to my own style and imagination. As Nika said, There are no mistakes! If you don't like it, Gesso over it and try again! So that is what I did at home.

Ballerina swan in roses
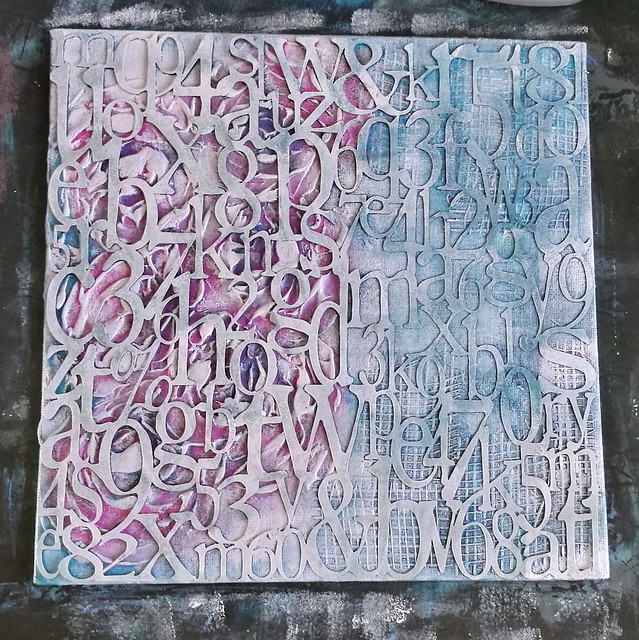
I turned the canvas to the left and took apart the drywall tape and applied some heavy coats of black gesso over it. Then started to add some colors and layers of paints with Deco Art Media and paper Artsy fluid acrylics paints. But alas I forgot to photograph the coloring process (I was in a really good flow!) but I do have images of the next stages when I used the Alpahbet Spagetti stencil from Ady Skunner (decoarts mixed media)

Ballerina swan in roses
I rolled on some lighter paint over the stencil.

Ballerina swan in roses
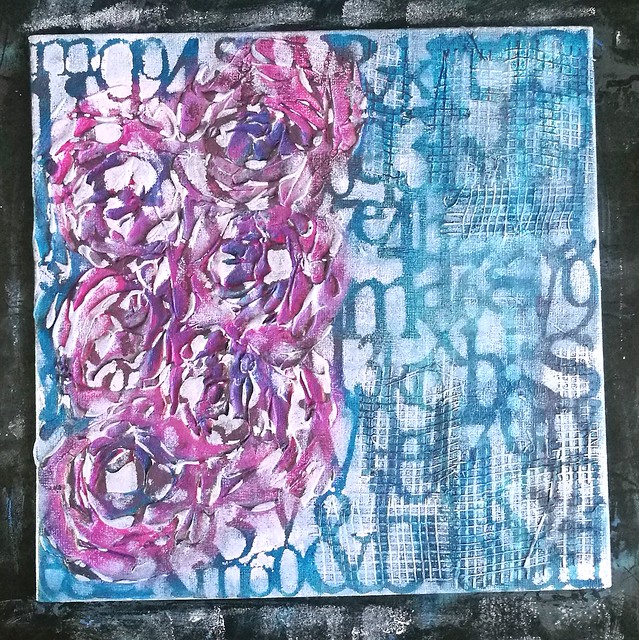
And this was the colorful result. So much better and happier at this point! I wanted to tone it down just a little bit so I glazed some blue paint over and around the edges.

Ballerina swan in roses
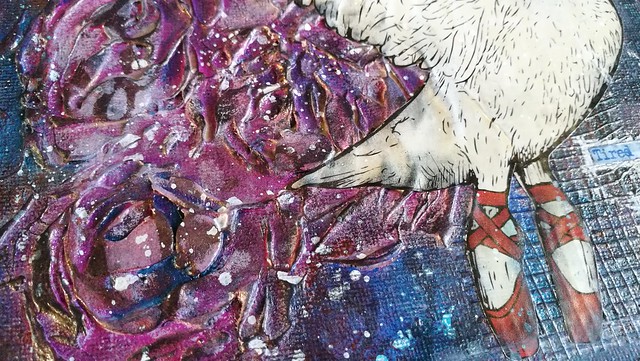
The blue glaze made the roses pop out more and this is where I was fully happy with the background. So then I added my focal point.

Ballerina swan in roses
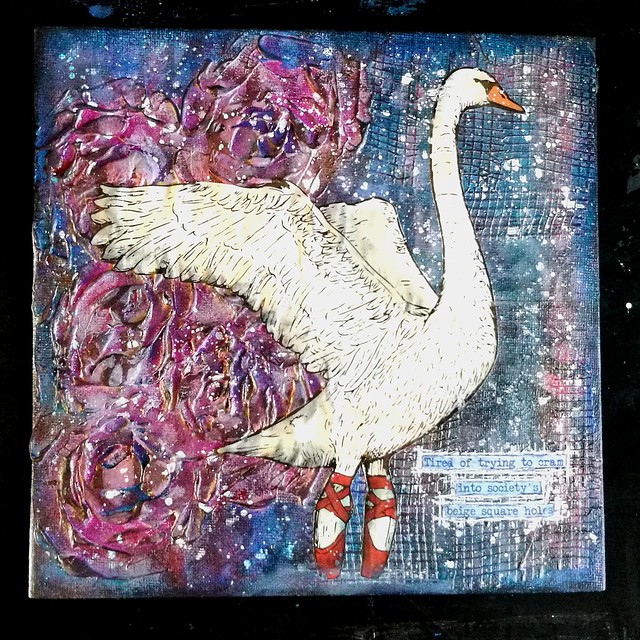
The ballerina swan (a magazine cut out)! I added more depth to the piece with caran dáche neo oil pastels and spatters with a white posca paint pen. The sentiment is a part of a Viva Las VegaStamps! sentiment ...

Ballerina swan in roses
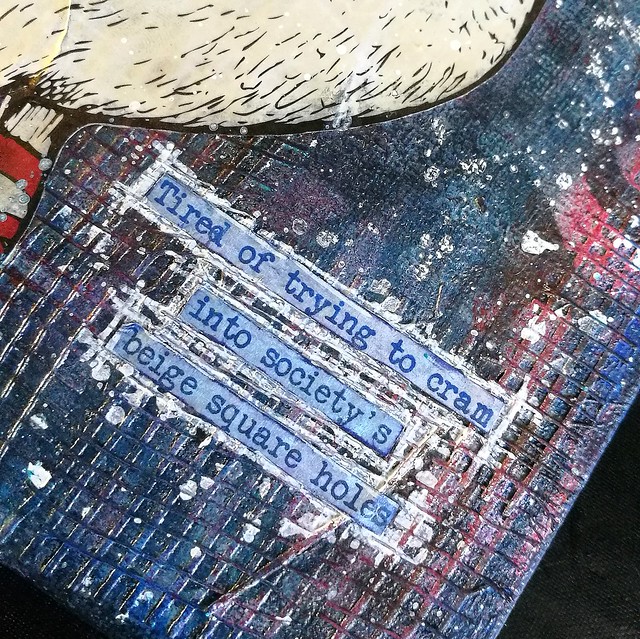
"tired of trying to cram into society's beige square holes" I thought it was powerful to add this piece of text over the square shaped drywall tape. And combined with the swan, it makes the piece complete.

Ballerina swan in roses

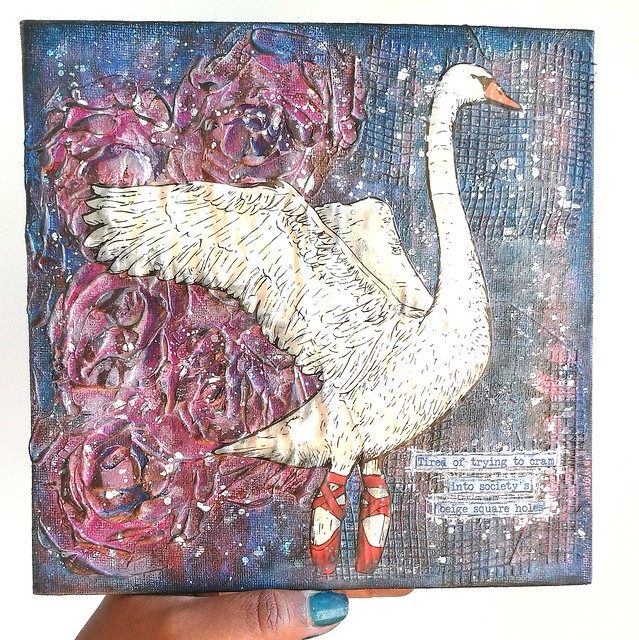
Now I am 100% happy with the finished piece! I do want to thank Nika for the inspiration and fun workshop and all her YT tutorials helped with understanding certain techniques. She isn't afraid to share her mistakes and also show how you can correct them, which is the biggest inspiration of all. So that would be my biggest take away from this workshop. 

Hope this got you inspired to work on a piece you gave up on initially and create from that ugly ducking a beautiful swan yourself!

I would like to enter this piece in the following challenge:
Take It, Make It Challenge
Craft Stamper take it make it november 2017

CURRENT CHALLENGE
MMW#30 Anything mixed media goes
Thanks so much for stopping by and have a great day!


2017/08/03

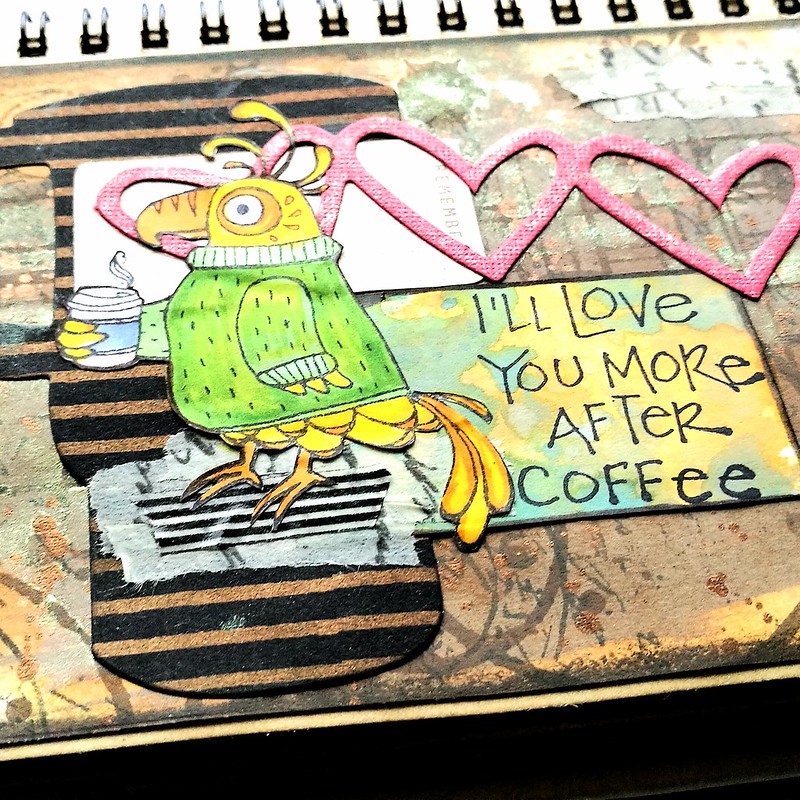
Art Journal: Remember, I'll love you more after coffee!

Art Journal: I'll love you more after coffee

Today I wanted to share a fun page I created in my spiral pocket art journal. I incorporated a bunch of different elements and experimenting with a little scrapbook lay-out style. Most of the elements I used are combined from different projects out of my "lefTOVERS-scrap box".
The background is made with Distress Oxide, I still have so many left from my very first play session with them, and stamped on it Indigo Blu Ledger, Tim Holz Coffee Rings and splatters, Large VLVS! Coffee rings and Joy Crafts script stamp. All stamped with Java dye ink from Ranger. Then I sprayed some Kiwi perfect pearl mist over it. IRL it does shine a lot more.
Then I built up the layers using die cuts, the coffee mug is from Stamplorations and one I cut from this project, some left over hearts from this project and used some left over papers from yesterday's project to stamp the sentiment on. Which is, as well as the bird, from Stampotique Originals.
I put in a little "remember" tag before the sentiment to make it a sentence. The bird is colored with letraset promarkers on sticker paper and fussy cut out. 

Art Journal: I'll love you more after coffee
I grounded Cocoa Bird on some washi tape and tape a little bit on the right top corner for some balance. Gave the hearts some shimmer with a wink of stella marker and called it done. I really love this page as I imagined the bird being a parrot, echoing this to people who want to talk to me before I had my morning coffee :D

Entering this journal page in the following challenges: 

Simon Says Stamp Monday Challenge - Food and/or Drink 


We gals love our coffee and bling, right? :) 

Art Journal Journey - Poetry in Motion
I thought this would fit the theme as well, though I am SLOW-motion before my coffee, LOL!

Simon Says Stamp Wednesday Challenge - Splatter it

Thank you so much for stopping by and have a wonderful day!


2017/05/05

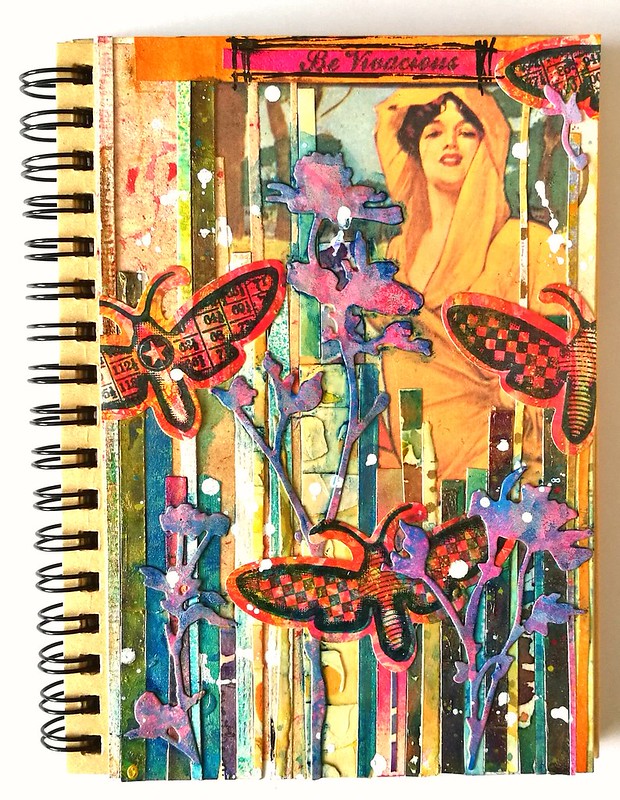
Art Journal: Be Vivacious

Be vivacious

This is a journal page I made with an advertisement postcard being the base. I glued on several strips of left over trims and then added some flowers cut with the Tim Holtz flowers die and the paper Artsy moths die and stamp set. Those were made from left over gelli print paper. I used the Stabilo marks all water color pencil in blue for some shadow on the flowers and then added some spatters with my posca pen. The sentiment "be Vivacious" was left over from this journal page and seemed very filling for the page. Very easy and quick journal page which was done under 30 minutes and helps you to get rid of your left over trims :)

I would like to enter this journal page to the following challenges:

Simon Says Stamp Wednesday Challenge - Hint of Pink
(there is a hint of Pink in the flowers after all :)

Moo Mania - Hats (the lady is wearing a cape/drape over her head)

The Artistic Stamper - Floral fantasy

Watercooler Wednesday Challenge #WWC117 - Feminine Anything goes challenge

Make My Monday - May Flowers

Art Journal Journey - Elegance and Grunge

Time Out Challenge #82 - Anything goes with optional Kissing

Thanks so much for stopping by and have a great day!


2017/04/07

Shopping Highlight: Art Specially 2017

Well as I hinted last Friday, last weekend was spent at the wonderful Art Specially event in Nijkerk. My lovely husband came with me (both days) to share in the crazy fun and also to make sure I didn't spend too much. Well the latter spectacularly failed, haha! But we definitely had crazy fun!

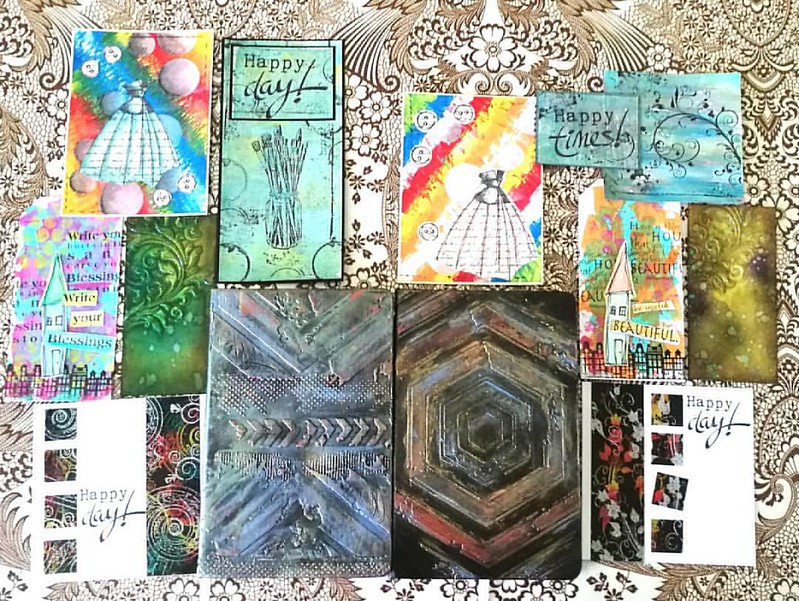
There were a lot of workshops/make and takes were offered this year again but we only had time for a selection. Also there were lines for the very popular workshops, like the notebook decoration by Papillon Hobby. We sat in line for 1 1/2 hours for that one. It's good to have a buddy with you so you can take turns in waiting. It was well worth the wait and fun to use a new to me product; Cadence brands wax, stencils and media. We also had workshops with Dylusions paints (dress card), paper artsy and infusions powders on gelli plate (the Happy cards), Dina Wakley paints (the house tags), Distress ink layering (swirl tag) and dual emboss resist technique (the happy day card). 
Result of 2 days workshopping at ArtSpecially 2017. Left side my works and right side works made by @cornelius.grayl Was great fun and am totally exhausted!! #artspecially2017 #artspecially #workshopresult #showyourwork #showyourart #mixedmediaartist #mix
On the left works I made and on the right the works my husband made. He got a lot of fun comments on being one of the few guys there attending the workshops :) I learned a lot these two days and I can't wait to implement some of these fun techniques in my own works. And I learned a great way to customize my Rhodia/Leuchtturm notebook!

The trends/pushed products on the event this year were: Distress Oxides, Cadence products (seriously almost every stand was pushing this new brand!), Pan Pastel, alcohol ink on yupo and gilding wax/faux metallic effects. I managed to resist buying a few of these pushed products, like the gilding wax, but also came home with a great deal of other things. 

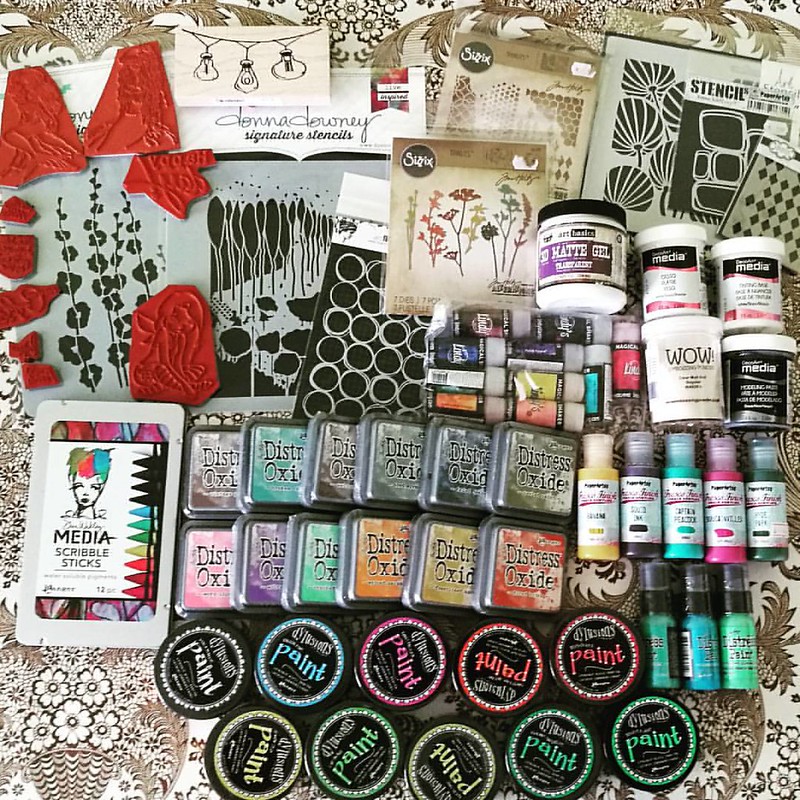
The loot from Art Specially this weekend. gosh, I am glad it's only once a year! #crafthaul #craftyendeavors #craftsupplies #artsupplies #theloot #spoils
Well... like I said, not spending too much has spectacularly failed this year! So happy this is just a yearly event! I had pre-ordered the Distress Oxides and saw Corrie Herriman live doing a demo with them at Hobby Compleet de Duif stand. I'm really excited to give them a whirl! I also pre-ordered the Lindy's magical shakers and am very happy to have found the Scribble Sticks. I'll to a comparison of both those products with similar products because I am curious on the differences between them. Will of course share my findings with you. All the paints and deco arts media were on sale and well since I love a good sale and wanted to have the dylusions paints for a while, so I went for it! A bit light on the stamps this year around, but that´s because I had my eye on different media to try out. You gotta make choices somewhere right? ;)
My husband also made some purchases and went for a set of ZIG's Clean color brush set

and I love that he is trying out this new to him medium :)

I am looking forward to use my goodies this weekend.
Have a great one you all and thanks for stopping by :)


2017/04/03

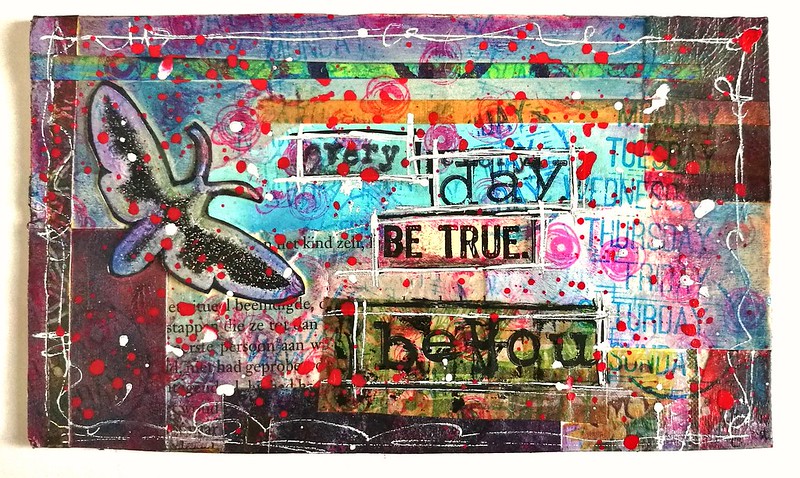
MailART Monday: Every day, be true. Be you.

Be true, be you

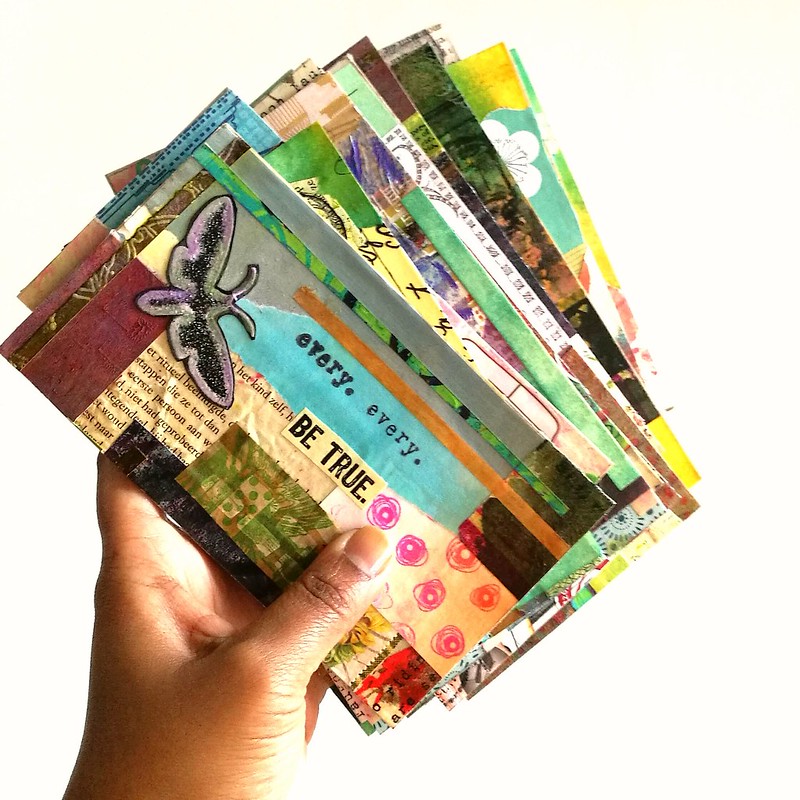
Slowly but surely I am working on that huge stack of postcards I showed you last a few weeks ago in WIP wednesday. This is the first card I finished from the pile and hopefully I can show you finished cards here on a weekly basis. This message that came about spontaneously has a special ring to my heart. Every day, be courageous and be true to yourself. I absolutely love how this turned out and I am hoping my partner for a swapbot swap whom I sent it to will appreciate it as well. 

About the materials I used: the moth is from Paper Artsy, the days stamps is from Carabelle studios, Be true sentiment is from VLVS! The rest I filled in with a Hema typewriter font alphabetbet stamp. Spatters are done with Liquitex and Daler and Rowney INKS and a Uniposca white paint marker.

By the way this is what it looked like cut from the masterboard
Collage PC's cut from giant A2size collage


Thank you for stopping by and have a wonderful day! 


2016/05/02

Mailart Monday - Ideas create the story, ART makes it visible

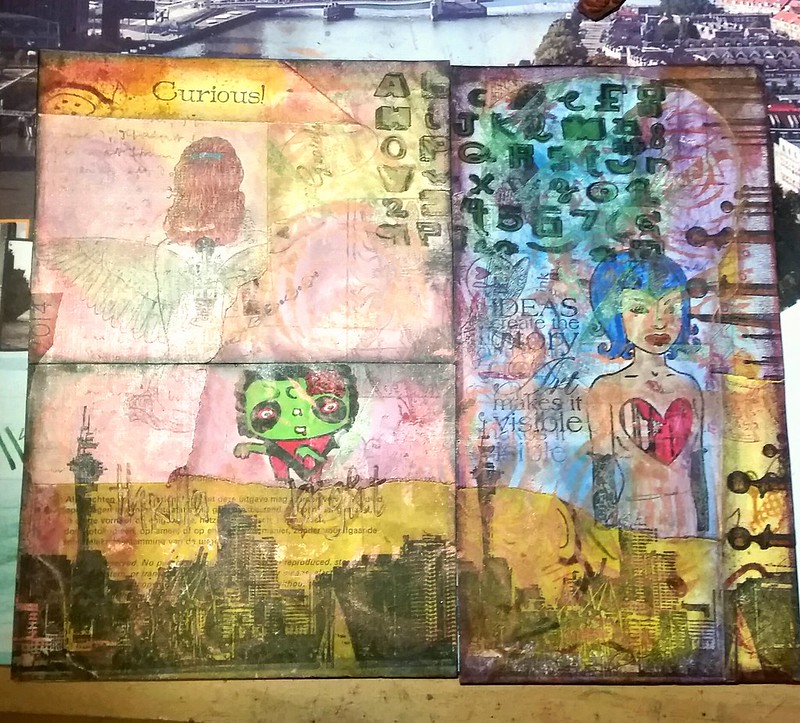
Mail art panel composition

As you might know I like to collect and keep a lot of paper things in my "junk paper boxes" because of the "you never know" feeling. You know, that feeling that every piece is valuable, because that little scrap of paper would be perfect for the over all image for the idea you have for your mailart? That feeling causes me to be a hoarder and is creating space issues! Anyhow, that is a story for another time. 
On my cramped desks pace I have managed to make large collage panel pieces with random images like the one you see above. For this piece, I used a lot of my test papers as the back ground and added more scraps and bits to the collage. 
When I was satisfied with the collage element, I cut this huge panel piece into 3 postcard mail-able size pieces and worked on them individually.  I then added more color with rub on metallic pearls, rubber stamped images and some stencils prints to the layers. 

Mail Art 018-2016
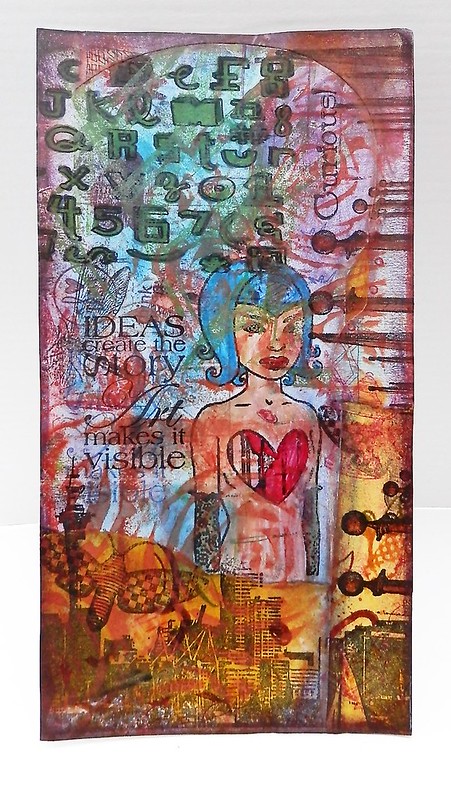
Finished close up piece on the far right: the blue haired girl is a drawing by Tara McPherson [sometimes I just want a hug] which is also in her coloring book. I made a stamp of with my Teresa Collins Stamp maker (still working on a review for that!) I also made that alphabet rubber stamp set myself with the machine. Every other stamped image on this piece and the next ones are from various stamp companies: Paper Artsy Hotpicks moths, Lost Coast Designs ATC background sets, Art Specially "men just Chill" set... I like how all the elements came together and how the Blue Haired girl is unintentionally centered in this piece.

Mail Art 2015-032
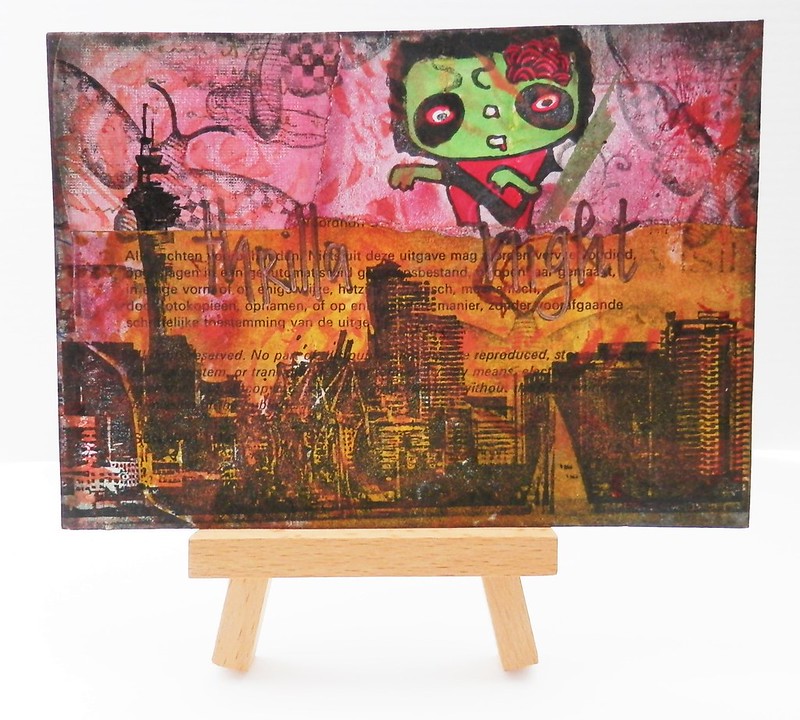
Close up of the piece on the bottom: The Michael Jackson Thrilla stamp is hand carved.The city stamp is from Art Specially and Moth Stamp from Paper Artsy. You can see faint imprints from the Succulents Stencil from StencilGirl which are all over the other pieces as well. Wrote "Thrilla night" on it with a sharpie and went over it with a copper colored gel pen. To finish it off I added black smoke metallic rub on to the sides.

Mail Art 019-2016

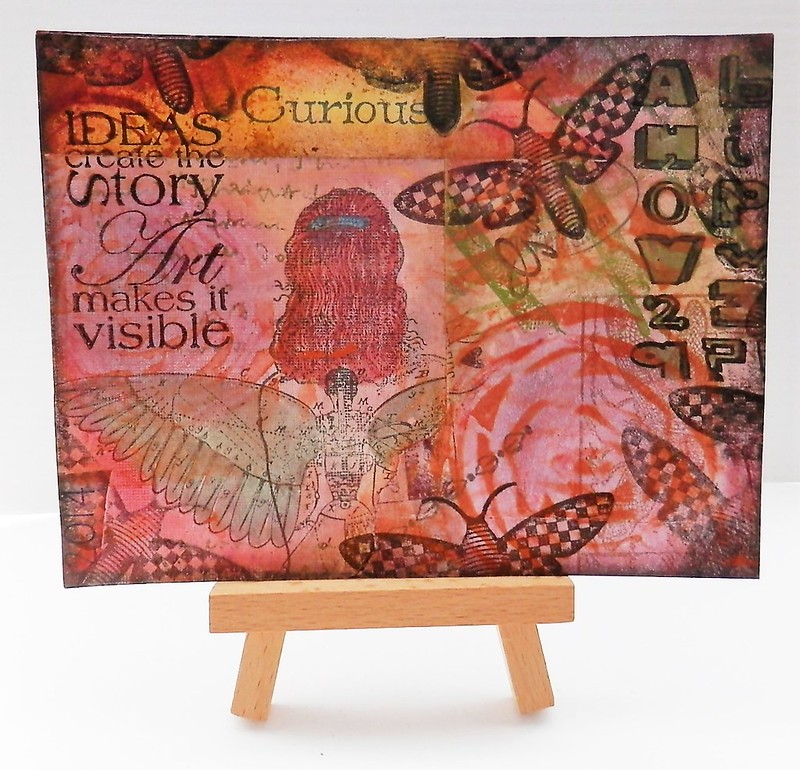
Close up of the piece on the top: The woman with wings was a test piece for this "Davinci's Muse" work I made for the one layer challenge at Inkadinkadutchies. I used both Lost Coast Designs and Carmen's Veranda stamps. Same other rubber stamped elements are used in this one as well. A more prominent stencil mark of the succulents was used here. What I like most about this piece is the stamp I used from Art Specially "Ideas create the Story, ART makes it visible" which essentially marks my experience with creating. This test piece was a journey to create the idea I had for Davinci's Muse. And in the end all the test pieces are a part of an idea turned into art as well. A nice artsy loop ;)


Thanks for stopping by and have a wonderful creative week!

namasté