This month at StencilGirl® Talk we share what we feel grateful for. I've made an art journal spread about my home town, Amsterdam. I'm feeling grateful for the roots I have there, the city I've spent the better part of my life in and in connection to my remaining family whom still live there. It's quite a personal spread, but it has so much meaning that I decided I wanted to share this with you here as it helped me worked through processing loss.
Musings about arts, crafts and writing. Sharing tutorials/reviews of arts and craft supplies, fountain pens and other stationery related goods.
Showing posts with label Golden Gesso. Show all posts
Showing posts with label Golden Gesso. Show all posts
2018/10/26
2017/02/02
WIP: Processing Poppies
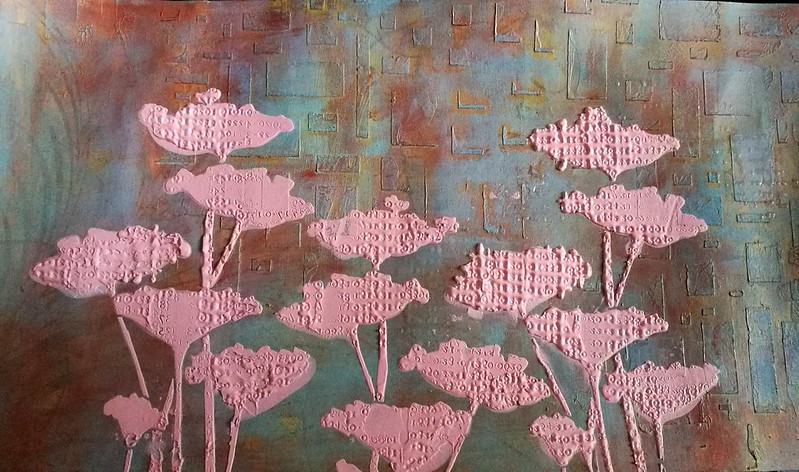
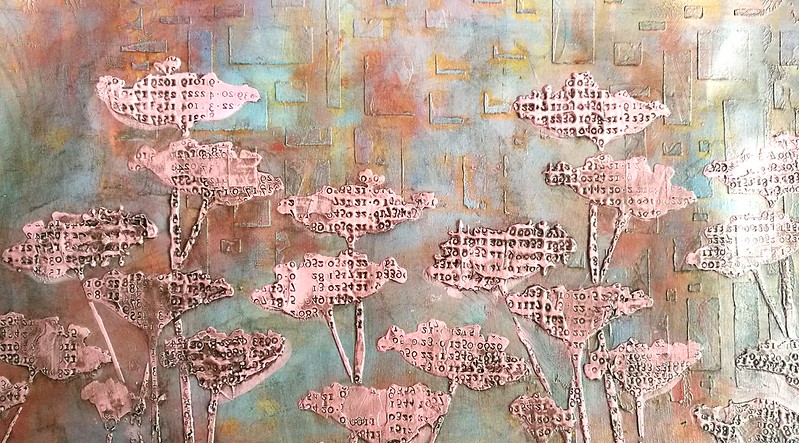
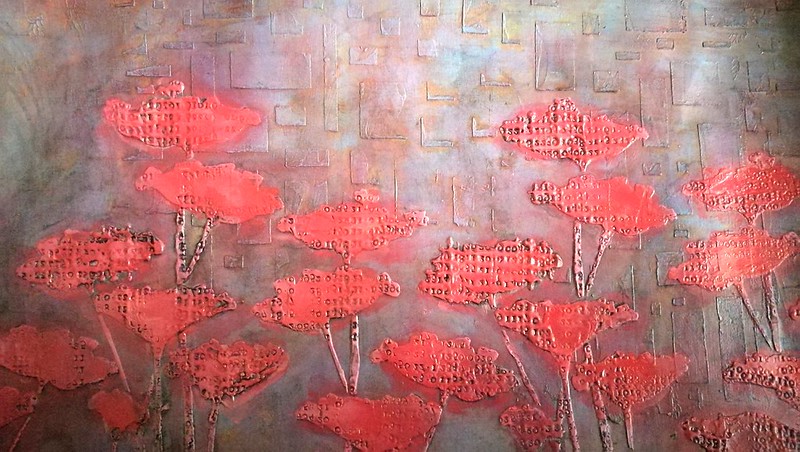
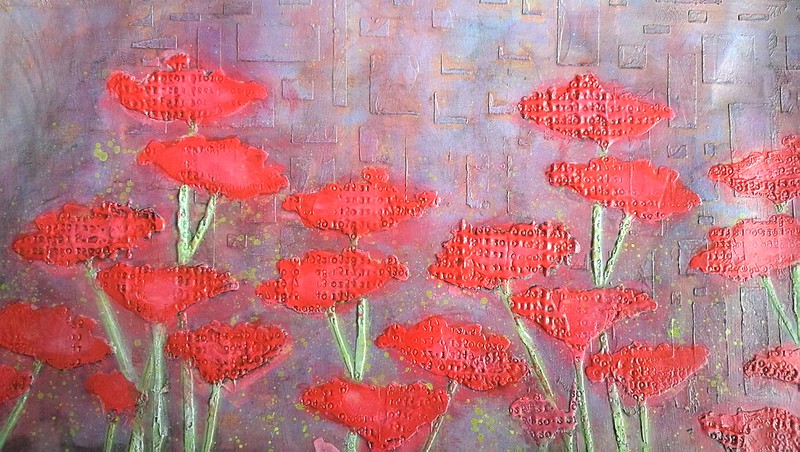
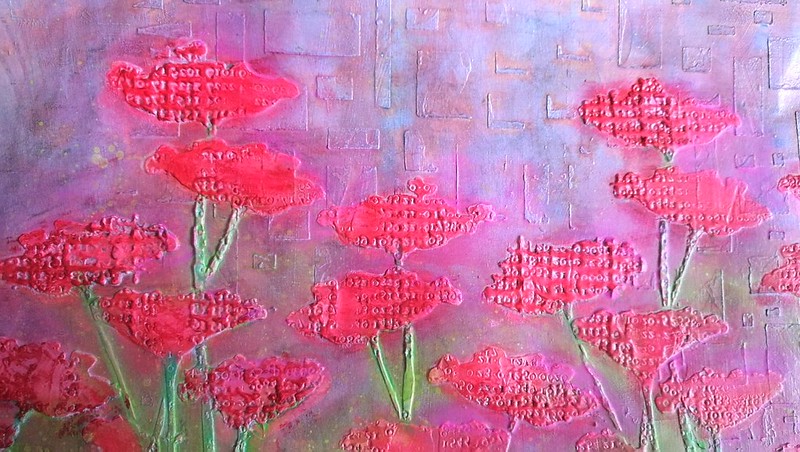
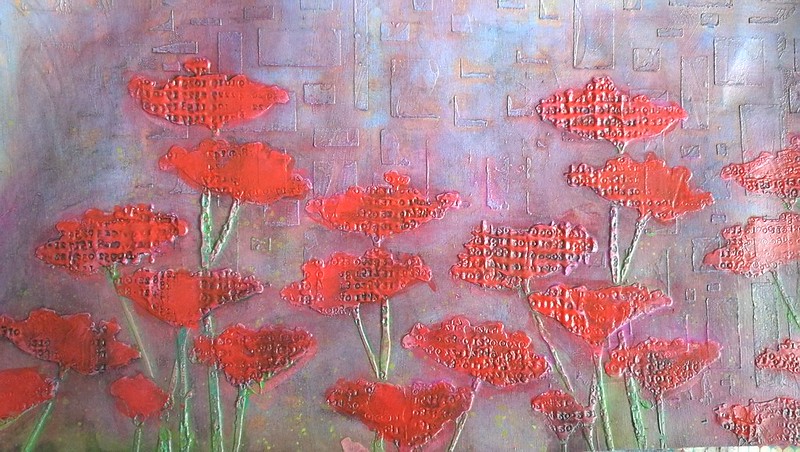
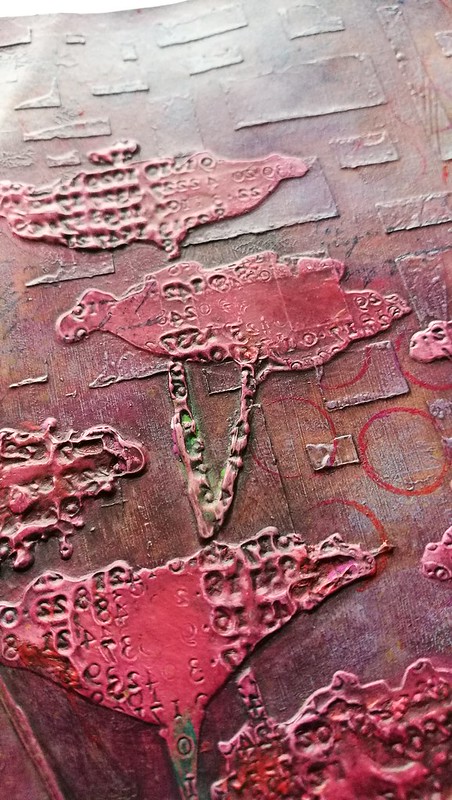
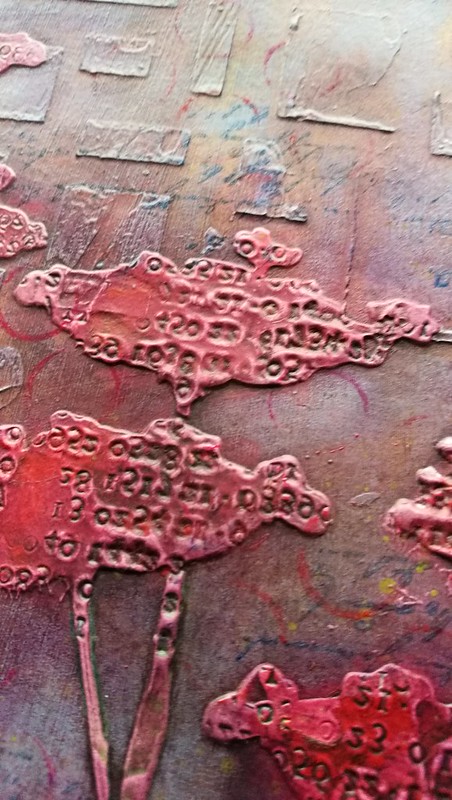
Recently I have joined this amazing facebook group, Our Mixed Media Moods, to get inspired for doing some more mixed media work. The group is run by these talented ladies Dee Dee Catron & Jenn Engle and they share a mood board every 20th of each month to inspire people to create/dabble more in Mixed Media. The current mood board really inspired me to try and participate. The gorgeous wine color, flowers and cascading squares/rectangles inspired me most. I made a journal page for it, but before I share that, I wanted to share the process up to that page with you first. It's mostly picture heavy to show you the evolution of the process of these wonderful poppies which I made using Donna Downey's Poppy Forest stencil.
I started off with a piece of scrap book paper prepped with gold gesso. It already had some cascading rectangles on it so it was a perfect place to start on. I brayered on a couple of different paints (fresco and distress paints) and wiped/rubbed places with a wet wipe. Then got my poppy stencil, mixed some modeling paste with a dab of red paint and stamped into the paste when it was semi dry.
I wanted the numbers from the Tim Holtz stamp stand out more and I saw this video by Dee Dee in how she made the black glaze and I gave it a go myself. I used liquitex INK! in black and paper glaze.
Wanted to add more color to the poppies and finger painted the flowers with red distress stains.
Added color to the stems the same way with green distress inks.
Then added some color on the background with pearl rubs in pink and green. But the more I did this the more I started to hate it. The black accents were also gone and the colors were just too bright. So I got a wet wipe and started to wipe some background color away.
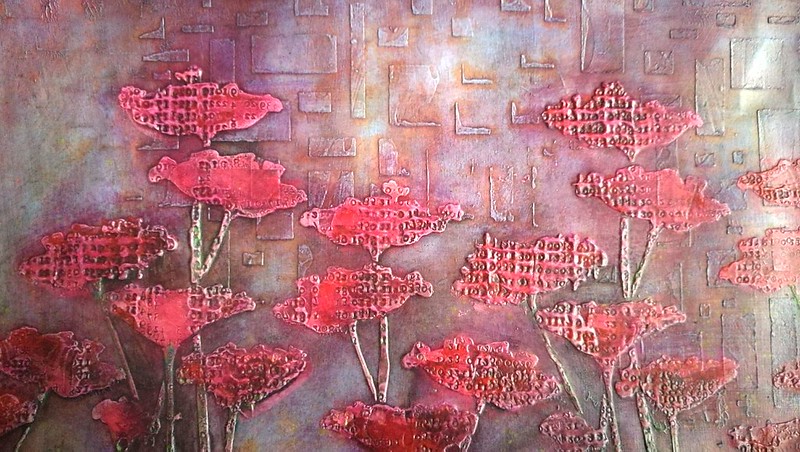
Then I got more black glaze and dry brushed it in the stamped parts of the stencil to get the darker accents back. It was still too bright so I wanted to tone the colors down a bit.
I poured the black glaze fluid over the piece and wiped it out. Now this was getting to where I wanted it to go, finally...
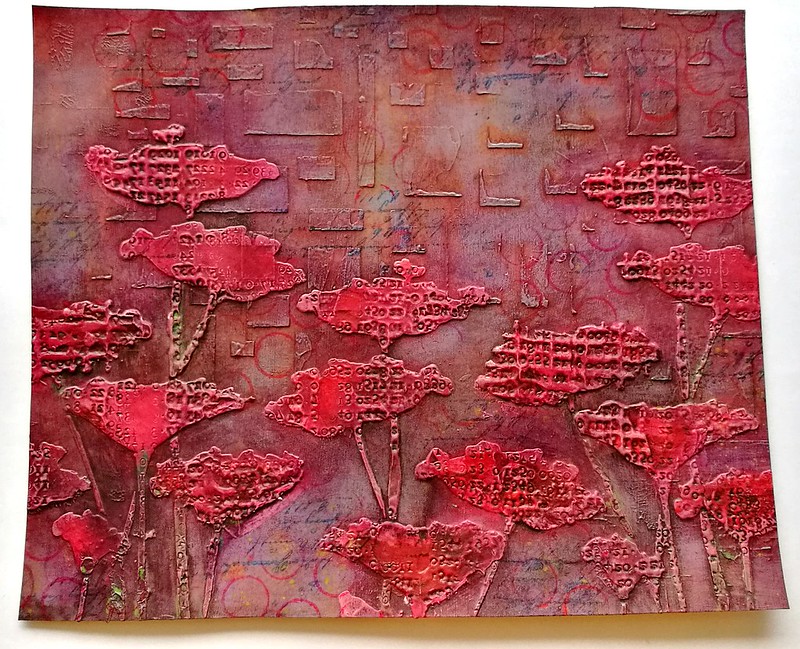
Trimmed a piece for my pocket journal, stamped on it with a script stamp and some open rounds and it was ready for the next stage in my art journal.
A couple of detail shots of the poppies in this end stage. Stamping in modeling paste is so much fun and I will definitely do this technique again.
Tomorrow I will share the finished journal page, hope you will stop by to see the final stage. Thanks for stopping by and have a great day!
2017/01/06
Art Journal: A bright burst of thoughts
When I was walking about in the Hague I entered the Flying Tiger and saw they had a couple of spiral bound journals for sale with black sturdy pages in them. "Oh no," I thought, " this could be the beginning of new art journals!" And yeah I took them home with me to test. It's a smaller journal (A7 sized) a bit bigger than ATC size which appealed to me. I also wanted to work directly onto the paper, instead of adhering a made page into my journals like I have done before. Also I have no spiral journal. Yes, yes I'm reciting all the excuses I had in my head before buying the journal, haha!
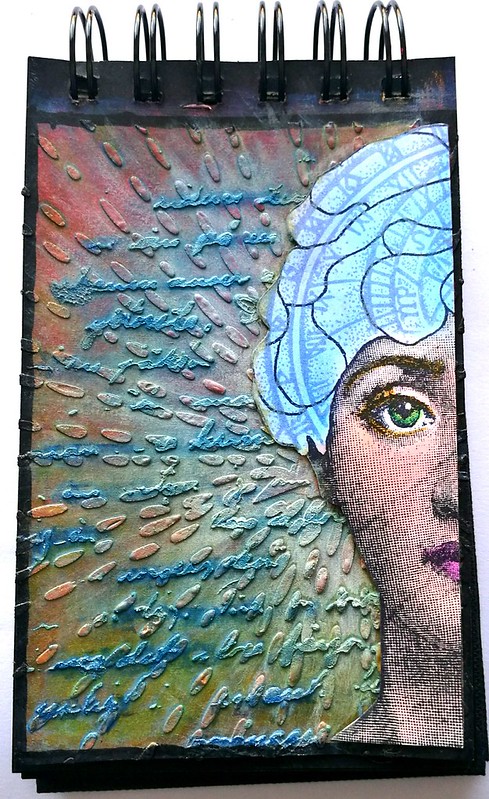
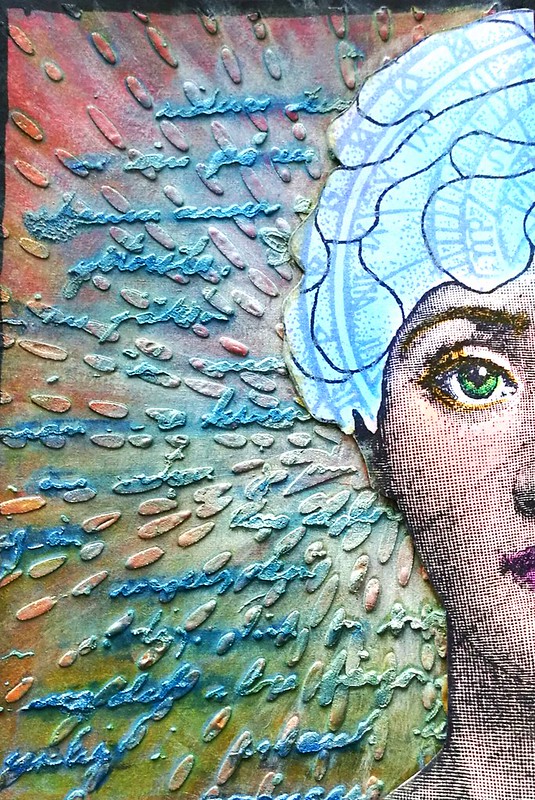
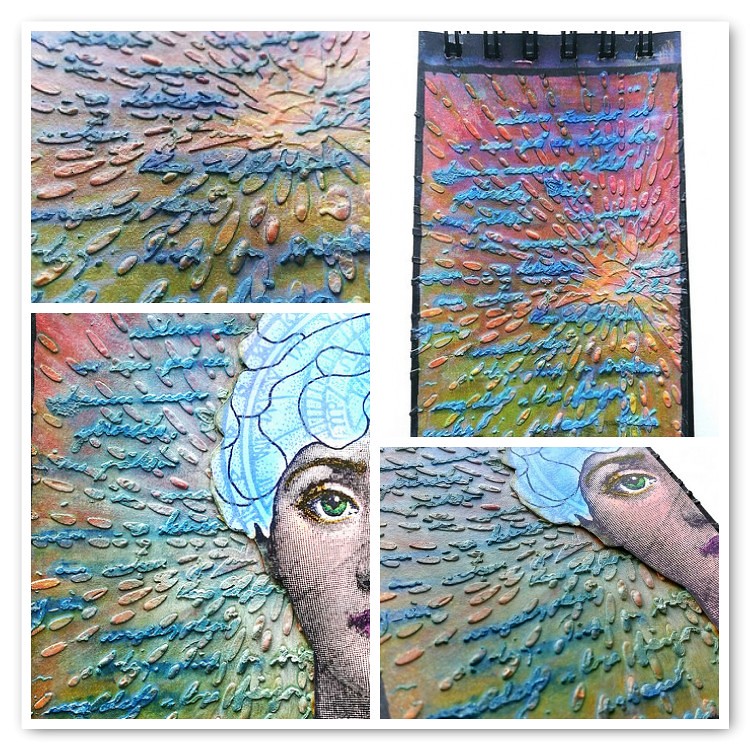
To start off I added a layer of crafter's workshop golden gesso as a primer. Then took their Burst stencil and applied some light and fluffy modeling paste to it. I placed the burst center on the right side so the rays spread out on the left. Let that dry and added dabs distress paints onto the paper from top to bottom: Fired Brick, Ripe Persimmon, Mustard Seed and Fossilized Amber. I spritzed water over it and let the colors blend and mix until the stenciled image was covered in paint. After I heat dried it I took a script stencil and applied some more fluffy paste over it. I dabbed some evergreen bough and blue print sketch on the craft sheet and spritzed some water over it. This time took a brush to color the script in blue tones and parts around the rays as well. After that all dried I spritzed some mica sprays in buttercup and corn flower over it. The half face stamp is Franco Face from Lost Coast Designs, which I love using in my other art journals. I made several of those faces to be used in other projects. I adhered the face to the right and then lightened the aria around it with a mix of mustard seed and picket fence distress strains and applied it with a brush. To give color back to the script I used the blue Wink of Stella brush pen over the script.
I do love how the the first page I made in the journal turned out!
Entering this journal page in the MMMC #32 put a stencil on it.
And the Lost Coast Portal to Creativity Challenge #32 Anything goes.
And the Lost Coast Portal to Creativity Challenge #32 Anything goes.
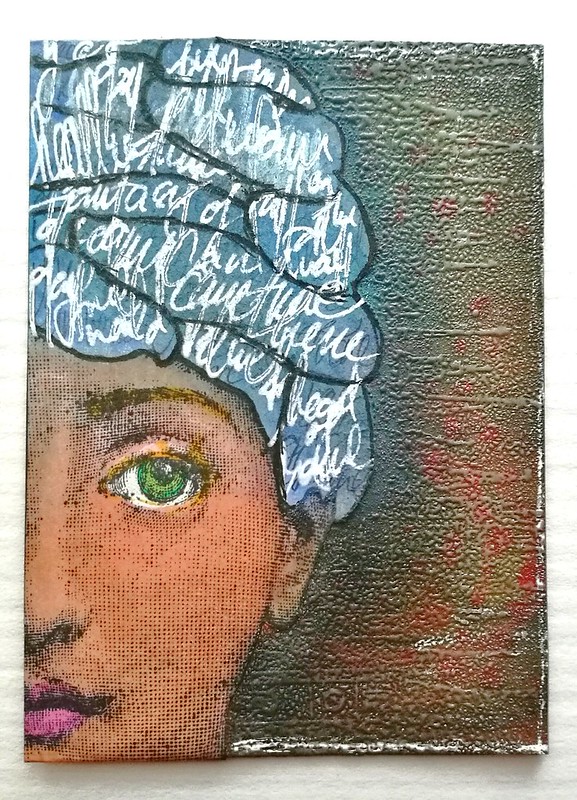
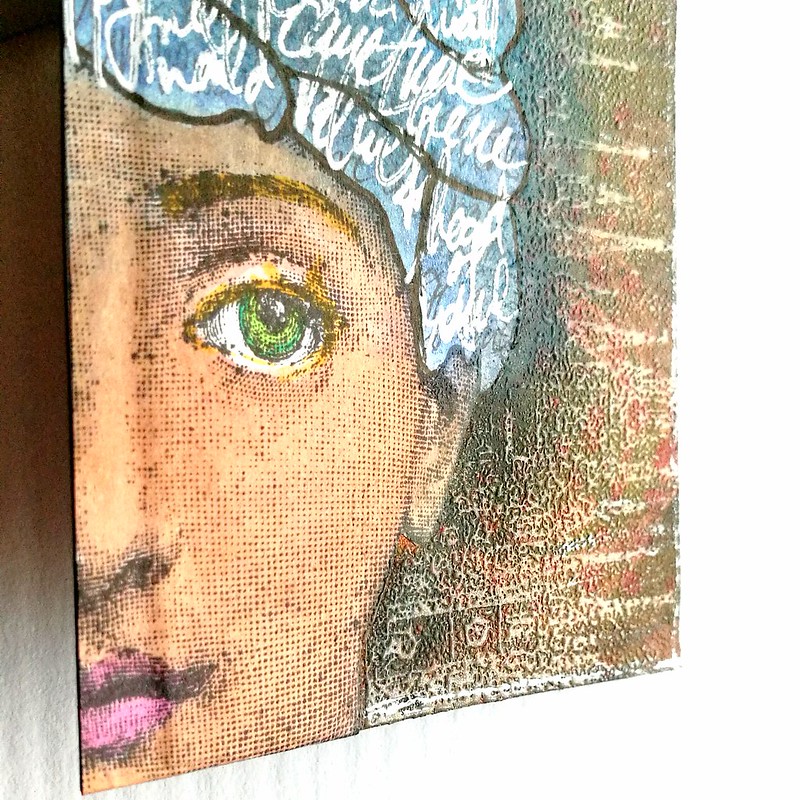
You might be wondering what I did with the other half of the face, right? Well I used that for an ATC which you can see below:
It was made for a Fantasy themed swap at Art chicks Studio FB group.
I also used the skyline stamp ATC size from Lost Coast Designs. Used clear embossing on the card then rubbed pearl metallic rubs over the raised edges. then some black distress crayon for the shadows. Written words with a white gel pen and the outline as well. Here the words are still in the girl's head, but on my art journal page she managed to get them out :)
Thank you for stopping by and wishing you a creative and wonderful weekend!
2016/12/23
It's the season; Let's Celebrate!
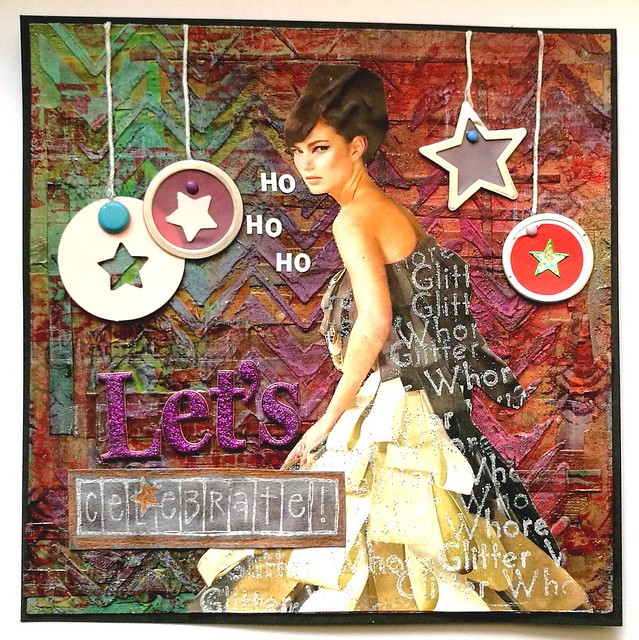
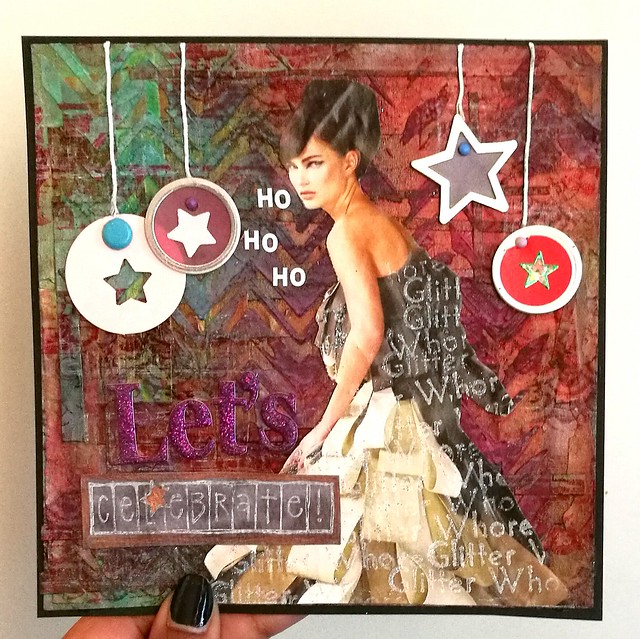
The holiday weekend is coming up and I wanted to show you a mixed media art collage I made in the spirit of the season.
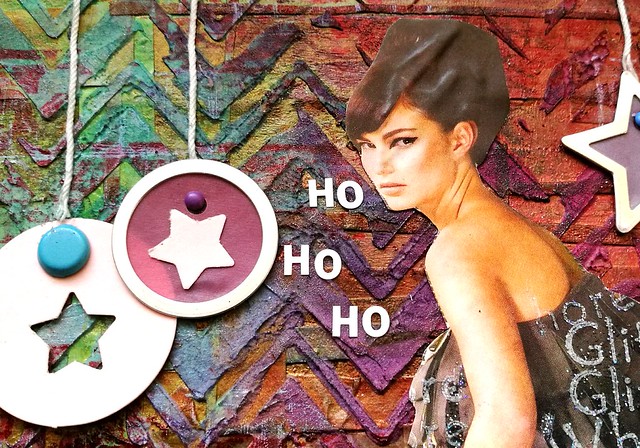
I love how fun and quirky she turned out. The whole piece came together bit by bit. I wanted to use the fashionista cut out as center piece and the stamp "glitter whore" from Viva Las Vegas Stamps cemented it. I just stamped the phrase all over her dress with Brilliance cotton white and embossed it with WOW silver glitter. A full list of items used for the piece is at the bottom of this post.
Let me show you a bit of the process.
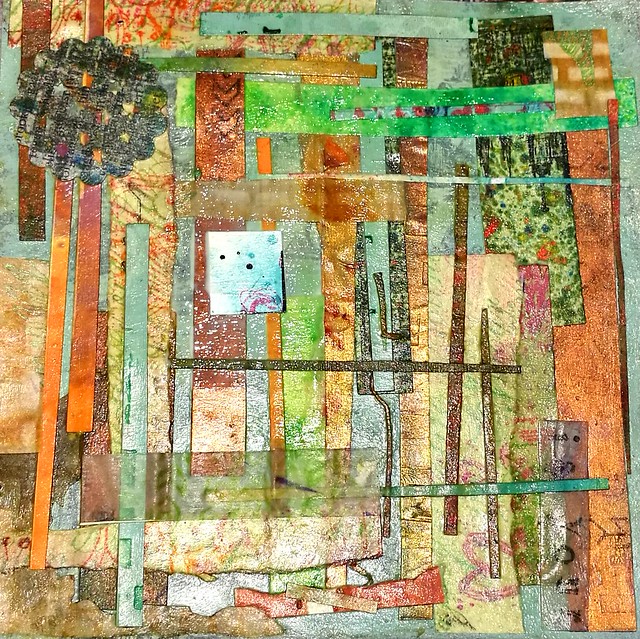
After I cleaned my desk I found all these leftover trims I did from various projects I did over the year. Yeah, shows you how often I clean my desk, heh... Instead of tossing them in the trash, I glued them all onto a 6x6 scrapbook paper which was already painted with a coat of baby blue ground paint. I used Modge Podge Matte for this. I usually don't like to use this medium as a finish, but as a base glue for collage it's very well suited. All the little pieces stuck together really nicely.
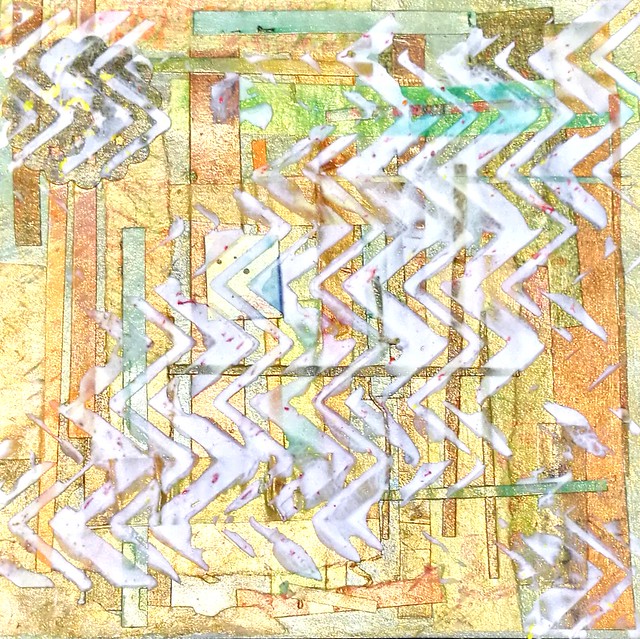
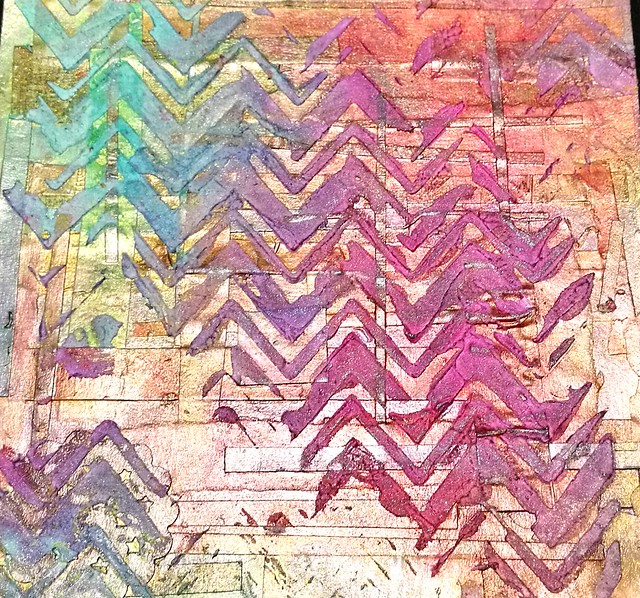
Then I coated the piece with a layer of Gold Medium from the Crafter's Workshop. It gives a nice translucent golden shimmery finish. After that dried I took a chevrons stencil and applied some of that Marshmallow fluff stuff, aka the light and fluffy modelling paste from TCW. honestly, it's SO light and fluffy and works really well over stencils. I wanted a bit of a messy look so I scraped over a few parts here and there.
After that dried and hardened I went to work with some color. I used Distress stains for this, dabbed the colors directly onto the aria's and sprayed water with the mini mister on it. I let the colors overlap and wiped away some excess inks rolling off the page with a kitchen towel. Did this a couple of times until I was satisfied with the color scheme and saturation. You can't really plan that out, but I stopped when this beautiful transition of blue, purple red to pink appeared on the raised surface. I let this dry really well overnight. This is the base for the card. I only added some stamping to the background to create a bit more diversity in the grungy look and then basically glued all the other pieces on top of it.
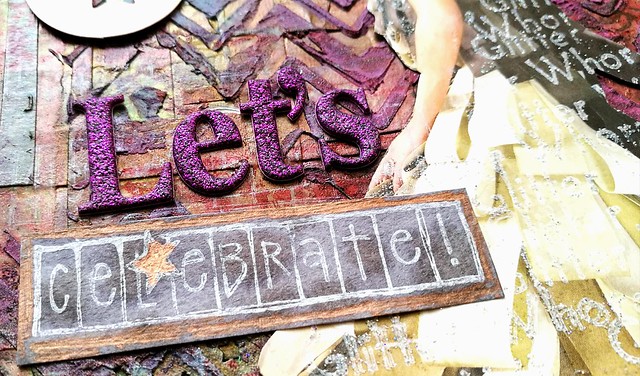
I have a ton of letter stickers but rarely use them. However this is definitely the occasion to use those pink fluffy sparkly stickers! The celebrate stamp I have had for years and it's a favorite to use this season. I stamped that with Dovecrafts cotton white on a piece of aquarelle paper which I had colored with grey ink. The edges and star I colored in with a bronze paintmarker.
Adding metallic fortified shaped labels at the top made it look more festive. Used a paper punch for the stars on the left side. I adhered them with brads to keep them in place. Gluing on the baker's twine was hell as it kept unraveling and didn't stick well to the glue. But after a few attempts they finally got on there straight. well straight-ish. Also to share with you my humor; I find it very amusing that the "glitter whore" says "ho, ho, ho" :D I matted the piece on black card stock and called it done.
So whatever you are celebrating, Christmas, Channuka or just the New Year which is lurking around the corner, I am wishing you all a sparkling, glittery, amazingly festive holiday season!
Thanks for stopping by!
Namasté
I'm entering this piece in
______________________________________________________
Materials used for the holiday card project:
Paper:
Scrapbook paper 6x6 inch
Leftover trims from various projects
Fashion magazine cut out
Paper round shaped tag
Aquarelle paper
Black cardstock
Mediums/Glue:
Modge Podge matte medium
Crafter’s Workshop Gold Gesso
Crafter’s Workshop Light and Fluffy Modeling paste
Uhu Gluestick
Uhu clear universal glue
Ink/paint:
Ground paint in baby blue
Distress Stains: lucky clover, fired brick, dusty concord
Dovecrafts white inkpad
Brilliance ink in cotton white
Staz-On ink: Cheery Red, Royal Purple and Stone grey
Stamps:
Viva Las Vegastamps; Glitter whore & numbers
Designs by Rynn; texture
Kolette Hall for Hampton Arts; Celebrate
Various:
Mini mister water spray
Metallic edged round and star shaped tags
Star paper punch
Baker's Twine
Round Brads
Glitterpuff letter stickers in pink
Plastic letter stickers in white
Chevrons stencil
WOW silver glitter embossing powder
Bronze Edding Paintmarker
Labels:
collage,
Crafter's Workshop,
Golden Gesso,
happy holidays,
mailart,
mixed media,
stencils
2016/11/28
Mailart Monday; It's just a Jester
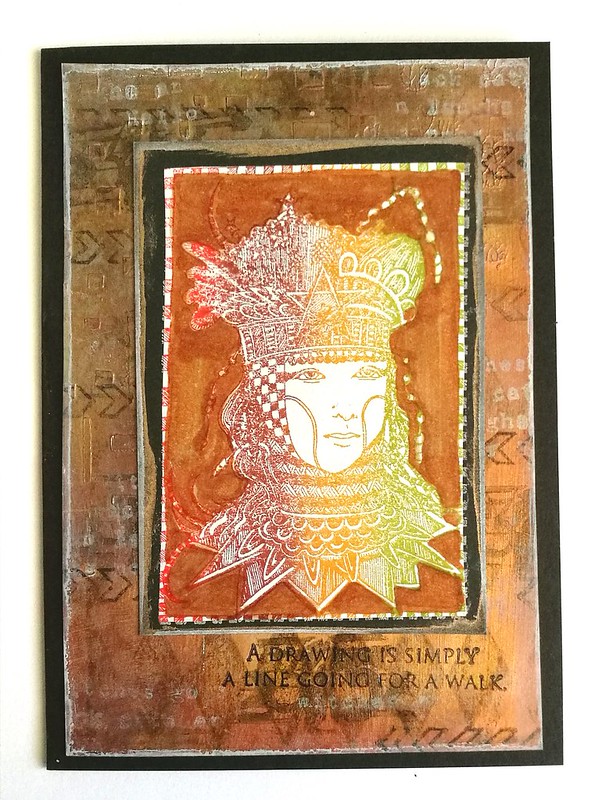
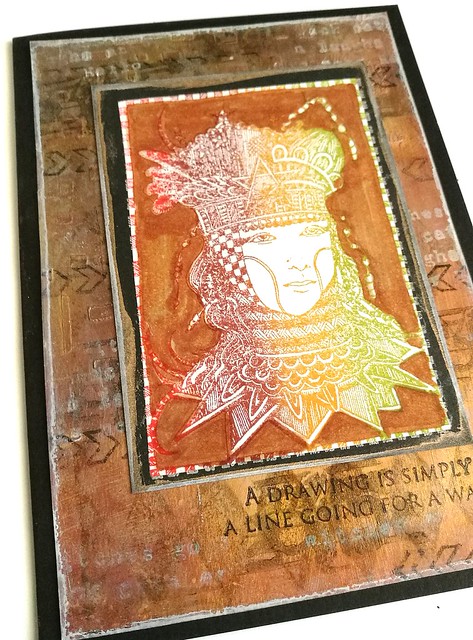
This weekend I looked at the Viva Las Vegastamps novermber challenge board and the words like gold, warm, yellow, tans, browns, vintage, black and white, background stamps, doodles, harlequin, diamond, distressed, polka dots, swirls, circles, hearts, stripes inspired to create the card above. I used an array of VLVS but the focal point here is the Whimsical Jester for a fun and whimsical gesture card ;)
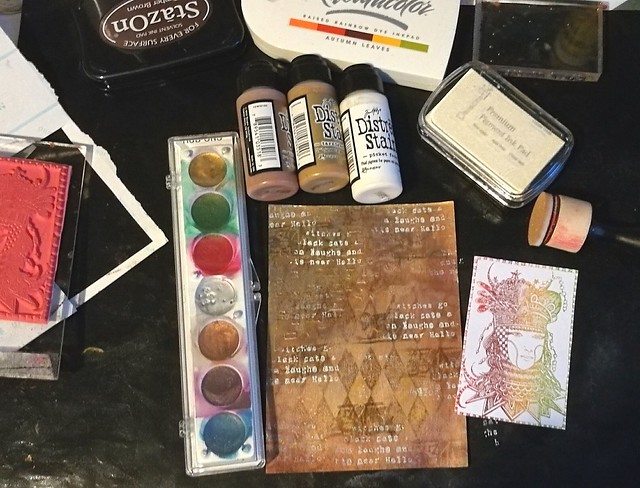
The base of the card is a piece of the scrapbook paper I prepped with Gold Gesso. The gesso is a really good base for the metallic rub ons and distress stains. Though the dovecrafts white opaque stamp ink needed a REALLY long time to dry... eventually I smudged them a bit so the stark white is muted in the end. I used an array of VLVstamps to create the background;
When the background was done I colored the jester's background space with tan brown copic and matted that onto a black card stock on which I stamped the jester with white opaque stamping ink. The doodled edges of the stamp then combine to make it even more fun and whimsical :) I added some distress stains in bronze and white along the edges of both the jester and the background. Then adhered the pieced together and matted it on a black note card.
In the end I also used the "a drawing is simply a line going for a walk" stamp to add to the whimsical vibe of the card. Sometimes you just need a fun whimsy card to send out as a gesture.
Thanks for stopping by and have a great day!
namasté
2016/11/18
Mini Art Journal: Kiss
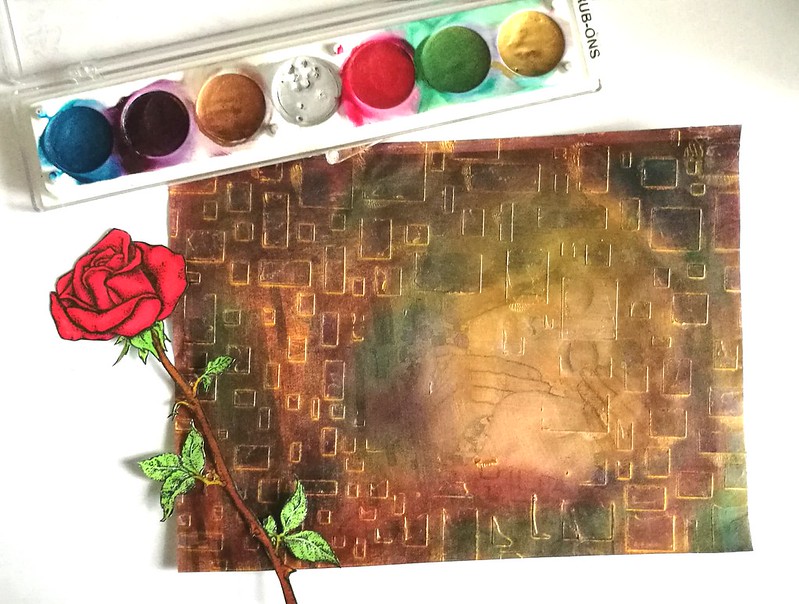
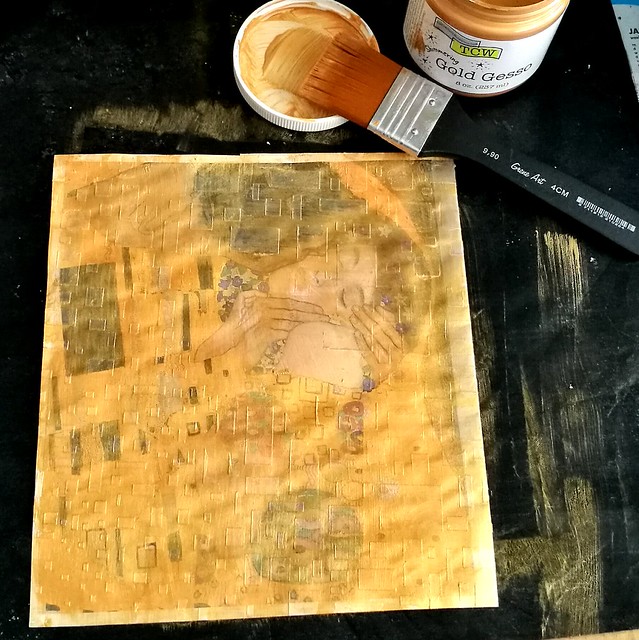
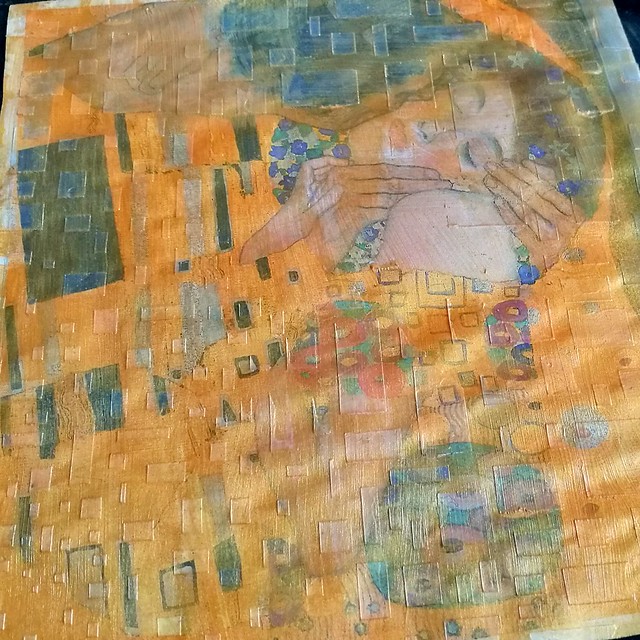
Last week I showed you some work in progress pieces of my experimentation's with The Crafter's Workshop Gold Gesso and I've taken the Klimt image to work on for an Art journal spread.
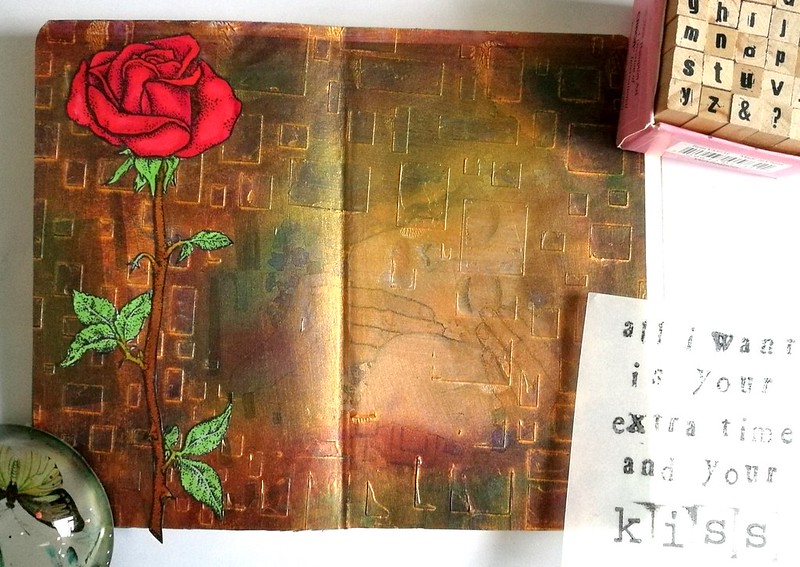
The Gold Gesso was a base on the Klimt print on which I have applied some metallic rub-ons with my fingers. The gesso provides a smooth surface on which the metallic paste just glides over. I have used some purple, green and red colors. The gold outline of the rectangles are still clearly visible and that gives it a fun effect. The Open Rose is a rubberstamp from Carmen's Veranda, which I stamped with memento black on sticker paper, colored with Letraset Pro markers and cut out.
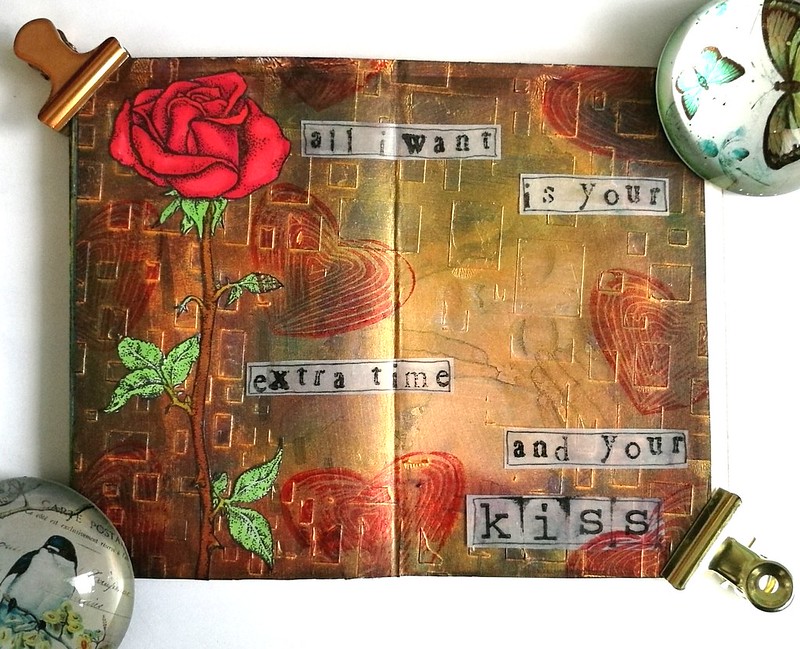
I cut the page to size and glued it to my art journal and added the rose to it. Then got some vellum and stamped some lyrics from a Prince song this image reminded me of; "All I want is your extra time and your.....KISS"
(eta: yeah I know it's "I just" instead of "all I" but I glued it in before I realized the mistake... oh well, it's all part of the process ;)
(eta: yeah I know it's "I just" instead of "all I" but I glued it in before I realized the mistake... oh well, it's all part of the process ;)
I stamped the hand carved heart stamp a few times for the fun of it and cut and outlined the lyrics and this is what the finished spread looks like :) It's something fun and different and I definitely liked how the rub-ons work on gold gesso. Definitely going to experiment with that more. Also Carmen's Veranda has a this Klimt Kiss as a stamp and see what I made with that over here.
And to ring in the weekend fun, let's all sing along to - Kiss - from Prince :)
Thank you for stopping by and have a great weekend :)
namasté
2016/11/11
WIP: Messing with some Gold Gesso
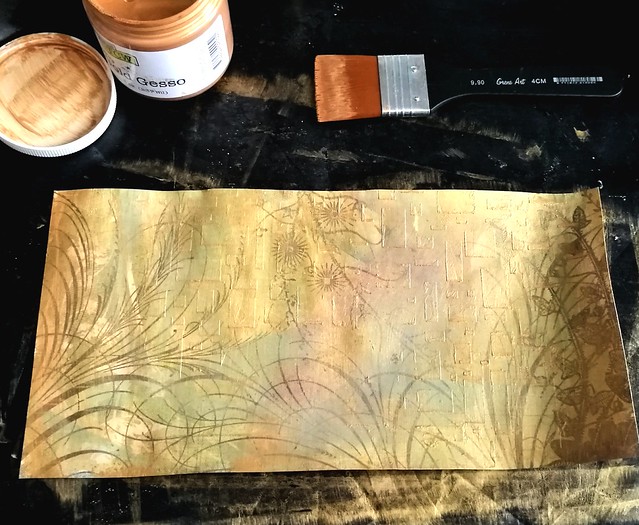
A few months ago I've bought the Gold Gesso from The Crafter's Workshop. When Bianca's Toko had a sale going on, I bought the jar at 50% discount and I experimented with it a bit. I had some scrapbook sheets and print outs I had worked on with some various mediums and wanted to see how the Gold Gesso would react on it.
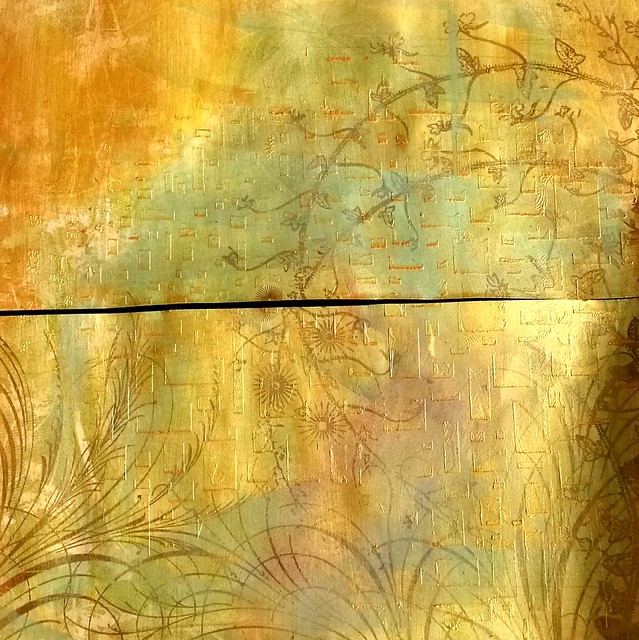
This is a large scrap book page which I cut in 2 pieces to make it more workable on the table. It has layers of acrylic paint, oil pastels and gel medium through a stencil and I have applied the Golden Gesso over it.
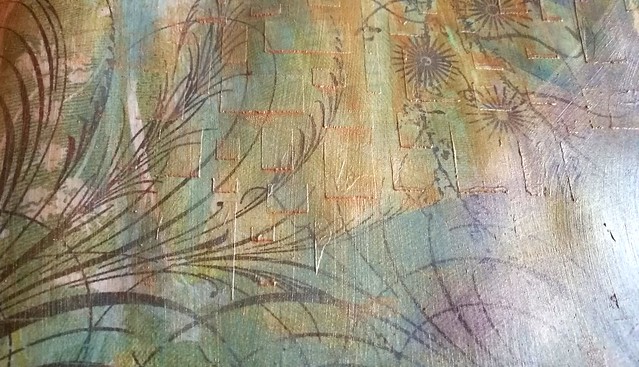
I applied it lightly over the pages and you can see it dried a bit sheer and you can clearly see the colors and layers under it. This looks really fun and exciting. The gesso protects the bottom layer and it won't be effected when adding other layers on top!
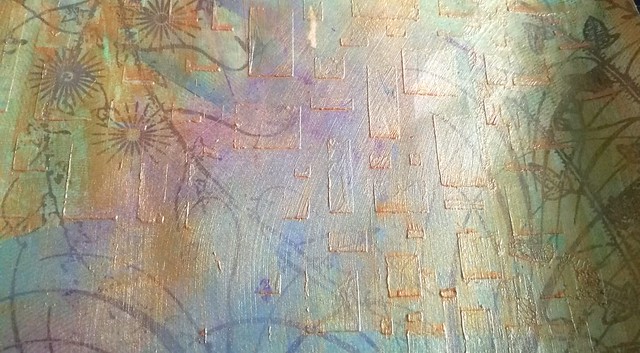
You can see the fun structure the matte gel medium created as well. I'm excited to work with this further!
I took the same stencil and applied some gel medium through it on a Klimt print. When it dried I added a thin golden Gesso layer.
I love the fact that it dries really sheer and you can see the underlying print clearly. It has such a beautiful effect! This weekend I'm going to mess about with these gesso'd up prints some more and hope to show you the results next week!
Thanks for stopping by and have a great weekend!
namasté
Subscribe to:
Posts (Atom)


