On saturday the 21st of november I was lucky enough to join a very popular workshop at Posthumus stamp store in Amsterdam, the Christmas layout workshop given by Miranda Degenaars. Her workshops are always very popular and sold out within hours. But the day before a message on Posthumus facebook page said that someone had canceled due to illness, and they had a free spot. So I grabbed that chance and got to join in.
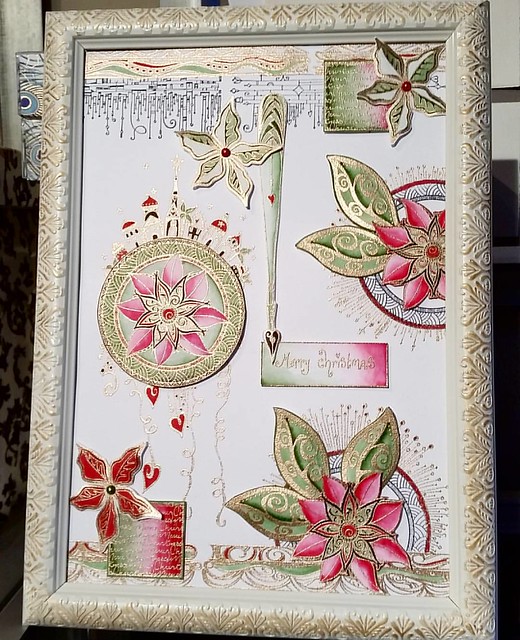
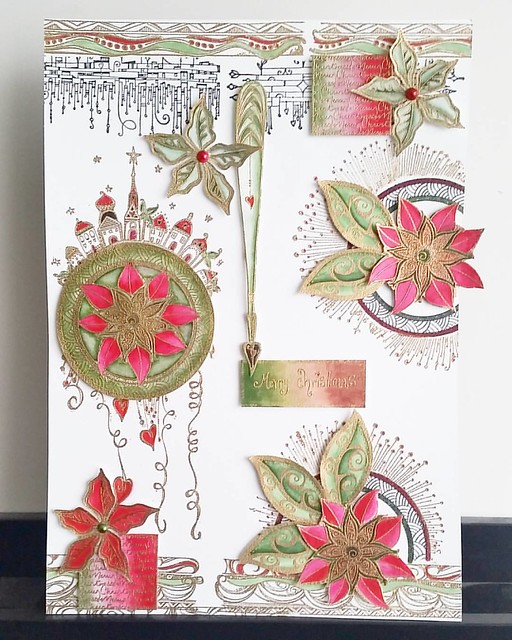
Miranda had made four layout designs which we could choose to make in the 3 hours there. The one that really stood out for me was the one with made with all the Zenspirations Impression Obsession rubber and clear stamps (designs by Joanne Fink) What we get to make was this A4 sized stamped work. It was just beautiful!
This is the design I signed up to make and *gulp* it was a tough one. Miranda did say that we probably would need more time to finish this project than the time was given at the workshop. She was not wrong! But I started on the daunting task anyway.
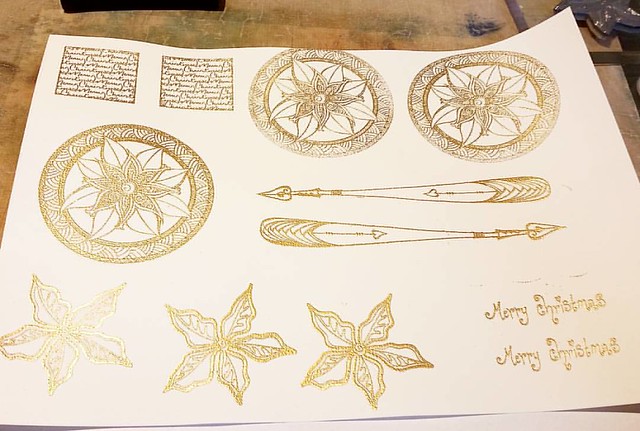
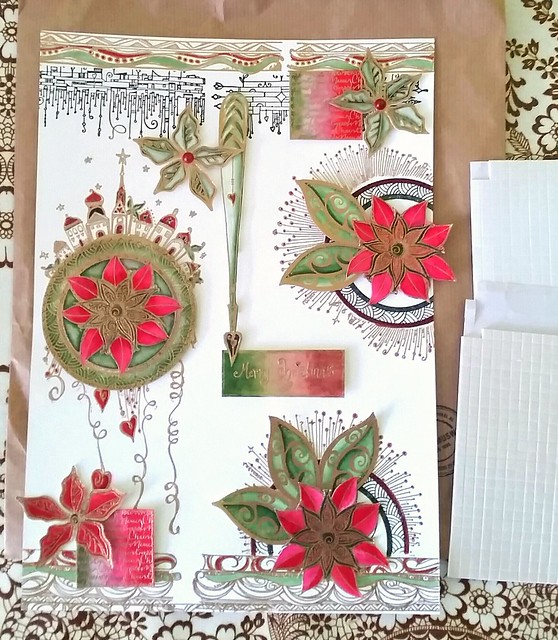
The project consists out of a back layer and a bunch of loose cut elements, 15 to be exact, to give the 3D effect. So we started with stamping and embossing the loose elements first.
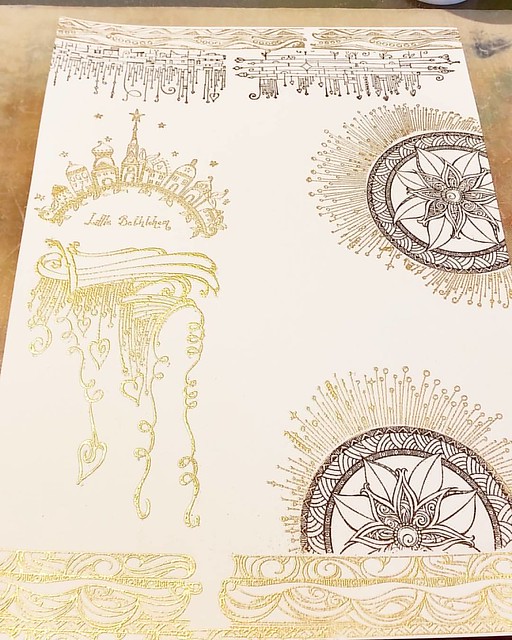
Because there was so much embossing to do in this project, we needed to get that done first before we could get on to the coloring. After the loose elements were done we did the embossing for the back ground of the piece.
I love how the 'poinsettia' mandala and 'circle dangle' stamps on the right are superimposed. We used a mask for the mandala and then stamped the circle dangle rays over it. The border stamps on the bottom and top are among my fave of the bunch. The black ink used is versafine black and the gold embossing powder is by WOW embossing.
At this point all the gold embossed elements were done, so it was time to color stuff in. And this was the most relaxing part of the workshop. Everyone was quiet and highly ZEN on their coloring.
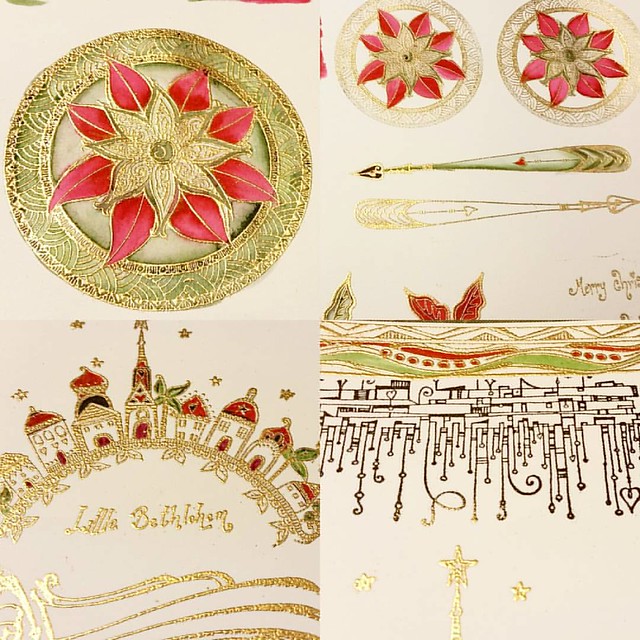
We used Tombow Dual brush pens and a kuretake water brush pen for the coloring. Since it's a Christmas theme, a lot of red and green colors were being used to color in the elements. Not everything was colored in, and we left the back ground accents black and white mostly because all the cut elements (remember those were a whopping 15!) were all being colored and that's where the accents of the piece lie.
By this time the allotted time for workshop has nearly come to an end and I did my best to get all the pieces colored there because I didn't have the right colors of Tombow brushes at home. But at home I cut all the pieces (with help from my husband, because there was just too many to cut) and assembled the piece together with a flurry of 3d foam tape squares to give it that raised look.
And this is the end result. I forgot to color in the 'Merry Christmas' square at the workshop so that's why those colors are a bit off, but with every thing else, I am quite pleased! Now to find a nice frame for it!
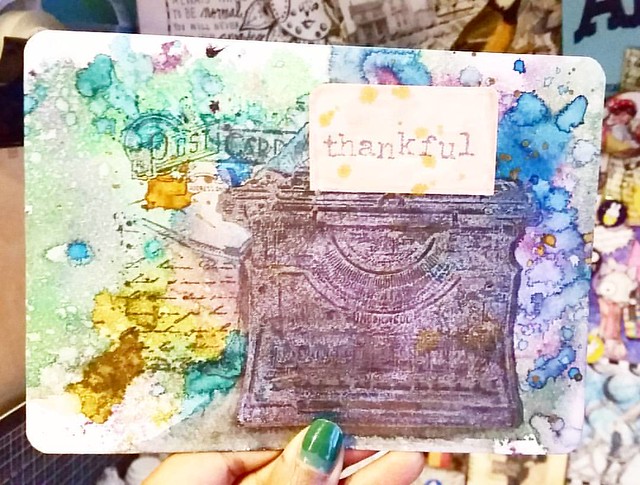
A few other ladies at the workshop chose to do another layout which was even more daunting than this one and it's the one below.
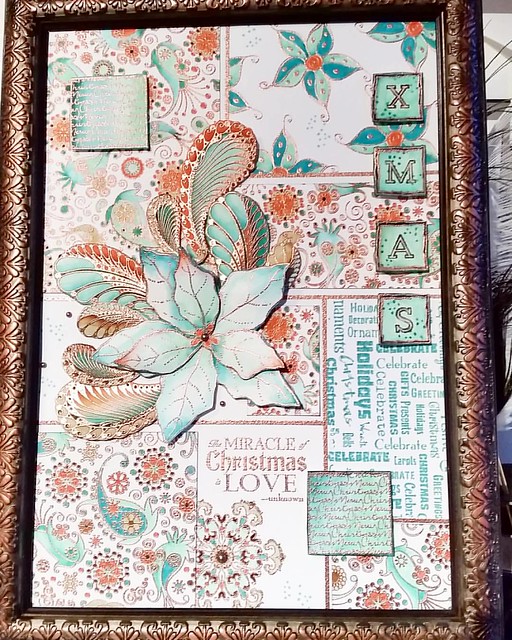
Look at that amount of detail! Amazing! And I do love that color scheme. But this was a bit too 'busy' or 'crowded' for my taste. But I do love the paisleys behind the flowers. I have an idea to try something with loose paisleys like that for a LCD /CV layout.
Thanks for the inspirational day, Miranda and Posthumus gang!
It was a delight to be there.
Hope this inspired you readers as well to work with embossing powder and tombow markers.
Thanks for stopping by.
namaste
