2016/06/07

Craftorij Summer Challenge 2016 week 1

Well, it's a week in and the Craftorij Summer Challenge is in full swing! I have been enjoying it very much so far and wanted to share what I have made with the daily prompts for the first week. I am surprised I actually had time to make them all! It's a good start in the challenge, but let's see if I can keep it up, haha! 
I already showed you my entry for the 1st warm up prompt "your fave color" and the following warm ups were:
CZC 2 warm up
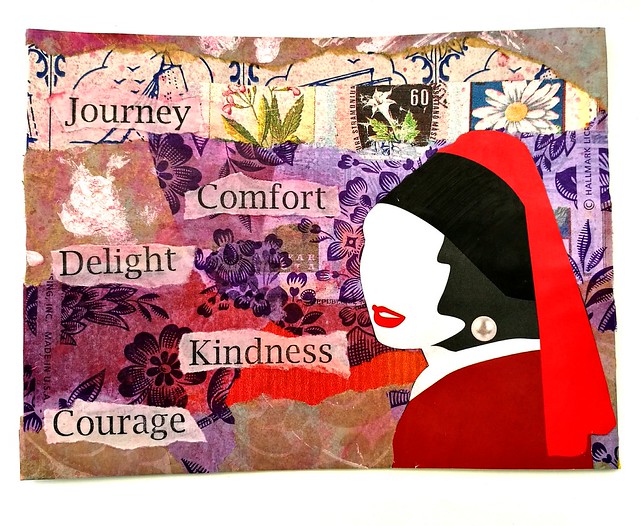
CZC warm up 2: use (gift) wrapping paper - the background is a collage of gift wrapping paper, words from the large text stamp from Lost Coast Designs and the image of the Girl with the Pearl earring is from the The Hague shopping night folder from a few years back, on the evening the Mauritshuis was re-opened for the public.
CZC 3 warm up
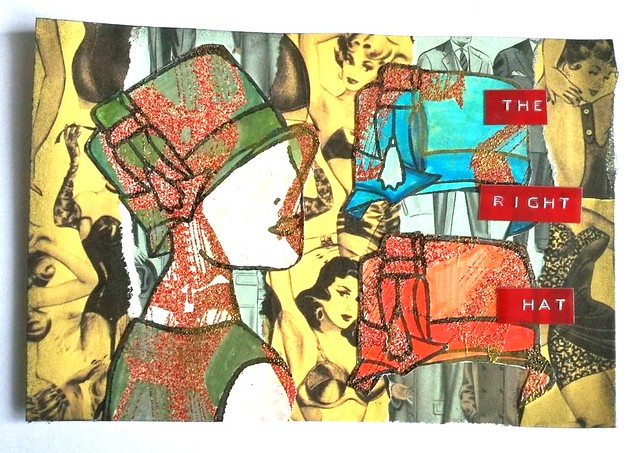
CZC Warm up 3: Hats and lady corsets. The background a collage from vintage wrapping paper and  the woman from the Couture Collection from Dian Reaverly/dylusions stamps. I had a corset stamp which I used on the hats and lady which I embossed with distress embossing powder.
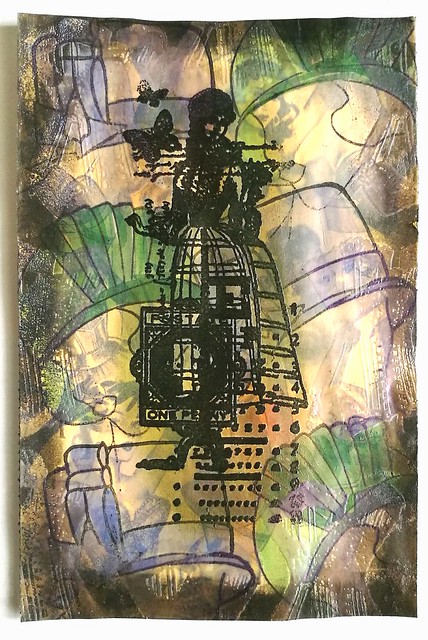
CZC 3 warm up
CZC Warm up 3 inspired me to make another card because I found that large rubber stamp from Keizercraft. Layerworks here: background vintage wrapping paper, then the couture collection stamps on tracing paper, colored it with tombows. After I glued it to the page I stamped the corsets on the edges, embossed with violet interference wow embossing powder. then the image in the middle with black embossing and added pearl rub on to the piece for more dimensions. 
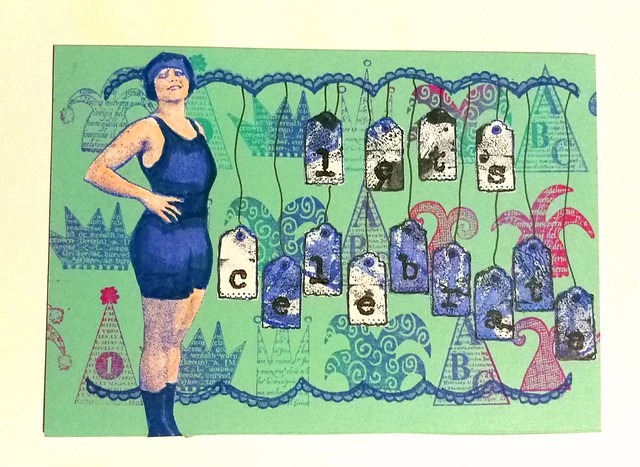
 
CZC 1
And then on june first the party got started! The theme for CZC1 was party decorations. Stamps are from Lost Coast Designs and Hema. the tags are stamped on a scrap piece of gelli printed paper.
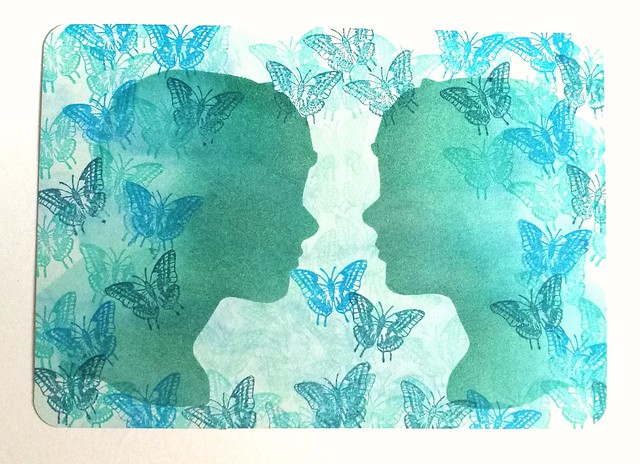
CZC 2
CZC2 theme butterflies. I made the face mask myself with a thin sheet of plastic and my memories slice machine. I need to do a tutorial on that soon, so fun and easy to do!! I just used my blending tool and blue range of distress inks for this. I wanted to convey the feeling of having "butterflies in you stomach" when you fall in love.
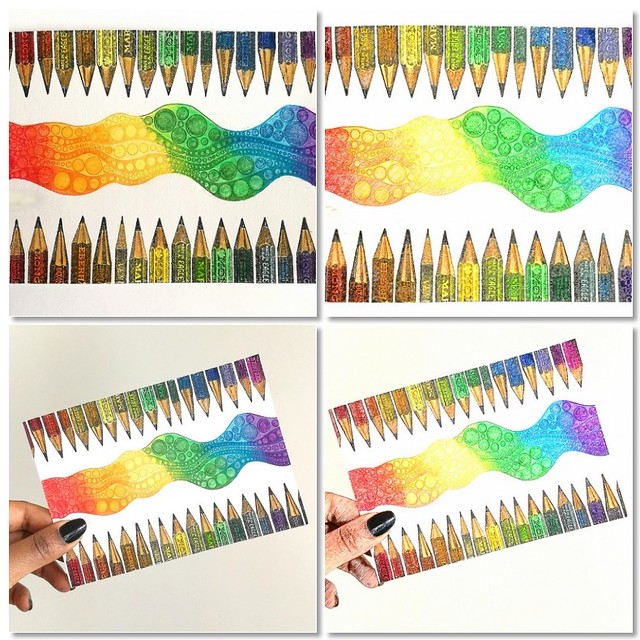
CZC 3 mozaic
CZC3: use only stamps and pencils. With this prompt I immediately wanted to use the pencil border stamp from LCD. The Bubble border is also from that brand. I colored with my derwent artists pencils and a colorless blender. Was so wonderfully zen to do! The left is how it looks and the right I put over a "color pencil" filter. I thought it was fun to see the difference :)
czc 4
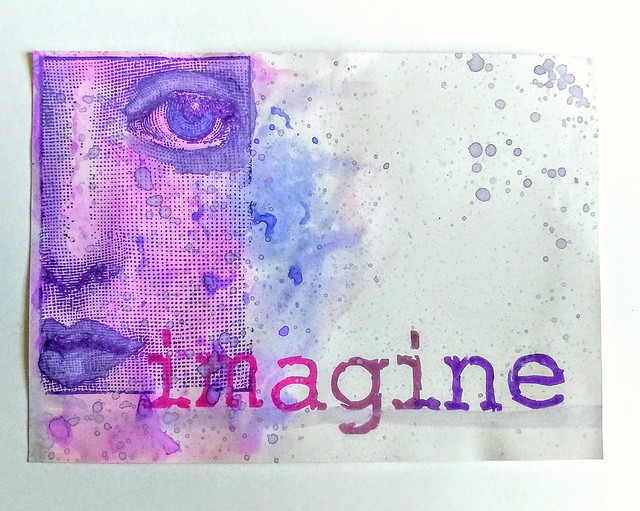
CZC4: leave 50% white space... well, that was a challenge for me, but a good exercise for CAS cards. The face stamp is from hampton arts and Imagine word stamp from Impression Obsession (got it at Posthumus store in Amsterdam!) I used different memento inks dewdrops and complementary colors in tombow markers and the blender kit & water brush.
CZC 5
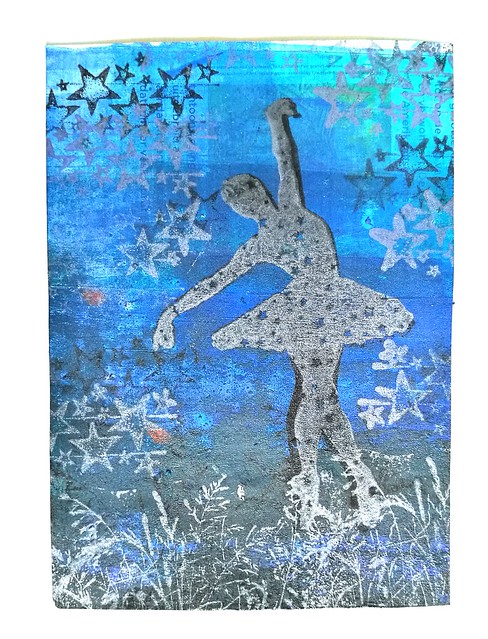
CZC5: use a paint strip. The back ground is the page where I rolled off paint from my brayer with my gelli plate experiment. I stamped a silhouette scape on it using LCD and sirius hobby stamps with memento black and brilliance lavender. 
CZC 6
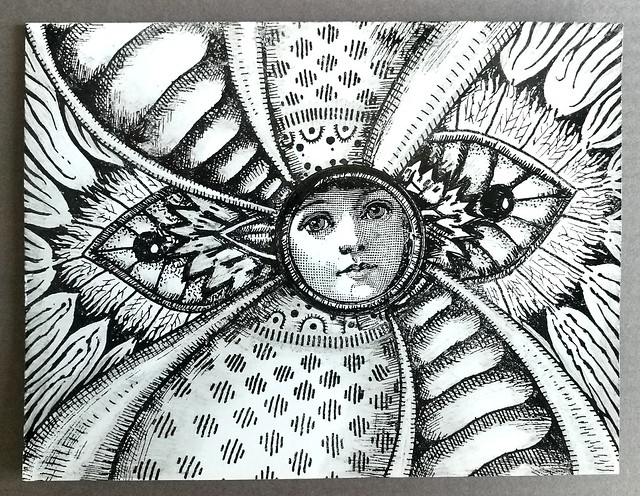
CZC6: zentangle/zendoodle. So I cheated a bit because I was pressed for time. The background is a stamp from Viva Las Vegas, zentangle design by Sandra Strait (which I won a few years ago!) The face is a stamp from LCD . I stamped that first, put a mask over it and stamped the large zentage design. The i used a fineliner to add bits here and there and some shade with a soft pencil. 

And that was a fun first week! If you want to join in the challenge, you still can. Just join the facebook group and you can see the daily prompts and add your creations to the facebook photo albums. 

Thank you for stopping by! Have a great day!

namasté

2016/06/06

Meesha Monday - May/June edition

For the better part of last week I was at home sick with the flue and my sweetie Meesha was being so adorably cute and comforting! I also realized it was high time for a Meesha update here. Enjoy the pictures :)

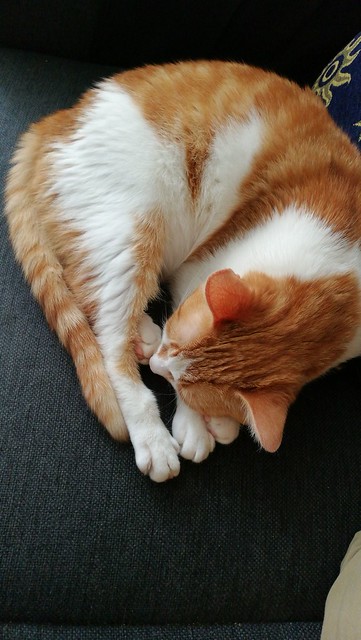
meesha the cat
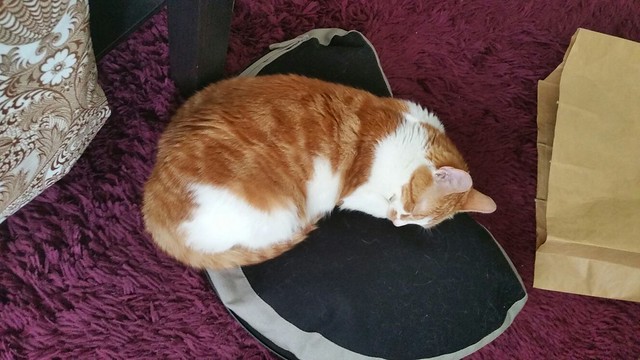
Sleeping on the couch...

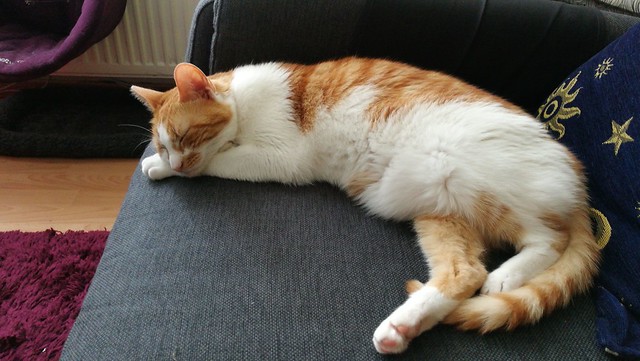
meesha the cat
like there isn't a care in the world!

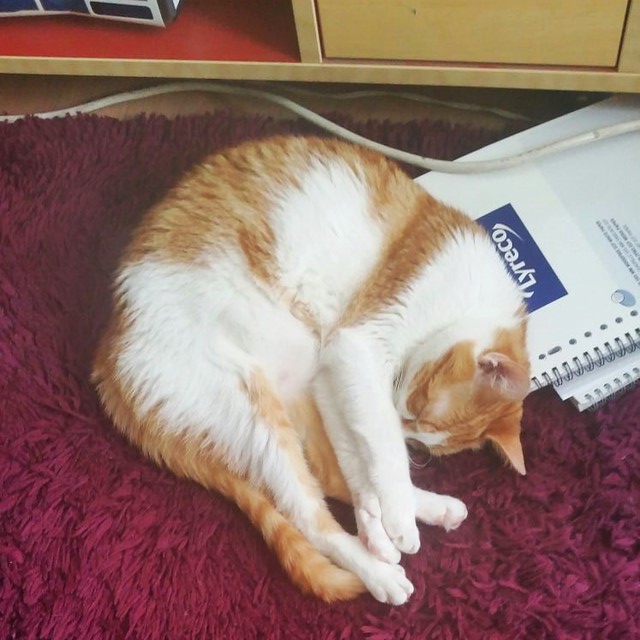
meesha the cat
Also sleeps on the carpet, on notebooks we can't use at the moment because it's functioning as a pillow!

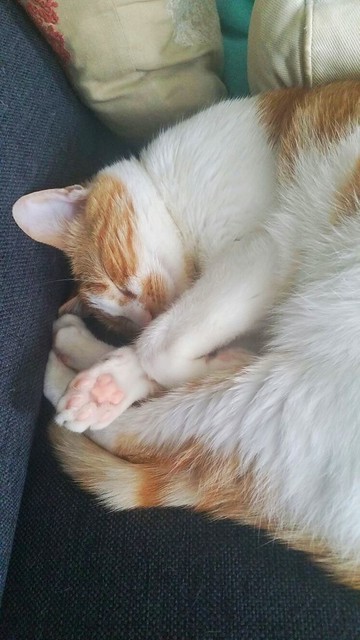
meesha the cat
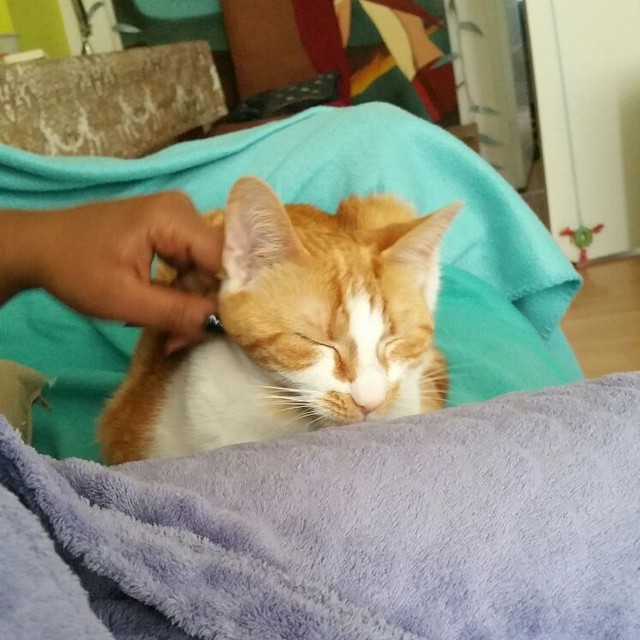
OMG soft paw!!

meesha the cat
She found an ergonomically fit bed for her, an ikea lap table but reversed!
meesha the cat
meesha the cat
meesha the cat
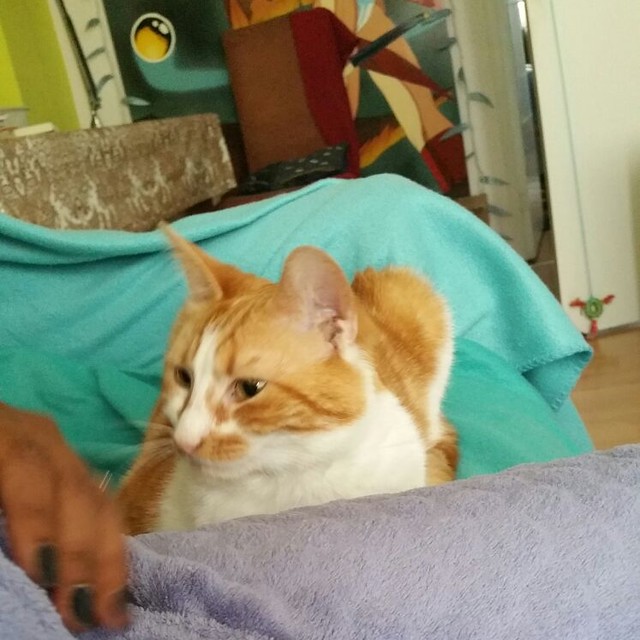
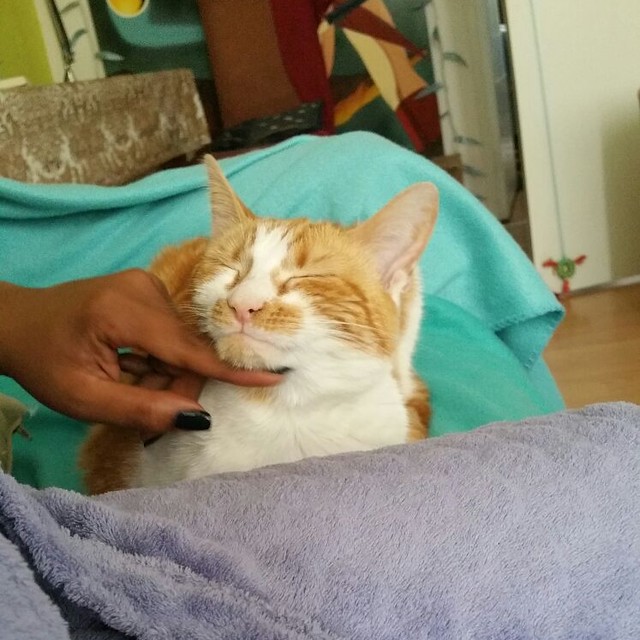
Here she is comforting me when I felt so miserable and sat with me on the couch pretty much the whole day.

meesha the cat
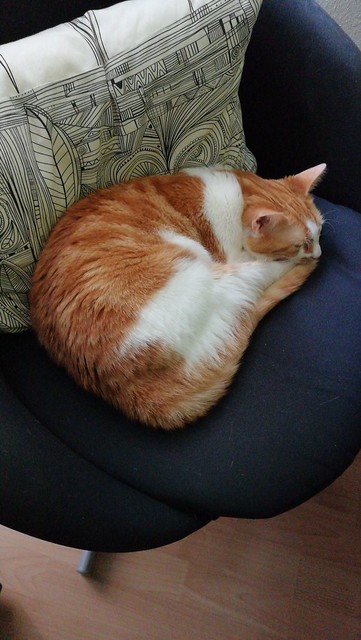
She slept an entire day on our PC work chair. 
Well, thankfully phones have the interwebs now too!

meesha the cat

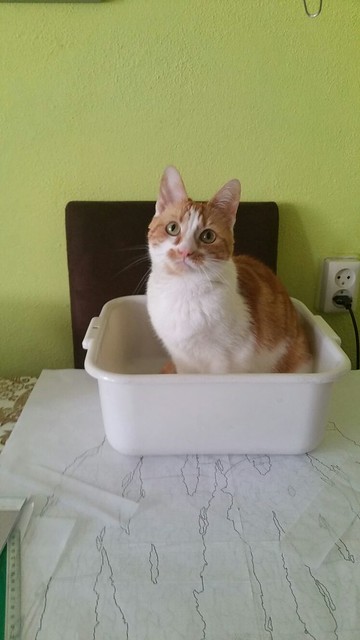
What! I don't only sleep, I like to sit in the box and stare at you while working too!

Life with a cat is so much more fun!

Thanks for stopping by! Next week on monday some more mail art :)

Namasté

2016/06/03

A Circle of Stories (Let the gelliplate printing madness begin!)

The week began with a square, let's end it with a circle :) 
I held off as long as I could, but when I saw an 8" inch round gelli plate being offered on Marktplaats for 1/2 the retail price a few weeks ago, I just could not resist and got it! And the gelli plate printing madness begun!

My first monoprint pull from a gelli plate. Got a round one at marktplaats for cheap and decided it's time I had one for experimentation. #monoprinting #stencil #paint #gelliplate #gelliprint #printing #printmaking #mixedmediaartist #mixedmediaart #mixedm
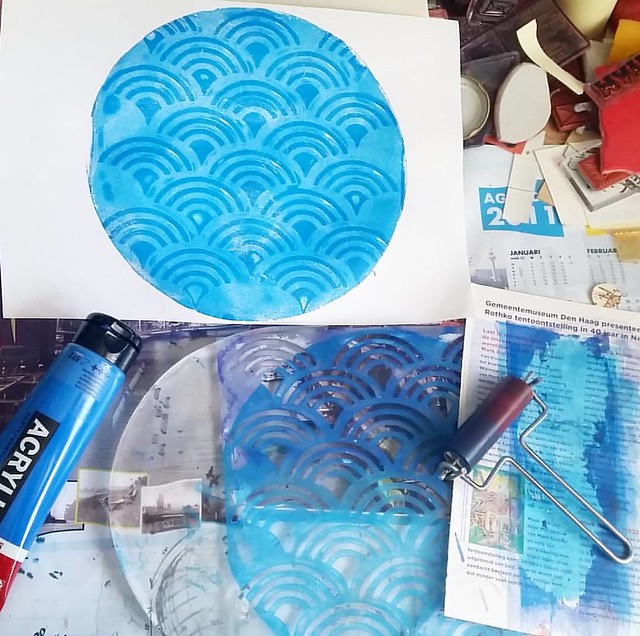
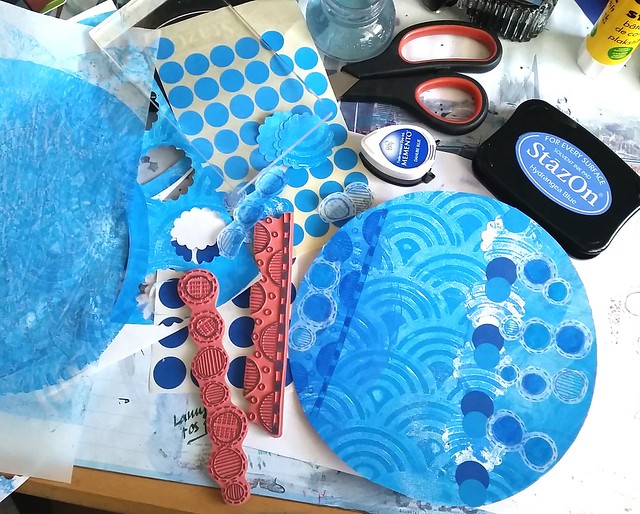
After you-tubing tutorials some fun tutorials, I just got out my Amsterdam Acrylic paints and got to work. This is the first print I pulled with a stencil from my Ed Roth 201 book. This book has some amazing stencils and the concentric circles work really well with the round plate. And it's really true what they say, once you get to printing, you just cannot stop!

So it's true what they said, once you start you can't stop it's that much fun #gelliplate #gelliprint #monoprinting #printmaking #printed #handprinted #mixedmediaartist #mixedmediaart #art #craftyendeavors #makesomething
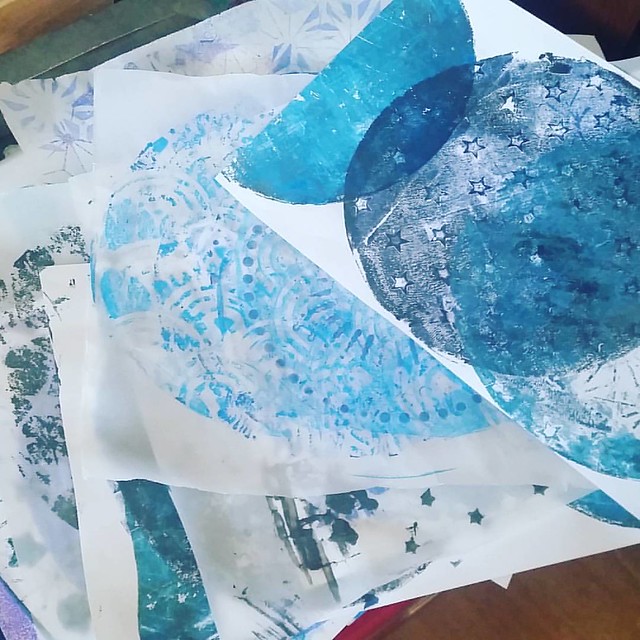
I played around with a lot of different stencils and paints. I printed most of them on smooth 80gms double A premium printing paper and I used Canson Tracing paper to rub over stencils to take some paint away. I still had a giant roll of this paper from my days working at an office supply store in college.It's just as smooth as deli paper but of a much better quality.

A circle of stories
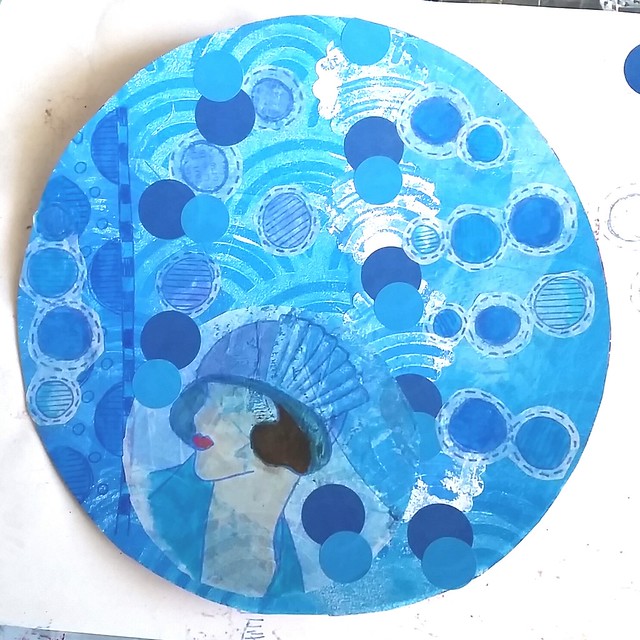
Then I noticed on the group Creative Collage on Swap Bot, a swap "Gimme a circle" hosted by Artsynerdgirl which would be the perfect swap to use one of my mono prints as base for. The swap requirements were to add all circle elements to your collage and include 3 different other media to your work. I picked out some great stamps from Dyan Reaveley Dylusions Around the Edge set, some round office supply stickers, my tombow markers, my scalloped 1"inch paper punch, some staz-on and memento inks and got to work.

A circle of stories
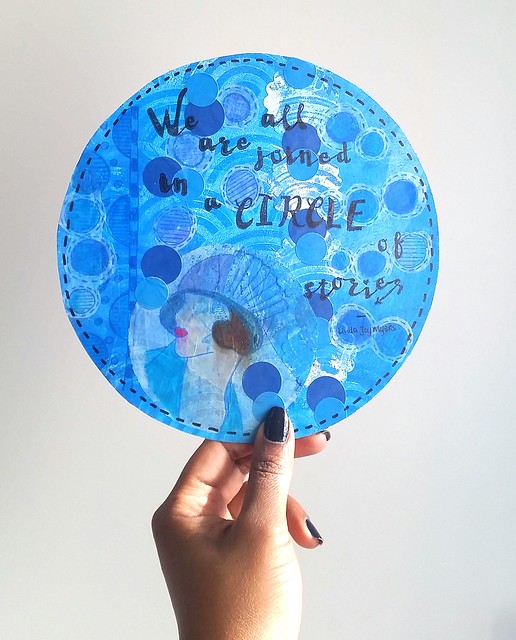
I stamped one of the ladies from the Couture Collection With The right Hat on a piece of the tracing paper, colored her in with tombow markers, cut her out in circle form and added to the collage.I felt like this needed a quote and added the following to the piece:

A circle of stories
"We are all joined in a circle of stories" stamped with the Handlettering script alphabet stamps I also used in my midori April overview. I doodled around the edges with a sharpie, sealed with artist medium and that is all she wrote! My partner still has to receive this piece but hopefully she will enjoy it. I definitely enjoyed making this! I love the gelli print and recently joined the mixed media artists and The Printing Shop groups on swapbot to make more use of mono prints in my swaps. I also did a number of journal pages with my prints and will show you those in a next post. 

Do you have a gelli plate? Share a link to a work you have made with it, I would love to see it! At some point I definitely want to try this image transfer technique Bridget Koopsen showed on the gelliarts blog. I don't print a lot of photo's anymore, and only have an inkjet printer, but I have a bunch of older art pictures I "dumpster dived" lying somewhere which can be used for use! All in good time...

Thanks for stopping by and have a great weekend!

namasté
2016/06/02

Inky goodness: Nickel Teal Time Wash

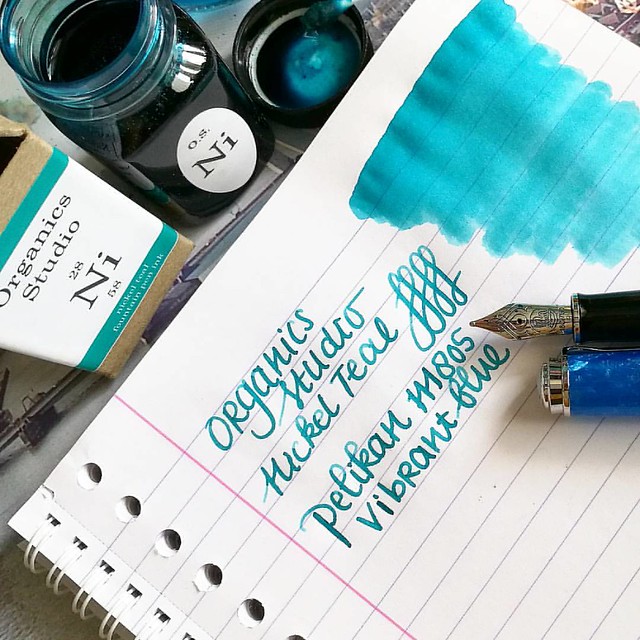
In my pens and ink post yesterday I paired this gorgeous combination: the pelikan M805 Vibrant blue with Organics Studio Nickel Teal.
Just love this color! And it's going to be available soon again, yay! @organicsstudio #nickelteal #organicsstudio #bluehues #fpgeeks #FPN #fountainpennetwork #fountainpen #pelikan #pensansink #vibrantblue
This ink will be in the line up of the relaunch Organics Studio will have this month. Recently I have been into ink washes, also thanks to a few great swaps on swapbot and I've made a few fun note cards with a rubber stamp emboss resist technique and the Nickel Teal ink which I want to show you today.

Nickle Teal Time wash
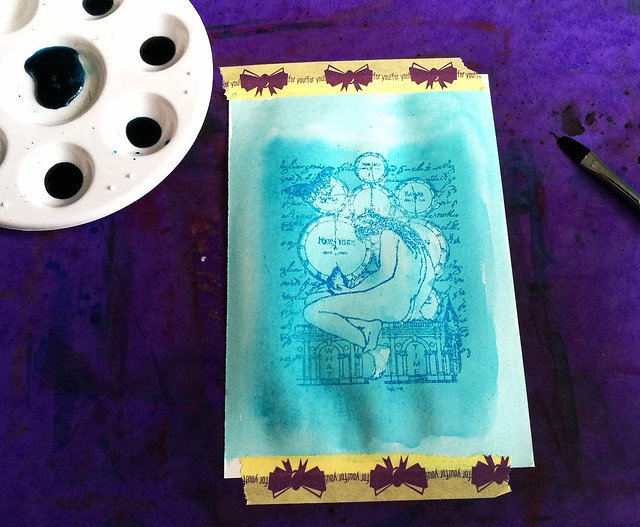
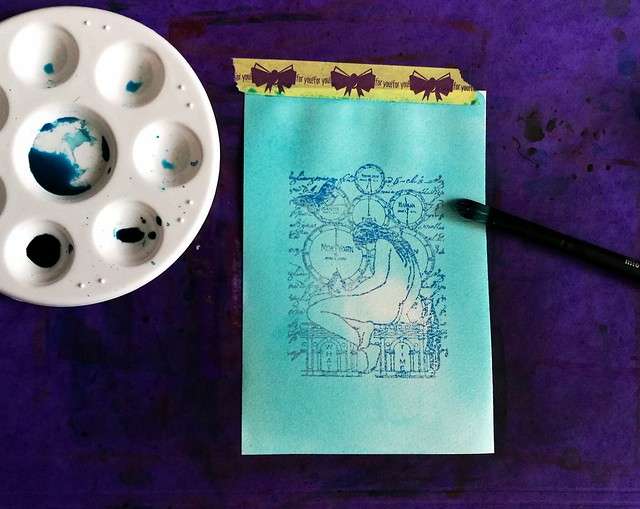
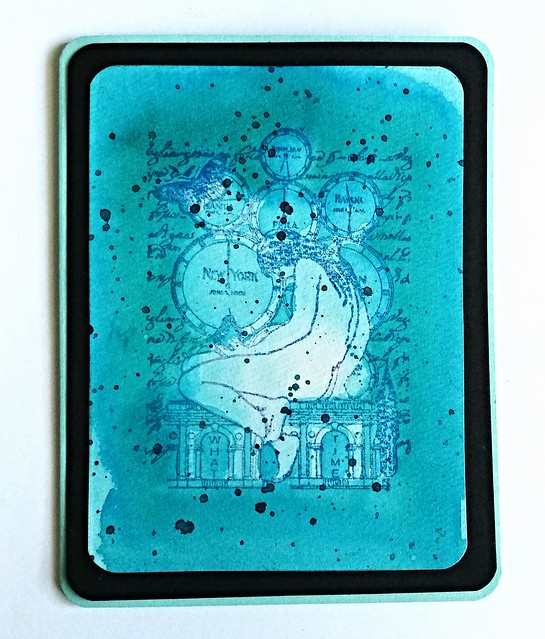
I started with diluting the ink in my tray. I posted a few drops of in in the tray and added drops of water to them, 3, 8, 12 and 17. In the middle I also added a little bit of shimmer in the form of blue Pearl Ex powder. I also made sure I had a bit of 100% non diluted ink in my tray as well. I stamped the image a few times on water color paper and lightly embossed it with Wow lagoon embossing powder. The image is from Non Sequitur plate Time and Space which is available at the Stempelwinkel. 

Nickle Teal Time wash
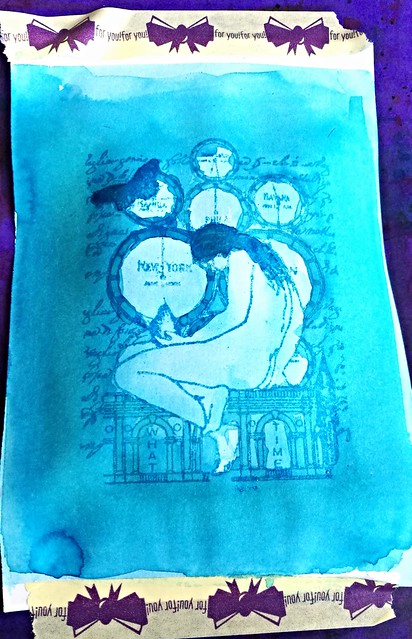
The way I started off with the wash is from light to dark layering, so I used the most diluted ink first to create an over all light tone and added darker tones to arias I wanted darker. The embossed parts of the stamp resist the ink, so the image doesn't wash away and shows through the ink clearly.

Nickle Teal Time wash
I used a mixture of wet on and wet and dry overlay wash techniques. To get the desired darker effects I waited in between layers to add more color. The less diluted, the more saturated the dried up color is, obviously.

Nickle Teal Time wash
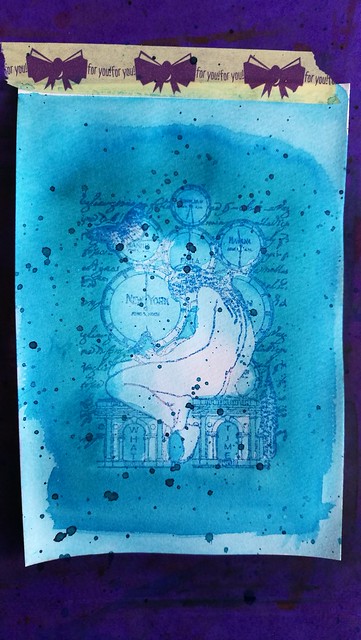
It's fun to test out different kind of washes. Here I made the edges of the image darker and added a spatter effect with the non diluted ink over it when dried. When I was satisfied with the desired effect the wash created, it was time to make some cards out of them!

Nickle Teal Time wash
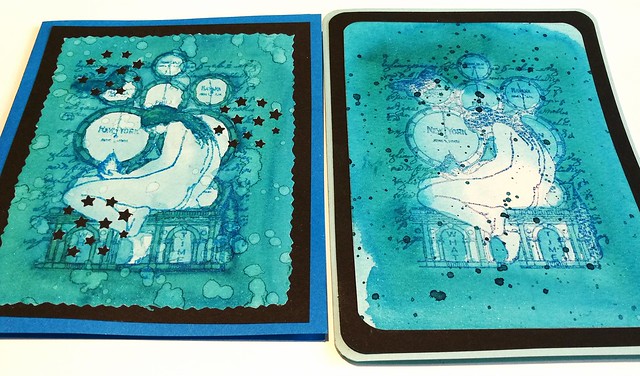
I measured and cut out both pieces so the image was in the center. With this piece I rounded off the corners with a corner punch, matted on black card stock, also rounded off the corners and then adhered it to a folded note card which I then also rounded off. I love the layered effect this created. 

Nickle Teal Time wash
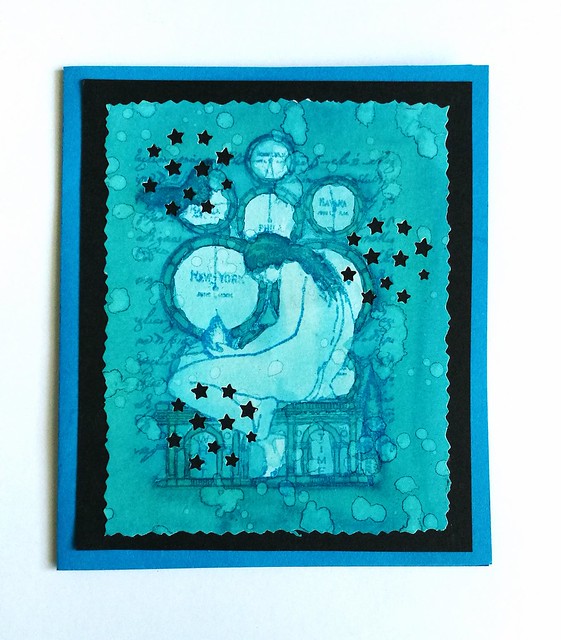
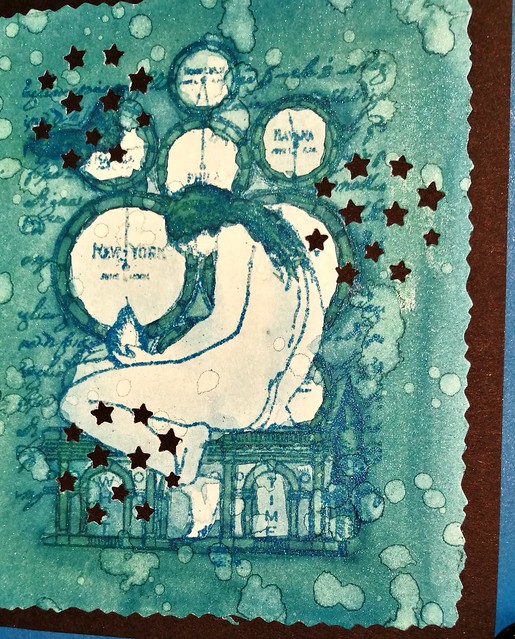
With this piece I also splattered on some water drops and let that dry. That created the lighter aria's on the card. Then I cut the edges with a figure scissor. I have a fun stars punch from the HEMA which you can reposition on the whole card and I used that on this card. It creates a nice "starry night" effect with the black background. I adhered the piece to a dark blue note card. 

Nickle Teal Time wash
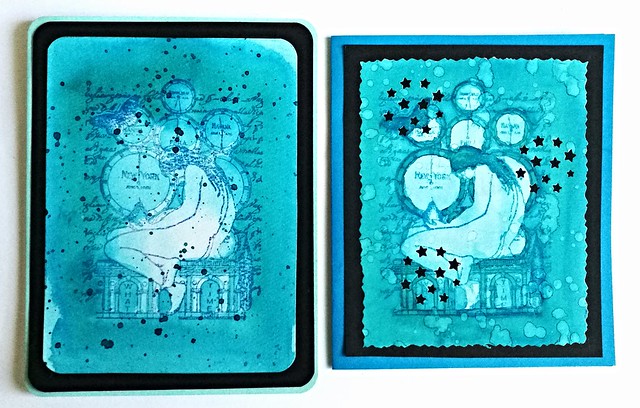
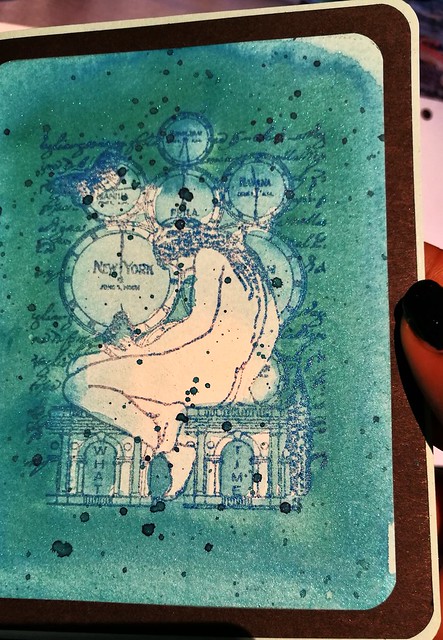
The cards side by side. I love this teal color! It creates such beautiful washes! The cards also have a bit of shimmer to it due to the Pearl Ex Powders which you can see a little bit here:
Nickle Teal Time wash
It's very subtle and you can only see the shimmer when the light hits the card a certain way. I definitely love how these cards turned out :)
Nickle Teal Time wash
The fortnight challenge at the Stempelwinkel stamper's #9 challenge is blue and I'm entering these cards for the challenge. 

Thank you for stopping by and I hope this inspired you to play around with ink washes as well :)

Have a great day!
Namasté

2016/06/01

Pens and Ink: Pelikan M805 Vibrant Blue with Organics Studio Nickel Teal

Pelikan M805 Vibrant blue with OS nickel teal
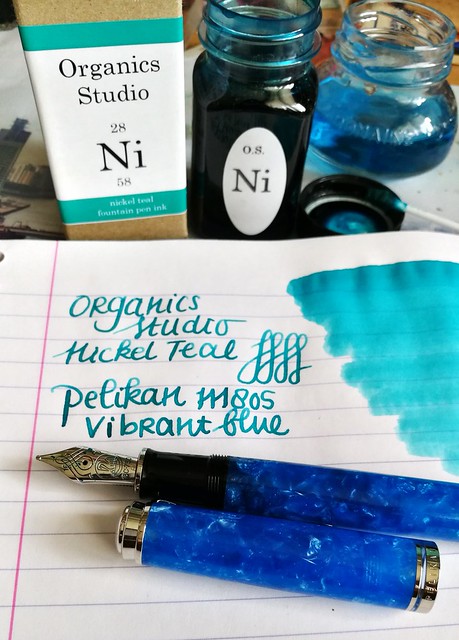
So you might have seen my pens and ink post from last week, where I announced some good news that Organics Studio will relaunch a few of their inks this month. And I'm happy to that they have decided to bring back one of my personal faves Nickle Teal as well :) I've found a great pairing, if I say so myself. The Pelikan M805 Vibrant Blue Special Edition!

Pelikan M805 Vibrant blue with OS nickel teal
They are almost sold out everywhere and I was lucky enough to get this gorgeous pen at a great price from the Fountainpen Group Buy facebook group, run by a great guy, Filippo Rosati. I went to pick up my Pelikan when it arrived and he is such a pleasant guy to deal with. Props to them for making such amazing group buys possible! I would not have wanted to miss this one and I'm so happy to have this amazing pen (for a great price!) in my collection! Thanks again Filippo!!

Pelikan M805 Vibrant blue with OS nickel teal
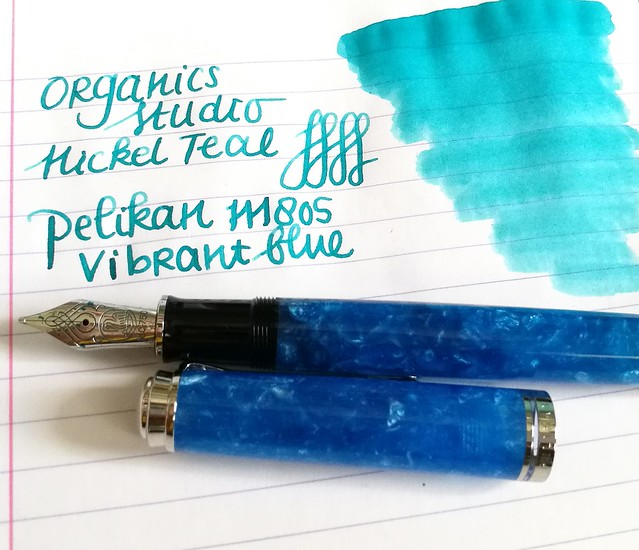
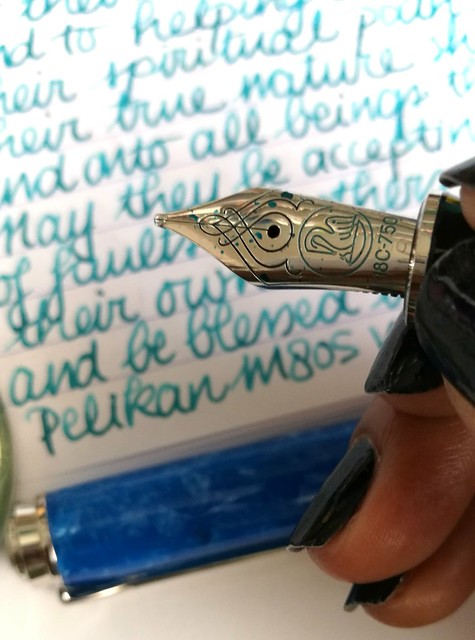
Look at that gorgeous nib! Pelikan really has the best nibs out there, always a smooth writer, right out of the box (in my experience!)

Pelikan M805 Vibrant blue with OS nickel teal
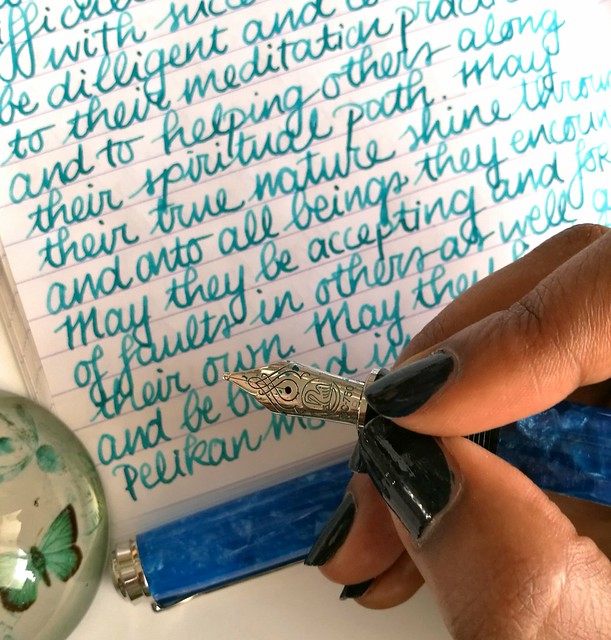
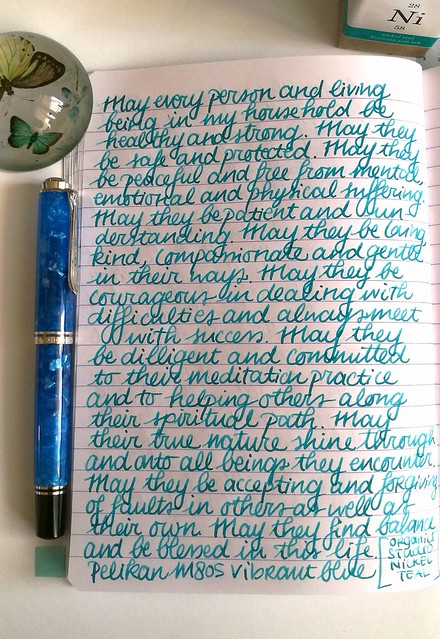
A written page in my loving kindness metta meditation journal. Nickel teal is a great ink! Beautiful shading and a gorgeous teal to turquoise color! The broad nib of the pelikan shows that off well!

Pelikan M805 Vibrant blue with OS nickel teal
If you want to know what inks will be available from Organics Studio, stay up to date with their facebook page and Instagram. 

I have been experimenting with ink washes recently and I will share some art work I have done with the ink tomorrow, but here's a teaser:
OS nickel teal time wash
Thanks for stopping by and I hope you will drop by tomorrow to see the process and full works I made :)

Have a great day!

namasté