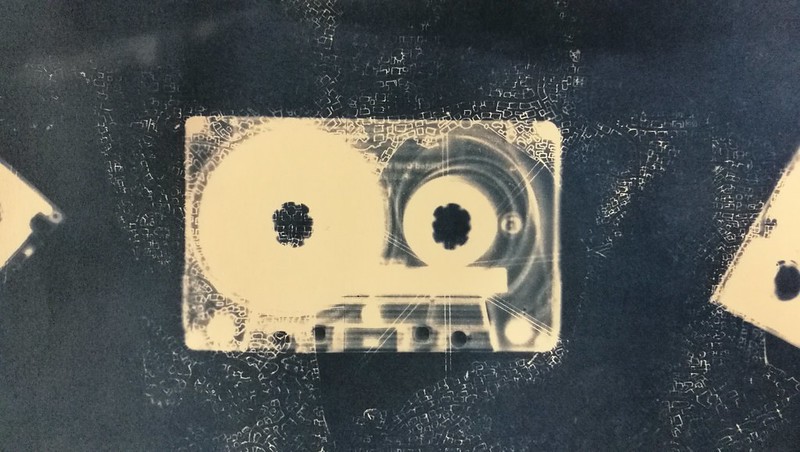
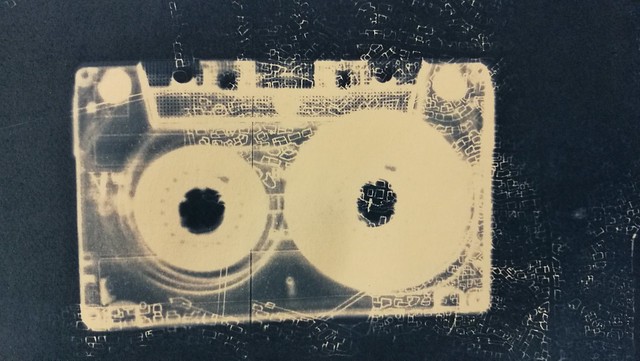
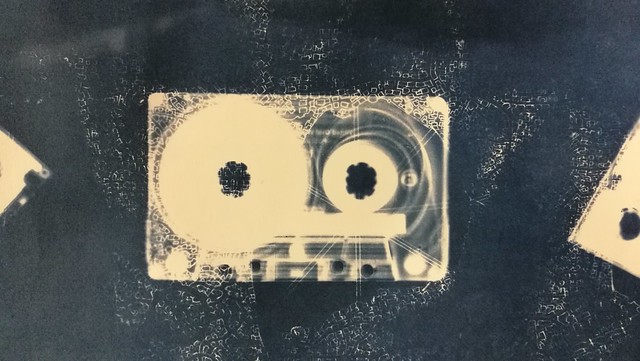
(Cyanotype with cassette tape and technical drawing)
When I was browsing through my local university's creative workshop course (
LAK) for the fall, I had noticed something they had not offered before a "
cyanotype" workshop. Below a blurb from the course website:
"Cyanotype (making blue prints) is one of the first photographic techniques and was discovered in 1842. By the use of two photographic chemicals you'll learn to make watercolor paper photo sensitive. In fact, we transform watercolor paper into old-fashioned paper, which results in beautiful Prussian blue prints. (EDIT: to know more about the cyanotype history and technique see here)
During the course you will learn about the chemical background of the process and you get started with all its features. It's surprisingly approachable; blueprints can be made of objects, pictures, drawings and photo's.
After you've tried all options during the course and have learned all the tips and tricks, you can continue at home, because you don't need darkroom!"
Well, I was very intrigued by it and signed up for the 6 week course and it was so incredibly fun! There was a group of 10 people and the course was given by Janet Keukelaar, owner of
PAR, who was very encouraging and had a fun way in teaching us the technique. All whom attended were very prolific in what they made and I've got some super fun prints out of it.
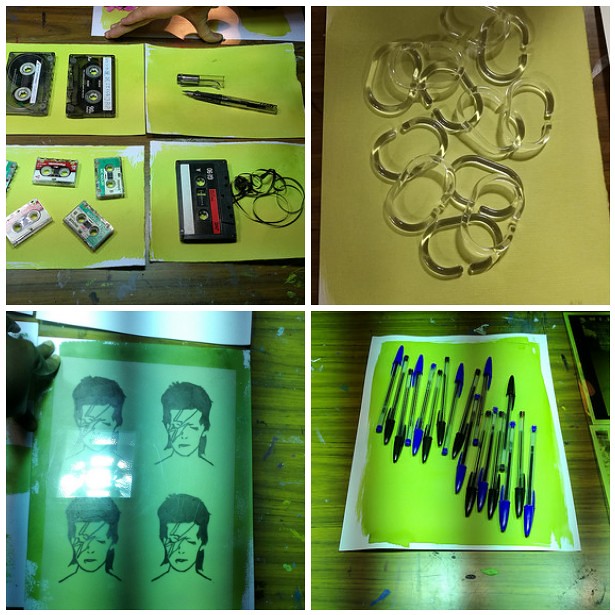
A visual impression:
First off you coat your watercolor paper (any kind of paper could work but watercolor paper is proven to be best for this technique) with the chemical solution and let it dry well. We used different kinds of foam rollers and brushes for the application and blow-dryers to speed up the drying process.
As you can see, the chemical coating is a bright yellow one. None of that lush blue in this part of the process! Then we placed the coated paper with the object/drawing/photo negative we wanted to have a cyanotype of under a sunbed (UV light exposure) for 7 minutes (give or take). During the exposure your print will turn into a darker brownish color. As you can see you can experiment with a lot of fun 3D objects as well! And don't worry, my beloved Lamy Vista fountain pen is totally ok after the UV-light exposure.
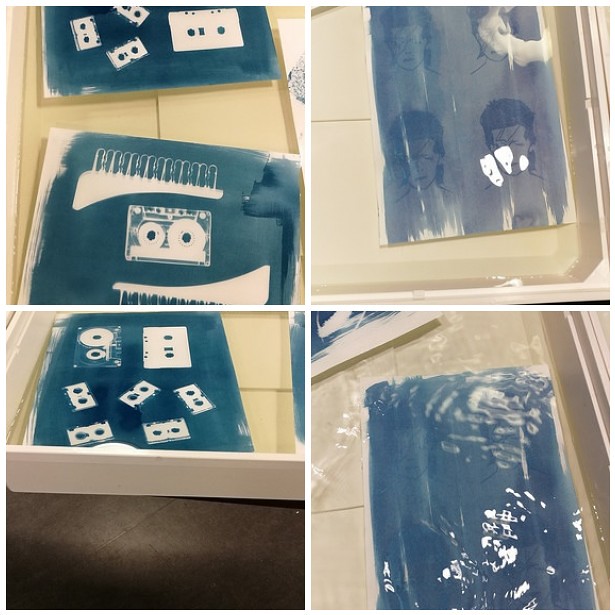
After the exposure you let your print soak in a tub of cold water for 15 minutes. Here is where the magic happens, the brown washes away, the unexposed parts turn white while the exposed parts turn blue! The longer you soak, the more detail will appear. Like true analogue photography! Also the water turned into a pee yellow color as the evening went on... a fun fact I wanted to share ;) Now comes the drying time...
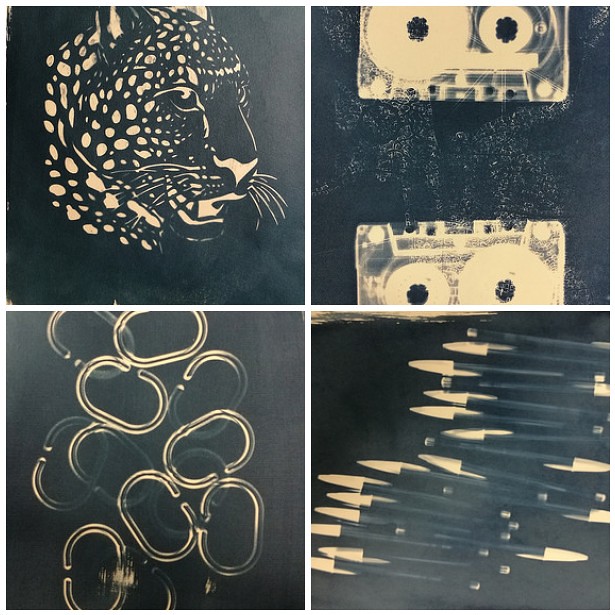
The longer you let your print dry, the darker the blue gets. It's good to experiment with the amount of coating, because the more of the solution you let soak in, the darker it gets. If you want a lighter print, experiment with using less solution and/or a longer soaking time. I love the deep dark blue these prints have. Also it takes a bit of trial and error to get the prints crisp but that is all part of the experimentation.
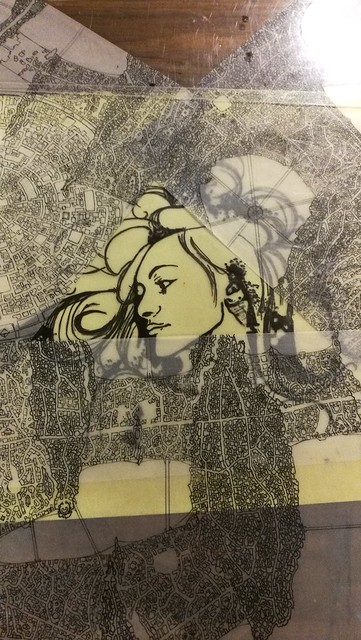
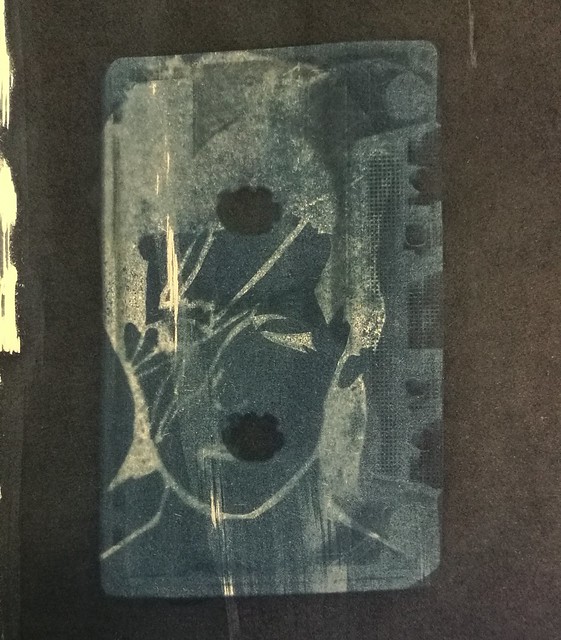
You can also experiment with layering images and objects on top of each other during the exposure process, like I did with the
Hera print above and cassette tape below with the addition of technical drawings my husband made.
I just completely LOVE how these cassette tape prints turned out! Look at the fine detail of the drawing that came through!
And also a fun thing to experiment with is double exposure:
I coated my Bowie print again and placed a cassette tape on it. In the 1980-1990s this would have been a fun mixed tape cover, don't you think?
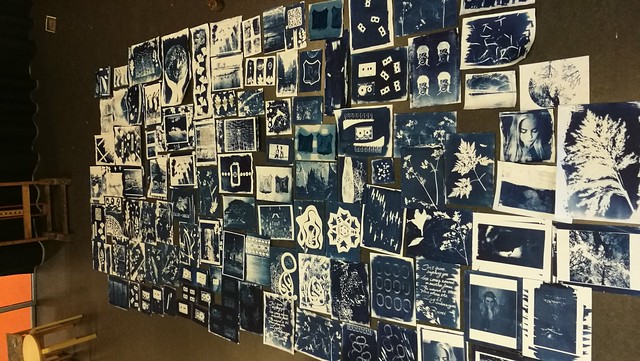
We all made such cool prints! On the last day we spread them on the floor to make an overview picture
And this is like only 1/2 of the whole production the class made!
If you get the chance to try a cyanotype workshop I would highly recommend it! For people in the Leiden aria, Janet does offer these
workshop at her gallery/studio PAR and also offer the sepia variant called Van Dyke. I definitely am going to try that next year! And you can also experiment at home by buying one of these
DIY kits she has curated. Oh and look at how awesome that
kaleidoscope kit is?!
If you're interested in seeing more of the prints I made, it's in my flickr album below:
And I am looking forward to work more with these prints, either in mail art or in my art journal. So to be continued...
Thanks for stopping by and have a great day!
namasté