Showing posts with label print. Show all posts

2016/09/23

Stencil Me Gelli Prints

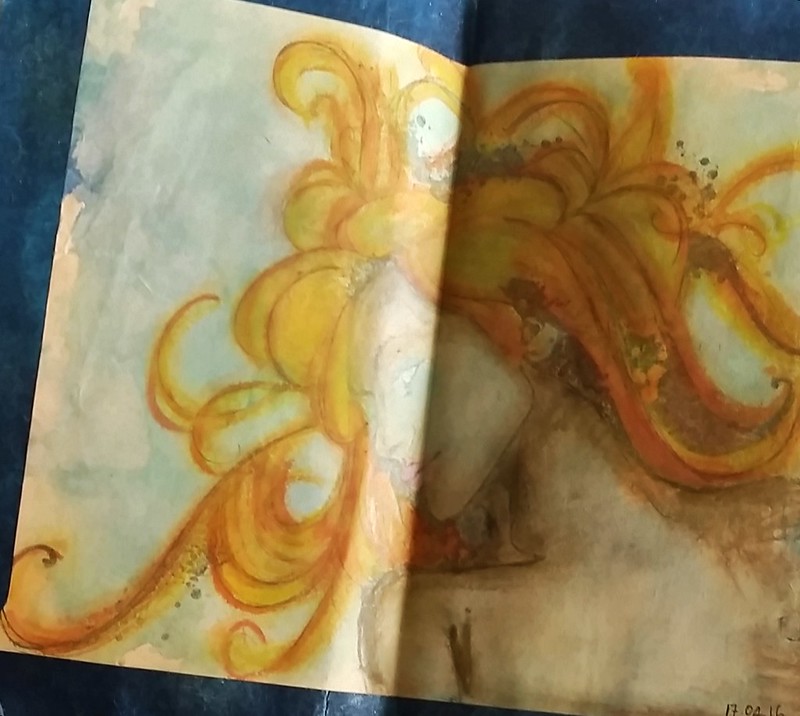
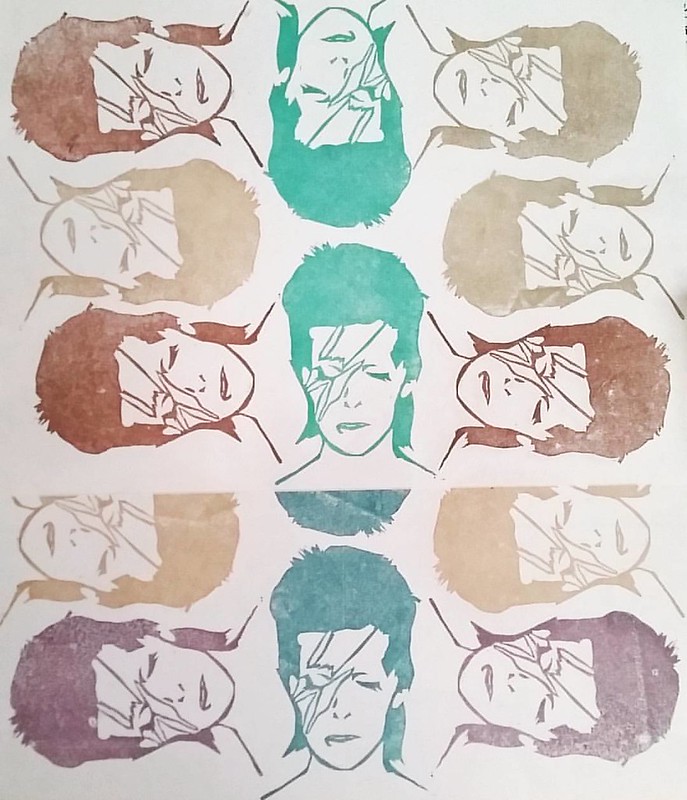
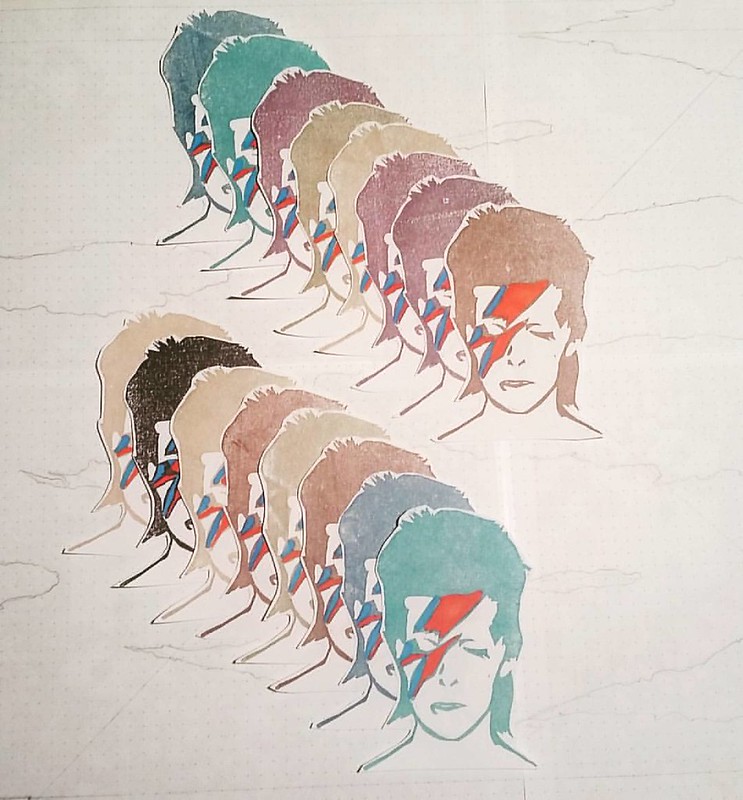
Recently I had the time to play with my 8 inch round gelli plate again. I used a lot of stencils I bought at the Art Specially event earlier this year and sharing a few prints I made here. The stencil I used below, I needed to have because I knew it would make an awesome print!

Gelli prints with Viva Decor Jaguar stencil. The right one has a laminated overlay using the tape transfer technique. @gelliarts #gelliplate #gelliprinting #monoprint #jaguar #cheetah #handpulledprint #handprinted #mixedmedia #mixedmediaartist
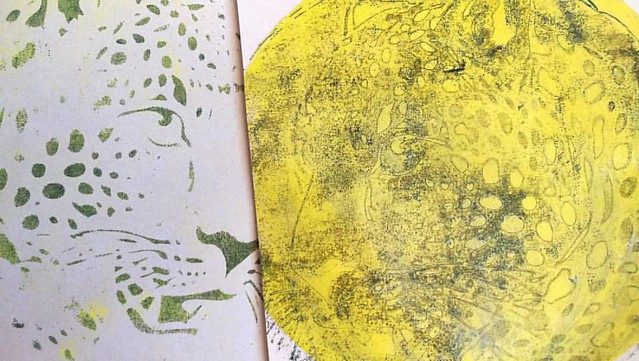
Gelli prints with black and yellow paints and Viva Decor Jaguar stencil. The right one has a laminated overlay using the Gelliplate tape transfer technique.

gelli plate printing session
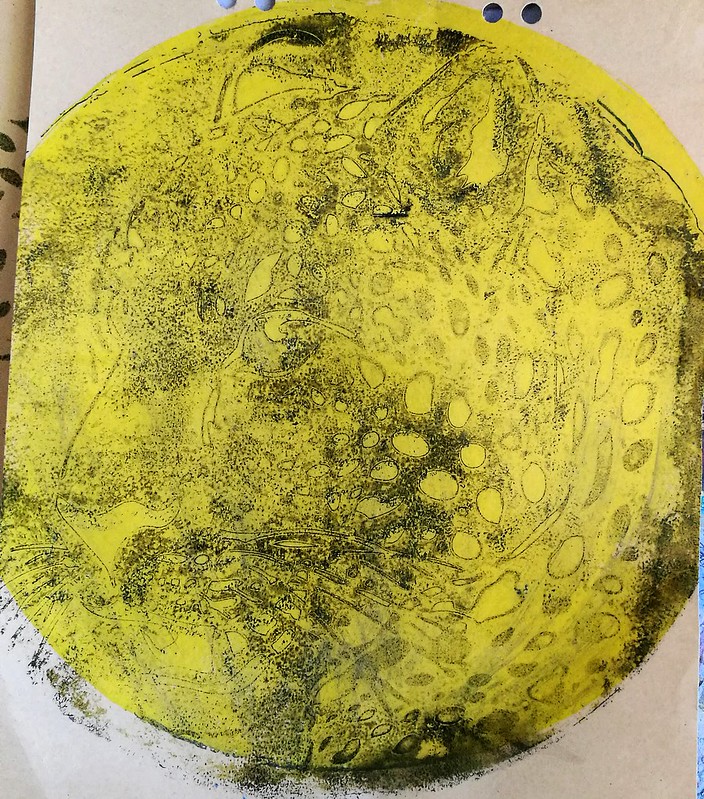
A closer look on the one on the right. First I pulled a mototone yellow circle and then added black to the mix. Then pulled the print through the stencil you see on the left side of top picture. Then I took a large laminating sheet which I cut to fit the round gelli plate and pulled the tape transfer (slowly and rubbing the aria's with paint all the way). I overlayed it on the yellow base print and I am pleased with the first try of this technique! Next time I might add more black to the mix to see if I can get the transfer a bit darker.

gelli plate printing session
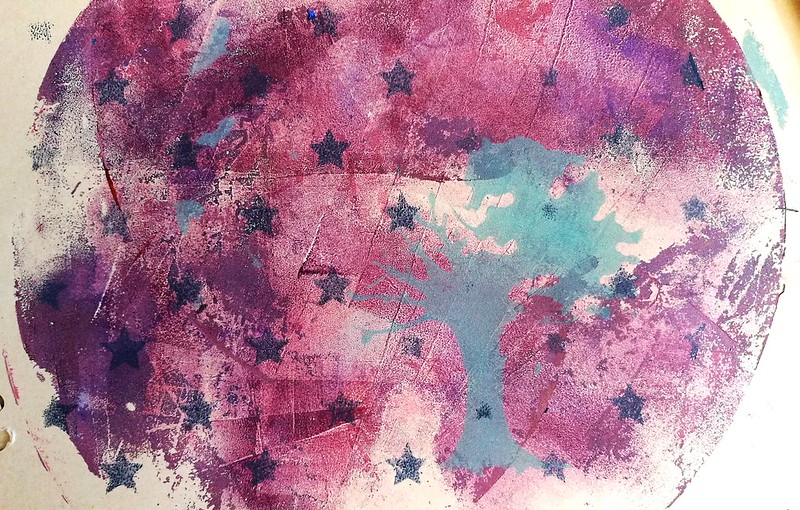
I made more prints with the tree and stars stencils I used in Nature's Beauty mail art piece from last monday. This time I pulled a mix  of purple and pinks on the background first. I also added a bit of iridescent medium to the mix to give it a bit of shimmer.

gelli plate printing session
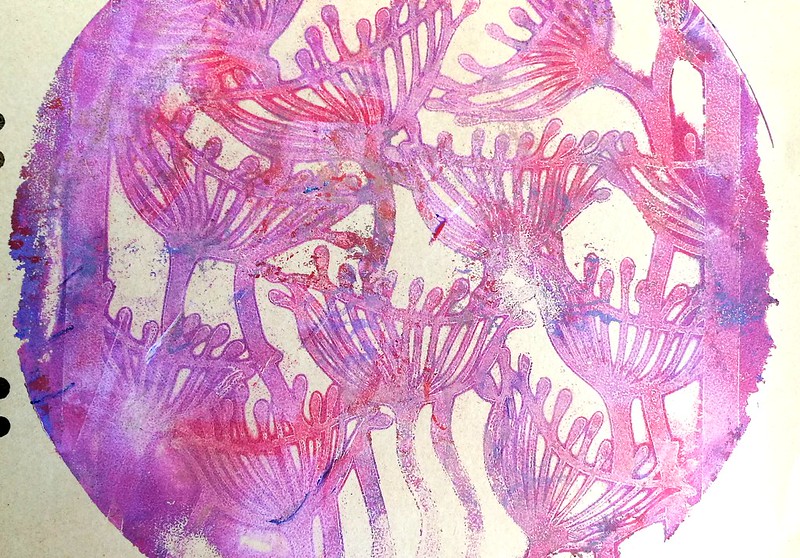
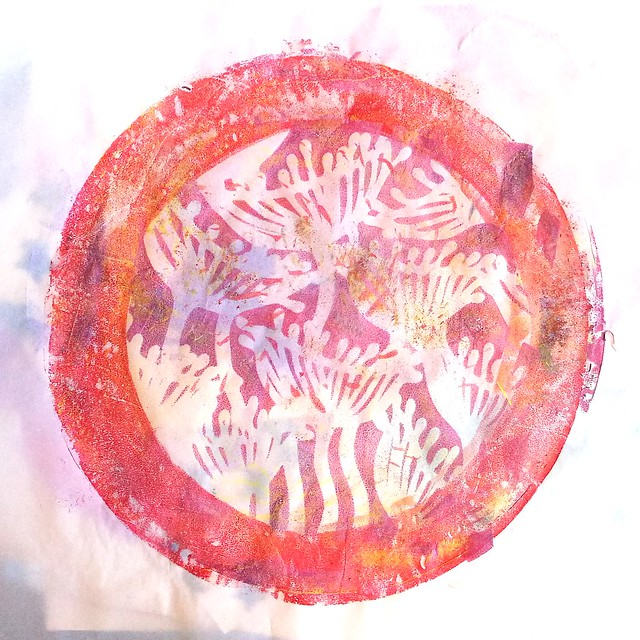
I liked that mix so much I also used it for this print. Another stencil from Clarity, the Seed Heads, was used for this print.

gelli plate printing session
This is a "clean up" dirty print - I used this paper to take away excess paint from printing sessions and you can create some fun prints this way as well!

gelli plate printing session
I also printed on tracing paper and this definitely is one of my faves prints I pulled from that day. I'm going to add these prints to my art journal and mail art which I am setting some time aside to do this weekend :) Hope to show you those results soon.

Hope this inspired you to get your Gelli plate out and start printing with stencils as well. It's super fun to do! 
Thanks for stopping by and have a great weekend!

namasté

2016/06/10

Art Journal: A study of Hera part one

At the Art Specially event earlier this year, I got a whole bunch of stamps and among them was this huge XXL Héra Stamp from Carabelle ( I got it at the Leuke Stempels booth) Well, to correct myself, my husband got me this stamp as a present :) When I saw it I knew it has so many possibilities esp. for my art journal. I am doing a series called "the study of Héra" in my art journal and I'm going to share them with you in parts.

Art journal page on vintage index paper, carabelle XL stamp, distress stains and crayons - #art #rubberstamped #rubberstampart #carabelle #distresscrayons #distressstains #artjournalmt #artjournal #mixedmediaartist #mixedmediaart #mixedmedia

I have all these vintage A-Z brown colored papaer index tabs (which I saved from being thrown in the trash can at work!) and I used one of them for this project. First I gave the page some color with blue distress stains. I wiped some on my craft sheet and sprayed water on it. Then put my page in the puddle. It gave a nice blue back ground wash effect. After that I stamped Héra with Staz-on Stone Grey (I had to reposition her to get her hair fully on the paper) and then colored her with Distress Crayons.

So I went a bit of Cray Cray yesterday at the #artspecially2016 event yesterday. This is part of the loot. And yes had to get the full set. #distresscrayons #timholtz #artsupplies #craftygoodness #colorful #craftygirl #craftyendeavors
I really love these! I love how soft and creamy they are and you can blend them nicely!

hera studies
I created a dark blue border with distress stains straight on the paper, sprayed some glimmer mist over, added some texture stamps in dark blue and lavender brilliance ink and then adhered the colored page to it. That's basically it for the first studies, it's simple and effective!

hera studies

hera studies

hera studies
The dark border really makes the image pop out!

Next time will show you another page I created with this stamp. 

Thanks for stopping by and have a great weekend!
namasté

2016/02/05

Monthly planning MTN: January 2016 overview

So I started this overview in the 3rd weekend of January but I actually managed to complete it this past monday! It seems like I'm getting the hang of it, finally! I have been using different things for this month so it looks "bolder" than the previous months pages do. Also a lot has happened this month. I've taken a few "work in process" pictures as it's fun to see how the pages change as I add more stuff to it. FYI I did not use a primer like I did in the december month. Bleed though is still an issue, sadly...

Midori january monthly update
A print of my hand carved David Bowie stamp (printed with versamark chalk ink olive tone) could not be missed in this month's overview for obvious reasons.

Midori january monthly update
Lots of orange, red and blue tones. And I keep busting those adorable 365 planner stamps from sakuralala. I recently found THIS cute little matchbox box again with those adorable hand made stickers. It was sent to me in a swap with my friend Arkaya years ago and they are so perfect to use in the planner!

Finished monthly overview january
And this is what the finished month looks like. I have written 'January 2016' with a Pilot Parallel Fountain pen 6mm width. Other fountain pens I used on here; pilot kaküno with black ink (the fune print), Edison Nouvau premier LE Caribbean sea with Pilot Iroshizuku Ama Iro and Franklin Christoph Intrinsic 02 with Kingdom Note Saskia Charona. 

Finished monthly overview january
A close up of the kitty sticker and I still really love that gorgeous Moon charm.

The last weekend of January turned out pretty Epic for the following reason: we adopted a cat from the local animal shelter! My heart is so full with love for our little pretty kitty... and she will start living with us 1/2 through February! I suspect the month of February will have a lot of cat mentions in them :) Also a reason to finally use my Instax mini 8 camera maybe? 

Thanks for stopping by. 

namasté

2016/02/01

Mail Art Monday - tribute to David Bowie

Exactly three weeks ago the news hit that David Bowie passed away. It really seemed like the whole world was grieving this loss. I sure was and I have shared my process of this grief with you here. A weekend later I made a limited edition run prints of 12 that I put up for sale on my personal FB page to share with friends. They were gone within a day. For the envelopes I made customized stickers and I sent 12 pieces of mail art the following monday.

Making prints with my Bowie stamp

Prints made with archival chalk versamark ink on A4 white matte sticker paper.

Stickers are done. Going to be on envelopes of the prints I am sending to friends.

It was quite a process coloring and cutting them all out, but the result is very pretty, if I may say so myself.

All these prints went out today! Thanks for the orders and I hope you all will receive them soon :) #davidbowie #printmaking #print #mailart #mailartists #mailout #sent #outbox #snailmailrevival #snailmailing

All prints carefully packaged and ready to be mailed out. I love seeing the reactions of my friends when they get them in the mail. A few of them from instagram


Due to requests from others whom missed out on the first run of the print, I might make more Limited Edition runs of this carving to sell in the near future. If you are interested in a print, please follow my facebook page for updates. 

Have a great week!

namasté

2015/01/03

Stamp Carving - a Greater Challenge


I was struggling with a decision about a stamp I really wanted to carve, but was too intimidated by the design to give it a try. Well a while back I just sat down and just went for it and I wanted to share the result with you here.

First it took me a while to get it started, with sizing the design and tracing with tracing paper and pencil then transferring the image on to the carving block, as you can see on the picture here

The swirls were complicated but I managed to get through them, with a lot more patience than I thought I had ;) After 3 hours the result is this

and I'm pretty happy with the result :) I've decided to stamp her on items I'll be selling on my etsy.
I was looking for a phone slip for my Samsung Galaxy S and the sleeves for Iphone are just a little too small so I made one for myself and offer one up at my etsy and will make more in different colors soon. I love how the print looks on the faux leather fabric :)