Showing posts with label tape transfer. Show all posts

2016/09/27

The Bride on Halloween

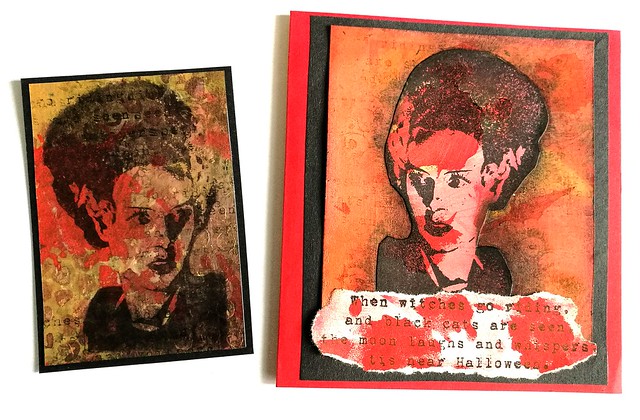
Halloween Atc and Card
Over at Viva Las Vegastamps blog they are getting us ready for Halloween with their september challenge. They have some awesome Halloween stamps and I recently got plate 1476 of which I used a few stamps for the ATC and card I made above. The Bride of Frankenstein is the focal point on both the ATC and note card.
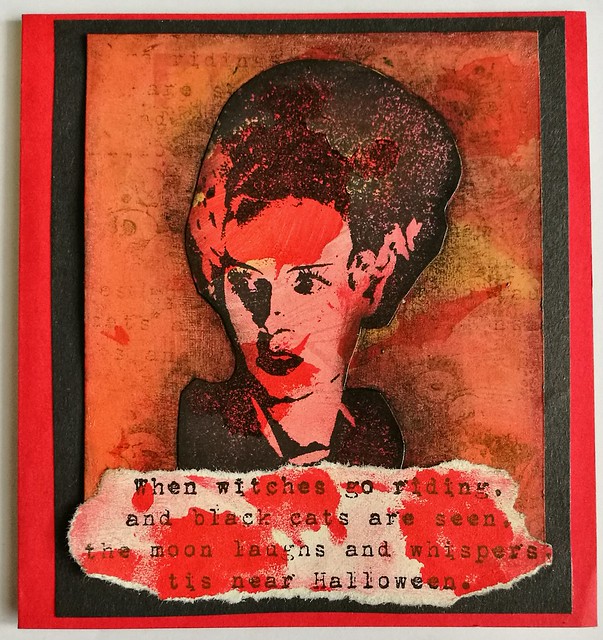
Halloween Atc and Card
I also used the Skull and Bones stamps from this plate for the background with the "when witches go riding" text stamp. The background is made with paints, stencils, golden sheer modge podge and pearl lusters. I matted that onto black cardstock and then adhered to the red note card. 
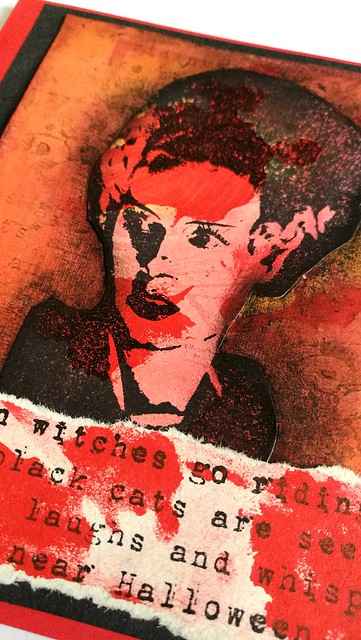
Halloween Atc and Card
Shading around the Bride is made with a black distress crayon. Red spatter effect on the text was made with a stencil and acrylic paint. 
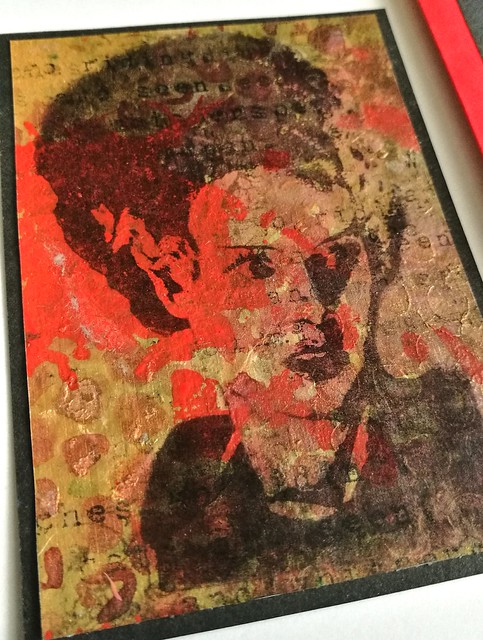
Halloween Atc and Card
For the ATC I used a mixed media background, made on kraft paper. I used stencils, modelling paste, brusho, CW gold gesso and red paint. I stamped over it using the same stamps for the background as with the card. Then I made a tape transfer from the stamp to get the reverse image.
Halloween Atc and Card
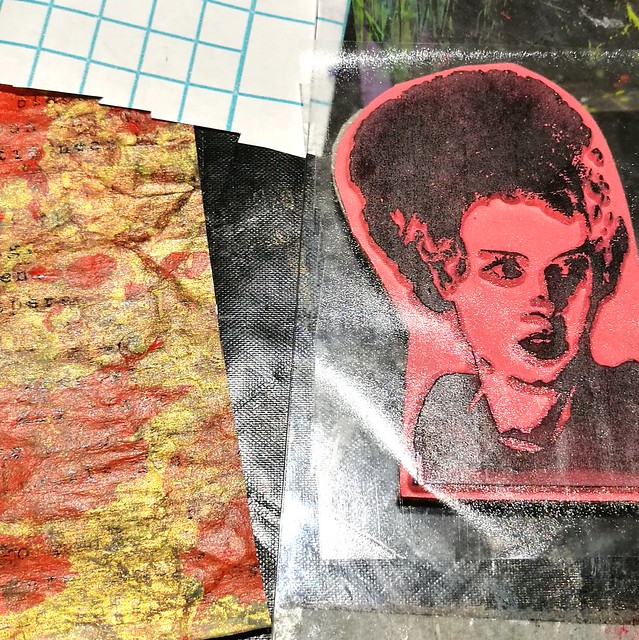
It's very easy to make a tape transfer! I used clear laminating foil which I cut in the right size and pressed it down on the stamp. First I have stamped the image with staz-on several times on a piece of paper so that the ink on the rubber is dry. Then used the back of my scissor handle to run the tape well over the image and pulled the print off.
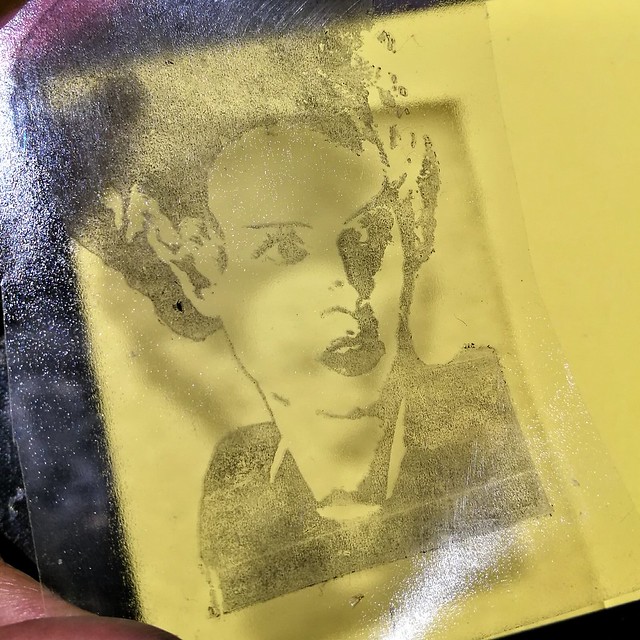
Halloween Atc and Card
As you can see it's a light transfer, which means the image is transparent. That is what I was looking for so the multilayered background shows through this image.
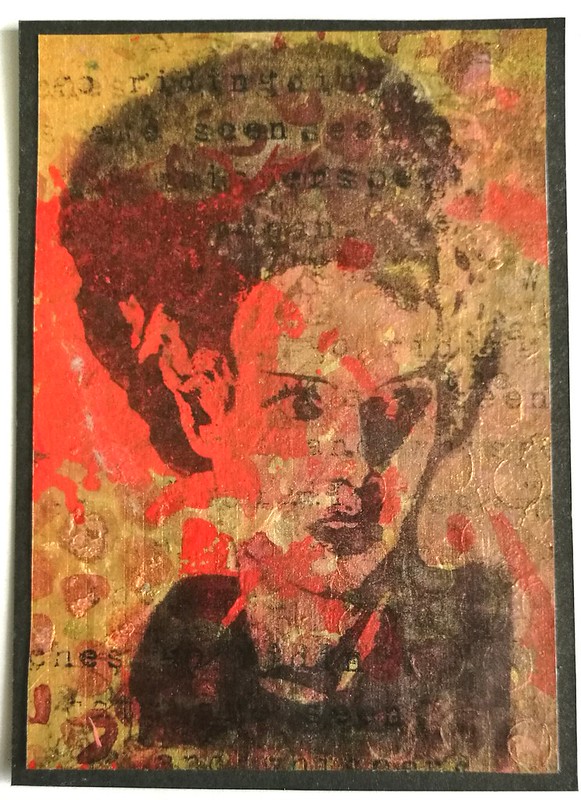
Halloween Atc and Card
She is dark enough to stand out but light enough to have the background show through. I matted the ATC on black card stock and called it done. I really love this stamp and made more Halloween ATC's which I will share in another post. 

Have a great day and thanks for stopping by.

namasté

2016/08/01

Mailart Monday: summer time mail

It's the heart of summer and things are slowing down everywhere. So will my mail output and updates on the blog. Usually we're in Sweden at this point, but this year we're actually staying in the country. We're going to spend more day trips to the beach and just enjoy some time off locally. Recommendation for art makers out there: if you haven't listened to these podcasts from the Art Supply Posse team, you really should subscribe! It's hosted by Ana from Wellappointeddesk and Heather Rivard. It's fun chatter about art supplies in general, how to use your own stash more and creating space for daily art making. Also be warned as they will enable you to try some more/other art supplies ;) As I have fallen for the latest episode Color me Pencil and got a bunch of Faber Castell Polychromos to play with. I'm looking forward to try these and some other new art supplies in my time off and tell you about them soon. But since it's mailart monday, let me show you what I recently sent out into the world via outbox shots.

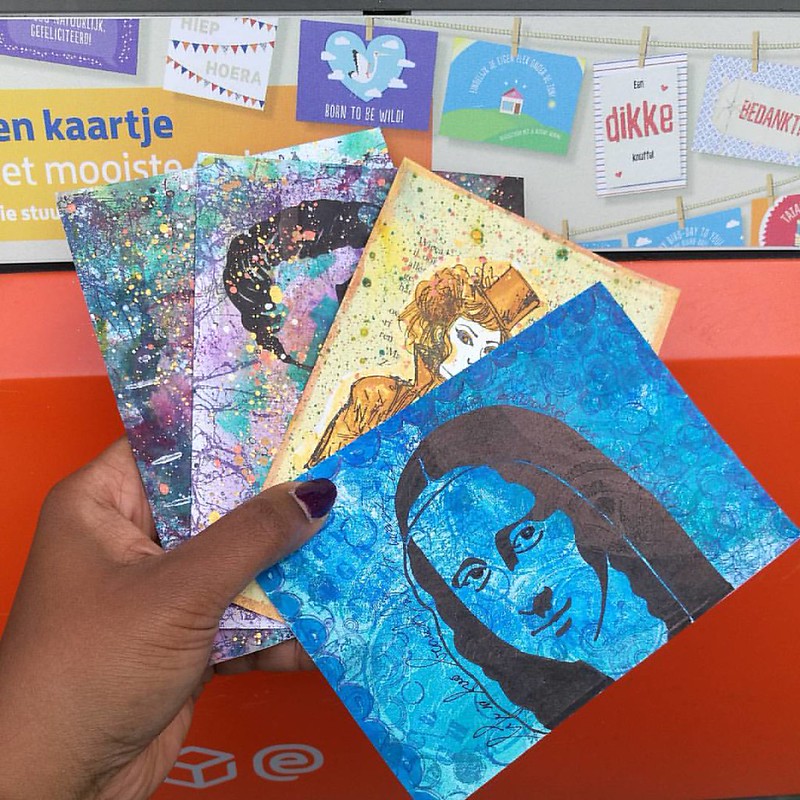
Mail out from last week. #mailartmonday #mailart #mailartist #snailmaillove #snailmailrevolution #swap #swapbot #swapbotambassador #outbox #postbus #echtepost #echtepostiszoveelleuker #brievenbus #mixmediaart #mixedmedia #mixedmediaartist #artistsofinstag
A shot of some hand made postcards I made for swap bot swaps: create a masterboard, put a foreign text on it and TPS mail art July. The latter I used some left over prints from my first gelli print session, stamped various circles rubber stamps in blue toned ink pads and the Mona Lisa Stamp is from Carmen's Veranda. I sent this piece for the foreign text swap and next time I'll show you how I made those masterboard cards.

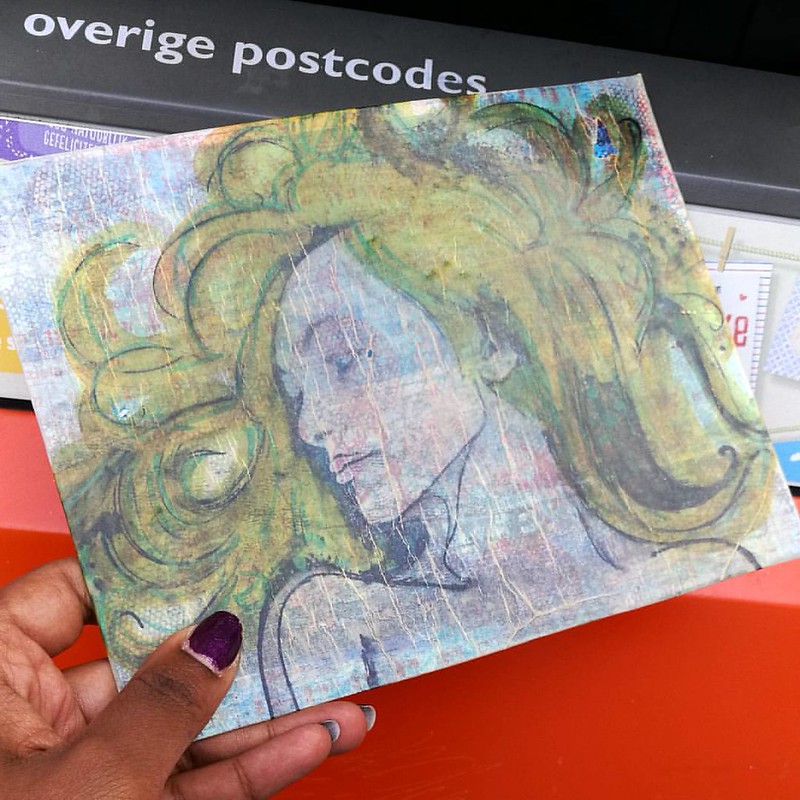
Another transformation of Hera sent out for a @swapbotnews swap. #swaps #mailout #outbox #sent #mail #mailart #mailartist #snailmaillove #snailmailrevolution #echtepost #echtepostiszoveelleuker #rubberstampart #collage #transparencylayers #carabellestudio
I'm still doing my hera studies and this piece was sent for the CC sender's choice july swap. The background was pieced together with left over papers and then I stamped some fun stamps over them. It was a base piece to layer hera whom was stamped on Canson tracing paper. She was then colored in with letraset promarkers. I wanted to try my new liquitex gloss varnish to adhere and seal the piece. It gave a crackle effect as you can see, but I quite like the result. So another transparency layer effect on my mail art :) I like doing these!

So as I said in the beginning, my updates will be less frequent in the month of august. 
Thanks for stopping by and hope you're all enjoying the summer as well :)

namasté

2016/07/25

Mailart Monday: Transferring and Layering

A few weeks ago I told you that I hardly ever used transparency layers on my mail art. Well I later realized that that is not exactly true. I have used a few transfer techniques in my mail art, like the packing or clear tape transfer technique. You can get some really fun and multi-layered effects when you use this technique in your (mail) art. An example below:

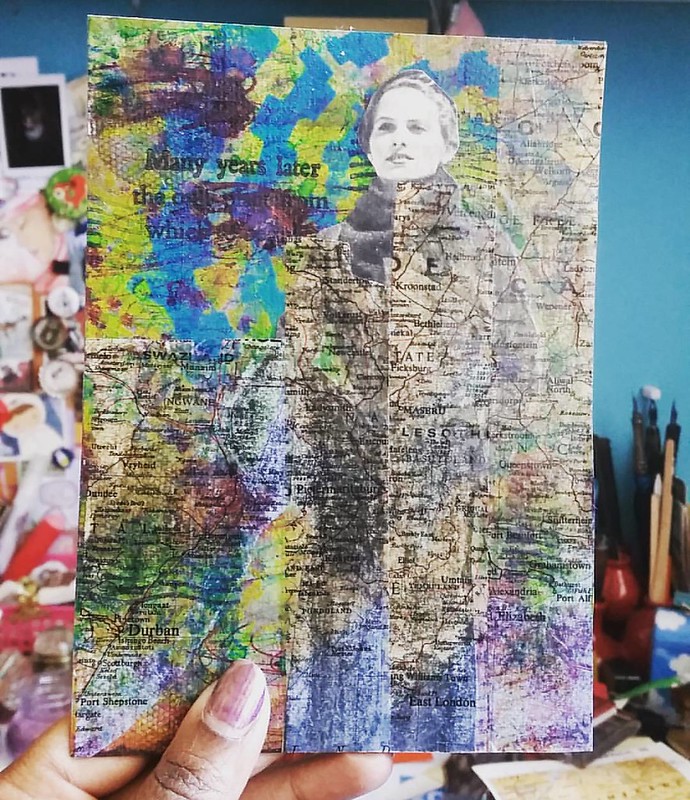
Experimenting with packing tape transfer today #mixedmediaartist #mixedmediaart #mixedmedia #mailartists #mailart #colorful #vintageimages #stencil #stencilgirlproducts #paperartsy #rubberstamps #paint #layers #swapbot

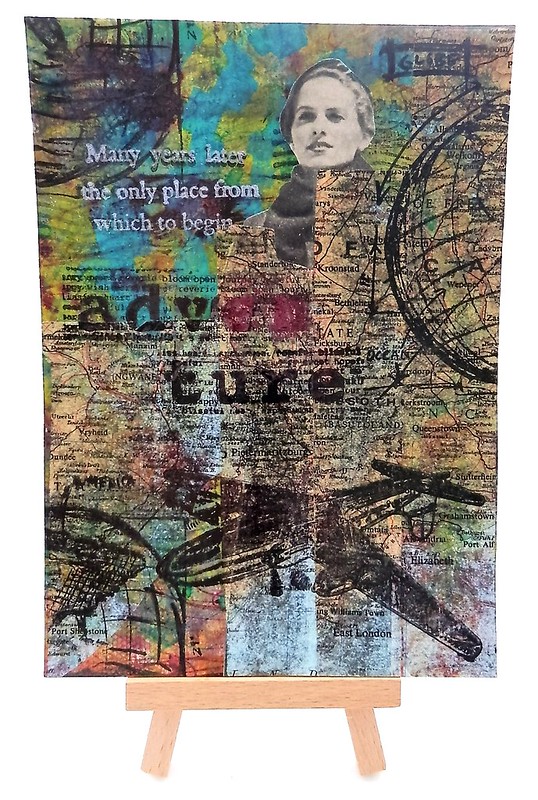
This piece is made on a background of laid paper (Crown Mill) and fountain pen inks drippings. Then layered with a stencil and blue-green paint. When that was all dried I took an image out of a vintage fashion magazine and adhered it. I always love the contrast of the grey-scale tones to the colorful background. The theme for this postcard was for the Handmade travel postcard at Creative Collage group on Swap-Bot so I wanted it to have more themes layers and I took a page from a vintage atlast and made the packing tape transfers. The packing tape layers are somewhat transparent so the background does shine through. Before I glued it all down with my trusty UHU gluestick, I sealed the background with some gel medium. I used a credit card type card to smoothen it all out on the page and let it dry before adding more to the card.

Mail Art 043-2016

I used a few rubber stamps in the travel theme from Tim Holtz and Paper Artsy Electica's and stamped it on with Staz-On Jet Black. The sentiment "many years later the only place from which to begin" is also stamped with Brilliance lavender ink. I love how all the layers came together and fit into the theme. Hope this inspired you to use some packing tape transfers in your mail art as well. 

Have a great day and thanks for stopping by!
namasté