Showing posts with label technique tuesday. Show all posts

2018/05/21

WIP: Texture play layer building

Today I wanted to show you a little something different, which I have done before with the poppy flowers a while back, and that is to show you how I create some textured backgrounds and layer building process with paints and other media. I've used AALL and Create stencil #18 and stamps from their latest release for this.
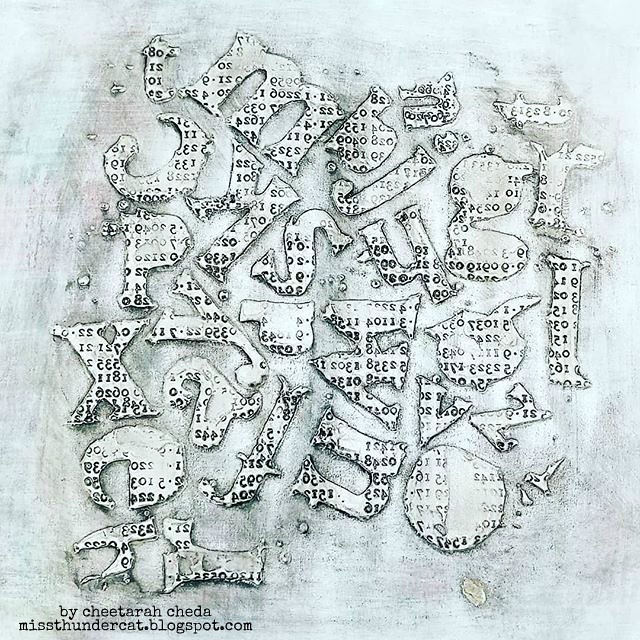
Texture play and layer building

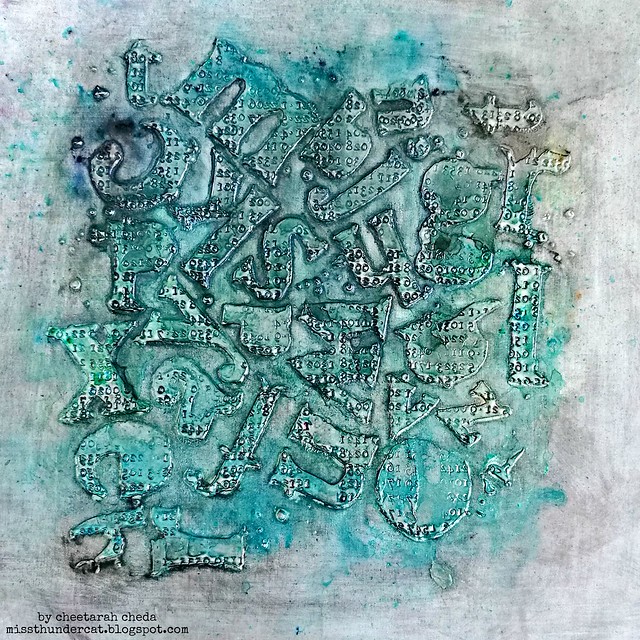
First I start off with a base of gesso on mixed media paper. Then applied the modeling paste through the stencil, heat dry to the touch then stamp in the paste to get the texture imprint. Once that was fully dry, I gave it another coat of gesso and when that dried I did the glazing technique with black paint to get the shadows/low light effect. You can see DeeDee Catron do that HERE for Donna Downey Art Gang.
Texture play and layer building

Now to add some color: I used cosmic shimmer pixie powder for the first layer. Used different colors of greens and pewter to get a bit of an ombre effect. Looks fun so far, but the pixie powder stays too water reactive and I wanted something more permanent and brighter. So in with the paints!
Texture play and layer building

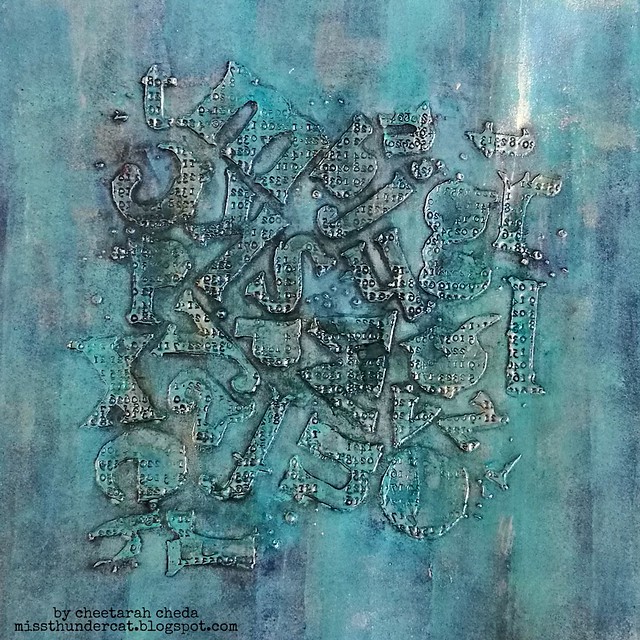
So I've taken my mini foam brayer and paints in blue hues by paper artsy and finnabair blue metallic paint & Opal Magic Rose Gold and just brayered on some layers of paint. I made sure to use a combination that blends well together and added lighter and darker aria's for depth. I also brayered paint over the textured aria and it had lost some shading so I tried to bring it back with a stabilo all pencil.
Texture play and layer building
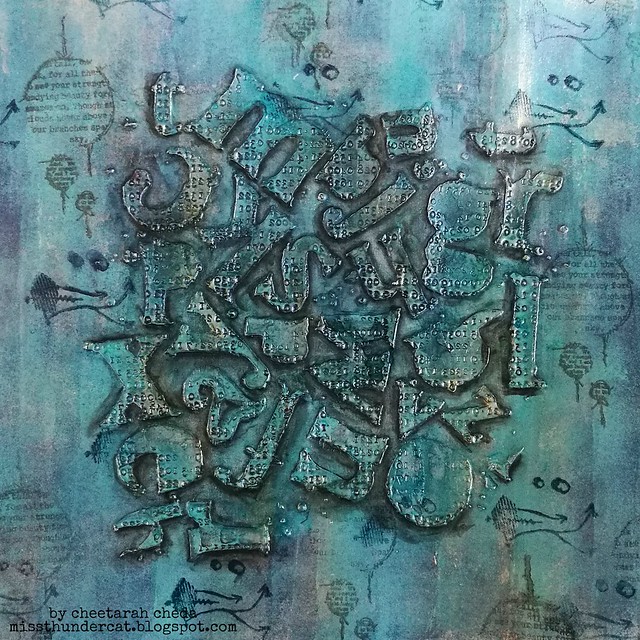
So the shadow parts make the texture stand out a lot more! I then stamped around the modeling paste texture for some other texture to break up the pattern.
Texture play and layer building
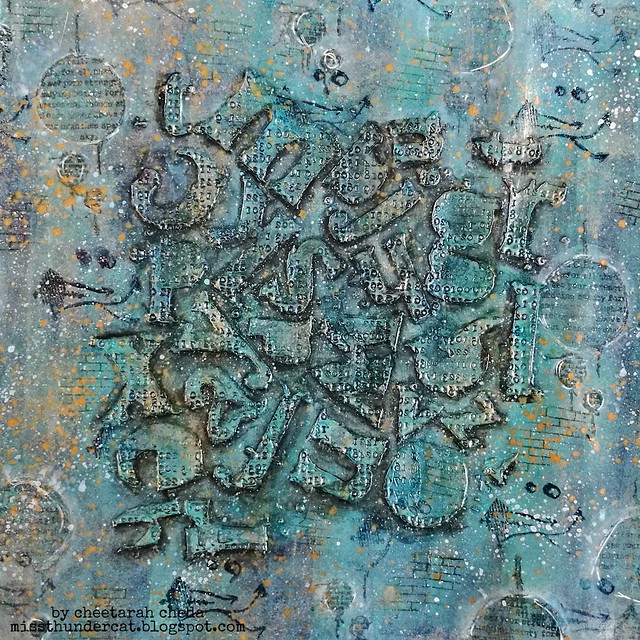
To finish it off I added some white and gold splatters, outlined some circles with a white gel pen and added touches of the rose gold paint over it for a bit of shimmer. And I called the background done! 

Stay tuned for the art journal page I created with this background coming up soon!

Thanks for stopping by and have an awesome day!

2017/09/04

Heartfelt watercolor note cards (Stampotique New Release september 2017)

simple and sincere notecards

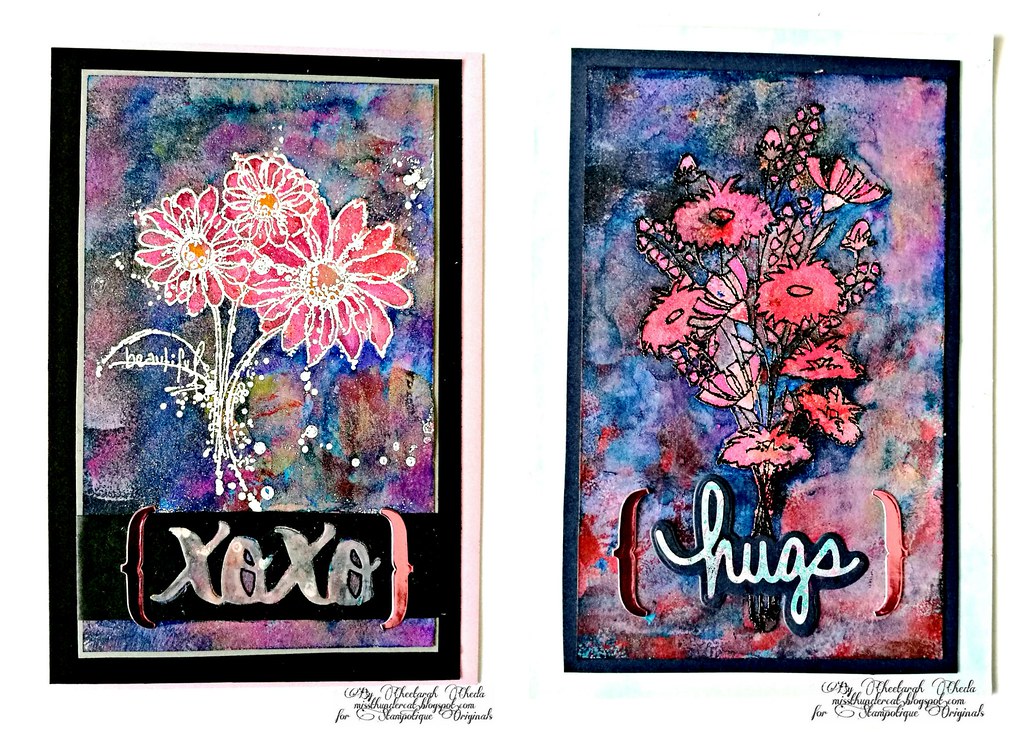
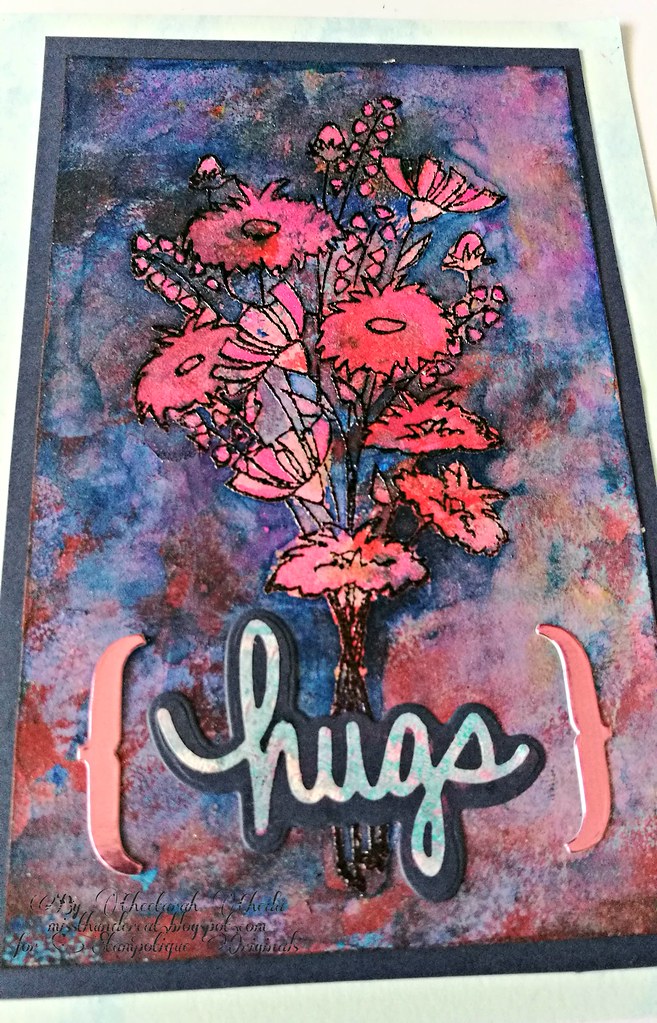
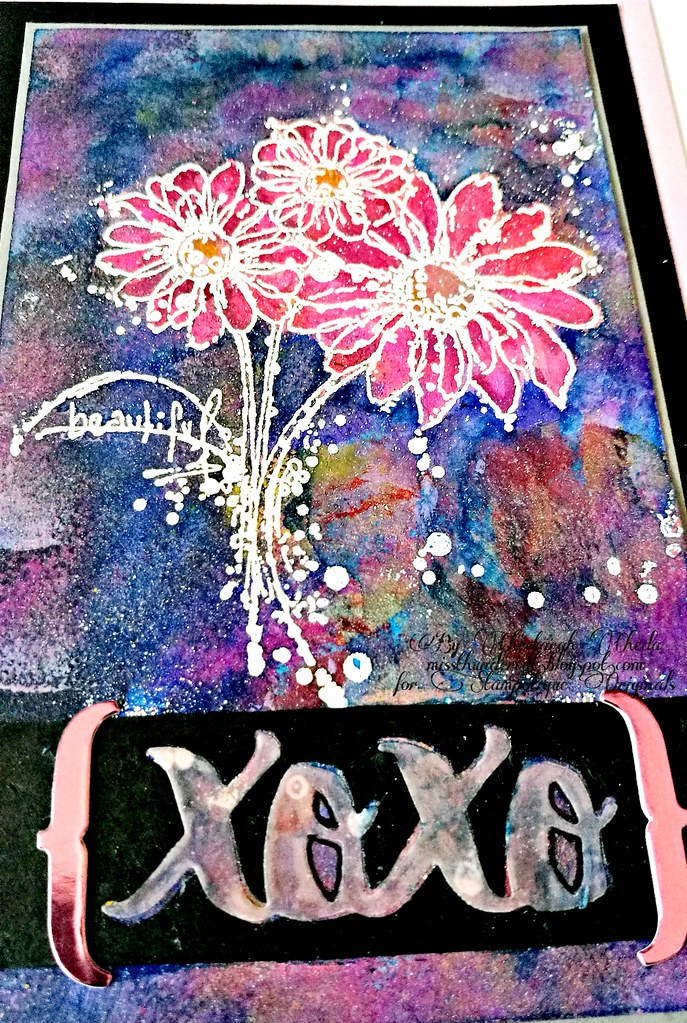
Today I am sharing a few watercolor cards made with some of the newly released Stampotique Originals rubber stamps. There are two beautiful flower bouquets you can make some heartfelt note cards with like I have shown above. What I did with both was emboss the flowers on watercolor paper, then make the background and color in the flowers. die cut the sentiments and piece them together. These watercolors cards are just super fun to make and didn't cost much time at all! You just let the colors work its magic. The watercolors I have worked with here is from Cloves and Honey shimmering watercolors. They just SPARKLE in real life!

september releases stampotique 7
This bouquet is designed by Terri Richardson and I love the delicate flowers together. I chose one color for the flowers to make them pop from the background. The HUGS sentiment is a die cut from Technique Tuesday. And the accolades are from an alphabet sticker set I have.

september releases stampotique 11
This bouquet, called Flos,  is designed by Kassa Hayselden and she drew them in the same style as the popular "kassa's bloom" stamp. I really love this style and also like it has the word beautiful in it. It's a whimsical design with dots and scribbles and just super fun! I paired it with an XOXO die cut from Stamplorations "cutplorations" die. First on black then inlaid the vellum cut out. The accolades are from the same set. The watercolors are just super fantastic in real life!


Don't forget to check our newest Stampotique Designer's Challenge as well. Hope this inspired you to work with watercolors and these gorgeous new flower stamps from Stampotique originals! 

Thanks for stopping by and have a wonderful day :)