Showing posts with label VLVS. Show all posts

2017/05/11

Mixed Media Art journal page - VLVS!


It's my turn to share a project over at VLVS! inspiration blog and I've made the above mixed media art journal page. The Leaf Lady from Mary Vogel Lozinak is such a stunner and is a fave to use from the new releases. The page full with texture goodness and I shared how I made this piece, which stamps and materials I used are listed over at my blog post there. So please hop on over and have a look! 

As always thank you very much for stopping by and have a wonderful day!


2017/04/10

MailART Monday: Venturing Out

venturing out

Freidrich of Stampotique Originals is fast becoming a fave stamp to use in my works. Last week I used him on the text background postcard and this week I'm sharing this MailART envelope I made. Because you can place him in various ways it's a really fun stamp. I like to place him on objects he precariously balances on.

venturing out
The envelope I used this time is an A5 size and it was already somewhat decorated, but I eventually didn't like the look of it in the end. So I covered it with opaque paints from Deco Arts in the Traditions line, Red Violet, Phthalo green blue and light green. I used mostly my fingers to apply the paints from light to dark (letting the bottom layer of light green dry completely) and then spritzed some water to get some movement going and dabbing some paint away for texture. The envelope already had some texture on it, from a stencil and heavy matte gel medium. The texture showed through the paints nicely while being covered with color. I then added some more texture with Kate Crane's texture cube and coordinating staz-on inks. Lastly I stamped Freidrich on with staz-on jet black where I wanted him on the envelope.

venturing out
I adhered an address label before I stuck on the colored (with promarkers) and fuzzy cut image of Freidrich. I wanted him to balance on something and I found the perfect stamp in VLVS! the Writing Triangles which stamped flipped on the side look like arrow heads. I love how he looks so very concentrated balancing on that particular point!

venturing out
Lastly I spattered some liquitex inks! in silver over some spots, swiped some around the edges and adhered some vintage stamps. It's now ready to mailed off :)

This envelope contained the card I sent for publishing in Crafter's Magazine May 2017 issue. And I'm excited to announce that I have a card published in it :) Look out for a card I designed for the New beginnings theme in ready set stamp section in the magazine below:


And a close up of the card that is published :)

I'll post a tutorial on how to make this card on my blog sometime later this month :)

I would like to enter the mail art envelope in the following challenge:
Art Journal Journey - Magical Mystery Tour
It's not a journal page, but I still thing it fits the theme ;)

Thanks for stopping by and have a wonderful day!

2017/01/23

MailART Monday: Winter Elf

Winter Elf Mail Art

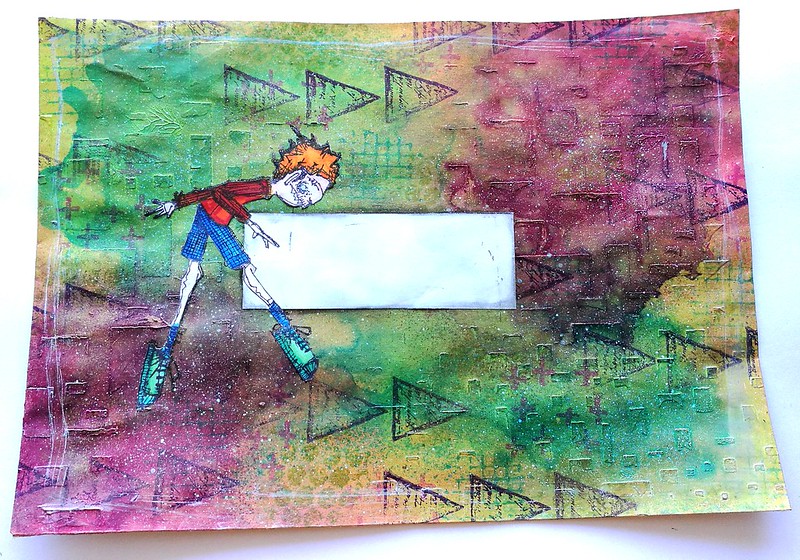
On this week's Mail Art Monday I have a fun little project to share with you. I am continuing with my envelopes this week and created a "Winter Elf" mail art envelope you see above using stamps from Viva Las VegaStamps! and a blue winter color scheme only. The color scheme was inspired by this 
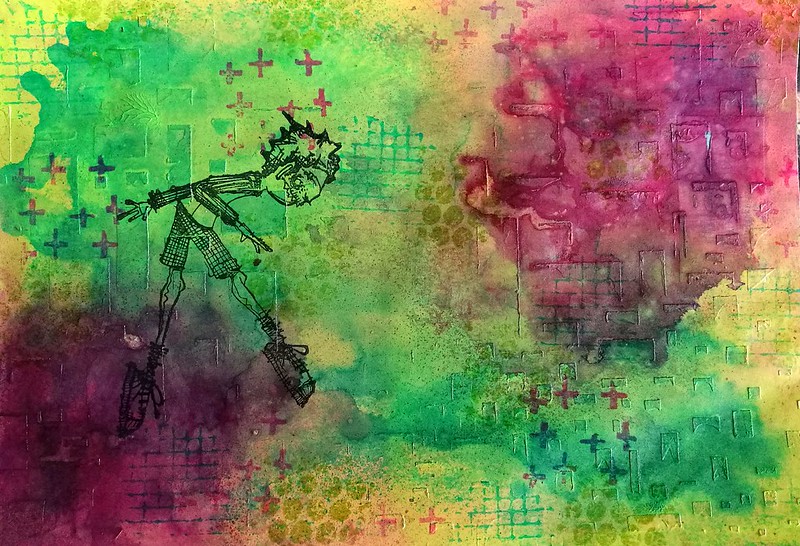
color challenge on the Leuke Stempels blog to use the colors inspired from the picture below.


And products sold at their shop only. So a nice combination of wintery blues and greys. The use of black and white were also allowed. Well you know I like a good challenge so I went for it. I'm quite pleased with the results. Sadly I haven't got any process pictures for this one, though. But below are a couple of detailed pictures for you instead.

Winter Elf Mail Art

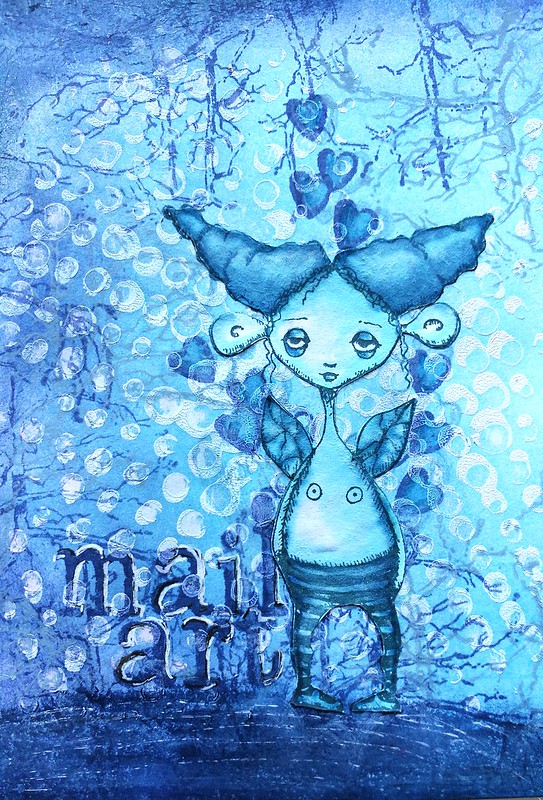
I stared off with wiping off some excess modeling paste from a Carabelle Studio's stencil with a baby wipe to get that subtle polka dot print on the back. Next I used distress inks (tumbled glass, faded jeans and chipped sapphire) and a blending tool to color the envelope, using the darkest tone as last to frame the envelope. The dots resisted the ink at some parts nicely. and others parts it seeped through. Gives a nice playful effect. Next I took distress paint faded jeans and my brayer to stamp on the branches of the tree in the lighter grey blue color. Then used distress paint Blueprint for the darker blue branches.  
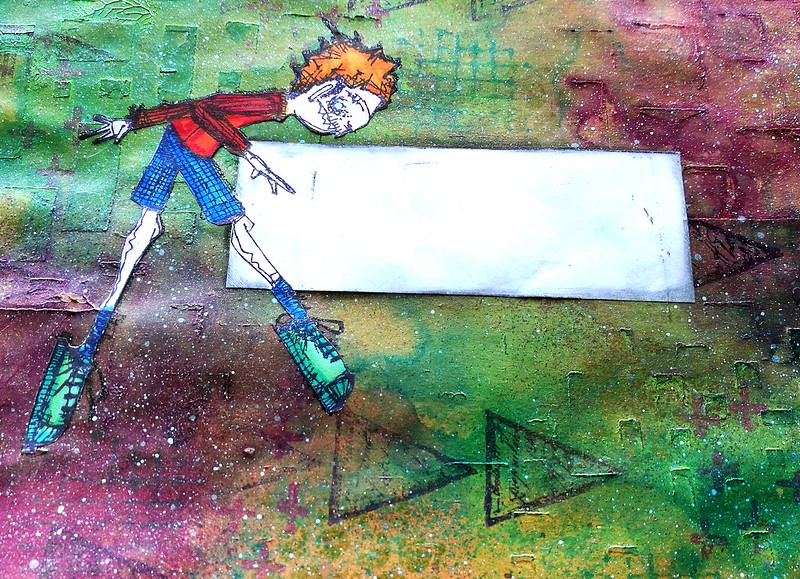
This cute little forest Critter designed by Lesley Wood for VLVS! is the focal point. She was stamped on sticker paper and colored in with water soluble markers and fussy cut. I stamped some hearts underneath her first and colored those in as well. The hill she is standing on is made with a distress crayon (also in chipped sapphire) and highlighted with a white gel pen. The "Mail Art" stamp comes from plate 1477.

Winter Elf Mail Art
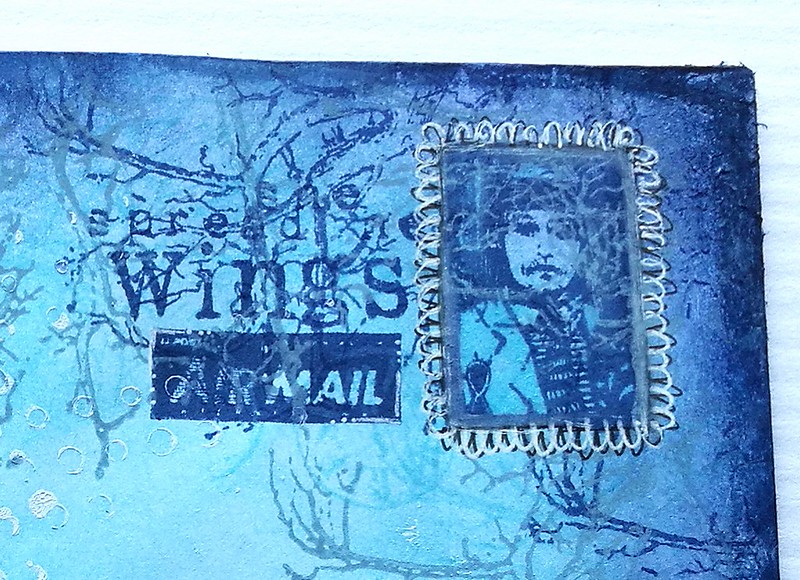
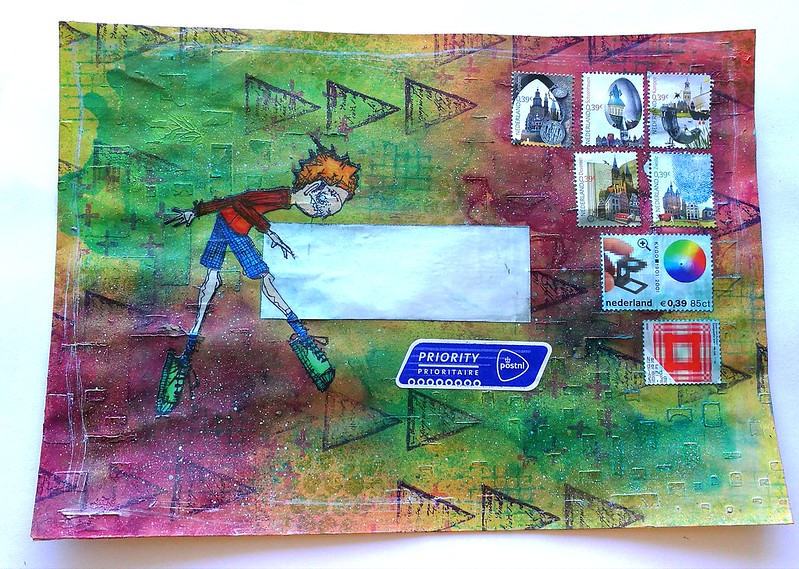
On the top right I used the Whimsical Postage Stamp op the top right corner and drew in a scalloped border with a black fine liner and then white gel pen over it. The little airmail stamp is of course needed for mail art and thought the "she spread her wings" sentiment would also be appropriate. Lastly I outlined the whole envelope with distress crayon shipped sapphire, sealed it with a fixative spray and called it done.

Winter Elf Mail Art
This is definitely my fave part of the envelope as I love how the hearts come from underneath her wings :) 

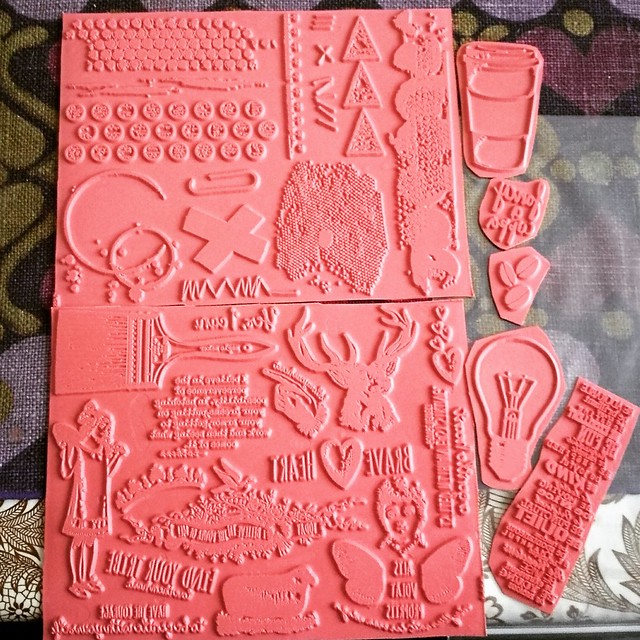
Stamps from VLVS! used:
Forest Critter by Leslie Wood 

Others:
Carabelle Studio rounds stencil
Crafter's workshop light and fluffy modeling paste
Distress inks (tumbled glass, faded jeans, chipped sapphire)
Distress paints (faded jeans, chipped sapphire)
Tombow markers
Distress crayon in chipped sapphire 
Faber Castell Artist Pitt fine liner
Uniball white gelpen

For more mail art inspiration check out VLVS! blog for their mail art monday posts as well. And I hope to see you again here next week for another installment of my own Mail Art Monday posts here :) 

Thanks for stopping by and have a great day!


2017/01/04

VLVS! DT member announcement


It was hard to keep under wraps, but I finally can share this exciting news with you! Yesterday the new design team for Viva Las VegaStamps! for this term was announced. I'm happy to report, I'm part of this team together with 7 other wonderful creative ladies as you can see in the picture above :)

VLVS! has been one of my fave stamp manufacturers for a long time and I'm glad I can share some of my projects on their inspiration blog as well. 

VLVS rubberplates
Just before the new year I received a bunch of great rubber stamps to play with. These are plates 1455 and 1483 together with some coffee themed stamps; coffee cup, fancy a cuppa and coffee bean trio, large light bulb and be adorable. I can't wait to create something with these! Remember that VLVS! has monthly challenges you can play along with and when you enter you have the chance to win some rubber stamps!

For now I leave you with a new year's wish and a bit of a teaser for my first DT post next week. 

Thank you for stopping by and have a great day!


2017/01/02

Mailart Monday: May the force be with you

In the last week of 2016 the sad news hit of Carrie Fisher's passing. To many she was an icon as Princess Leia in the Star Wars franchise. Today's MailART Monday is dedicated as a tribute to her. 
May the force be with you Mail Art

Mail Art envelope "May the force be with you" made with stamps from Viva Las Vegastamps! Plate 1473 with artwork by Brian Kesinger. The base is a black envelope and I used colorbox cloud white stamping ink and white WOW embossing powder for the contrast. The starts are embossed with Stampedous Stardust embossing powder.

May the force be with you Mail Art

I colored the embossed image of "Saving the Galaxy with Otto" with Caran d'Ache Pablo coloring pencils. The colors can be blended together quite nicely and work well on dark paper. The contours are colored with a silver pencil to make the image stand out on the envelope more.

May the force be with you Mail Art

I also made this note card to accompany the envelope with the stamp "Darth Victoria".The image was stamped on tracing paper and colored with promarkers. I made the "galaxy" themed paper by spattering white and silver Liquitex INKS! over the card. The matted with white card stock then onto black again for the contrast. May the force be with you phrase stamp can definitely be used for cards to wish someone well or success. And to wish someone farewell also... 

May the force be with you, dear Carrie 💖

Entering this in the "That's Crafty" Anything goes challenge 

Thank you for stopping by and have a great day.