Recently I have joined this amazing facebook group, Our Mixed Media Moods, to get inspired for doing some more mixed media work. The group is run by these talented ladies Dee Dee Catron & Jenn Engle and they share a mood board every 20th of each month to inspire people to create/dabble more in Mixed Media. The current mood board really inspired me to try and participate. The gorgeous wine color, flowers and cascading squares/rectangles inspired me most. I made a journal page for it, but before I share that, I wanted to share the process up to that page with you first. It's mostly picture heavy to show you the evolution of the process of these wonderful poppies which I made using Donna Downey's Poppy Forest stencil.
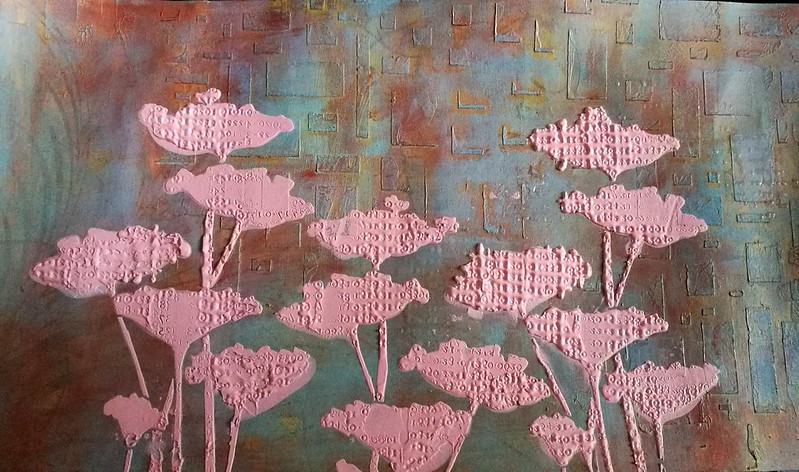
I started off with a piece of scrap book paper prepped with gold gesso. It already had some cascading rectangles on it so it was a perfect place to start on. I brayered on a couple of different paints (fresco and distress paints) and wiped/rubbed places with a wet wipe. Then got my poppy stencil, mixed some modeling paste with a dab of red paint and stamped into the paste when it was semi dry.
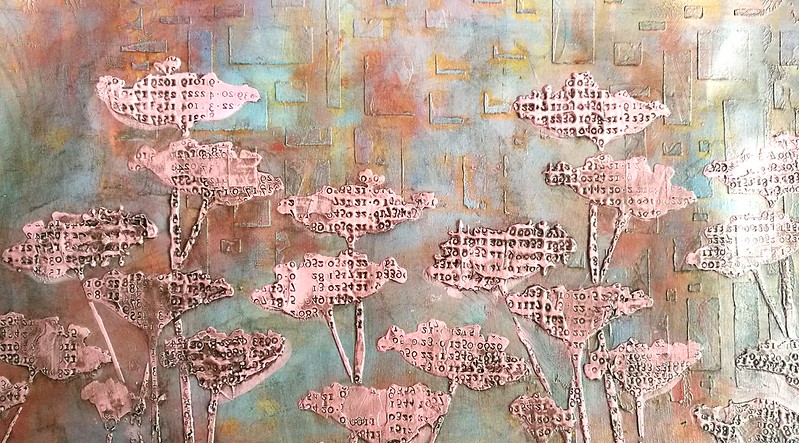
I wanted the numbers from the Tim Holtz stamp stand out more and I saw this video by Dee Dee in how she made the black glaze and I gave it a go myself. I used liquitex INK! in black and paper glaze.
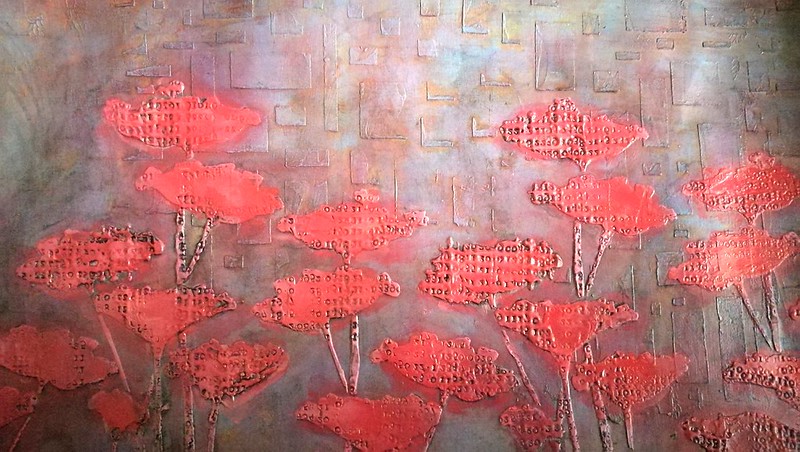
Wanted to add more color to the poppies and finger painted the flowers with red distress stains.

Added color to the stems the same way with green distress inks.
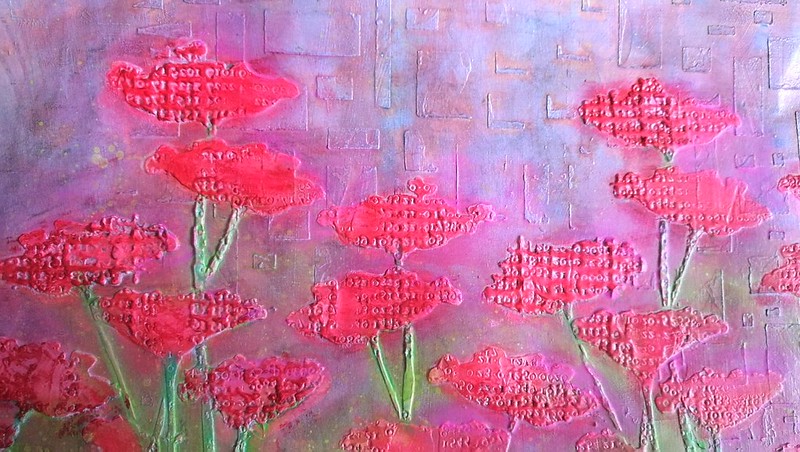
Then added some color on the background with pearl rubs in pink and green. But the more I did this the more I started to hate it. The black accents were also gone and the colors were just too bright. So I got a wet wipe and started to wipe some background color away.
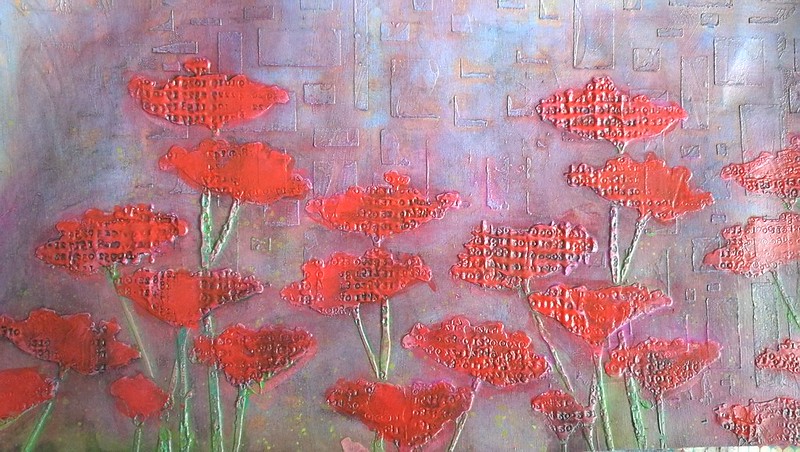
Then I got more black glaze and dry brushed it in the stamped parts of the stencil to get the darker accents back. It was still too bright so I wanted to tone the colors down a bit.
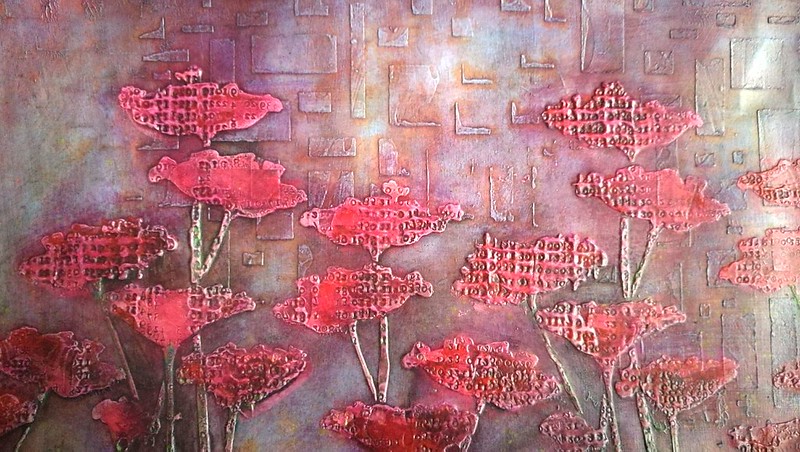
I poured the black glaze fluid over the piece and wiped it out. Now this was getting to where I wanted it to go, finally...
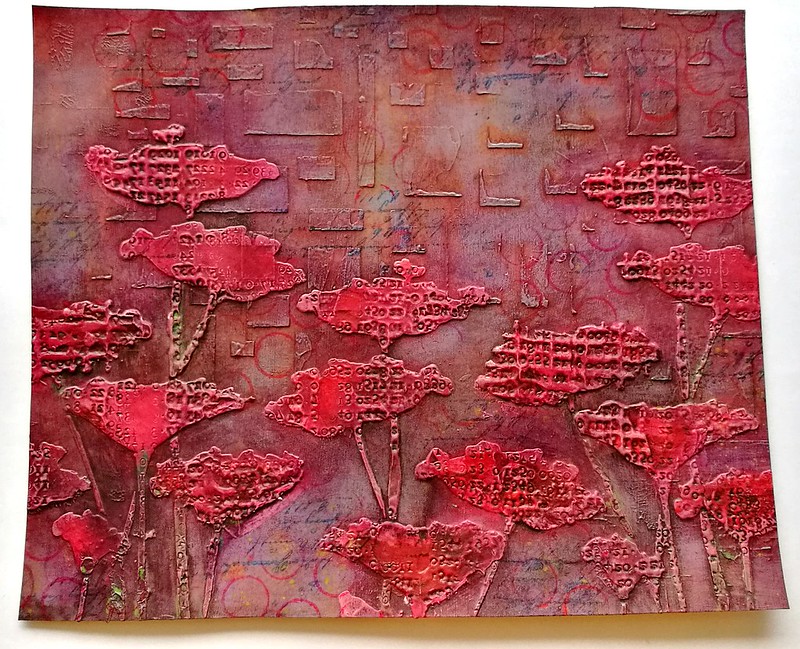
Trimmed a piece for my pocket journal, stamped on it with a script stamp and some open rounds and it was ready for the next stage in my art journal.
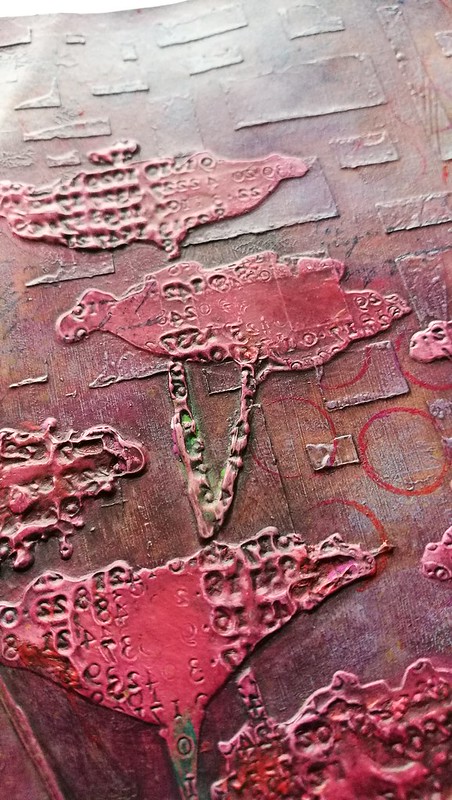
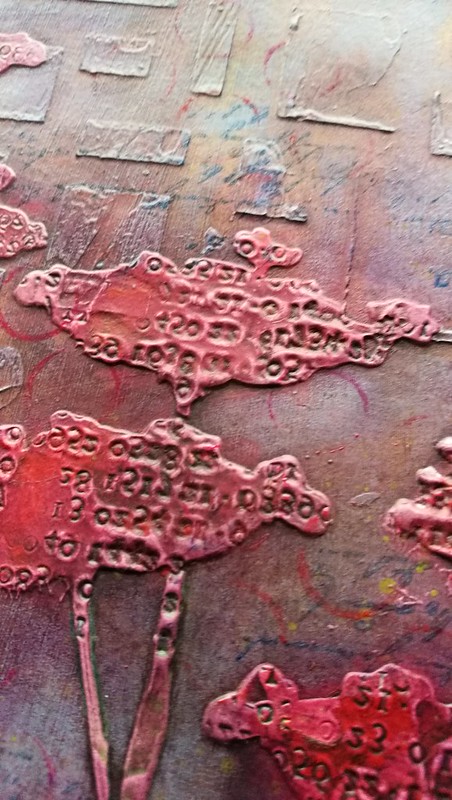
A couple of detail shots of the poppies in this end stage. Stamping in modeling paste is so much fun and I will definitely do this technique again.
Tomorrow I will share the finished journal page, hope you will stop by to see the final stage. Thanks for stopping by and have a great day!

Mooi al die verschillende textures en om te zien hoe jij de stappen maakt! Groetjes, Gerrina
ReplyDeleteDank je wel :)
DeleteThe texture in the poppies is amazing! And I love the background.
ReplyDeleteThanks so much Jenn :)
DeleteLoved it !!
ReplyDeleteThank you very much :)
DeleteWow! Thanks for sharing each step - looks great!
ReplyDeleteThank you very much :)
DeleteI love how you shared your thought process with each step. I have gotten several great tips to try as I love using modeling paste. I also viewed Dee Dee's video. Thank you so much for sharing. Got here in some round about way from Art Journal Journey.
ReplyDeleteThank you very much Diane! I'm happy to share these process bits on my blog and fun that you found me via Art Journal Journey :)
Delete