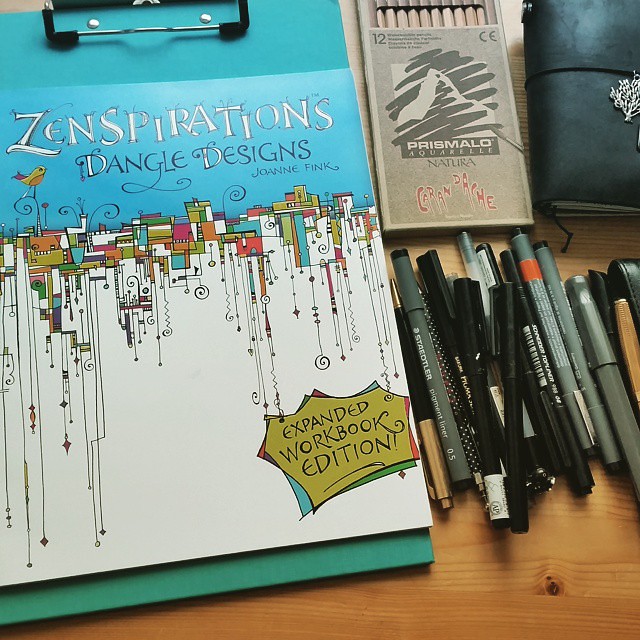
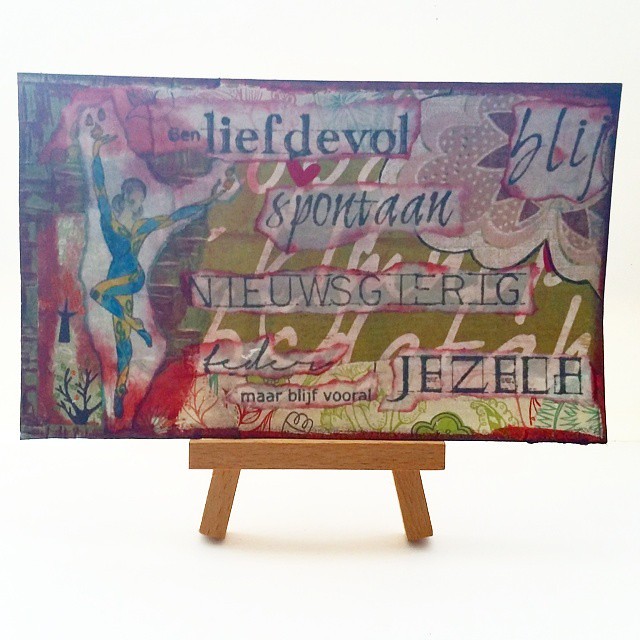
A while back I received this wonderful care package from my friend Mel and her son Jakob. And at a weekend away a little while ago, I got to try my hand this wonderful activity book "Zenspirations Dangle Designs; expanded workbook edition".
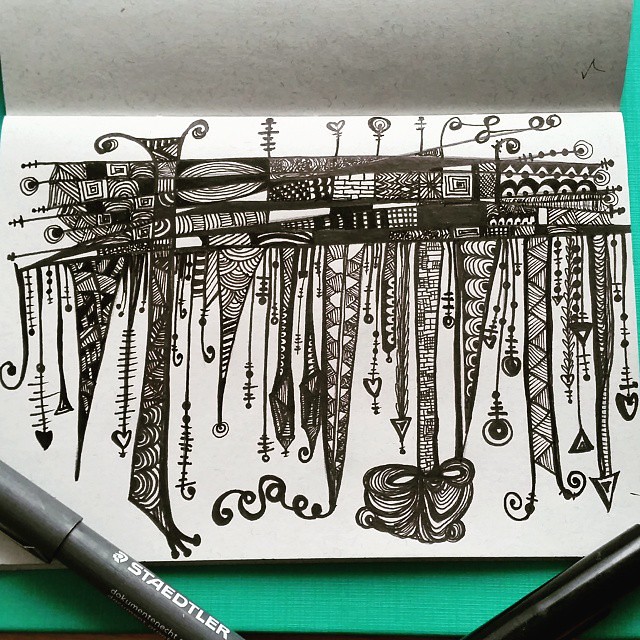
I wanted to make a dangle border/top design as you see on the workbook cover.
As pictures say more than words, I will show you my zenspiration creation process step by step:
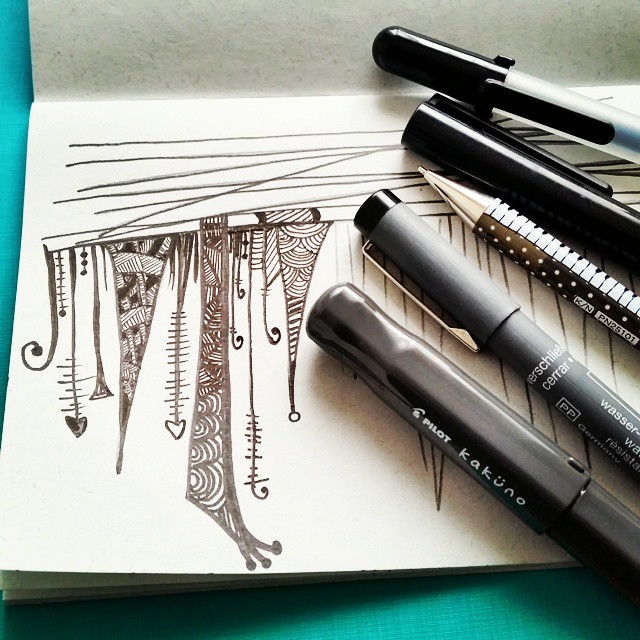
My top 5 tools for #zentangle activities are 1) mechanic pencil 0.5 point 2) steadtler micron liners 3) pilot kaküno fountainpen M nib with namiki black cartdridge 4) sakura pigment liners 5) sakura black gelly rol. I made a few rough sketches with pencil and then just started doodling away with the fineliners.
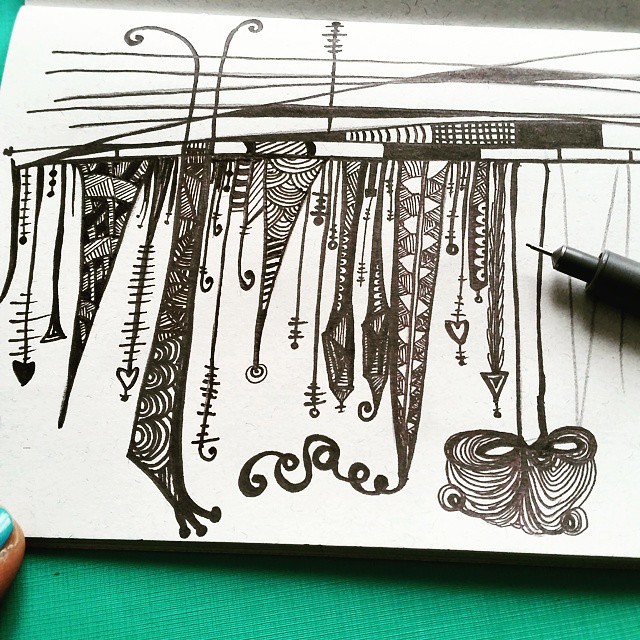
You can make some basic shapes and tangle/doodle in the downward pillars/sock dangles. I used a really fine 0.05 micron steadtler fine liner for the really detailed doodles.
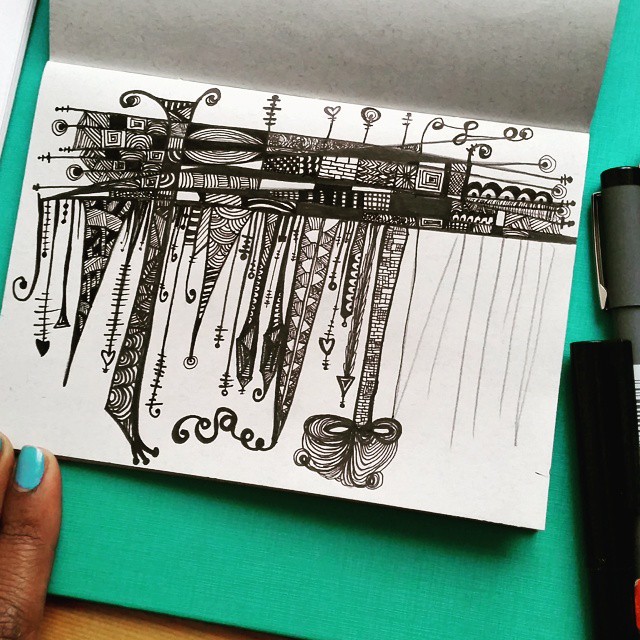
I got inspiration from the book to do the 'tops' and 'ends' but thinking up some fun patterns/designs yourself is all part of the wonderful creative process.
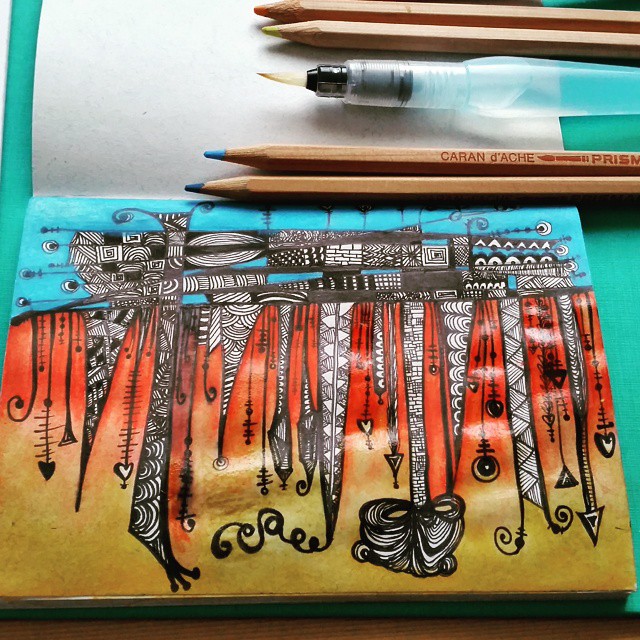
Got the line work done! And the fun thing is I had no idea it would turn out like this when I started. It all happened gradually without having to think too much about it. Though I like the black and white version, I did want to see what it would look like with some color. Before I used the water colors, I erased all the pencil lining with a soft eraser so the graphite would not mix with the colors.
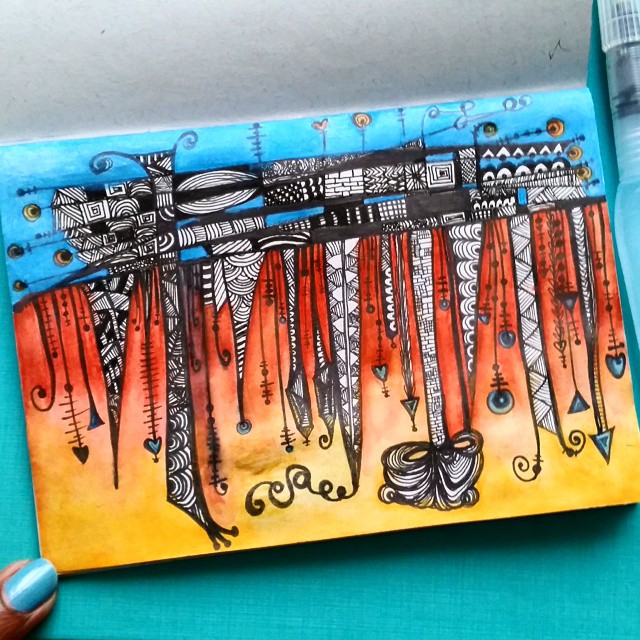
I used my caran d'ache prismalo aquarelle pencils and a pentel water brush to color it in. I decided to leave the insides of the doodles and columns white and keep a simple color contrast on top while having a nice color gradient on the bottom. Red in between the columns and yellow on the bottom. Used the water brush to make them blend and it became orange where the two colors meet.
The finished piece. I ended up using the contrasting colors in the smaller dangle 'endings' to make it 'complete'. I'm quite pleased with the end result. I love how the colors make the dangles pop out more.
NB I did find out though that the black cartridge in my Pilot kaküno fountain pen was not entirely water proof. But when dried and mixed with the colors, it looks like shading so the piece wasn't completely ruined. So a fair warning; if you do end up using watercolors, make sure you work with completely water proof liners/ink if you don't want the bleed/blend through happening.
Inspired and enthused? See Joanne Fink's blog for more inspiration! Also the book is being translated to a few different languages! As she would love to hear from people all over the world, who tried the book or their hand at zenspirations, so be sure to leave a comment on her The Global Connection blogpost :)
Thanks for stopping by.
namaste.

